You’ll fit compatible 433 MHz Toyota‑style sensors (WAA01/WAA02), activate batteries, and mount them to valve stems to torque specs. Drive 1–3 miles with gentle curves so the car auto‑learns each sensor ID and ABS wheel data; confirm IDs on the dash. Watch green/yellow/grey status lights for OK, low, or sensor faults. Don’t use 315 MHz units or you’ll get no readings. Continue for step‑by‑step install, troubleshooting, and track options.
Quick Checklist Before Installing Toyota Supra TPMS
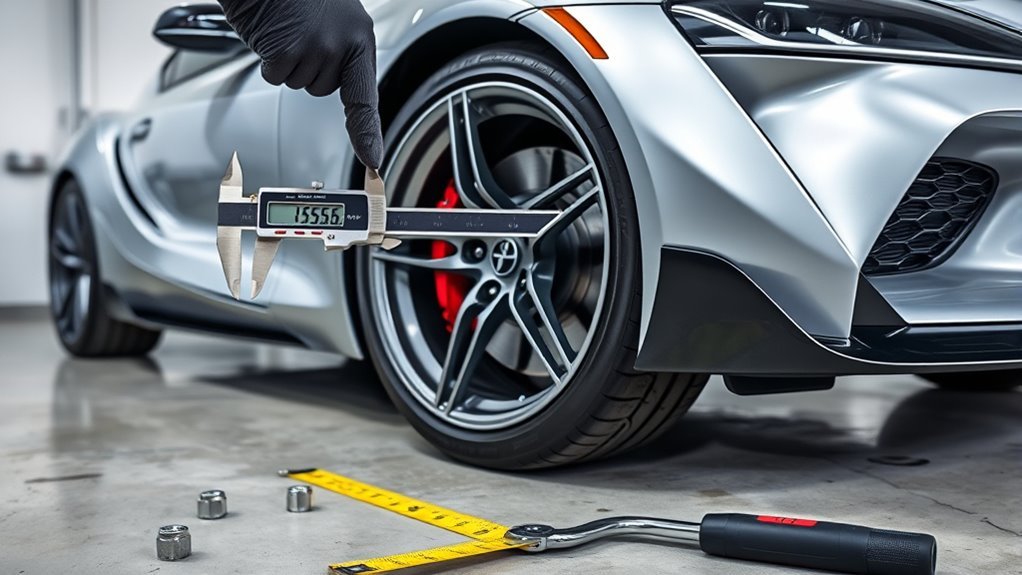
Start by confirming sensor compatibility with your GR Supra—most units use 433 MHz and specific types like WAA01 or WAA02—since wrong frequency or model will prevent registration. You’ll verify sensor compatibility and choose WAA01/WAA02 when applicable. Confirm batteries are active and any protective tabs are removed before mounting. If fitting non‑OEM tires, set alternative tire sizes in the vehicle system to prevent misreads. Mount sensors per torque specs, then drive 1–3 miles with curves and turns to trigger registration and identification. Keep a diagnostic tool or OEM relearn procedure ready if the ECU doesn’t detect sensors. Use these installation tips to guarantee accurate pressure data and avoid repeat disassembly or wasted time.
Install Alligator Sensors: Step‑by‑Step and Power‑Up Tips
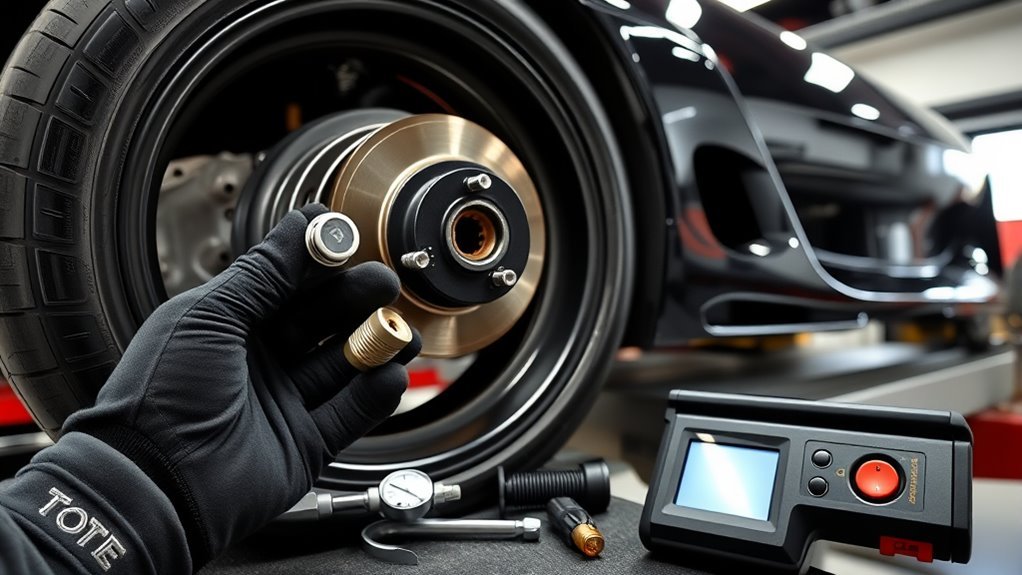
With compatibility, battery checks, and mounting torque verified from the checklist, you can install Alligator 433 MHz sensors by removing any protective battery tabs, seating each sensor in the valve stem, and tightening to the specified torque so the unit powers up. Next, follow a strict sensor installation sequence: front-left, front-right, rear-right, rear-left to avoid registration confusion. Confirm battery activation visually when the sensor clicks or LED (if present) flashes; resist guessing—if no response, replace or re-seat. Torque values must match the Supra spec to prevent leaks or damage. Use the dashboard sensor readout to validate recognition; green indicates normal, yellow/grey flags require troubleshooting. This procedure frees you from dealer dependence while keeping system integrity intact.
Trigger Toyota Supra TPMS Registration by Driving (1–3 Mi)
Drive the Supra for 1–3 miles to trigger TPMS registration; this distance lets the system collect enough wheel rotation data. Use a route with a few gentle curves and turns so the ABS wheel speed sensors can distinguish each sensor’s signature. If sensors were inactive, the vehicle’s movement will power them via the accelerometer and confirm correct sensor type.
Drive Distance Requirement
Although it only takes a short run, you should drive the Supra 1–3 miles after installing TPMS sensors to trigger registration; include several curves and turns so the ABS wheel-speed sensors can differentiate each wheel’s signals. Drive deliberately, cover mixed steering inputs and modest speed changes, and complete the 1–3 mile window without stopping. Before installation, confirm sensor activation techniques: remove protective tabs and verify batteries are active. If registration fails after driving, apply TPMS troubleshooting strategies: recheck sensor compatibility, verify seating and valve torque, and cycle ignition to reset the ECU. Repeat the brief drive if you make adjustments. These steps free you from guesswork, letting the system map each sensor reliably so you can move on with confidence.
Using Curves For Detection
After you complete the brief run that helps the ECU map each sensor, use curves and turns deliberately over the next 1–3 miles to let the ABS wheel-speed sensors differentiate each corner. You’ll exploit curvature importance and specific driving techniques: vary speed, enter/extract from turns, and repeat mild left/right sequences so the system correlates wheel speed patterns with sensor signals. Confirm sensors are powered and activated before install; they need motion to trigger their accelerometer. If registration fails, verify sensor type and 433MHz frequency. Maintain varied driving afterward to keep calibration. This method frees you from guesswork by forcing distinct wheel-speed signatures per corner.
| Action | Purpose |
|---|---|
| Vary speed in turns | Distinguish wheel signatures |
| Repeat left/right | Correlate sensor positions |
How Supra TPMS Auto‑Learns Sensor IDs
Start by installing the replacement sensors and inflating each tire to the proper pressure; the Supra’s TPMS will then auto‑learn the new sensor IDs as you drive. Confirm sensor compatibility before fitting — Alligator TPMS sensors are compatible and designed for seamless integration. Follow installation tips: tighten valves to spec, note sensor orientation, and torque hardware correctly. After installation, drive straight for 1–3 miles at steady speed to trigger the learning process. Monitor the dashboard for visual feedback indicating recognition. If a sensor isn’t recognized, recheck mounting, battery contact, and valve condition; reseat or swap sensors if needed. This hands‑on, efficient workflow frees you from specialized scanners and restores autonomous control over your vehicle.
Check TPMS Status: Green, Yellow, Grey Meanings

With the sensors learned and driving verification complete, check the TPMS color indicators on your Supra to confirm system status. A green indicator means the system’s functioning normally and tire pressures are nominal; you can continue confidently and follow routine TPMS maintenance tips to preserve that state. Yellow signals a flat or significant pressure loss — stop safely, inspect the tire, and repair or inflate immediately. Grey denotes a sensor or system malfunction or an ongoing reset; don’t rely on readings until the grey clears. Some Supra models also show tire temperatures alongside colors for enhanced monitoring. You’ll use this color code to act decisively, support sensor troubleshooting advice when needed, and maintain peak tire performance and your freedom on the road.
Fixing Common Registration Errors and Sensor Issues
When registration errors or sensor faults show up, diagnose systematically: confirm each sensor is the correct 433 MHz Toyota-compatible unit and powered, check for known incompatible types (e.g., WAA01/WAA02), and drive the Supra 1–3 miles through curves so the ABS wheel-speed data can help the TPMS learn the sensors. Next, validate sensor calibration by cycling ignition and monitoring ID recognition in the dash. If tire recognition fails, set the alternate tire size in the vehicle settings to match non‑OEM tires and repeat the learning drive. Use a handheld TPMS tool only to read IDs; don’t attempt forced reprogramming unless you control the IDs. When stuck, consult Supra owner forums for proven fixes and liberate yourself from recurring faults.
433MHz vs 315MHz: Supra Compatibility Explained
Check the sensor label or scan with a TPMS tool to confirm whether your Supra requires 433 MHz or a different frequency. Installing 315 MHz sensors on a Supra that expects 433 MHz will often prevent registration and produce incorrect pressure readings or missed alerts. If you’re unsure, consult the vehicle spec or a technician before fitting sensors to avoid system failures.
Frequency Compatibility Overview
If you’re replacing TPMS sensors on a Toyota GR Supra, confirm they operate at 433 MHz rather than 315 MHz to avoid registration failures and incorrect pressure readings. You’ll check sensor frequency early to prevent compatibility issues and wasted time. Choose only 433MHz units; mixing frequencies causes the system to ignore transmissions and lose pressure data. Follow vehicle specs, buy matching sensors, and proceed with a clean install to restore reliable monitoring.
| Emotion | Fact | Action |
|---|---|---|
| Relief | 433MHz required | Verify spec |
| Frustration | 315MHz fails | Reject wrong part |
| Confidence | Matching sensors work | Install and register |
| Freedom | No false alarms | Drive liberated |
| Certainty | System reliable | Maintain correctly |
How To Verify Frequency
Start by confirming the TPMS sensor frequency — your Supra requires 433 MHz, not 315 MHz — because installing the wrong band will prevent registration and produce inaccurate readings. Inspect OEM documentation or the placard in the door jamb for frequency identification, then read sensors’ markings or packaging. Use an RF detector or TPMS tool to scan installed sensors; the tool will display MHz and sensor IDs so you can match them to vehicle specs.
For sensor selection, prioritize certified 433 MHz units compatible with Supra protocols. Cross-reference part numbers, consult forums for field-tested vendors, and verify vendor return policies. Record each sensor ID and frequency before installation to guarantee seamless registration and autonomous system reliability.
Consequences Of Wrong Frequency
Having confirmed each sensor’s 433 MHz frequency, you need to understand what happens when a 315 MHz unit is installed in a Supra. You’ll face registration failure: the TPMS won’t accept readings, so sensor compatibility is broken. That mismatch can produce false TPMS alerts or no alerts at all, creating distraction or a missed low-pressure condition. You must replace incorrect sensors immediately to restore accurate monitoring and avoid limp-mode restrictions or safety compromises. Verify specs before purchase, and use OEM or verified 433 MHz units to maintain system integrity and your freedom to drive without electronic interference.
| Issue | Effect |
|---|---|
| 315 MHz in Supra | Registration failure |
| Wrong frequency | False TPMS alerts |
| No recognition | Missed pressure data |
| Continued use | Safety & performance risk |
Disabling TPMS for Track Use : What Changes

Because track setups often require wider wheels and different pressures, disabling the Supra’s TPMS lets you fit aftermarket rims without sensors and reprogram the vehicle so the system won’t trigger false alarms; you’ll change the vehicle order and flash the relevant control modules to present the car as factory-configured for those wheels, which removes distraction, permits lower track pressures, and supports ideal tire choices for handling. You’ll gain TPMS advantages for Racing performance by eliminating nuisance alerts and enabling Tire flexibility with Aftermarket wheels.
- Update vehicle order and flash ECU/BCM to accept non‑sensor wheels.
- Verify system reports “factory” wheel specs; clear historical faults.
- Test on track at target pressures; confirm no warnings and stable handling.
Proceed deliberately; this frees you to optimize setup.
Alternatives: Buy Sensors, Code Yourself, or Hire a Shop
When you’re weighing options for track-ready TPMS, consider three clear paths: buy compatible Alligator 433 MHz sensors and register them, code the vehicle yourself using the sensors’ auto‑learn and a short drive to confirm IDs, or hire a shop to perform coding and validation. Choose sensor options that match Supra frequency and valve fit; confirm part numbers before purchase. For DIY coding methods, follow the auto‑learn sequence, mount sensors, drive 1–3 miles with curves, and verify sensor IDs in the cluster to guarantee recognition. If you want liberation from technical risk, hire a shop to perform coding methods and validate operation; they’ll avoid false warnings and can perform TPMS removal coding for track flexibility. Make one decisive choice and execute the procedure.
Track Tire Pressure Best Practices Without TPMS
Before you hit the track, set pre-track pressure targets based on tire spec and ambient temperature and record them. Manually check and log pressures with a calibrated gauge between sessions and monitor tire temps to confirm adjustments. If you remove TPMS sensors or fit non-TPMS wheels, plan for stricter manual monitoring and be prepared for different handling behavior.
Pre-Track Pressure Targets
If you’re prepping for a track day without relying on TPMS, set baseline cold pressures around 28–30 PSI for softer compounds and 30–32 PSI for harder compounds, then recheck and adjust before each session to account for ambient and track temperature changes. You’ll use pressure adjustment techniques informed by tire compound effects and driving style to liberate performance.
- Measure: use a calibrated gauge; confirm uniformity across all four tires.
- Adjust: drop pressures for more contact (softer compounds) but avoid excessive sidewall flex; raise slightly for stiffer setups.
- Verify: after a warm-up lap, reassess and fine-tune pressures to target consistent grip and balanced handling.
Document settings per compound and track; repeat the loop each session.
Manual Pressure Monitoring
Start every session by checking tire pressures with a calibrated gauge and recording the values; do the same immediately after each run to capture pressure rise from heat. You’ll use manual tire monitoring to maintain control and freedom on track: log pressures and temperatures, note ambient and track conditions, and compare runs to spot trends. Use a quality gauge and portable air compressor to execute rapid pressure adjustment techniques between sessions. Lower pressures incrementally for added grip, monitor temperatures to avoid overheat-driven pressure spikes, and correct camber or balance issues if temperatures vary across the tread. Keep concise records, act decisively, and iterate—this procedural approach lets you optimize handling without relying on TPMS while keeping safety and performance aligned.
TPMS Removal Considerations
When you remove the TPMS for track use, plan a controlled process that replaces automatic alerts with disciplined manual monitoring and proper vehicle reprogramming. You’ll trade TPMS advantages for direct control, but you must preserve sensor safety and system integrity during conversion. Follow a strict procedural checklist:
- Validate goals: confirm reduced pressures, wider tires, and wheel choices that necessitate TPMS removal; note expected handling gains.
- Reprogram vehicle: update order and control modules to disable TPMS warnings cleanly; document changes for street reinstatement.
- Monitor manually: equip a high-precision gauge and log pressures frequently during sessions; watch for heat-induced shifts and structural issues.
You’ll gain liberation on track while maintaining safety via disciplined monitoring and reversible reprogramming.
Frequently Asked Questions
How Does the Toyota TPMS System Work?
You’ll monitor tire pressure via TPMS sensors that use ABS wheel speed inputs; the system auto-learns sensor IDs, shows green/yellow/grey status, and lets you register correct 433MHz sensors or set alternate tire sizes for accuracy.
What Is the PSI for a Toyota Supra?
Like a compass guiding freedom, you should set Toyota Supra tire pressure between 32–36 PSI. Check door-jamb sticker or manual for ideal settings, monitor TPMS, and adjust pressures routinely to preserve handling, efficiency, and longevity.
Conclusion
You’ll finish setup faster if you follow the checklist, install Alligator sensors correctly, and drive 1–3 miles to let Supra TPMS auto‑learn IDs. Think of it like syncing a phone: I once drove two miles with brand‑new sensors and the dash went green on the first pass—proof that simple motion often completes the handshake. If you track the car, disable TPMS only with alternatives ready, and log pressures manually for safe, repeatable laps.