You’ll replace the upstream O2 sensor to restore fuel control and emissions; expect 1–2 hours and moderate effort. Disconnect the battery, trace and release the sensor connector and retainer, then apply penetrating heat if nuts are seized. Use a 22mm or O2 socket to remove the sensor, inspect threads, and fit the new sensor with anti‑seize and a fresh gasket. Hand‑start and torque properly, route the harness in factory clips, clear codes, and verify no leaks. Keep going for full step‑by‑step guidance.
Tools and Parts to Replace the Upstream O2 Sensor on a 4‑Cyl Tacoma

You’ll need a 12mm socket, a 22mm wrench or dedicated O2 sensor socket, a pick, and a screwdriver to remove and install the upstream O2 sensor on a 4‑cylinder Tacoma. Gather a replacement upstream O2 sensor, a new exhaust gasket, and a wire tie or clip if the original is damaged. Bring penetrating heat (torch or heat gun) to free rusted mounting nuts; apply heat briefly and carefully to avoid damaging surrounding components.
Before installing, inspect mounting threads for damage — stripped threads demand repair (heli-coil or chase) to guarantee torque and seal. Use the pick to remove old gasket remnants and clean the seat; a clean surface prevents exhaust leaks. During installation, torque the sensor to spec and fit the new gasket to secure the seal. Route and fasten the sensor wiring with the original clip or a wire tie to maintain OEM routing and prevent chafing. This methodical sensor maintenance frees you from recurring failures.
Quick Answer: What This Repair Fixes and Estimated Time/Difficulty
Replacing the upstream O2 sensor restores proper air-fuel ratio control, improving fuel economy and cutting emissions while preventing exhaust-related engine issues. You can usually complete the job in 1–2 hours if you have basic mechanical skills and the right tools. Required items include the new O2 sensor, a new gasket, a 12mm socket and 22mm wrench (or sensor socket), and standard hand tools.
What It Fixes
Improve drivability and emissions by swapping a failing oxygen (O2) sensor: a working sensor keeps the engine control unit getting accurate air–fuel data, which restores fuel efficiency, reduces rough idling or stalling, and clears emissions-related check-engine alerts that can cause a failed smog test.
You’ll regain measurable performance benefits and proper emission control quickly. The repair addresses three core failures:
- Restores correct air–fuel ratio control, improving fuel economy and power delivery.
- Eliminates erratic idle and reduces stalling by letting the ECU trim fuel in real time.
- Resets emissions diagnostics, silencing check-engine codes tied to catalytic converter and O2 sensor faults.
You’ll need basic tools and moderate skill. Replacing the sensor liberates you from inefficient running, failed inspections, and unnecessary shop bills.
Time And Difficulty
One to two hours is a realistic estimate for swapping an upstream O2 sensor on a Toyota Tacoma, assuming basic hand tools and unobstructed access; expect the job to be moderate in difficulty because rusted threads, tight clearances, or corroded wiring can extend the time. You’ll fix poor fuel economy, high emissions, and check-engine alerts by replacing the sensor. Work methodically: disconnect battery, locate sensor placement at the exhaust manifold, and free the connector before loosening the sensor. Corrosion can add time; plan for penetrant and patience. Use installation tips that prevent exhaust leaks and protect wiring—replace the gasket, avoid twisting the harness, and torque to spec. The task empowers you to reclaim control of vehicle performance with straightforward mechanical competence.
Required Tools And Parts
Tools and parts you’ll need are straightforward: a pick, screwdriver, 12mm socket, and either a 22mm wrench or an O2 sensor socket, plus a replacement upstream O2 sensor and a new gasket to guarantee a proper exhaust seal. This repair corrects fuel-efficiency, emissions, and engine-performance faults; expect 1–2 hours. Difficulty is moderate; you’ll need basic mechanical skills.
- Identify sensor types: upstream (pre-cat) is most common on Tacomas; confirm OEM part number.
- Gather parts: O2 sensor, gasket, anti-seize (if not pre-applied), and protective gloves.
- Follow installation tips: disconnect battery, let exhaust cool, use penetrating oil on seized threads, torque sensor to spec.
You’ll work methodically, reclaiming control of your vehicle’s efficiency and emissions.
Disconnect the Upstream O2 Sensor Wiring Safely (Release Clips and Retainers)
Start by tracing the O2 sensor wiring to the connector bracket and secure area where it plugs in; you’ll need clear access to release the clips without stressing the harness. Identify connector types using wiring diagrams if unsure. Use a small pick to depress the connector tab, then pull straight to separate — don’t yank. Flip the connector to expose the top tab and push it fully to release the lock.
Remove the wire from the transmission line retainer carefully so the plastic clip stays reusable. Keep the harness untwisted and routed as originally found; freedom comes from disciplined care. Confirm all clips and retainers sit flush and the harness has slack for sensor movement before installing the new sensor.
| Task | Tip |
|---|---|
| Trace wiring | Follow wiring diagrams |
| Release tab | Use pick, push in |
| Flip connector | Access top tab |
| Remove retainer | Preserve clip |
| Check routing | No twists, proper slack |
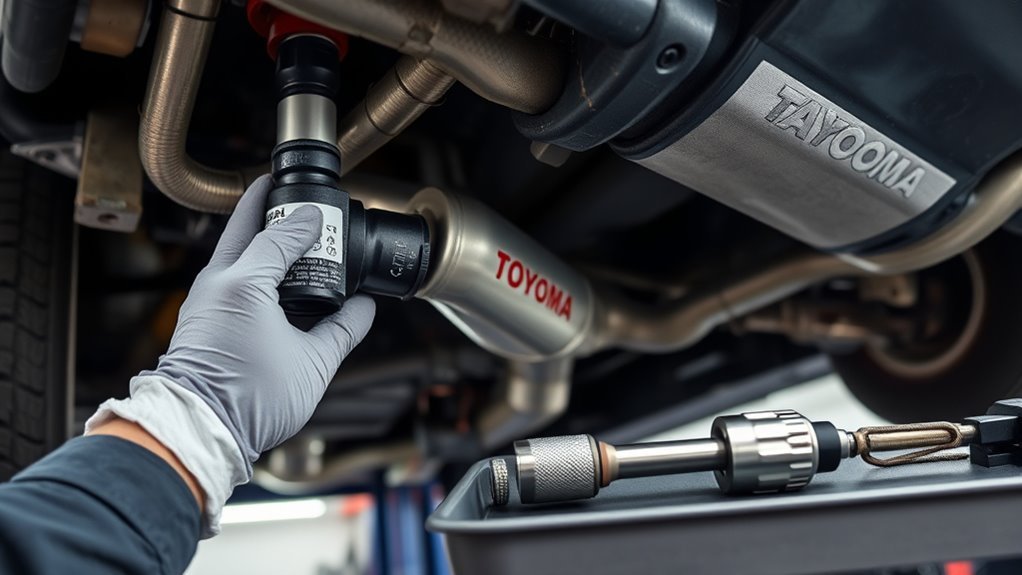
Remove the Old Upstream O2 Sensor and Inspect Threads (12mm, Heat Tips)
Heat the mounting area with a propane torch or heat gun to loosen corrosion, then use a 12mm O2-sensor socket or deep box socket to break the sensor free—wiggle and tap the sensor body with a hammer if it won’t budge. Apply steady, controlled force; sudden torque can damage the boss. Once loose, back the sensor out and set it aside for disposal.
- Inspect threads: check the O2 sensor hole for stripped or damaged threads; cross-threading causes leaks and weak mounts.
- Repair options: if threads are compromised, use a thread repair kit or tap the hole to restore a secure fit.
- Clean-up: remove old gasket material and debris; clean mating surfaces thoroughly.
Follow sensor maintenance tips: document condition, replace hardware as needed, and prioritize corrosion prevention. You’re reclaiming control of the exhaust interface—methodical inspection now avoids failures later and frees you from repeat repairs.
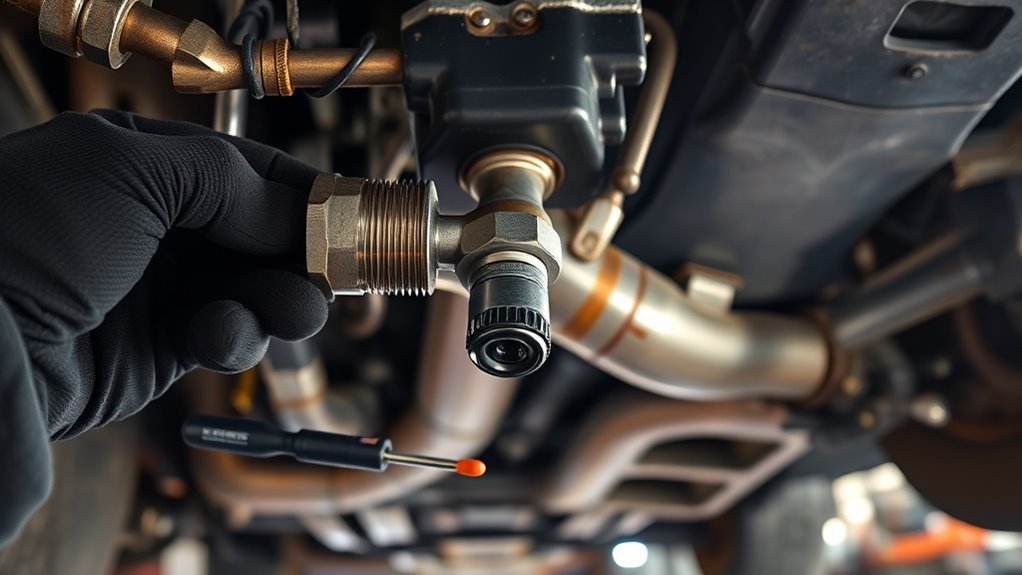
Install the New Upstream O2 Sensor, Gasket, and Mounting Plate Correctly
Start by removing the mounting plate from the new O2 sensor so you can seat the gasket directly on the exhaust pipe with no obstruction. Align the mounting plate and sensor so the flange sits flat, then tighten the mounting nuts with a 22mm wrench or O2 sensor socket until the sensor is fully seated and torqued to spec. Re-secure the wiring clip or tie, confirm the sensor orientation, and plug it in until you hear a secure click.
Proper Gasket Placement
Before threading the sensor into the pipe, remove the mounting plate from the new O2 sensor and position a fresh gasket against the exhaust flange so its holes align with the mounting surface; this guarantees the plate will sit flat and prevent leaks when you secure the assembly. Use compatible gasket materials—metal or multi-layer steel—rated for exhaust heat and corrosion. Seat the gasket evenly, then lower the plate straight down to avoid shifting the seal.
- Inspect gasket surface for debris; clean with a wire brush and solvent.
- Hand-start mounting nuts to hold the gasket without compressing unevenly.
- Tighten nuts sequentially; torque evenly so the plate seats flat.
Finish by snugging the sensor with a 22mm wrench or O2 socket; don’t overtighten.
Mounting Plate Alignment
Remove the mounting plate from the new O2 sensor, seat the fresh gasket squarely on the exhaust flange, then lower the plate straight down so its bolt holes align and it sits flat against the pipe; hand-thread the mounting nuts to hold the assembly, then snug them sequentially with a 22mm wrench or O2 socket until the plate is level and secure—don’t over-torque.
You’ll follow precise mounting techniques: keep the gasket centered, avoid twisting the sensor, and maintain perpendicular sensor placement to the exhaust flow. Work methodically, tightening opposite bolts in stages so the plate draws evenly. Confirm the plate is flush and the sensor placement is stable before routing the wiring harness. This disciplined approach reduces leaks, prevents thread damage, and gives you dependable control over the exhaust connection.
Torque And Seating
- Remove the mounting plate from the new O2 sensor so you can position parts precisely.
- Place the gasket between the sensor flange and the exhaust pipe; proper gasket installation prevents leaks and secures the seal.
- Seat the mounting plate flat against the pipe—no gaps, no twists—so the sensor aligns with the exhaust flow.
Use a calibrated torque wrench and follow the manufacturer’s torque specifications for the mounting nuts. Tighten gradually in sequence until you hit the specified value; this guarantees uniform clamping and avoids warping the plate. After torquing, verify the plate sits flush and the gasket isn’t pinched. Finally, route the sensor wiring free of twists and clip it securely to prevent chafing or stress during operation.
Route and Reconnect the Sensor Wiring (Use Original Clip, Avoid Twists)
Route the new O2 sensor harness along the original path, clipping it into the factory retainers so the wiring stays clear of hot exhaust parts and moving components. Keep wiring organization and sensor placement precise: follow the stock routing to prevent chafing, heat exposure, or entanglement with belts and suspension links. Use the original clip; it’s sized and positioned for ideal strain relief and vibration control. Before connecting, align the connector so pins match and the latch faces the mating tab to prevent misalignment. Run a final visual sweep along the harness to confirm there are no twists or kinks; a twisted lead can stress conductors and degrade signal integrity. Orient the connector for the shortest, unobstructed path to avoid routing across hot surfaces. When you plug the connector together, push firmly until you hear a tactile click — that click verifies the lock engaged. Secure any slack in existing retainers so the wiring remains tidy and resilient, freeing you from repeat visits.
Test, Torque, Anti‑Seize, and Troubleshooting (Leaks, CEL, Wiring Checks)
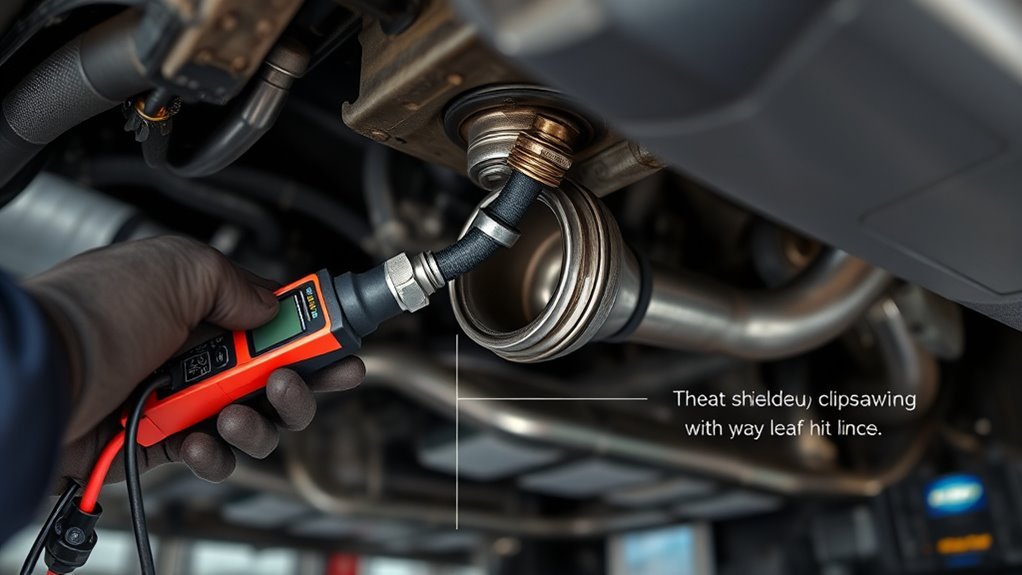
Finish the install by coating the new O2 sensor threads with anti‑seize, hand‑threading it into the bung, and torquing it to the factory spec (typically 30–40 ft‑lbs) with a calibrated wrench to guarantee a gas‑tight seal. After that, perform these checks to validate sensor maintenance and follow installation tips for reliable operation.
Coat threads with anti‑seize, hand‑thread the O2 sensor, then torque to 30–40 ft‑lbs for a gas‑tight seal.
- Use a calibrated torque wrench to reach 30–40 ft‑lbs; over‑ or under‑torque risks leaks.
- Inspect the exhaust joint for hissing, visible smoke, or soot; fix leaks immediately.
- Scan for CEL codes with an OBD‑II tool; clear codes and recheck if the light persists.
Also visually inspect the wiring harness for nicks, twists, or loose connectors; compromised wiring yields erroneous readings and false faults. If CEL remains after a verified install and no exhaust leaks, the code may indicate upstream systems—diagnose per OBD data. These methodical, liberation‑focused steps minimize rework and return control of your Tacoma’s emissions system.
Frequently Asked Questions
Can I Replace My 02 Sensor Myself?
Yes — you can replace it yourself. With DIY repairs mindset, identify sensor types, use proper sockets, heat seized nuts if needed, protect wiring, fit new gasket, double-check connections, and test performance to secure lasting freedom.
How Much Does It Cost to Replace the Oxygen Sensor on a Toyota Tacoma?
Break free: you’ll pay about $100–$300 for Oxygen Sensor Prices and Replacement Options; parts run $50–$150, labor $50–$150, aftermarket TRQ lowers costs, and check for exhaust leaks that can hike total.
Can I Drive My Truck With a Bad O2 Sensor?
You can, but you shouldn’t; O2 sensor symptoms like poor truck performance, reduced fuel economy, rough idle, and check engine warnings will worsen. Drive minimally, seek prompt replacement to avoid catalytic converter damage and regain control.
Conclusion
You’ve walked the careful path: swapped the upstream O2, checked threads, and resealed the junction so the exhaust can behave itself. Reconnect the wiring without kinks, torque to spec, and give the system a quick smoke-free start to confirm no leaks and no check‑engine mischief. If the light lingers, trace the harness, grounds, and heater circuit. With routine care, this little fix keeps your Tacoma breathing clean and running true.