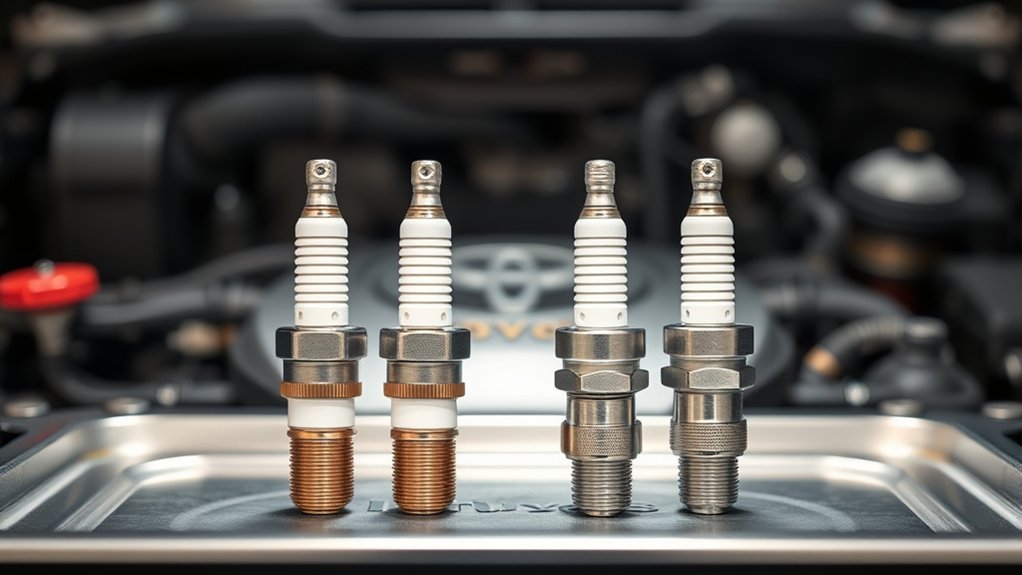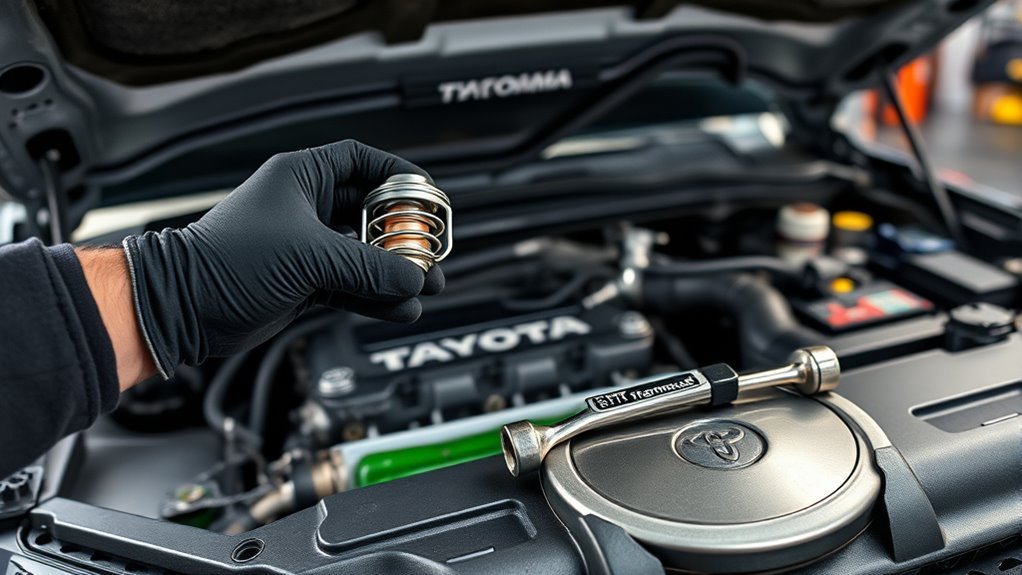
You’ll drain some coolant, loosen three 12mm bolts, and gently pry off the thermostat housing to avoid stressing hoses. Remove the old thermostat and gasket, inspect the water pump, then place the new thermostat with the jiggle valve at the top and fit a new gasket. Hand-start bolts, tighten in a crisscross pattern to spec, refill coolant, and run the engine to check for leaks and proper flow. Continue below to get detailed steps and troubleshooting.
Quick Answer: Replacing a Toyota Tacoma Thermostat
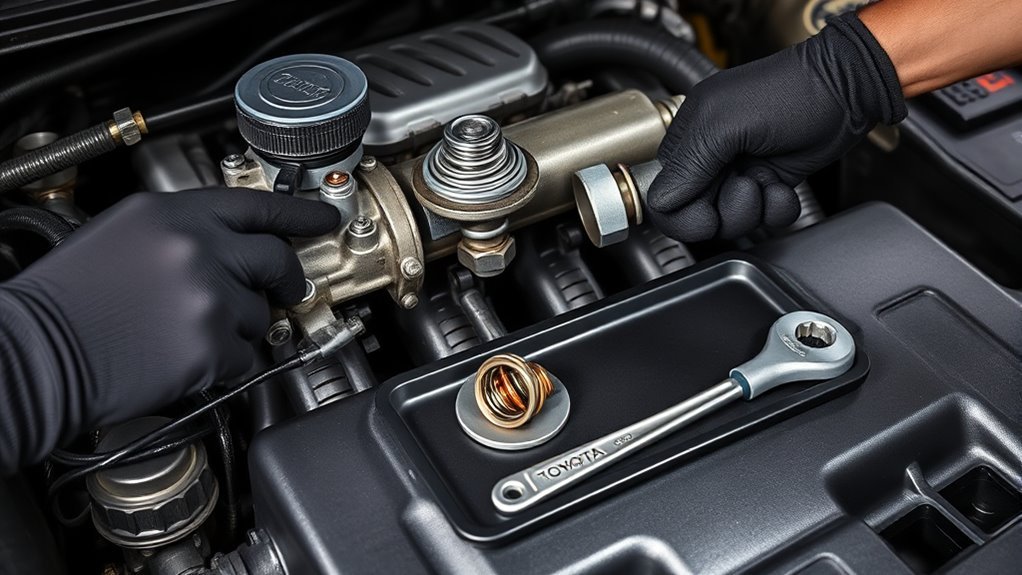
Start by locating the thermostat housing on your Toyota Tacoma and removing the three 12mm bolts to expose the thermostat; gently lift the housing, inspect the water pump while it’s accessible, and remove the old thermostat. You’ll verify the component’s condition — if you suspect thermostat failure or see corrosion, replace it. Testing in hot water confirms operation, but you’ll often choose replacement because it’s low-cost and decisive. When installing, orient the new thermostat precisely to the original position to prevent misalignment that can cause poor circulation and engine overheating. Tighten fasteners evenly, re-seat the housing, and restore coolant to the correct level. Bleed air from the system per service procedure so the cooling loop runs smoothly. Maintain this component on schedule; proactive swaps free you from sudden breakdowns and keep your Tacoma performing reliably. You’ll act deliberately, avoid guesswork, and reclaim control over engine health.
Tools & Parts: 12mm Socket, Gasket, New Thermostat
You’ll need a 12mm socket (plus a ratchet and extension) to remove the three thermostat housing bolts—have other common sizes on hand in case clips or sensors require them. Grab a replacement thermostat and a compatible gasket rated for your Tacoma to prevent leaks. Use quality hand tools and a torque wrench when reinstalling to guarantee proper alignment and fastener torque.
Required Socket Sizes
For this job you’ll need a 12mm socket to remove the three bolts holding the thermostat housing; use it precisely to avoid stripping the fasteners. You’ll work deliberately: confirm socket maintenance before starting, clean the drive and socket, and inspect for wear. Keep torque specifications in mind for reassembly to free yourself from future leaks or rounded heads.
- Use a quality 12mm socket with a 6-point design for secure engagement.
- Carry a short extension and ratchet to reach the three bolts without forcing angles.
- Keep a torque wrench rated for low ft‑lb settings to tighten to factory torque specifications.
You’ll prepare parts (new thermostat and gasket) but won’t install them until the housing is clean and ready.
Thermostat And Gasket
Although it’s a small assembly, the thermostat and its gasket are critical, so have a new thermostat and gasket on hand along with your 12mm socket before you remove the housing. Remove the three 12mm bolts, pull the housing, and extract the old thermostat. Compare thermostat types — standard open/closed or high-temp variants — and choose the one that matches your truck and your goals for control and liberation from frequent service.
Clean mating surfaces and inspect gasket materials; use a compatible rubber or composite gasket to guarantee a leak-free seal. Position the new thermostat correctly (spring toward the engine) to avoid misalignment. Install the new gasket, reattach the housing with the three bolts, and torque evenly. Test after refilling coolant.
Quality Tool Suggestions
Start with a clean, reliable 12mm socket and a calibrated torque wrench so you can remove and reinstall the three thermostat housing bolts accurately; worn sockets or loose handles increase the risk of stripped fasteners and leaks. You’ll want a high-quality gasket and a proven replacement thermostat. Choose durable tool brands and appropriate socket types (chrome vanadium, 6-point) to free you from repeat visits and failed attempts. Keep tools maintained and inspected before you start.
- Carry a spare gasket and matching thermostat to avoid delays.
- Pick a torque wrench calibrated to Toyota specs and a 12mm 6-point socket for a secure fit.
- Favor respected tool brands for longevity and consistent results, empowering your repair.
Remove the Thermostat Housing Safely
Loosen the three 12mm bolts securing the thermostat housing and remove them carefully, keeping track of torque specs for reinstallation. Use a 12mm socket and steady force so bolts come out straight; set them aside in order. Gently pry the thermostat housing away from the engine, supporting it with your other hand to avoid stressing nearby hoses or brackets. As you separate the housing, perform a gasket inspection: don’t scrape aggressively—lift the old gasket and note any tears, hardening, or residue that signals replacement.
Work slowly, using hand tools to control movement and reduce risk of injury. While the housing is free, glance at the water pump area for visible leaks or wear without disassembling it. Keep the thermostat’s orientation in mind; mark its position if needed so you can return it correctly. Clean mating surfaces lightly, then store components where they won’t be lost or contaminated. Proceed only when you’re ready to install with correct torque values.
Test the Old Thermostat (Boil Test) and Check the Water Pump
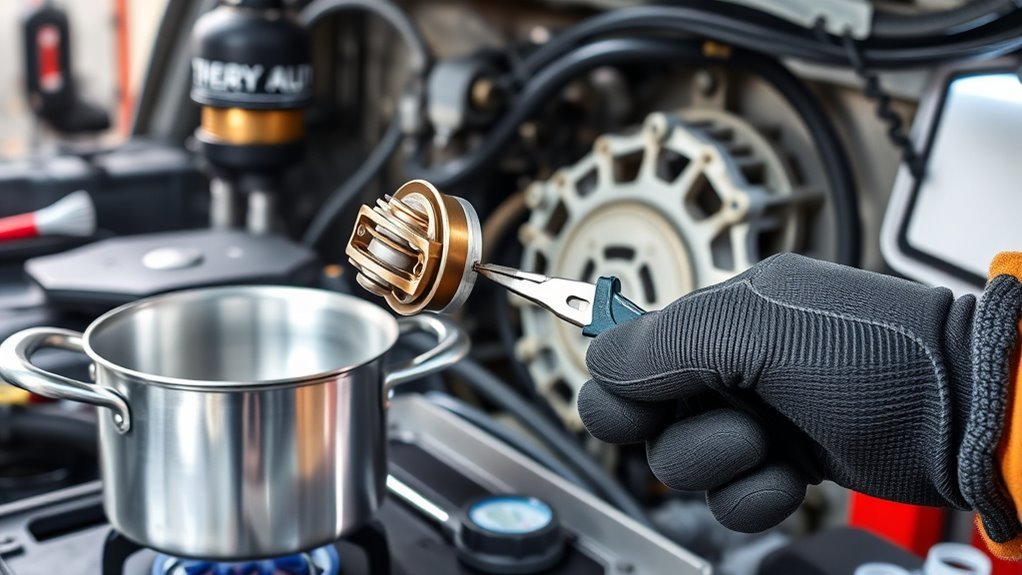
With the housing removed and mating surfaces inspected, test the old thermostat using a simple boil test and inspect the water pump for signs of failure. Place the thermostat in a pot of water, heat slowly, and watch when it opens; most Toyota thermostat function begins around 180–195°F. If it doesn’t open at the specified temperature, replace it—failure leads to overheating or poor performance.
With housing off, boil-test the thermostat and inspect the water pump—replace any failing part to prevent overheating and poor performance
Next, inspect the water pump visually and by feel: look for coolant leaks, corrosion, shaft play, or a noisy bearing. A compromised water pump will reduce coolant circulation and undermine thermostat function even if the thermostat itself is good.
- Boil test: confirm opening temperature with a thermometer and note response time.
- Water pump check: inspect for leaks at seals, wobble at the pulley, and unusual noise.
- Maintenance step: replace any component that fails tests to restore reliable coolant flow and vehicle freedom.
Install the New Thermostat (Correct Orientation)
1. Place the new thermostat into the housing following the manufacturer’s specifications for correct thermostat placement. Align the unit so the jiggle valve sits at the top; this small detail guarantees air bleeds properly and the cooling system functions as intended.
You’ll use a new gasket or recommended sealant—don’t reuse old seals. Lay the gasket flat, seat the thermostat squarely, and confirm the flange and mating surfaces line up evenly. Double-check orientation and alignment before any bolts touch the housing.
Hand-start the housing bolts to keep the thermostat from shifting, then tighten in a crisscross pattern to the specified torque. Over-tightening can crack the housing; under-tightening risks a poor seal. These installation tips keep the system reliable and prevent common missteps.
Work deliberately and claim control over the process: correct placement, proper sealing, and torque discipline free you from repeat repairs and restore confidence in your Tacoma’s cooling system.
Troubleshooting: Leaks, Overheating, and Poor Heater Flow
Once the thermostat is seated and the housing torqued, check for common post-installation problems like leaks, overheating, and weak heater flow so you can spot and fix faults quickly. Inspect the housing seam for coolant leaks; a weep or drip usually means a failed gasket or improper sealing. If you see coolant, replace the gasket, clean mating surfaces, and retorque to spec.
Test thermostat function if engine overheats or heater flow is poor. A stuck-closed thermostat blocks coolant circulation; remove and test in boiling water to confirm opening. If the thermostat is new but problematic, verify correct orientation and alignment—incorrect installation recreates flow issues.
For weak heater output, make sure the thermostat opens fully so sufficient coolant reaches the heater core. Regular maintenance checks prevent repeat failure and free you from recurring roadside fixes.
- Confirm no visible coolant seepage at the housing
- Test thermostat in boiling water to verify operation
- Recheck orientation and torque if problems persist
Frequently Asked Questions
How Long Does the Thermostat Replacement Take for a Beginner?
About 2–4 hours for a beginner. You’ll gather thermostat tools, follow step-by-step installation tips, work deliberately, bleed the cooling system, and stay safe—so you’ll gain confidence and freedom to maintain your vehicle independently.
Do I Need to Drain the Entire Cooling System?
No, you don’t need to drain the entire cooling system; you’ll partially drain enough coolant to lower the level, isolate thermostat symptoms, and swap the thermostat. Use compatible coolant types, capture fluid, then refill and bleed the system properly.
Can I Reuse the Old Gasket if It’s Intact?
You can reuse the old gasket only if gasket condition is flawless; otherwise replace it. Clean mating surfaces, apply sealant if specified, align bolt holes, tighten evenly in stages — installation tips that free you from redo hassles.
Will Replacing the Thermostat Affect My Vehicle’s Warranty?
Better safe than sorry: you can replace the thermostat without automatically voiding warranty, but document procedure and parts, report any thermostat malfunction promptly; warranty implications depend on dealer judgment, so keep records and use OEM parts.
Are There Temperature-Specific Thermostat Options for Tacomas?
Yes — you can choose thermostat types with specific temperature ranges for Tacomas. You’ll pick fixed or high-performance valves, compare opening temps (e.g., 82°C–88°C), and install the one matching your driving needs and liberation goals.
Conclusion
You’ve finished the swap, so give the cooling system a gentle wake-up: refill, burp, and run the engine until the new thermostat breathes open. Watch for stealthy drips and listen for unfamiliar whispers from the pump. If temps settle and heater airflow returns, you’ve coaxed the heart of the Tacoma back to steady rhythm. If not, close up and recheck seals, hose clamps, and thermostat orientation before sending it back into service.