Tacoma Washer Fluid Capacity (1995-2004): Reservoir Size, Refill, and Replacement Guide
What’s in This Article
- Quick Answer: Tacoma Washer Fluid Capacity (1995-2004)
- Capacities by Model: 3.4 V6, Extended Cab, and Cold-Weather
- Locate and Check the Washer Reservoir on Your Tacoma
- Refill the Reservoir: Step-by-Step Fluid Recommendations
- Common Reservoir Failures and How They Reduce Capacity
- Aftermarket vs OEM Washer Tanks: Compatibility and Cost
- Installation Tips and Fitment Troubleshooting
- Maintenance Checklist to Prevent Leaks and Loss of Capacity
- When to Replace the Tank: Signs, Part Numbers, and Cost Estimates
- Frequently Asked Questions
- Conclusion
A cracked or wrong-size washer reservoir can make your 1995-2004 Toyota Tacoma run out of fluid faster than expected. That small tank matters when road spray, mud, snow, or bugs block your windshield. This guide shows you the likely capacity range, the key part-number differences, and the checks that help you refill or replace the tank with confidence.
Quick Answer: Tacoma Washer Fluid Capacity (1995-2004)
Most 1995-2004 Toyota Tacoma washer reservoirs fall in the small-truck range, often around 2.5 to 4.5 liters depending on the tank fitted. Toyota also notes that many washer reservoirs hold about one gallon, so your exact Tacoma capacity can vary by part number, sensor setup, and package. Check the reservoir shape, the washer-fluid level sensor opening, and the part number before you buy a replacement.
Key Takeaways
- Check your reservoir part number before you assume the tank capacity.
- Use part 85315-04050 for standard setups that do not use a level sensor.
- Use part 85315-04060 only when your Tacoma needs the sensor opening.
- Choose winter washer fluid if your area gets freezing weather.
- Replace the tank when cracks, loose seals, or hidden leaks keep reducing fluid level.
Capacities by Model: 3.4 V6, Extended Cab, and Cold-Weather
Your 1995-2004 Tacoma can use more than one washer reservoir style, so don’t order by engine size alone. The 3.4 V6, extended cab, and cold-weather package can point you toward the right tank, but the part number gives you the safer answer.
Toyota parts listings show 85315-04050 for standard setups without the washer fluid level sensor. Listings for 85315-04060 identify the sensor-hole version and cold package use, so confirm the opening at the bottom of your tank before ordering.
3.4 V6 Capacity
Many 3.4 V6 Tacomas use a washer reservoir in the 2.5-liter to 4.5-liter range. You should still verify the tank on your truck because trim, package, and previous repairs can change what sits behind the fender liner.
Check your service records, then compare the reservoir shape, pump location, sensor opening, and mounting tabs. This quick check helps you avoid a tank that fits the year range but misses one key connector or seal point.
Extended Cab Differences
Extended-cab Tacomas often need the larger-style reservoir, but you should not use cab type as your only guide. A previous owner may have installed an aftermarket tank, and some listings group several Tacoma body styles together.
Use the table below as a starting point, then match the part to your exact tank before you buy.
| Model Aspect | What to Check |
|---|---|
| Engine options | 3.4 V6 trucks may use different reservoir styles |
| Cab type | Extended cab models often use a larger-style tank |
| Cold-weather | Part 85315-04060 includes a sensor opening |
| Maintenance tip | Match part number, pump seat, sensor hole, and mounting tabs |
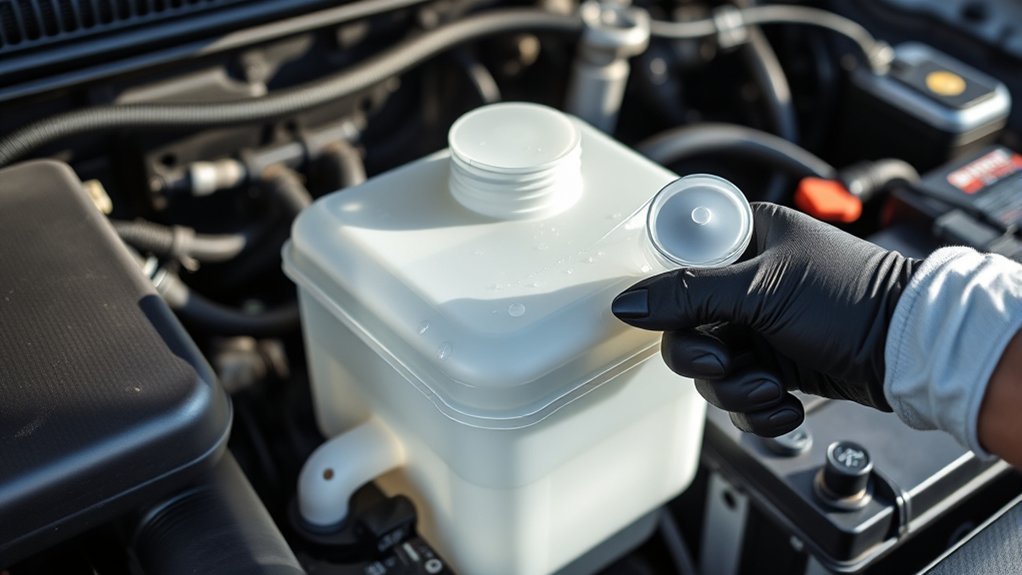
Locate and Check the Washer Reservoir on Your Tacoma
Open the hood and look near the passenger-side wheelwell for the plastic washer-fluid reservoir. The cap should show a windshield or wiper symbol, and Toyota notes that washer tanks often use semi-opaque plastic so you can check the level visually.
Inspect the tank before you top it off. A quick check can reveal cracks, loose hoses, or a broken cap seal that makes the reservoir seem smaller than it really is.
- Verify the cap symbol and make sure the cap seats tightly.
- Check whether your tank has a washer fluid level sensor opening.
- Look for hairline cracks, white stress marks, or wet seams.
- Inspect the pump grommet and hose connection for dampness.
- Check mounting points for cracks or loose hardware.
Fix leaks before you keep refilling the tank. A damaged reservoir can waste fluid, weaken washer spray, and reduce visibility when you need it most.
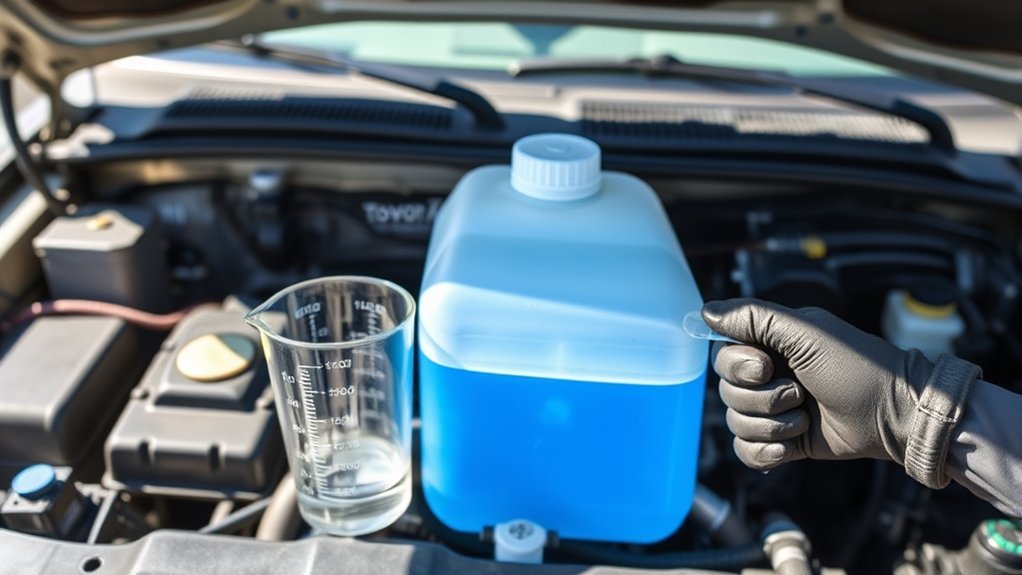
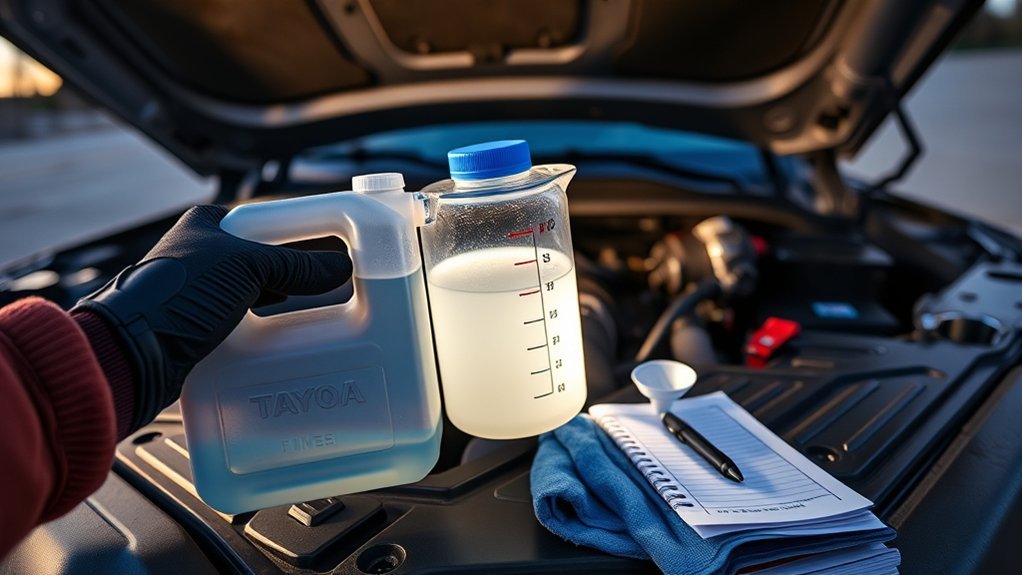
Refill the Reservoir: Step-by-Step Fluid Recommendations
You don’t need special tools for a normal refill. Toyota recommends removing the reservoir cap, using a funnel, adding washer fluid, and replacing the cap tightly after the tank reaches full.
- Park on level ground and turn off the engine.
- Open the hood and find the washer reservoir cap with the windshield symbol.
- Wipe dirt away from the cap so debris does not fall into the tank.
- Place a clean funnel in the filler neck.
- Pour washer fluid slowly until the tank stops taking more fluid.
- Reinstall the cap firmly.
- Run the washer switch for a few seconds to confirm spray and check for leaks.
Choose washer fluid for your weather. Toyota notes that all-season fluid works for many drivers, while winter formulas help prevent freezing in cold temperatures.
Warning: Do not rely on plain water in freezing weather because it can freeze, block the system, and damage plastic parts.
Do not mix concentrated washer fluid unless the label tells you the correct dilution ratio. If your truck already contains summer fluid and freezing weather approaches, use the washer system to lower the level, then refill with a winter-rated blend.
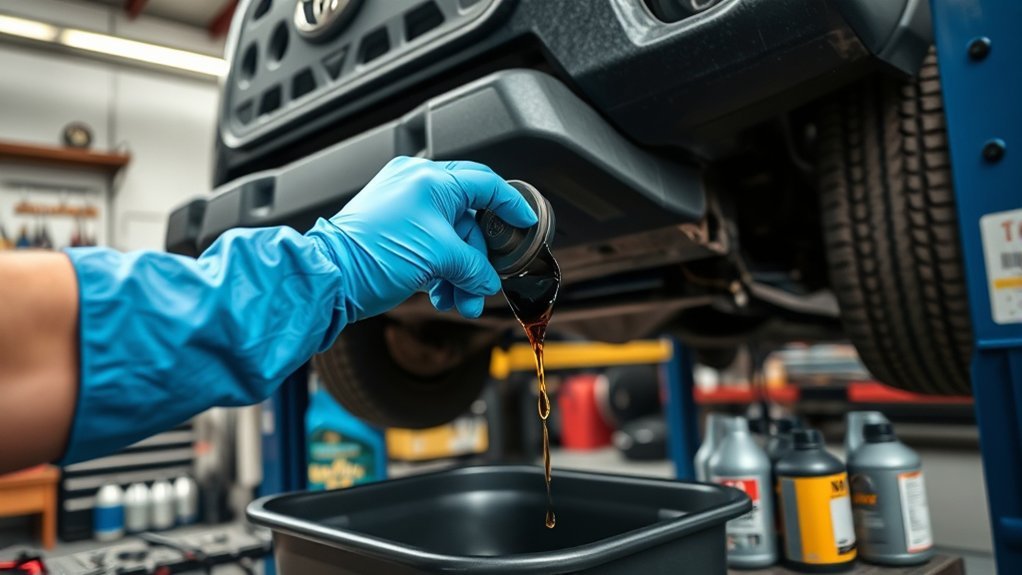
Common Reservoir Failures and How They Reduce Capacity
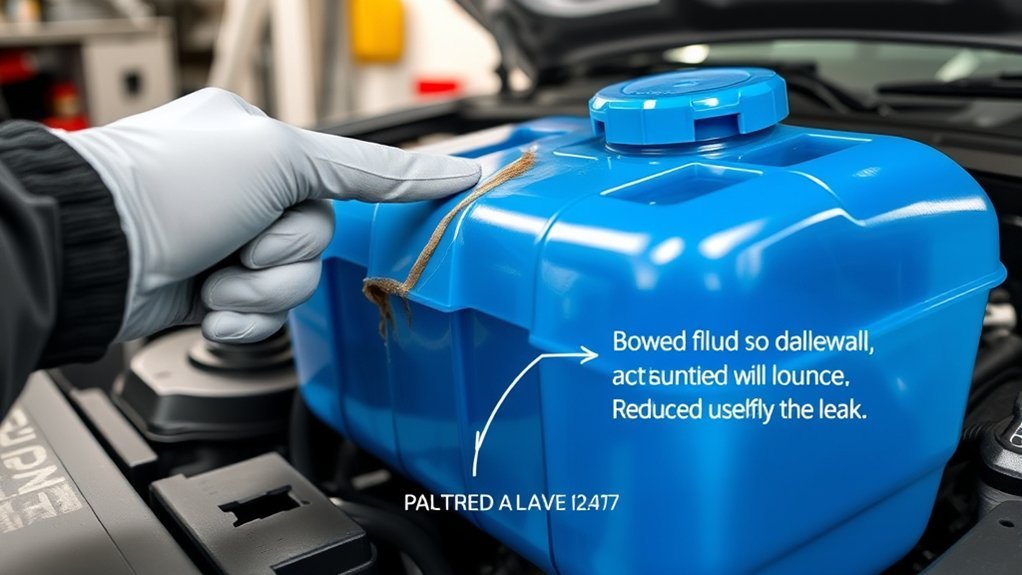
Old Tacoma washer reservoirs often fail at stress points. The filler neck, seams, pump grommet, sensor opening, and mounting tabs can leak after years of heat, vibration, and cold-weather cycles.
A leak does not change the tank’s original size, but it can cut usable capacity. You may refill the tank, drive a short distance, and find the level low again.
Cracked Neck Leaks
The filler neck can crack near the cap or where the neck joins the tank. You may see fluid on the inner fender, smell washer fluid after filling, or notice weak spray soon after a top-off.
- Inspect the neck and cap area during each oil-change check.
- Replace the reservoir if the crack reaches the main tank body.
- Use the correct cap so pressure and splash control stay normal.
- Avoid forcing the filler neck during installation.
- Check for fresh damp spots after every refill.
Small cracks usually grow with vibration. Replace the tank instead of relying on a short-term patch when the plastic feels brittle.
Internal Split Damage
Internal splits can hide inside the tank wall or seam. You may only notice fast fluid loss, weak spray, or a low-fluid light that acts oddly after a refill.
| Symptom | Likely Cause | Best Action |
|---|---|---|
| Rapid fluid loss | Split seam or cracked body | Replace reservoir |
| Low indicator after refill | Sensor or seal issue | Inspect sensor opening |
| Frequent refills | Hidden leak near pump or hose | Replace grommet or tank |
Use a clean cardboard sheet under the reservoir area after filling. Fresh drips help you trace the leak path before the fluid dries.
Sensor Hole Compromise
The sensor hole matters because the wrong tank can create an instant fitment problem. Part 85315-04060 uses a bottom opening for the washer fluid level sensor, and listings warn that this part can be wrong for trucks without that sensor.
- Check whether your current tank has a sensor at the bottom.
- Compare 85315-04050 and 85315-04060 before ordering.
- Replace the sensor seal if it feels hard or cracked.
- Fill the tank and watch the sensor area for seepage.
- Do not plug a sensor opening with an improvised seal for long-term use.
The right sensor setup prevents leaks and keeps the warning system working as intended.
Aftermarket vs OEM Washer Tanks: Compatibility and Cost
Aftermarket washer reservoirs often cost less and may include the pump, cap, or filler neck. OEM Toyota reservoirs usually cost more, but they give you the best chance of matching the original shape, mounting points, and sensor layout.
Price changes often, so verify current cost before you order. Also check whether the listing includes a pump, cap, grommets, and sensor compatibility because missing small parts can raise the final repair cost.
Choose an aftermarket tank only when the listing clearly matches your year, body style, sensor setup, and part number. Choose OEM when exact fit matters more than the lowest upfront price.
Installation Tips and Fitment Troubleshooting
Dry-fit the replacement reservoir before you connect the pump or hoses. Check the filler-neck angle, pump seat, sensor opening, and mounting tabs while the tank can still move.
Do not reuse hardened grommets. A new tank can still leak if an old seal cannot grip the pump or sensor.
- Match the part number to your current tank before installation.
- Confirm the filler neck lines up without force.
- Replace cracked, flat, or hardened grommets.
- Seat the pump fully so the seal does not twist.
- Use factory clips and mounting points whenever possible.
- Fill the tank halfway first, then check for leaks before a full refill.
If the tank sits under stress, loosen the mounting points and realign it. Stress at the neck or tabs can cause another crack later.
Maintenance Checklist to Prevent Leaks and Loss of Capacity
Add the washer reservoir to your routine service checklist. A two-minute inspection can catch small leaks before they leave you with no spray on a dirty windshield.
- Check washer fluid level during fuel stops or monthly service checks.
- Inspect the filler neck for cracks and loose movement.
- Look at the pump grommet and hose outlet for dampness.
- Run the washer switch and confirm strong spray from both nozzles.
- Use winter-rated fluid before freezing weather starts.
- Write down any sudden fluid loss so you can spot a pattern.
Replace worn parts quickly. Small washer system problems can turn into poor visibility at the worst time.
When to Replace the Tank: Signs, Part Numbers, and Cost Estimates
Replace the washer tank when you see visible cracks, repeated leaks, loose mounting points, or fast fluid loss after refilling. A leaking or dirty reservoir can prevent the washer system from working correctly, according to Toyota parts listings.
Use part 85315-04050 for standard 1995-2004 Tacoma applications without the washer fluid level sensor. Use 85315-04060 only when your truck has the sensor opening or cold package setup that needs it.
- Replace the tank when cracks reach the filler neck or main body.
- Confirm the sensor opening before ordering.
- Replace old grommets instead of reusing brittle seals.
- Check whether the new tank includes a cap, pump, and filler neck.
- Test the washer pump after installation.
Parts prices vary by seller, brand, and included hardware. Aftermarket tanks often cost less, while OEM Toyota tanks usually cost more and may require ordering through a dealer or online Toyota parts store.
Frequently Asked Questions
How Much Wiper Fluid Does a Car Hold on a Toyota?
Many Toyota washer reservoirs hold about one gallon, but exact capacity depends on the model and tank design. For a 1995-2004 Tacoma, confirm your reservoir by part number and sensor setup before you assume the capacity.
How Many Pounds Is 1 Gallon of Windshield Washer Fluid?
One gallon of washer fluid often weighs about 7.6 to 8.34 pounds, depending on the formula. A +32°F product data sheet lists 8.34 pounds per gallon, while some winter blends weigh less because their additives change density.
Which washer reservoir part number fits a 1995-2004 Tacoma?
Part 85315-04050 fits standard setups without the washer fluid level sensor. Part 85315-04060 fits sensor-hole applications, so compare your current tank before you buy.
Can I use water in my Tacoma washer reservoir?
You can use proper washer fluid instead of plain water for better cleaning and freeze protection. Plain water can freeze in cold weather and may damage hoses, nozzles, the pump, or the reservoir.
Why does my Tacoma washer fluid keep disappearing?
Fast fluid loss usually points to a cracked neck, split seam, loose hose, bad pump grommet, or leaking sensor seal. Fill the tank halfway, place cardboard under the area, and check for drips after a few minutes.
Conclusion
Your 1995-2004 Tacoma washer fluid capacity depends on the reservoir fitted, but many tanks fall around 2.5 to 4.5 liters. Check the part number, sensor opening, and tank condition before you refill or replace anything. Use the right washer fluid for your climate, and replace cracked plastic or hard seals before leaks return. A clean windshield starts with a sound reservoir, a tight cap, and fluid that matches your weather.
References
- Changing Your Windshield Washer Fluid — Toyota, accessed 2026
- Washer Fluid Reservoir – Toyota 85315-04050 — Toyota OEM Parts Online, accessed 2026
- Washer Fluid Reservoir – Toyota 85315-04060 — Ourisman Toyota Parts, accessed 2026
- Perfect Windshield Washer Fluid +32°F Product Information — LPC Research, revised 2014