If your Tundra’s 4WD won’t engage, first check dash lights and try shifting between Drive and Neutral to reset the system. With the truck safely jacked and in Neutral, watch the front driveshaft as you switch modes; no movement often means a bad ADD actuator or low transfer-case fluid. Inspect wiring, fuses, and actuator voltage (near 12V), then bench-test or replace the actuator or module as needed. Keep going to get step-by-step tests and replacement tips.
Quick Fixes for 4WD Not Engaging (Try These First)
If your Tundra’s 4WD won’t engage, start with quick, hands-on checks you can do in minutes: scan the dash for warning lights—especially a blinking 4WD light, which signals malfunction or common engagement issues. Next, shift between Drive and Neutral while attempting engagement; toggling can reset the system and often restores function. Pop the hood and inspect the ADD actuator; watch for movement when you engage 4WD—if it doesn’t move, the actuator may be faulty. Verify transfer case fluid levels; low fluid can prevent engagement, so top off as needed. Check electrical connections: wiggle wires and connectors related to the actuator and transfer case—loose or corroded plugs frequently cause failures and are an easy repair. These 4WD troubleshooting tips get you moving without waiting for help. You’ll reclaim control quickly, avoid downtime, and decide whether a deeper diagnostic or parts replacement is your next liberated step.
Confirm Symptoms & Safety Before Testing
Before you start testing, make sure the Tundra is safely supported with all four wheels off the ground and the parking brake set so the drivetrain can spin freely without risk. Confirm dashboard lights—note any blinking green 4WD or 4Lo indicators. These symptoms guide your troubleshooting techniques and tell you whether the system is trying to engage.
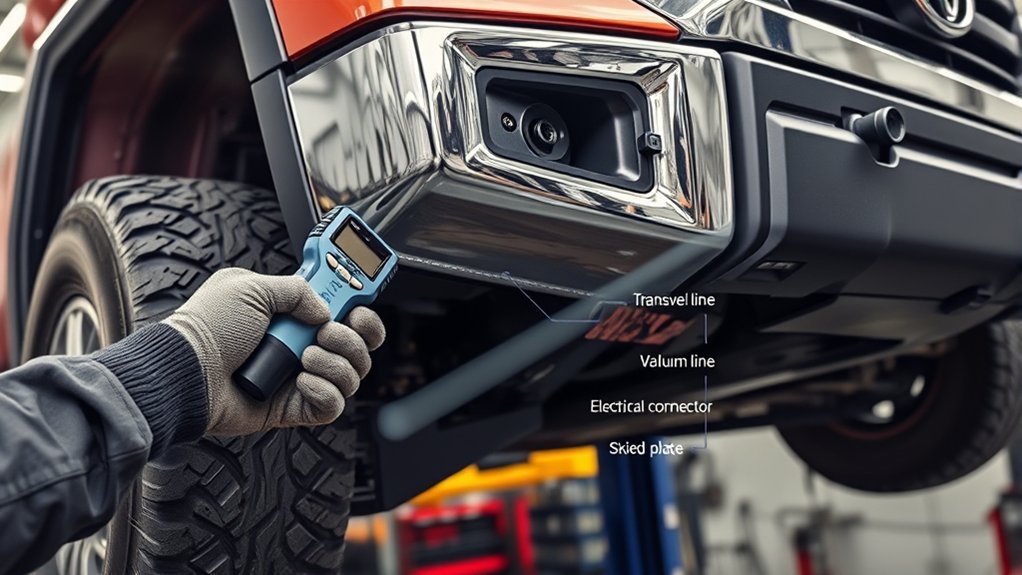
Visually inspect before you probe: watch the front driveshaft while you press the 4WD switch, and look for the driveshaft to lock and both front wheels to turn when you force one wheel. If nothing moves, check the front ADD actuator for signs of movement, damaged rubber vacuum lines, or loose electrical connectors. Verify the vehicle is in neutral before selecting 4Lo to avoid drivetrain damage.
Follow basic safety precautions: keep limbs clear of spinning components, use quality jack stands, and work with a partner when possible. Record symptoms precisely to free yourself from guessing and speed effective repair.
Test 2WD vs 4WD (Wheels-Off-Ground Method)
Start by raising the Tundra so all four wheels clear the ground, set the parking brake, and place the transmission in neutral; with the key on but engine off you can watch the front ADD actuator move without running the motor. You’ll use simple testing techniques to confirm 2WD benefits vs 4WD challenges and spot engagement indicators.
| Mode | What to watch | Result |
|---|---|---|
| 2WD | Front driveshaft spins free | Only one wheel turns when spun |
| 4WD | Driveshaft locked, dash light on | Both front wheels turn together |
| Fault | Wheels spin independently in 4WD | Actuator not engaging properly |
Follow these troubleshooting steps: lift wheels, switch modes, observe dash 4HI/4LO lights and actuator functions. Common issues show as independent wheel spin or no actuator motion; maintenance tips include regular actuator inspection and driveline checks. Act decisively—diagnose, isolate, repair—to regain confident, liberated control of your Tundra.
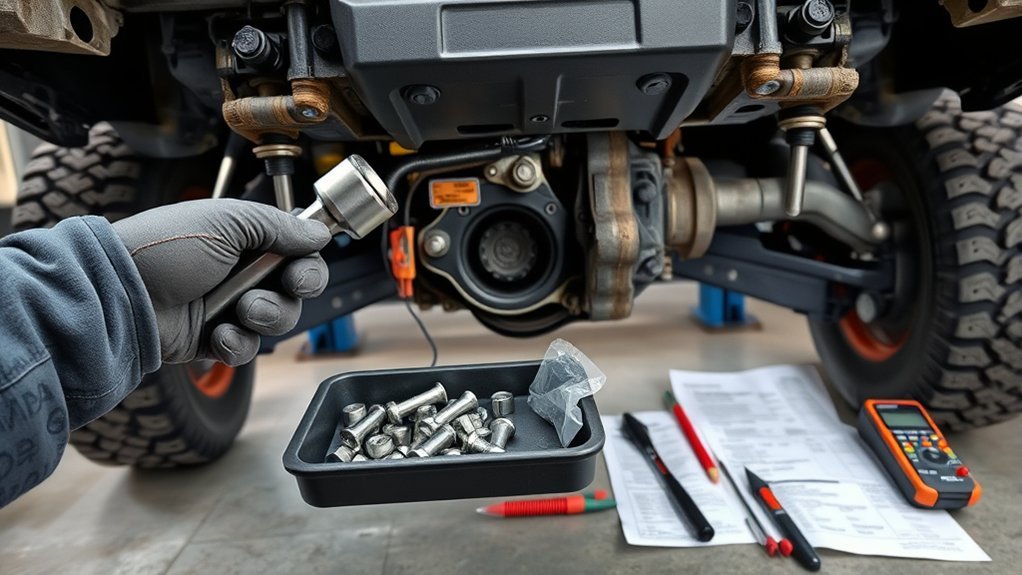
Check Wiring, Fuses & Harness for ADD Actuator Power
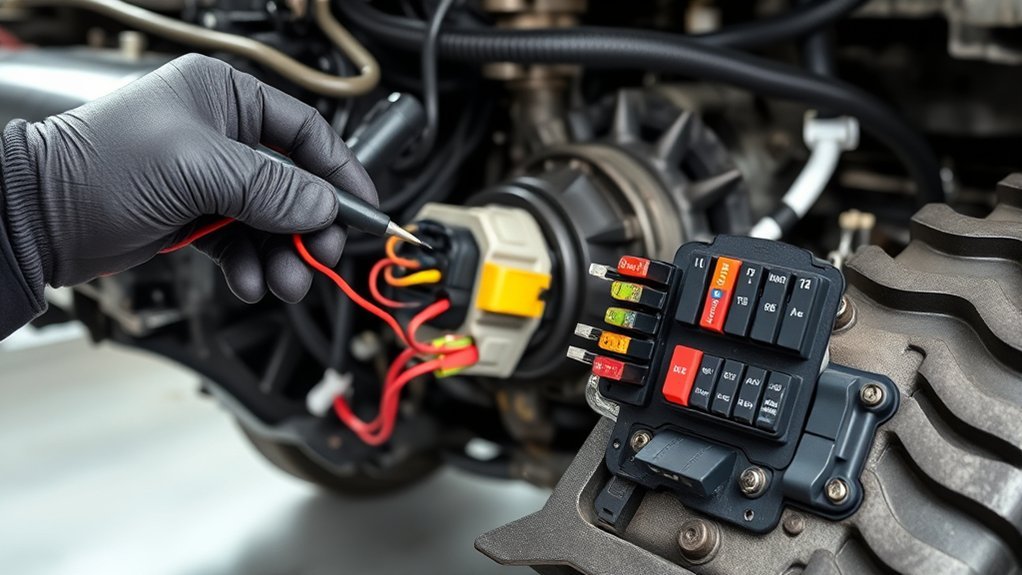
When checking the ADD actuator power, inspect the harness and fuses first so you can quickly rule out simple electrical faults that stop engagement. Start with a focused wiring inspection: look for corrosion, broken insulation, pin damage, or loose terminals at the actuator connector and along the harness routing. Tug gently to reveal hidden breaks and reseat any suspect plugs.
Perform fuse testing on all 4WD-related circuits—use a multimeter or test light to confirm continuity and correct voltage at fuse contacts. Measure voltage at the actuator connector with the system commanded; near-12V is expected. Readings well below 12V point to wiring losses, poor grounds, or ECU output problems.
Document any damaged sections and repair with proper crimped connectors or solder and heat-shrink. If wiring and fuses check out but power still fails under command, prepare to bench-test the actuator and position switches next to isolate component failure.
Bench-Test the Front ADD Actuator and Position Switches
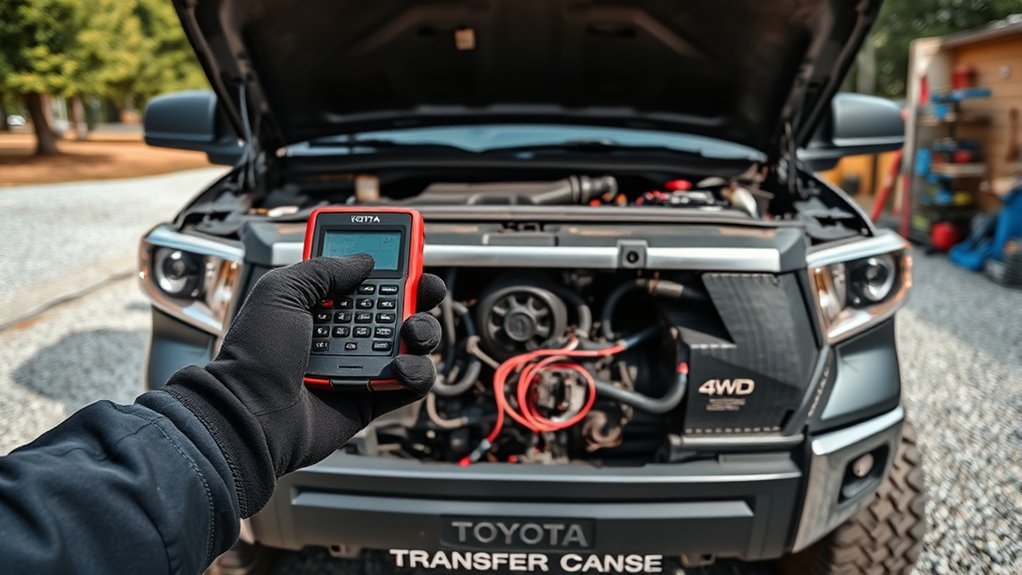
Although you can test the ADD actuator and position switches on the vehicle, bench-testing them lets you isolate electrical and mechanical faults quickly by applying known voltages and checking switch continuity. Remove the actuator, secure it, and apply the specified voltage directly to the power terminals to confirm movement; you’re performing actuator troubleshooting to separate motor failure from wiring or ECU issues. Listen and feel for smooth rotation; unusual resistance or clicking suggests internal mechanical failure.
For the position switches, use a multimeter to perform switch testing—check continuity across switch contacts while applying the expected supply voltage. If continuity is absent or voltage deviates considerably from expected levels, note possible switch failure, wiring fault, or ECU-related power issues. Record every reading, sound, and behavior. These documented test results free you to make decisive repairs or replacements with confidence, and they speed up diagnostics when you return components to the vehicle or consult parts specialists.
When to Replace the Actuator, Transfer-Case Actuator, or 4WD Module
If the front differential refuses to engage despite the transfer case working, you’ve most likely got a bad front ADD actuator and should plan on replacing it (about $130 DIY), but higher symptoms—like a blinking 4WD light, low voltage at the position switches, or erratic switch continuity—point to a failing transfer-case actuator or the 4WD control module and demand faster, more costly fixes. You’ll replace the ADD actuator when bench tests fail, the motor won’t spin, or continuity is inconsistent. Move to transfer-case actuator or module replacement when voltage at position switches is low, the dash warns intermittently, or actuator troubleshooting shows power but no response. Prioritize module diagnostics if multiple circuits act up or errors persist after actuator swaps. Stay decisive: replace the cheapest failed component first, but don’t delay module work when symptoms escalate. You want freedom from stranded breakdowns—act promptly, test methodically, and reclaim control.
| Symptom | Likely Action |
|---|---|
| No front engage | Replace ADD actuator |
| Blinking 4WD | Module diagnostics |
| Low switch voltage | Transfer-case actuator/module replacement |
Tools, Costs, and Step-by-Step Actuator Replacement Checklist
Start by gathering the right tools and parts so you don’t waste time mid-job: an AISIN SAT011 actuator (~$125 from Rock Auto), a 10mm hex bit for the fill/drain plugs, a drain pan, and a tube of Toyota Red FIPG ($20–25) for sealing—plan on about an hour of labor once you’ve confirmed the old actuator is bad and bench‑tested the replacement.
Checklist: verify actuator types and match mounting/electrical connectors; bench‑test the new unit before fitting. Drain transfer case fluid into the pan, remove the faulty actuator, and compare old vs new for pinout and travel. Clean mating surfaces, apply a thin coat of FIPG, hand‑snug bolts, let skin over ~1 hour, then torque to ~64 ft·lbs. Refill fluid, cycle 4WD to purge air, and inspect electrical connections. Cost comparison: parts ~ $125, FIPG $20–25, plus minimal fluid and your labor. Maintain fluid levels and connections to secure long‑term liberation from repeat failures.
Frequently Asked Questions
What Causes 4WD to Not Engage?
You’re facing differential issues, a faulty ADD actuator, electrical faults, or low transfer case fluid preventing 4WD engagement; check vacuum/rubber lines, position switch voltage, ECU signals, fluid level, and actuator operation to liberate your drivetrain.
How Do I Tell if My 4WD Actuator Is Bad?
You tell by actuator testing and a symptoms checklist: you’ll hear odd ADD noises, see blinking 4WD light, fail bench tests, notice one front wheel not driven, or find cracked/corroded vent tubing—then replace the actuator.
Why Won’t My Truck Shift Into 4WD?
Like a stalled protest, your truck won’t shift into 4WD because the actuator, vacuum lines, transfer case fluid or electrical system’s failing; use 4WD troubleshooting tips, check warning lights and common shifting problems, and you’ll regain freedom.
How to Tell if a 4WD Switch Is Bad?
You’ll know a 4WD switch is bad if it causes blinking lights, won’t shift modes, shows low voltage on a meter, or produces clicking/grinding; use 4WD troubleshooting tips, note common switch symptoms, inspect and replace.
Conclusion
You’ve walked through the quick checks and hands-on tests, so you know where to look when your Tundra’s 4WD won’t engage. Start simple—fuses, wiring, then bench-test the ADD actuator and switches—before swapping parts. If the actuator or transfer-case unit fails, replace them; if the 4WD module’s at fault, get it diagnosed. Stay methodical and safety-first; think of the process as a mechanic’s roadmap that keeps you on course until the job’s done.