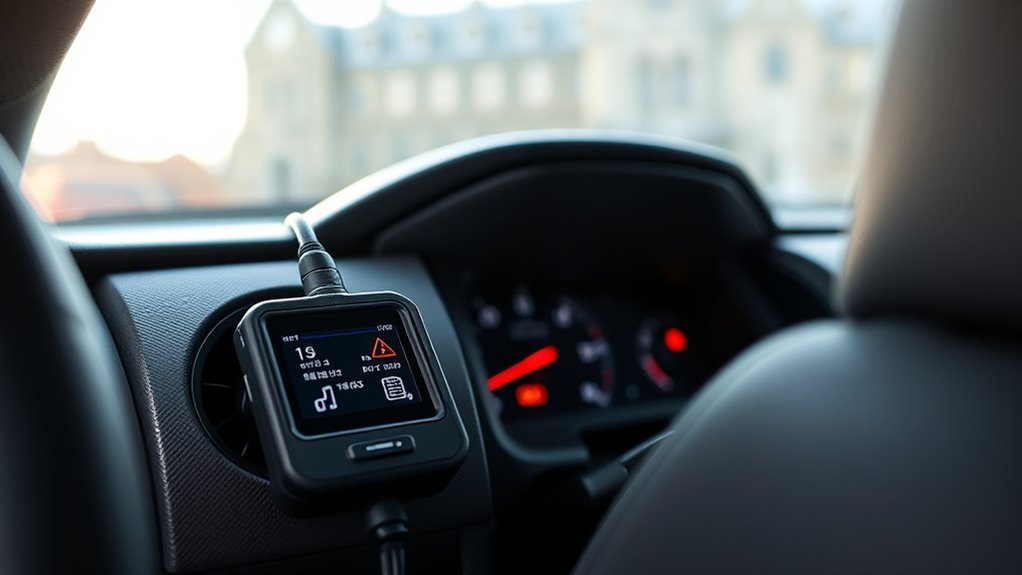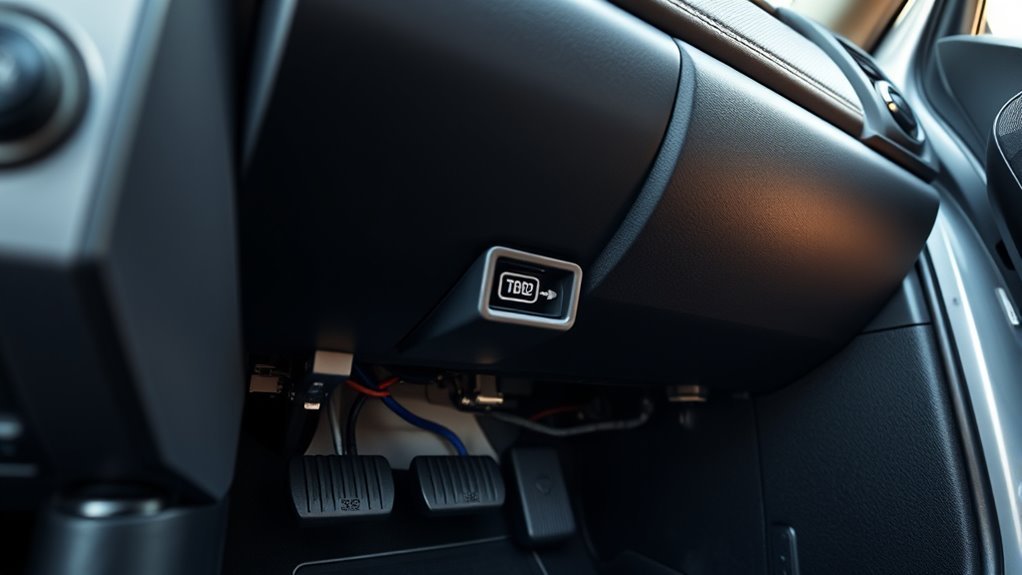
You’ll find the Tundra’s standardized 16‑pin OBD2 port in the driver’s compartment to the right of the emergency‑brake pedal; crouch and visually confirm the keyed connector before you plug in. Turn the vehicle off, clear debris, then firmly connect a compatible scanner and switch ignition to ON (engine off) to power the tool. You can pull DTCs, stream live sensor data, and verify repairs; follow fuse checks and troubleshooting steps below to learn more.
Locate the Tundra OBD2 Port
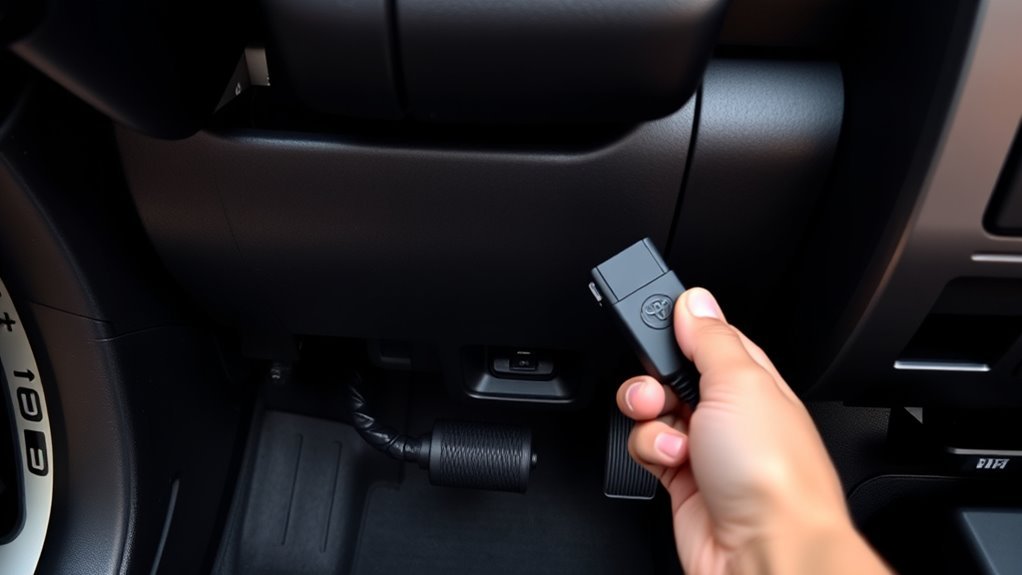
Locate the OBD2 port inside the driver’s compartment, immediately to the right of the emergency brake pedal; you’ll find a standardized 16-pin connector mounted low on the dash for direct access. You’ll crouch, clear debris, and visually confirm the keyed connector shape before you plug a scanner in. Treat the port as the vehicle’s diagnostic gateway: it supplies power and data lines for module interrogation, live sensors, and freeze-frame captures. Use OBD2 troubleshooting tips by verifying pin continuity and scanner compatibility if communication fails. Expect common OBD2 errors related to CAN bus loss, ground faults, or blown fuses; isolate these with a meter and schematic tracing. Connect only approved tools, avoid forced insertion, and note LED/status indicators on adapters. Regular access to this port lets you pull targeted codes, monitor readiness monitors, and intercept developing faults early—giving you practical control over maintenance choices and operational freedom.
What You Can Read From the OBD2 Port
When you connect a scanner to the Tundra’s OBD2 port, it will retrieve Diagnostic Trouble Codes (DTCs) that identify specific fault conditions stored by the vehicle’s control modules. You can also stream live sensor data—RPM, coolant temperature, air/fuel ratios, oxygen sensor voltages, and more—to verify system performance in real time. Use DTCs to pinpoint faults and correlate them with live data to confirm causes and prioritize repairs.
Diagnostic Trouble Codes
Although the OBD2 port is a simple physical connector, it gives you direct access to the truck’s Diagnostic Trouble Codes (DTCs) and live sensor data so you can quickly identify faults in the engine, transmission, emissions, and other systems. You’ll read standardized five-character DTCs (letter P/B/C/U + four digits) that pinpoint subsystem and failure type. Learn DTC definitions to map codes to faults, then apply methodical troubleshooting tips: isolate failing modules, verify connectors and power, reproduce the fault, and confirm with targeted tests. Using a scan tool, you’ll record codes, clear them after repair, and monitor recurrence. Mastering DTCs lets you reclaim control of maintenance, reduce dependency, and improve reliability through informed action.
Live Sensor Data
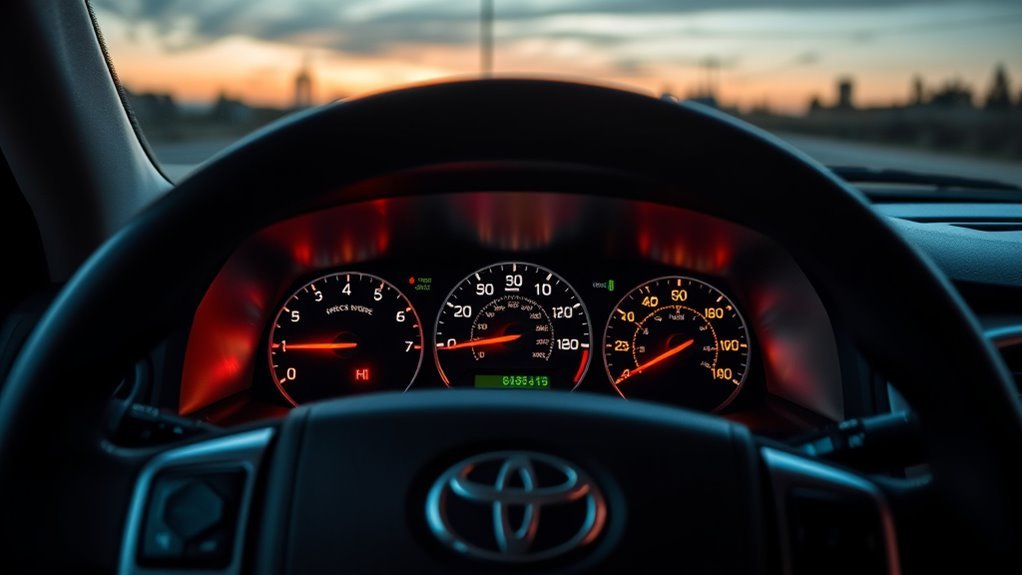
Live sensor data from the Tundra’s OBD2 port gives you real-time readings—engine RPM, coolant temperature, vehicle speed—and direct access to sensors like O2, MAF, and throttle position so you can observe system behavior under load. You connect a scanner to capture fuel trim, ignition timing, and sensor outputs, then apply methodical data interpretation to spot deviations from expected ranges. Use live graphs to validate sensor calibration and verify repairs under dynamic conditions. You gain autonomy over diagnostics and maintenance decisions.
- Monitor: RPM, coolant temp, vehicle speed, fuel trim.
- Inspect: O2, MAF, TPS waveforms for anomalies.
- Verify: ignition timing and sensor calibration after fixes.
This approach frees you to diagnose efficiently.
How to Connect an OBD2 Scanner Safely
Before doing anything, turn the Tundra off and locate the OBD2 port to the right of the emergency brake pedal. Confirm your scanner is compatible, plug it in firmly, then switch the ignition to the ON position (engine off) to power the device and establish communication. Follow the scanner’s prompts for diagnostics and disconnect it when finished to prevent electrical issues.
Locate OBD2 Port
When you need to access the Tundra’s OBD2 port, you’ll find it inside the driver’s compartment just to the right of the emergency brake pedal for easy reach; confirm the vehicle is off before you plug the scanner in to avoid electrical issues. You’ll connect the scanner, then switch ignition to ON (engine off) so the tool establishes communication. Understand OBD2 functionality and verify scanner compatibility with Toyota protocols to avoid misreads.
- Inspect port location visually, clear debris, align connector pins.
- Plug firmly, avoid forcing; the latch should engage to secure connection.
- Power ignition to ON, run scanner handshake, record error codes.
This methodical approach empowers you to diagnose faults and reclaim control over vehicle performance.
Safe Power Connection
Now that you’ve identified the Tundra’s OBD2 port, you’ll focus on powering and connecting your scanner safely to avoid electrical damage. Turn the vehicle off first to follow OBD2 safety protocols and reduce risk. Locate the port right of the emergency brake pedal, align the connector, and gently plug in—don’t force pins. With a secure fit, switch ignition to On (engine off) to power the scanner and permit communication. After diagnostics, turn vehicle off before removing the device to complete electrical surge prevention.
| Step | Action |
|---|---|
| 1 | Vehicle off—prepare |
| 2 | Plug gently—secure fit |
| 3 | Ignition On—run scan |
This methodical routine frees you from avoidable hazards.
Use a Smartphone OBD2 Adapter (Step‑by‑Step)
Start by sitting in the driver’s seat and locating the OBD2 port to the right of the emergency brake pedal; you’ll plug your smartphone OBD2 adapter directly into that port to establish a physical connection to the vehicle’s computer. Confirm smartphone compatibility before purchase; check the adapter supports your phone’s OS and the app features you need.
Start in the driver’s seat, plug your compatible OBD2 adapter into the port beside the emergency brake pedal.
- Plug adapter into port and secure it; the connection is physical and must be snug.
- On your phone, enable Bluetooth (or Wi‑Fi for some adapters), install a compatible diagnostic app (Torque, Car Scanner), and follow on‑screen pairing prompts.
- Open the app, select the adapter, and verify communication indicators; the app will show connection status without diving into codes here.
Operate methodically: power state, indicator LEDs, and app connection all validate a reliable link. This process gives you control and autonomy over diagnostics, enabling informed maintenance and liberation from unnecessary service dependence.
Read Codes and Live Data: Quick Checklist
Connect your scan tool to the Tundra’s OBD2 port (right of the emergency brake pedal) and retrieve stored trouble codes to establish fault basics. Then switch to live-data mode to monitor key sensor streams—RPM, MAP/MAF, O2, coolant temperature and fuel trims—for real-time validation. Use the codes to target tests and correlate live readings to confirm intermittent or ongoing faults.
Read Trouble Codes
One clear checklist will help you read trouble codes and capture live data efficiently from the Tundra’s OBD2 port: You’ll locate the port right of the emergency brake pedal, plug in a scanner, and power the ignition. Focus on trouble code interpretation and prioritize common error codes for decisive action. Follow this numeric checklist:
- Connect scanner, initialize communication, and record stored and pending codes precisely.
- Note freeze-frame data and code timestamps to correlate faults with operating conditions.
- Clear codes only after documenting readings; retest to confirm recurring faults.
You’ll use this methodical approach to liberate yourself from guesswork, enabling targeted repairs and preventative maintenance based on definitive diagnostic data.
Monitor Live Data
While the engine’s running or during key-on diagnostics, plug your OBD2 scanner into the Tundra’s port (to the right of the emergency brake pedal) and enable live-data streaming so you can observe real-time sensor values, response times, and status flags; this lets you immediately spot abnormalities such as slow oxygen sensor response, erratic fuel-trim swings, or intermittent misfire counts. You’ll monitor coolant temp, RPM, manifold pressure, O2, and short/long-term fuel trim channels. Use defined sampling rates and record sessions for trend analysis to empower independent maintenance decisions. Compare live data to factory ranges; note transient deviations versus persistent faults. Retrieve DTCs when anomalies appear, then correlate codes with streamed parameters. Regular checks provide preventative maintenance intelligence, reinforcing vehicle autonomy through targeted repairs and calibrated performance monitoring.
Fixes When the Scanner Won’t Communicate
Start by confirming the ignition is in the “On” position so the scanner and vehicle ECU receive power; without this the scanner won’t initialize. You’ll apply OBD2 troubleshooting tips methodically: verify power, inspect connectors, and validate tool compatibility. If the scanner still won’t communicate, proceed stepwise.
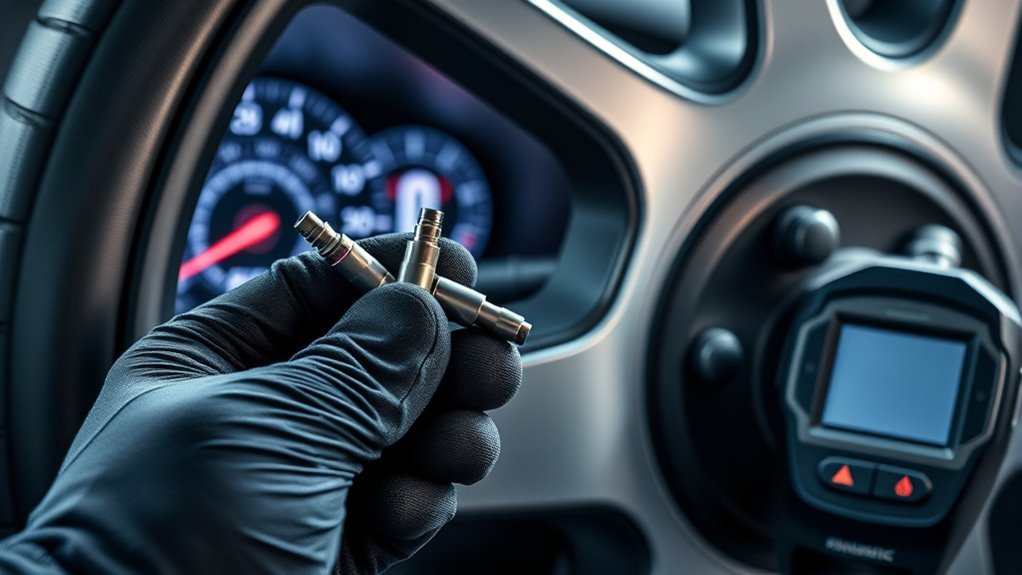
- Check the OBD2 port for debris, bent pins, or corrosion; clean gently and reseat the connector to guarantee solid contact.
- Verify Scanner compatibility issues by confirming your tool supports Toyota protocols and the Tundra model year; update scanner firmware if available.
- Inspect related fuses visually and via a multimeter for continuity; a blown fuse will interrupt communication and must be replaced per the manual.
If faults persist after these checks, consult the owner’s manual for vehicle-specific electrical diagnostic steps or seek a technician. You’ll gain autonomy by following this precise, evidence-based routine.
Which Fuses Can Stop Your OBD2 From Working
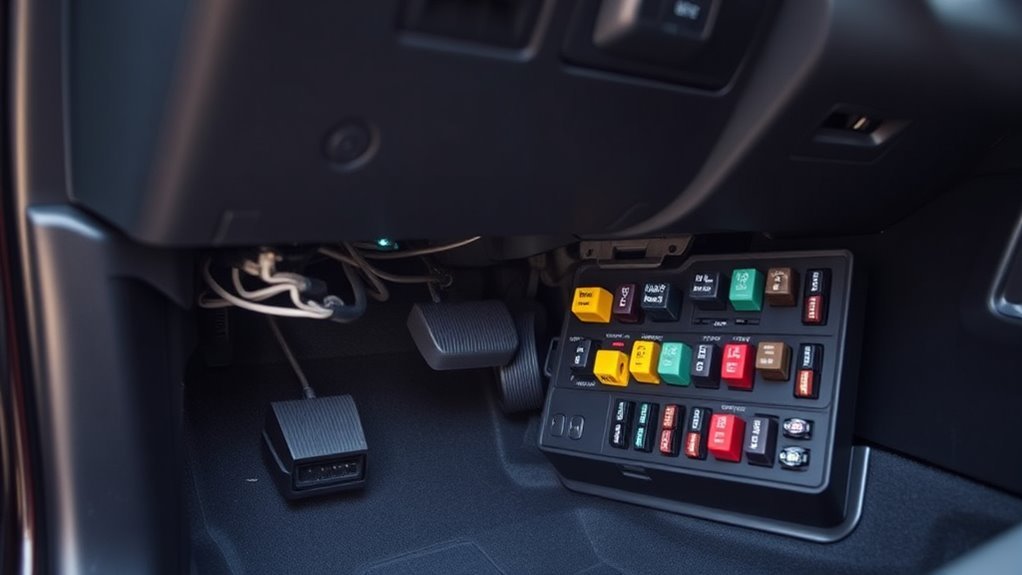
After you’ve checked power, connectors, and scanner compatibility, the next logical element to inspect is the vehicle’s fuses, since a blown fuse can completely cut communication to the OBD2 port. You’ll focus on fuse identification for items tied to OBD2 diagnostics: fuses supplying the engine control unit (ECU) and those in the power distribution network. Begin at the interior fuse box near the brake pedal; visually inspect and gently test suspect fuses with a continuity tester or pull tool. A blown ECU fuse will disable the module and prevent code reads; a power-distribution or accessory fuse can remove port power and stop handshakes with your scanner. Replace only with identical amperage parts and retest the OBD2 connection. Regular, methodical checks of these circuits liberate you from diagnostic dead-ends and keep troubleshooting precise—preventing wasted time and ensuring your scanner can access live data and stored fault codes.
When to Check the Owner’s Manual or See a Mechanic
If you run into persistent OBD2 power or communication problems, check the owner’s manual first to identify the exact fuse locations, ratings, and circuit diagrams before replacing parts or calling a shop. The manual is your primary technical map: it shows OBD2 port placement, relevant fuses, and scheduled maintenance that prevents failures. Use it methodically to isolate faults.
Before replacing parts, consult the owner’s manual to locate fuses, wiring, and OBD2 port details for proper troubleshooting
- Inspect: locate and verify fuses by rating and position per the owner’s manual; replace only with specified types.
- Validate: confirm connector continuity and ground integrity; consult wiring diagrams to free yourself from guesswork.
- Escalate: if codes persist, or if you can’t interpret circuit behavior, pursue mechanic consultation for calibrated diagnostics and repairs.
You’ll remain empowered and efficient by exhausting manual-guided checks first. When complexity exceeds your tools or confidence, a mechanic consultation secures accurate fixes and preserves vehicle reliability without unnecessary parts swapping.
Best OBD2 Scanners and Apps for Tundra Owners
One solid OBD2 tool can save you time and money by catching issues before they escalate, so pick a scanner that matches the Tundra’s systems and your diagnostic needs. Begin with OBD2 Scanner Comparisons: the BlueDriver pairs Bluetooth connectivity and enhanced Toyota-specific codes with live data streaming to your phone, ideal if you want mobile freedom and targeted diagnostics. The Autel MaxiCOM MK808 delivers full vehicle coverage and bi-directional control for in-depth troubleshooting and actuator tests when you need authoritative control. For constrained budgets, the BAFX Products Bluetooth unit offers reliable basic reads and broad app compatibility.
Pair hardware with Popular Diagnostic Apps such as Torque Pro or Car Scanner to get real-time gauges, error code interpretation, and customizable dashboards. Use methodical scans regularly; the combination of the right scanner and app empowers you to intercept faults early, preserve autonomy over repairs, and reduce dependency on shop labor.
Routine Checks to Protect the OBD2 Port and Electronics
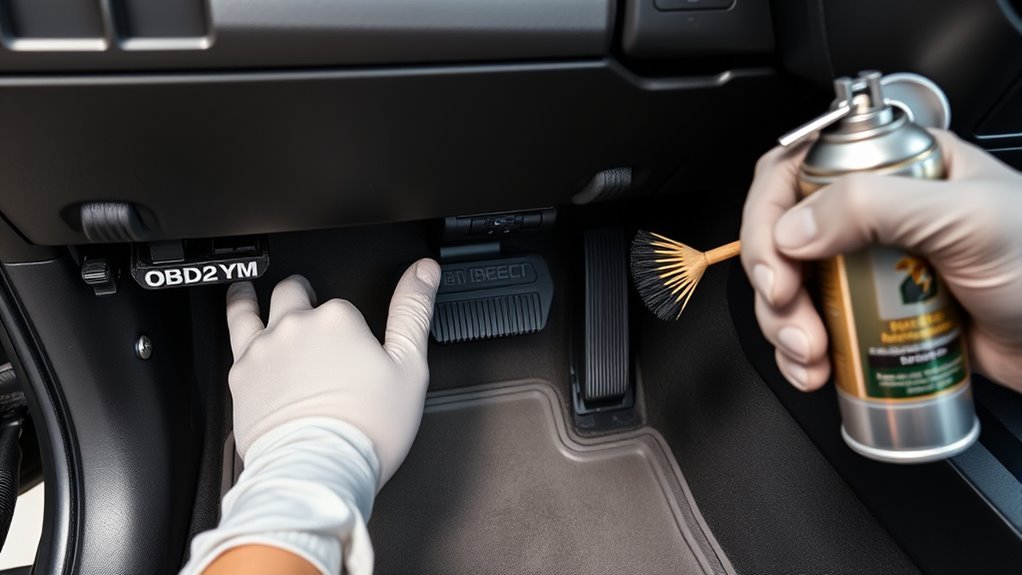
When you regularly inspect and maintain the Tundra’s OBD2 port and its supporting systems, you reduce diagnostic errors and prevent electrical faults from escalating. You’ll adopt routine checks that free you from surprise failures and keep diagnostics reliable. Apply focused OBD2 maintenance tips and port cleaning techniques on a schedule.
- Inspect and protect: remove dust/debris, install a protective cover, and verify port pins for corrosion.
- Wire and fuse audit: trace harnesses to the port for wear or fraying; test related fuses and replace any blown units.
- Power integrity: confirm battery health and terminal condition so the OBD2 system receives stable voltage during scans.
Perform these tasks methodically—document findings, replace degraded components promptly, and use contact cleaner only as specified. This disciplined approach empowers you to maintain control over the Tundra’s diagnostic path and preserve electronic freedom on the road.
Frequently Asked Questions
Can Thieves Bypass an OBD Lock?
Yes — you can bypass an OBD lock; skilled attackers use specialized tools and techniques. You’ll need layered OBD security features and OBD theft prevention measures, stay vigilant, update systems, and adopt tamper-alert integrations to resist compromise.
Can You Leave OBD2 Plugged in While Driving?
You can, but treat it like a polite guest: avoid leaving OBD2 plugged in constantly. For OBD2 safety concerns, use diagnostic tool usage only when needed, preventing battery drain, data errors, or unintended warning-light triggers.
Is There a Difference Between OBD and OBD2?
Yes — OBD2 supersedes OBD: you’ll get standardized OBD standards, a universal 16-pin connector, richer real-time data and protocols, and broader compatibility with diagnostic tools, freeing you to access, read, and control vehicle systems.
Conclusion
You’ve now pinpointed the Tundra’s OBD2 port, understood what data it offers, and learned how to connect and troubleshoot with precision; think of it as a direct pipeline to the vehicle’s health. Follow the checklist, verify fuses, and keep connections clean to avoid false readings. When in doubt, consult the manual or a qualified mechanic—do it methodically, do it safely, and you’ll maintain reliable diagnostics and protect the truck’s electronics.