You should first inspect mounts, crossmembers, welds and drain plugs for bubbling, cracks or rust-through and map percentage loss to judge safety. For surface rust you can grind, treat with converter and coat (DIY $100–$500); heavy corrosion needs professional sandblasting, chemical treatment or section replacement ($300–$1,500+ plus coatings). Choose oil, rubberized or polyurethane undercoats and inspect biannually; check warranties and scheduling. Continue for step‑by‑step procedures, thresholds and cost tradeoffs.
How to Check If Your Tundra Frame Needs Rust Repair
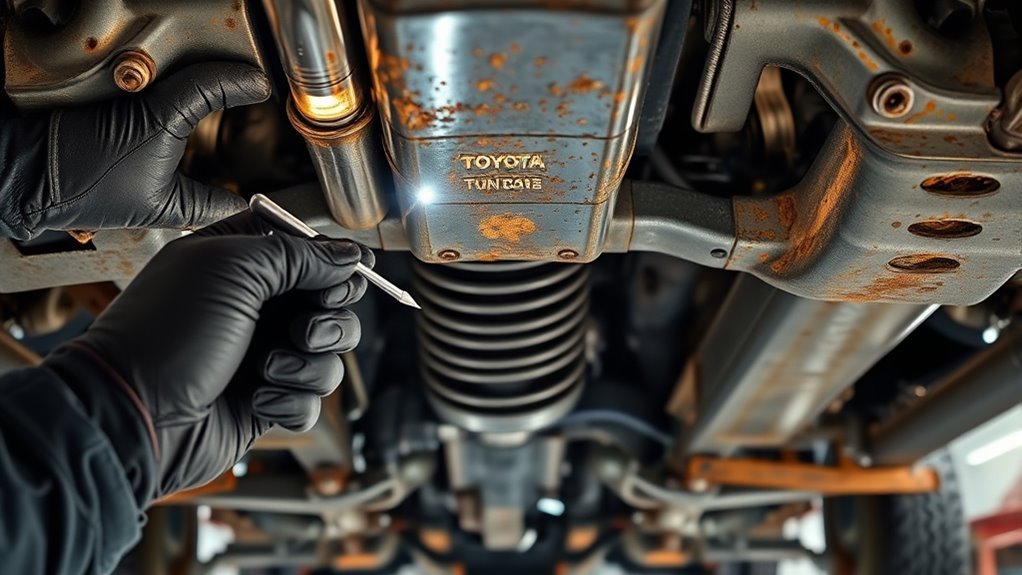
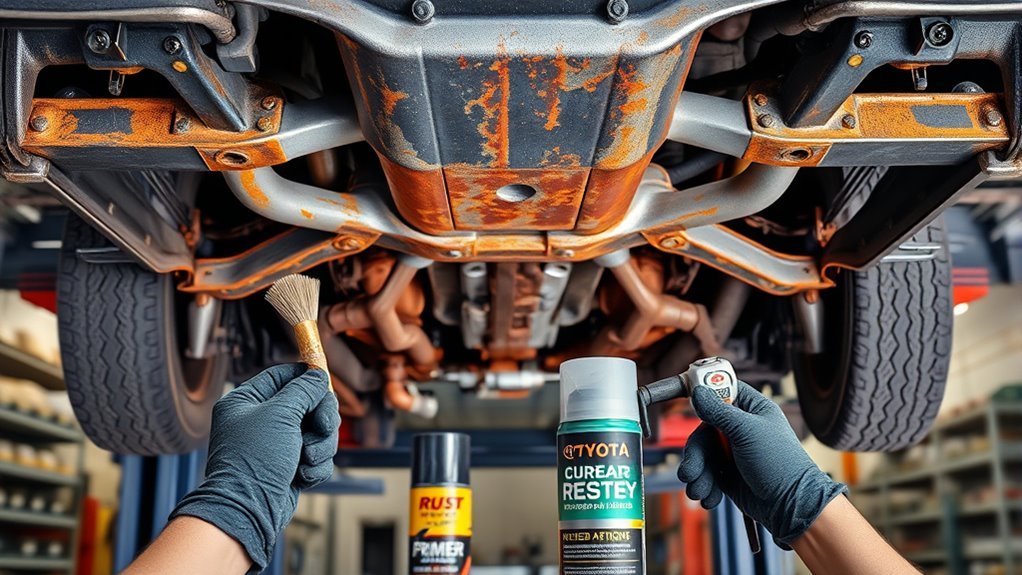
Wondering whether your Tundra’s frame needs rust repair? Start a systematic frame inspection: get under the truck, use good lighting, and focus on suspension mounts and cross members—these are corrosion-prone zones. Scan for corrosion signs like flaking paint or bubbling; those indicate trapped moisture and advancing metal decay. Check welds and rivets closely for cracking or separation, since compromised joints reduce structural integrity. Examine bolts securing components such as the skid plate; heavily rusted or broken fasteners often signal deeper frame deterioration. Verify factory drain plugs in the frame aren’t clogged—blocked drains let water accumulate and accelerate rust. Document any findings with photos and note locations, severity, and whether metal feels thin or friable. If you observe through-holes, severe pitting, separated welds, or multiple failed fasteners, treat the frame as structurally compromised and seek professional assessment. This disciplined, technical approach keeps you decisive and empowered.
DIY Tundra Frame Rust Fixes: When They Work (Steps & Limits)
If the corrosion is strictly surface-level and welds, bolt holes, and crossmembers remain sound, you can often do effective DIY repairs using a defined process: you’ll inspect, clean, treat, and protect while accepting limits. Begin by verifying the rust hasn’t compromised structural members; if it has, get professional help. Use a grinder or wire brush to remove loose scale, then wash the area and let it dry. Apply a rust converter to neutralize any remaining corrosion, then finish with a protective coating compatible with frame materials.
If rust is only surface-level and key members are sound, clean, neutralize, and protect—seek pros for structural damage
- Inspect & prepare: follow frame maintenance tips—clear factory drain holes, probe welded joints, document attacks.
- Treat & protect: use a converter, then coat; incorporate rust prevention methods to slow recurrence.
- Monitor & act: check repairs seasonally; DIY is temporary if internal pitting or section loss exists—plan for pro welding or part replacement when structural integrity is doubtful.
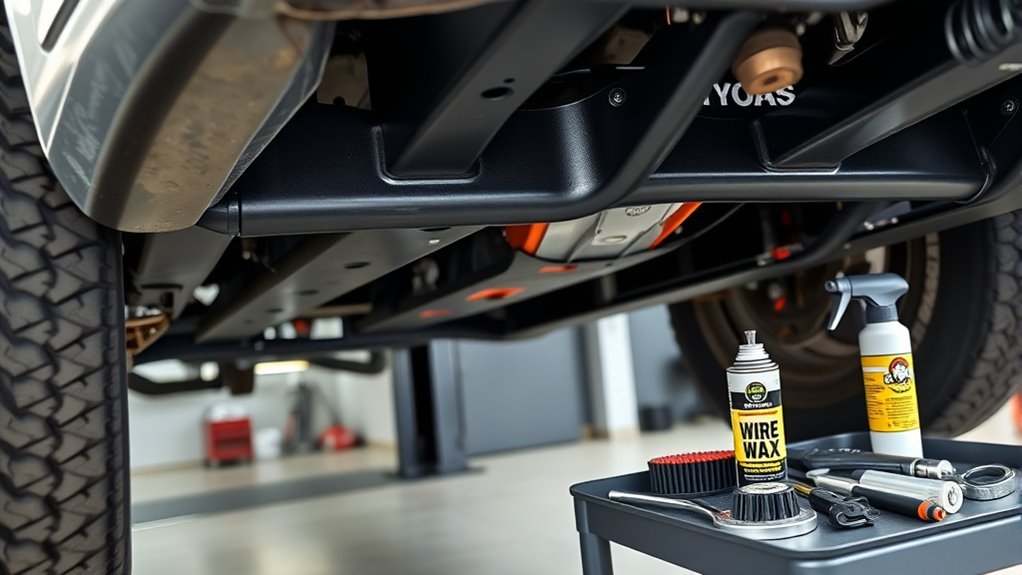
Best Undercoating for Toyota Tundra Frames (Materials & Application)
After you’ve handled surface rust and verified welds and crossmembers, protecting the frame with the right undercoating is the next step to slow future corrosion and extend repair life. For a Toyota Tundra frame you’ll choose between high‑viscosity oils, rubberized coatings, and polyurethane—each offering specific undercoating benefits: oils penetrate seams, rubberized layers absorb impact and road debris, and polyurethane provides durable, flexible film. Follow strict application techniques: degrease and blast or wire‑brush to bare metal, let the frame fully dry, then spray or brush multiple thin coats rather than one heavy coat to guarantee adhesion and complete coverage. Apply when temperatures exceed 50°F (10°C) for ideal cure and bond. Inspect periodically; coatings wear and require reapplication every few years. If you want long‑term assurance and liberation from recurring maintenance, consider professional services that use specialized equipment for even application and often back work with warranties.
Get Professional Rust Removal: Methods and Costs
Because stubborn corrosion can hide in seams and crevices, you’ll usually want a professional to attack a Tundra frame with industrial methods—sandblasting, chemical rust converters, or power wire‑brushing—to strip rust down to clean metal and inspect structural areas. You’ll get consistent rust removal techniques, measured assessment, and access to coatings and warranties that preserve your freedom to drive without constant worry.
Because corrosion lurks in seams, hire pros for sandblasting, chemical converters, or wire‑brushing and thorough inspection.
- Sandblasting: rapid, thorough removal for heavy surface rust; higher labor and media costs.
- Chemical treatments & converters: penetrate seams, convert remaining oxidation; lower abrasion but require containment and neutralization.
- Power wire‑brushing: targeted, low‑cost option for light-to-moderate rust; faster prep for coatings.
Expect a cost breakdown of roughly $300–$1,500 for removal, plus $100–$600 for frame coating. Professionals often include inspection scheduling and warranties; use them to reduce long‑term expense and reclaim control over your vehicle’s lifespan.
Reinforce vs Replace a Tundra Frame: Safety Thresholds and Signs
You should assess the frame’s structural integrity limits against manufacturer tolerances to decide whether reinforcement is safe or replacement is required. Look for visible failure indicators — rust-through, cracks, severe section loss or distortion — that exceed allowable repair extents. If inspection shows compromised load-bearing members or repairs would reduce safety margins, replace the frame rather than reinforce it.
Structural Integrity Limits
While evaluating a Tundra’s frame rust, focus on whether corrosion has compromised load-bearing sections, since that determines if reinforcement will restore safe function or if full replacement is needed. Your rust assessment must quantify affected area and locate compromised members to judge frame longevity; if damage is localized you can often weld or add steel supports, preserving liberation from costly replacement. Measure percentage of structural area affected — replacement is typically warranted past the 25% threshold. Act decisively: regular inspections prevent escalation.
- Map compromised members and surface vs penetrative corrosion.
- Calculate percent area degraded; compare to 25% safety threshold.
- Choose reinforcement only when intact sections will carry designed loads post-repair.
Visible Failure Indicators
When inspecting a Tundra, look for clear visual cues—deep pitting, flaking paint, visible cracks, and seized bolts at mounting points—that indicate rust has progressed beyond surface corrosion and may compromise structural members; if these signs cover more than about 25% of a critical section or appear at suspension attachments and the rear crossmember, plan for replacement rather than simple reinforcement. You should apply systematic rust inspection techniques: clean areas, use bright light and probing tools, document affected spans, and map damage against frame assessment criteria. If bolts are frozen or cracks penetrate flange webs, treat the frame as structurally compromised. Reinforcement suits small, localized loss; beyond threshold values or multiple attachment failures, prioritize full replacement to restore safe, liberated mobility.
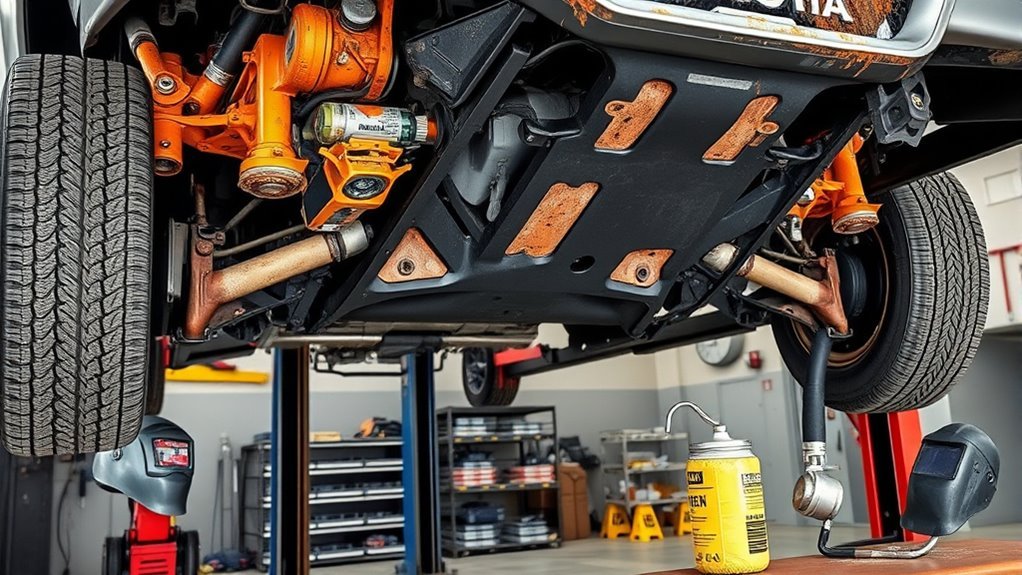
Check Drainage, Holes, and Skid Plates to Prevent Rust Return
If you want rust repairs to last, inspect and clear the Tundra’s factory drain plugs, frame holes, and skid plate areas so water can’t sit and corrode metal. You’ll verify drainage channels are free and that frame sealing around access holes is intact. Test flow by pouring water and watching exits; slow or pooled flow signals blockage or failed sealing. Check skid plate bolts for heavy corrosion—seized fasteners often point to trapped moisture beneath.
- Clear drain plugs and flush drainage channels; confirm unobstructed flow to prevent accumulation.
- Inspect frame holes and restore frame sealing where gaps or improper plugs allow ingress.
- Remove skid plates carefully, assess underlying rust, and replace corroded bolts or plates to restore protection.
Act decisively: a disciplined inspection routine liberates you from recurring rust cycles and preserves structural integrity without needless delay.
Cost, Warranty, and Timing: Pick DIY or Pro for Tundra Frame Repair
Decide whether you’ll absorb the lower upfront DIY cost—typically $100–$500 for materials and tools—or pay $1,000–$3,000 for a professional repair that can uncover hidden damage. Check warranty differences: shop warranties commonly run one year to lifetime and can cover workmanship and repaired areas, while DIY has only product guarantees. Finally, compare timelines and scheduling: a DIY job can take a weekend to several weeks depending on skill, whereas pros usually finish in days to a week.
DIY Cost Versus Professional
Although tackling frame rust yourself can cut initial costs to as little as $100–$500 for materials, you need the right skills, tools, and safety measures to avoid worsening structural damage. You’ll save money and control timing using DIY techniques, but you must assess severity: surface rust is manageable; structural corrosion often isn’t.
- Cost: DIY materials are $100–$500; pro work runs $1,000–$3,000. Calculate long-term value vs. immediate savings.
- Time & competency: DIY can take hours to days depending on your skill; pros finish in hours to a day with consistent quality.
- Risk management: Professionals offer documented Professional advantages for structural repairs—if damage is extensive, choose certainty to protect safety and resale.
Warranty Coverage Differences
You’ve weighed cost, time and risk for DIY versus pro repairs; now look closely at how warranties change the equation. You’ll find warranty variations tied to vehicle age, rust type, and repair source. Toyota’s factory or dealer response can cover frame repairs in specific cases, but coverage limits vary—check terms for exclusions, pro-rated periods, and required documentation. If you hire a qualified shop, expect a workmanship and materials warranty that shifts liability away from you; that warranty often outlives a DIY fix. DIY saves money upfront but usually provides no transferable warranty and increases your exposure to future structural problems. Compare claimed coverage limits, warranty durations, and any conditional clauses before choosing the path that preserves safety and long-term freedom.
Repair Time And Scheduling
When planning a Tundra frame rust repair, factor in that minor spot treatments can take a few hours while full-section replacements may tie up a shop for several days, and your choice of DIY versus professional work directly affects scheduling, overall cost, and warranty coverage. You’ll weigh repair techniques, parts availability, and whether you accept trade-offs: time for savings or speed for warranty-backed confidence. Schedule work in dry weather to shorten cure times for primers and coatings.
- Estimate — get time and cost quotes for each repair technique; pros give faster turnaround, DIY costs less but needs blocks of free time.
- Prep — order parts, gather tools, clear a dry window.
- Coordinate — align warranty start dates, shop availability, and your mobility needs.
Post-Repair Maintenance Plan to Extend Your Tundra Frame’s Life
To keep your repaired Tundra frame sound, inspect the affected areas and adjacent seams every six months for new rust or deterioration, paying close attention to joints where moisture collects. Use frame longevity tips and rust prevention strategies: document findings, mark developing spots, and act immediately to remove surface corrosion. Clean the frame regularly, especially in winter, to remove salt and road grime that accelerate pitting. Apply a biannual undercoating of high-viscosity oil to form a durable moisture barrier; recoat sooner if you operate in heavy-salt regions.
Verify factory drain plugs and any added drainage points are clear of debris to maintain proper water flow. Schedule professional maintenance checks every six months with a technician experienced in Tundra frame vulnerabilities; provide your inspection records for targeted attention. These disciplined, proactive measures reduce recurrence risk and extend structural life, giving you control and freedom from premature frame failure.
Frequently Asked Questions
What Years Did Toyota Have Frame Rust Problems?
You’re looking at model years roughly 2000 through 2004. You’ll want proactive frame maintenance and rust prevention, so inspect annually, weld or replace damaged sections, and use coatings to restore structural integrity and reclaim vehicle safety.
How Long Does Toyota Rust Proofing Last?
A 2018 Tundra owner saw factory rust proofing last about four years; you’ll typically get 3–5 years, while professional treatments can reach ~10. Maintain inspections and touch-ups—rust proofing effectiveness hinges on regular maintenance tips and care.
What Is the Toyota Frame Rust Lawsuit?
The Toyota frame rust lawsuit challenged compromised frame integrity in 2005–2010 Tundra/Sequoia models, alleging negligence and seeking remedies; you’ll learn legal implications, repair options, buybacks, or compensation under the settlement and extended warranties.
Conclusion
You’ve seen how to spot compromised areas, tried simple DIY patches, weighed undercoating choices, and considered professional removal or full replacement. Now decide: patch and monitor, reinforce, or rebuild the frame—each choice carries clear safety thresholds and costs. Don’t delay: a small, quiet blister can hide structural collapse. Act before rust dictates the outcome—inspect drains and skid plates, choose the right repair path, and schedule the work that keeps you safe.