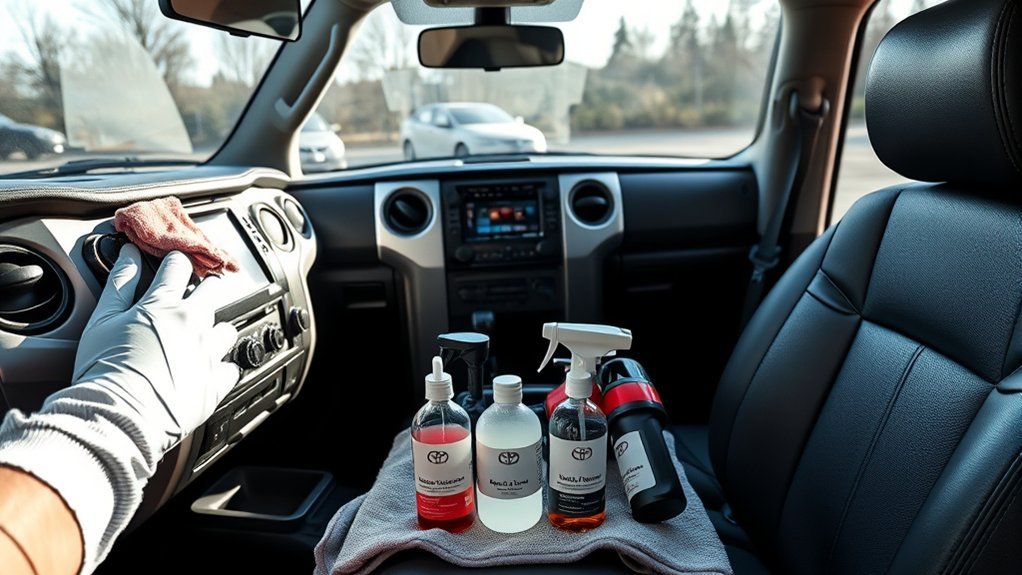
A clean Tundra interior is not just about shine. It is about protecting soft-touch trim, screens, seat materials, belts, buttons, and mats from damage caused by grit, too much water, and the wrong cleaner. Start with the owner’s manual for your exact model year, then use mild, material-safe products and a light touch.
Quick Answer
To clean a Toyota Tundra interior safely, vacuum first, remove mats, then wipe hard surfaces with a well-wrung microfiber cloth and mild soap solution. Use cleaners made for your seat material, never spray electronics directly, avoid harsh chemicals, dry everything fully, and apply protectant only where the label says it is safe.
Key Takeaways
- Check the Toyota owner’s manual resources for your exact Tundra year before using any cleaner.
- Vacuum loose grit before wiping so you do not drag abrasive dirt across trim, leather, vinyl, or screens.
- Use mild soap or a neutral, automotive-safe cleaner; avoid bleach, ammonia, solvents, and strong alkaline or acidic cleaners unless your manual and the product label clearly allow them.
- Apply liquid to the cloth, not directly to screens, buttons, vents, USB ports, switches, or seat controls.
- Dry seats, carpets, mats, and belts completely before closing up the cab to reduce odor and moisture problems.
At a Glance
| Time Required | 30–60 minutes for routine cleaning; 1–2 hours for a deeper clean |
| Difficulty | Easy |
| Tools Needed | Microfiber cloths, small vacuum, crevice tool, soft brush, mild soap, bucket, seat-material cleaner, dry towels |
| Cost | Usually $10–$40 if you already own a vacuum |
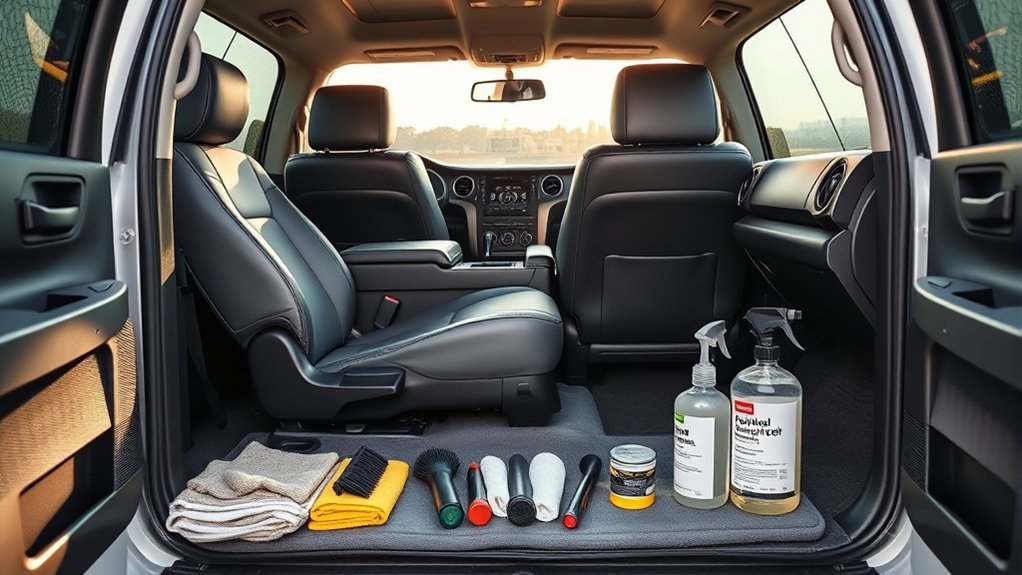
Prep Your Tundra: Read, Supplies to Gather
Before you start, read the owner’s manual for your Tundra’s model year. Toyota’s interior-care guidance warns against using the wrong detergent types on interior surfaces, so the safest path is to match every cleaner to the exact material you are cleaning.
Gather these supplies before opening a bottle:
- Clean microfiber cloths for wiping and drying
- A compact vacuum with a crevice tool and soft brush attachment
- A bucket or spray bottle for a mild soap-and-water solution
- A soft detailing brush for seams, vents, cup holders, and textured plastic
- Material-specific cleaner for cloth, leather-trimmed, synthetic leather, vinyl, or plastic surfaces
- Dry microfiber towels for moisture removal
- Interior-safe protectant for plastic or vinyl, used only where the label allows
Warning: Do not use bleach, ammonia, gasoline, paint thinner, harsh solvents, strong alkaline or acidic cleaners, or alcohol-heavy products on interior materials unless both the Toyota manual and the product label confirm they are safe for that exact surface. Never mix cleaners.
Mix a small amount of mild soap with warm water, then wring the cloth until it is damp rather than dripping. Test every new cleaner on a hidden area first, especially on leather-trimmed seats, synthetic leather, soft-touch panels, and glossy trim.
[Products Worth Considering]

These TPE door anti‑kick pads provide durable, water‑resistant protection for Toyota Tundra doors from 2022 to 2026. They fit precisely, are easy to install with double‑sided tape, and can be cleaned simply with water. The pads guard against scuffs and impacts while preserving the door's appearance and smooth operation.

The Pigenius windshield sunshade protects your Tundra's interior from heat and UV damage while keeping the cabin cool. Its accordion design folds easily for storage and quick setup, and the triple‑laminate construction provides durable, reflective protection. Ideal for long trips and daily commutes, it guards dashboards, seats, and steering wheels from sun‑related wear.

Upgrade your Toyota's interior with this ultra-thin, perforated leather steering wheel cover that offers a glove‑like fit and full protection while preserving heating functionality. Installation is quick and tool‑free, snapping into place in under a minute. The cover enhances aesthetic appeal and provides a comfortable, authentic feel for daily driving.
Vacuum and Remove Loose Debris
Loose dirt is what turns a simple wipe-down into scratches. Start dry. Remove trash, coins, wrappers, tools, and loose gear from the cabin. Slide the seats forward and back so you can reach the tracks and under-seat area.
Remove Floor Mats
Pull the mats out of your Tundra before vacuuming the carpet. Shake each mat outside the truck to release sand, gravel, and dried mud. If your mats are rubber or all-weather plastic, rinse them with water and mild soap, scrub grooves with a soft brush, and let them air dry completely before reinstalling.
For carpeted mats, vacuum both sides first. Spot-clean stains with a fabric-safe cleaner, blot with a clean damp cloth, and avoid soaking the backing. Reinstall mats only when they are fully dry and locked into their proper retainers.
Vacuum Crevices Carefully
Use a compact vacuum with a crevice tool and work slowly along seat seams, between cushions, around the center console, under pedals, inside door pockets, and near cup holders. Use a soft brush attachment for textured surfaces so you can lift dust without scratching the finish.
- Vacuum high-traffic areas first: floor mats, driver’s carpet, seat edges, and the rear floor.
- Use overlapping passes instead of rushing over the same area once.
- Empty the vacuum canister before suction drops.
- Brush crumbs out of seams before vacuuming so they do not stay trapped.
Pro Tip: Use a clean, dry detailing brush around cup holders, shifter trim, vents, and seat seams before wiping. Dry dust is easier to remove than muddy residue created by adding cleaner too soon.
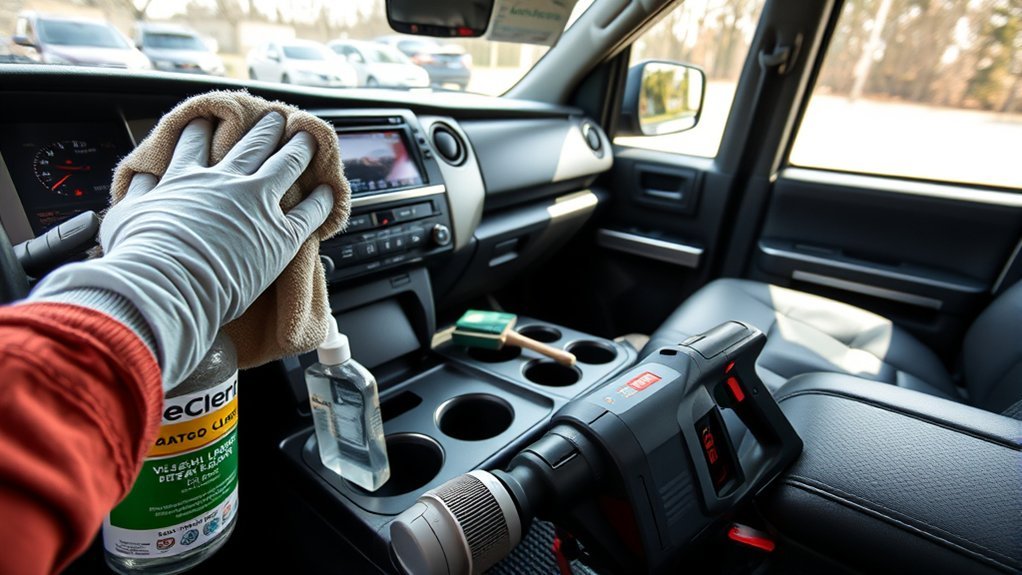
Clean High-Touch Areas: Console, Wheel, Handles
The center console, steering wheel, gear shift, door handles, seat belt buckles, window switches, and touch points collect skin oils quickly. Clean these areas with a damp microfiber cloth and mild soap solution first. Disinfect only when needed, such as after illness or shared use, and follow the disinfectant label exactly.
Console Cleaning and Disinfection Tips
Wipe the center console with a cloth that is damp, not wet. Work around buttons, storage lids, cup holders, and the shifter area. For sticky grime in cup holders, use a lightly damp cloth wrapped around your finger or a soft brush. Do not flood seams or switch gaps.
- Spray cleaner onto the cloth, never directly onto electronics or buttons.
- Use light pressure around glossy trim to reduce swirl marks.
- Dry the console with a clean microfiber towel after cleaning.
- If you disinfect, use a product labeled for the surface and respect the required contact time.
Steering Wheel Care
The steering wheel is one of the highest-touch surfaces in the truck, so clean it gently and often. Wipe it with a microfiber cloth dampened with mild soap solution, then follow with a second cloth dampened with clean water to remove soap residue. Dry it immediately.
Use extra care on stitched areas, leather-wrapped surfaces, buttons, and heated steering wheel controls if equipped. Do not leave protectant, oily dressing, or slick residue on the steering wheel. A slippery wheel is a safety problem, not a detailer’s finish.
Door Handle Sanitizing
Clean door handles, grab handles, lock switches, and window controls with a well-wrung microfiber cloth. Wipe inside the handle recesses where dirt collects, then dry the area with a clean towel. For shared trucks, work vehicles, or post-illness cleaning, use a compatible disinfectant only on hard, nonporous surfaces and only after a soap-and-water cleaning pass.
Note: The CDC says cleaning with soap and water is enough in many routine situations. Disinfection is most useful when someone has been sick or when high-touch surfaces need extra germ control.
Clean Panels, Dash, Seats, and Belts Safely
Work from top to bottom so dust falls onto areas you have not cleaned yet. Start with the dash, upper door panels, vents, screen area, and console, then move to seats, belts, carpets, and lower trim.
For the dash and door panels, use a microfiber cloth dampened with mild soap solution. Wipe in straight, controlled strokes instead of scrubbing aggressively. Dry the surface right away, especially around seams, speaker grilles, air vents, and controls.
Clean Screens and Glossy Trim
For the infotainment screen, gauge lens, and glossy trim, use a clean, dry microfiber cloth first. If fingerprints remain, use a barely damp microfiber cloth and follow with a dry one. Avoid household glass cleaner unless the screen manufacturer or owner’s manual confirms it is safe.
- Do not spray liquid directly onto the touchscreen.
- Do not use paper towels on screens or piano-black trim because they can leave fine scratches.
- Use very light pressure on gauge lenses and glossy surfaces.
Clean Tundra Seats by Material
Match your cleaner to the seat material. Tundra trims and model years can vary, so confirm whether your seats are cloth, leather-trimmed, synthetic leather, or another material before cleaning.
- Cloth seats: Vacuum first, then spot-clean with a fabric-safe upholstery cleaner. Blot instead of rubbing. Use as little moisture as possible and dry with airflow.
- Leather-trimmed seats: Vacuum seams with a soft brush, wipe with a leather-safe cleaner or mild diluted soap if allowed by the product label, then dry. Use conditioner only if the leather-care product is compatible with coated automotive leather.
- Synthetic leather or SofTex-style surfaces: Use a soft cloth and a mild, neutral cleaner. Avoid solvents, abrasive pads, and greasy dressings.
- Perforated heated or ventilated seats: Keep liquid out of the perforations. Apply cleaner to the cloth, not the seat, and dry thoroughly.
Clean Seat Belts and Buckles
Seat belts need gentle cleaning. Pull the belt out, hold it extended, and wipe the webbing with a cloth dampened with mild soap and water. Do not soak the belt, bleach it, dye it, or use strong cleaners. Let the belt dry completely before allowing it to retract.
Clean buckles with a lightly damp cloth and dry them right away. Avoid pushing liquid into the buckle slot, retractor opening, or seat belt pretensioner area.
Best Products and DIY Cleaners for Tundra
The best cleaner is the one that matches the surface, passes a hidden-spot test, and leaves no sticky or slippery residue. You do not need a complicated kit for routine interior care.
- Mild soap and warm water: Good for many hard surfaces when used lightly with a well-wrung microfiber cloth.
- Automotive interior cleaner: Useful for mixed plastic, vinyl, and soft-touch trim when the label confirms compatibility.
- Fabric upholstery cleaner: Best for cloth-seat stains, carpet spots, and carpeted mats.
- Leather or synthetic-leather cleaner: Use only if your seat material calls for it and the label is compatible with automotive interiors.
- Interior plastic or vinyl protectant: Use sparingly on dash and trim if it dries non-greasy and does not add glare.
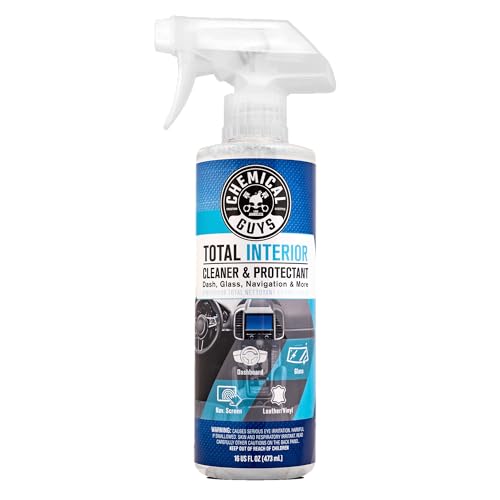
Popular retail options may include 303 Automotive Protectant, Chemical Guys interior cleaners, and Meguiar’s interior detailers, but do not treat any product as universal. Read the current label, test an inconspicuous spot, and avoid using dressings on the steering wheel, pedals, shift knob, seat belts, or any surface that must stay grippy.
[Products Worth Considering]

Upgrade your vehicle's interior with a stylish boho‑inspired center console cover that adds comfort and a striking visual appeal. Made from premium polyester fiber, anti‑skid cloth, and a plush 5 mm sponge, it provides soft support while reducing hand fatigue during long drives. The anti‑slip adhesive backing keeps it securely in place, and the elastic straps ensure a snug fit on most cars, trucks, SUVs, and vans.

The SCUARI center console cover offers premium leather and sponge construction that is soft, lightweight, and wear‑resistant, providing comfortable arm support and reducing fatigue on long drives. Its waterproof, easy‑to‑clean surface and non‑slip backing protect the armrest from scratches, pet claws, and grime, while built‑in storage bags keep phones, wallets, and other essentials within reach.
ALL-IN-ONE CAR INTERIOR CLEANER (SPI22016) – Favored by car care enthusiasts and detailers nationwide, this versatile formula cleans and protects leather, vinyl, plastic, rubber, and glass for a fresh, streak-free finish
Stain, Odor, and Problem-Area Fixes
Small stains are easier to fix before they bake into the cabin. Work from mild to stronger methods and stop if the material changes color, texture, or feel.
- Mud: Let it dry, vacuum the loose dirt, then clean the remaining mark with a damp cloth or fabric-safe cleaner.
- Coffee or soda: Blot immediately with a dry towel, then use a damp cloth and a small amount of upholstery cleaner if needed.
- Grease: Blot first. Use a cleaner labeled for automotive fabric or vinyl, and avoid spreading the stain with too much water.
- Pet hair: Vacuum first, then use a rubber pet-hair tool or slightly damp microfiber cloth on fabric areas.
- Road salt: Vacuum dry residue, then blot carpet with a damp cloth. Dry the area fully so salt does not keep attracting moisture.
- Mildew smell: Find the moisture source. Check wet mats, damp carpet, spilled drinks, clogged drains, and water intrusion. Dry the area quickly and get professional help if the odor persists.
Moisture control matters. The EPA notes that drying wet areas and items within 24–48 hours helps prevent mold growth.
[Products Worth Considering]

Powerful Cleaning (CWS21916SW) - Ready-to-use Chemical Guys fabric cleaner spray breaks down dirt, grime, and stains from carpets, seats, and floor mats while leaving behind a fresh citrus scent for a clean and revitalized interior

CHEMICAL GUYS LIGHTNING FAST STAIN EXTRACTOR (SPI_191_16) – Professional-strength stain remover formula penetrates deep into carpet, upholstery, and fabric to quickly break down and lift stains, dirt, and odors for a restored, like-new look
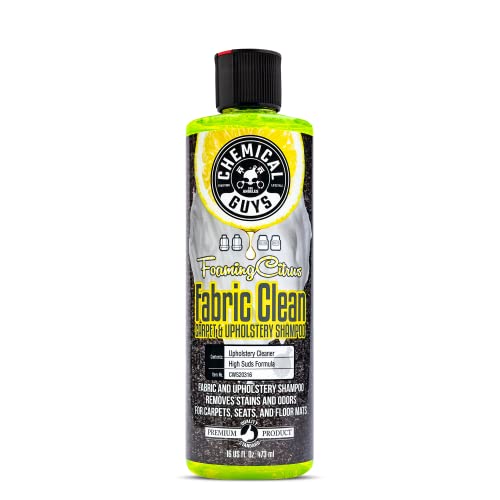
FOAMING FABRIC CLEAN (CWS20316) – High-foaming carpet and car upholstery cleaner penetrates deep into carpet, upholstery, and floor mat fibers to lift dirt, debris, and stains for a restored, like-new appearance
Drying, Protectants, and Post-Clean Checks
After cleaning, leave the doors or windows open in a safe, shaded area so the cab can air out. Blot damp upholstery, carpet, mats, seams, cup holders, and belt webbing with dry microfiber towels. If the seats or carpet still feel cool and damp, keep drying.
Apply protectant only after surfaces are clean and dry. Use a small amount, spread it evenly, and buff away excess. Avoid high-gloss products on the dash because they can create windshield glare. Avoid slick products on any control surface.
Before calling the job done, check these areas:
- Seat seams and perforations
- Seat belt webbing and buckle areas
- Floor mat backs and carpet underneath
- Cup holders and console seams
- Touchscreen edges and buttons
- Door pockets and lower panels
If stains, dye transfer, smoke odor, mildew smell, or water damage remain after careful cleaning, schedule a professional interior detail or upholstery service. Professional extraction and odor treatment are safer than soaking the cabin with stronger chemicals.
What Not to Do When Cleaning a Tundra Interior
- Do not spray cleaner directly into switches, vents, speakers, USB ports, screens, or seat controls.
- Do not soak seats, carpets, or seat belts.
- Do not use abrasive pads on screens, glossy trim, leather, synthetic leather, or soft-touch plastics.
- Do not leave oily dressings on steering wheels, pedals, shift knobs, or belts.
- Do not reinstall wet floor mats.
- Do not assume one cleaner is safe for every trim level or model year.
Frequently Asked Questions
How do you clean a car interior without damage?
Vacuum first, use microfiber cloths, choose mild or material-specific cleaners, test hidden spots, and keep moisture low. Apply cleaner to the cloth instead of spraying electronics or controls directly. Dry every surface before closing the vehicle.
How do you clean Toyota Tundra seats?
Vacuum the seats and seams first. For cloth seats, use a fabric-safe upholstery cleaner and blot stains. For leather-trimmed or synthetic leather seats, use a compatible cleaner, minimal water, and a soft microfiber cloth. Dry the seats completely before driving.
Can I use disinfecting wipes inside a Toyota Tundra?
Use disinfecting wipes only if the label says they are safe for the surface you are cleaning. Avoid using them on leather, screens, soft-touch trim, or glossy surfaces unless approved. When in doubt, clean with mild soap and water first.
What should I avoid using on a Tundra interior?
Avoid bleach, ammonia, harsh solvents, gasoline, thinner, strong acidic or alkaline cleaners, abrasive pads, and oily dressings on controls. These can discolor, dull, dry out, stain, or make surfaces unsafe to touch.
How often should I clean my Tundra interior?
For a daily driver, vacuum and wipe high-touch areas weekly or every other week. Do a deeper clean monthly, seasonally, or after mud, pets, spills, beach trips, road salt, or heavy work use. Always clean spills as soon as possible.
Conclusion
Cleaning your Toyota Tundra interior safely comes down to the right order and the right amount of moisture: vacuum first, wipe gently, match cleaners to the material, protect electronics, and dry everything fully. Keep harsh chemicals out of the cabin, test new products before full use, and use protectant only where it improves durability without adding glare or slickness. With a simple routine, your truck’s cabin stays cleaner, safer, and easier to maintain.
Sources
- Toyota Owners Manuals & Warranties: Tundra — model-year owner manual access and Toyota owner resources
- Toyota Tundra Owner’s Manual: Cleaning and Protecting the Vehicle Interior — Toyota interior-care cautions and cleaning guidance
- CDC: Cleaning and Disinfecting — routine cleaning versus disinfecting guidance
- EPA: About List N Disinfectants — disinfectant label-use and efficacy context
- EPA: A Brief Guide to Mold, Moisture and Your Home — moisture-control and drying guidance