A Toyota Tundra flat tire is manageable if the truck is parked safely, the right jack point is used, and the lug nuts are tightened to the correct specification for your wheel. Use this guide as a roadside procedure, but treat your owner’s manual as the final source for your exact model year, cab, trim, wheel type, and spare-tire setup.
Quick Answer
To change a Toyota Tundra flat tire, park on hard, level ground, set the parking brake, turn on the hazards, chock the opposite wheel, lower the spare, loosen the lug nuts while the tire is still on the ground, lift only at the approved jack point, install the spare, tighten in a crisscross pattern, lower the truck, and torque the nuts to the correct spec for your wheel.
Key Takeaways
- Use the jack point shown in your Tundra owner’s manual; do not guess or lift from body panels, trim, or soft ground.
- Break the lug nuts loose before lifting, but do not remove them until the tire is off the ground.
- For many late-model Tundras, Toyota lists 154 ft-lbf for steel/compact-spare wheel installation and 97 ft-lbf for aluminum wheels; verify your exact model year and wheel type.
- A temporary spare is for emergency use only. Drive slowly, avoid abrupt maneuvers, and repair or replace the flat tire as soon as possible.
At a Glance
| Time Required | 20–40 minutes in a safe, level location |
| Difficulty | Moderate because the wheel and spare are heavy |
| Tools Needed | Factory jack, jack handle extensions, lug wrench, wheel chocks, tire pressure gauge, gloves, flashlight, reflective triangle or vest, and wheel-lock key if equipped |
| Cost | $0 if the spare and factory tools are ready; repair or replacement cost depends on tire damage |
Quick Checklist: Change a Toyota Tundra Flat Tire
- Move as far from traffic as you safely can and stop on hard, level ground.
- Shift to Park, set the parking brake, shut off the engine, and turn on the hazard lights.
- Move passengers to a safe area away from traffic before working around the truck.
- Place wheel chocks against the tire opposite the flat tire.
- Get the jack, lug wrench, jack handle extensions, and wheel-lock key if your Tundra has wheel locks.
- Lower the spare from under the bed and inspect its pressure and condition.
- Loosen each lug nut about one turn while the flat tire is still on the ground.
- Place the jack only at the approved jack point listed in your owner’s manual.
- Raise the truck just high enough for the flat tire to clear the ground.
- Remove the flat, install the spare, hand-thread the lug nuts, snug them in a crisscross pattern, lower the truck, and torque the nuts to the correct spec.
Warning: Do not change a tire on a soft shoulder, steep slope, blind curve, narrow lane, or any spot where traffic can hit you. If you cannot create a safe work area, call roadside assistance.
Safety First: Stage the Tundra and Gather Tools
Before touching the wheel, make the truck stable. Park on a firm, flat surface, shift to Park, set the parking brake, stop the engine, and turn on the emergency flashers. If you have reflective triangles or a safety vest, use them before you start removing tools.
Lift the rear seat or open the storage area where your model keeps the factory jack and tool bag. Tundra tool locations can vary by model year and cab layout, so check your owner’s manual if the jack, handle extensions, or lug wrench are not immediately visible.
Lay the tools where they will not roll under the truck. Keep lug nuts together in a pocket, tray, or clean spot on the ground. If your truck has wheel locks, find the wheel-lock key before you start; without it, you may not be able to remove the wheel.
Note: Never place any part of your body under a vehicle supported only by the jack. The factory jack is for changing a tire, not for working under the truck.
When to Call Roadside Assistance Instead
Changing the tire yourself is not always the safest choice. Call roadside assistance or a tow service if the truck is too close to traffic, the ground is soft or sloped, the spare is flat or damaged, the jack is missing or unstable, the wheel-lock key is missing, the lug nuts are seized, or the tire damage makes the truck unsafe to move.
Also stop if the truck shifts on the jack, the jack sinks, or you cannot loosen the lug nuts with controlled pressure. A delayed repair is better than a roadside injury.
[Products Worth Considering]

These TPE door anti‑kick pads provide durable, water‑resistant protection for Toyota Tundra doors from 2022 to 2026. They fit precisely, are easy to install with double‑sided tape, and can be cleaned simply with water. The pads guard against scuffs and impacts while preserving the door's appearance and smooth operation.

The Pigenius windshield sunshade protects your Tundra's interior from heat and UV damage while keeping the cabin cool. Its accordion design folds easily for storage and quick setup, and the triple‑laminate construction provides durable, reflective protection. Ideal for long trips and daily commutes, it guards dashboards, seats, and steering wheels from sun‑related wear.

Upgrade your Toyota's front bumper with this premium license plate bracket that fits US and Canada plates perfectly. Made from heavy‑duty, rust‑proof plastic, it protects your paint and stays street legal. The kit includes six unique screws and a wrench for quick, tool‑free installation, ensuring a secure mount without scratches.
Lower the Spare Tire From Under the Toyota Tundra
Most Toyota Tundra spare tires are stored under the bed. Assemble the jack handle extensions according to your owner’s manual, insert the tool through the access opening above the spare, and engage the lowering screw. On many late-model Tundras, the spare lowers by turning the handle counterclockwise. If your tool does not engage or the spare does not lower smoothly, stop and confirm the direction in your manual instead of forcing the mechanism.
[Products Worth Considering]

Stay warm and keep control with the KVAEY fluffy steering wheel cover. Its high‑density plush provides a soft, comfortable grip while the anti‑slip rubber liner ensures safety during winter drives. Easy to install and fits 15‑inch wheels on cars, trucks, and SUVs, adding a cozy, stylish touch to any interior.

Upgrade your 2026 Toyota RAV4 interior with this soft, breathable armrest cover that offers full protection against scratches, dirt, and wear. Made from eco‑friendly material, it fits the console perfectly and stays securely in place with elastic straps. Installation is tool‑free, providing added comfort and reducing fatigue during long drives.
Lowering the Tire
- Assemble the handle: Connect the extension sections firmly so they do not separate while turning.
- Engage the lowering screw: Insert the tool straight through the access hole until it seats fully.
- Lower slowly: Turn the handle steadily until the tire rests flat on the ground and the cable has enough slack to remove the holding bracket.
- Inspect the spare: Check the sidewall, tread, valve stem, and pressure before mounting it.
Removing the Extension
Once the spare is on the ground, remove the holding bracket or retainer from the wheel center. Pull the extension tool straight out and place it away from your feet so it does not become a tripping hazard. Do not crawl under the truck to fight the cable; if the spare carrier is stuck, call for help or use a service facility.
Pro Tip: Check your spare tire pressure monthly when the tire is cold. A spare that looks fine can still be too low to use safely.
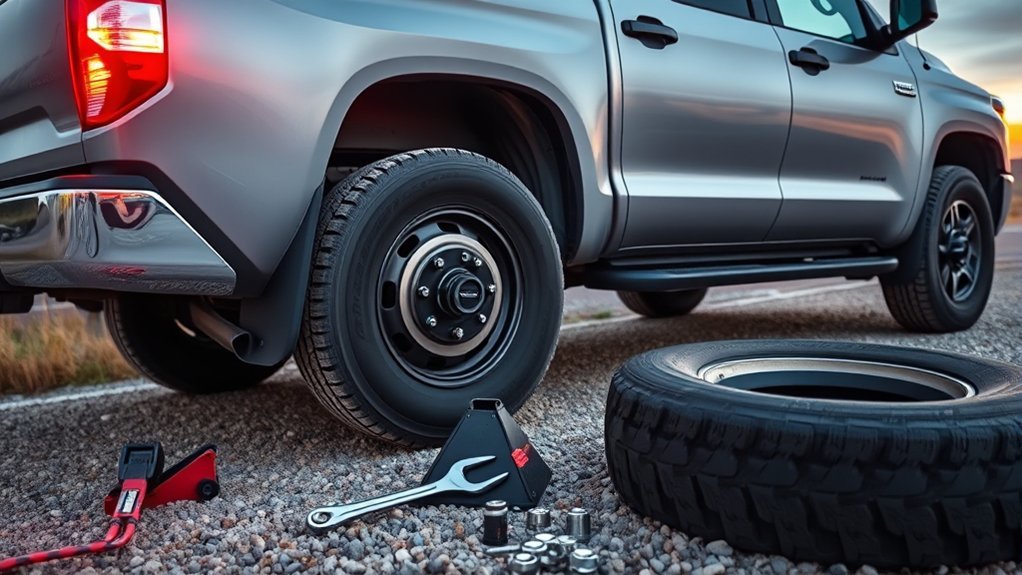
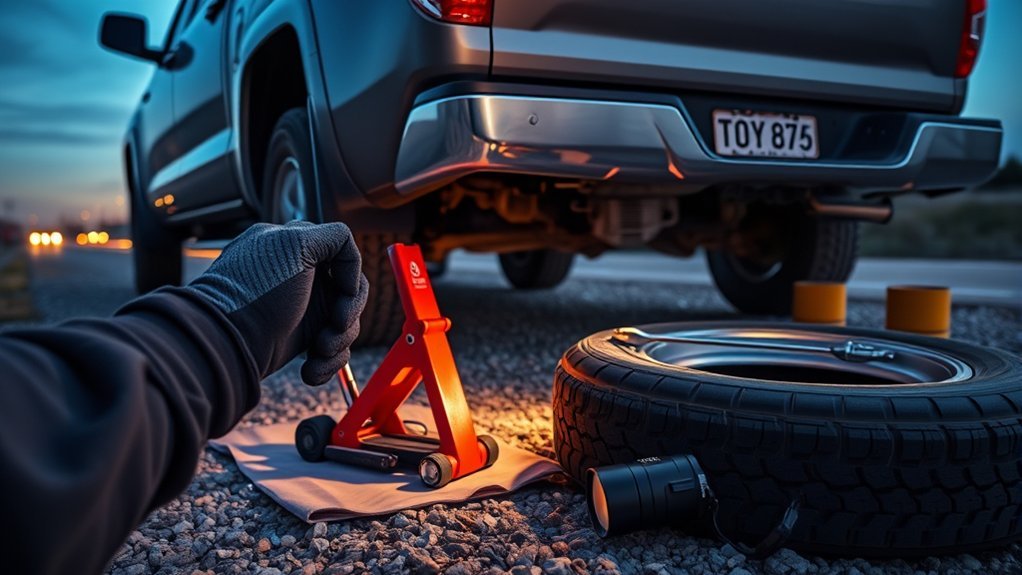
Place Wheel Chocks and Position the Bottle Jack
Place wheel chocks snugly against the tire opposite the flat. If the front tire is flat, chock a rear tire. If the rear tire is flat, chock a front tire. On level ground, using a second chock on the other side of the same tire adds stability.
Choose Chock Location
- Set the parking brake first.
- Place the chock tight against the tread of the tire opposite the flat.
- If you have two chocks, place one in front of and one behind that tire.
- Recheck that the truck does not move before loosening the lug nuts.
Use the Correct Jack Point
Do not assume every Tundra uses the same lift point. Use the jack point shown in your owner’s manual for the wheel you are changing. Depending on model year and wheel position, the approved point may be on a specific frame, suspension, or axle location. The jack saddle must sit squarely on the approved contact point, and the jack base must sit flat on firm ground.
| Component | What to Check |
|---|---|
| Chocks | Snug against the tire opposite the flat |
| Jack point | Matches the owner’s manual illustration |
| Ground | Hard, flat, and not sinking |
| Jack saddle | Square contact, not on trim or body panels |
Secure the Jack Extension
Attach the jack handle or extension securely before lifting. Keep your hands, feet, and clothing clear of pinch points. Raise the truck only high enough for the tire to clear the ground. Extra height makes the truck less stable and gives you no advantage.
Loosen Lug Nuts and Prep the Wheel for Removal
With the flat tire still touching the ground, fit the lug wrench fully over the first lug nut and push with steady pressure counterclockwise. Loosen each nut about one turn, but do not remove any lug nuts yet. Keeping the tire grounded helps prevent the wheel from spinning and keeps the truck more stable.
If a lug nut will not move, do not jump on the wrench or use unsafe extensions that can slip. Try controlled body weight while keeping your balance. If the nut still will not break loose, call roadside assistance or a tire shop. Damaging a stud on the roadside can turn a simple tire change into a tow.
Raise the Truck Safely and Remove the Flat Tire
Once the lug nuts are loosened and the jack is positioned correctly, raise the truck until the flat tire just clears the ground. Pause and check stability before removing anything. If the jack leans, sinks, or shifts, lower the truck and reset the jack on a firmer surface.
- Remove the loosened lug nuts by hand and keep them together.
- Pull the flat tire straight off the hub. Tundra wheels are heavy, so use your legs and keep your back straight.
- Lay the flat tire flat on the ground so it cannot roll into traffic or under the truck.
- Wipe obvious dirt, rust flakes, or debris from the hub contact surface before mounting the spare.
Warning: Do not continue driving on a flat tire. Even a short distance can damage the tire and wheel beyond repair and can make the vehicle harder to control.
Fit the Spare: Align the Wheel and Thread Lug Nuts
Lift the spare into position and line up the lug holes with the studs. Slide the wheel straight onto the hub until it sits flush. Do not force the wheel at an angle, and do not use the lug nuts to pull a crooked wheel into place.
Align the Wheel With the Studs
- Check that the hub face and wheel mounting surface are clean.
- Lift the spare with both hands and guide it onto the studs.
- Rock the wheel gently if needed until it sits flat against the hub.
- Confirm the valve stem is accessible for pressure checks.
Hand-Thread the Lug Nuts
Start every lug nut by hand. Turn each nut clockwise several full turns to avoid cross-threading. The tapered end of the lug nut must face inward toward the wheel seat. If a nut binds immediately or feels gritty, remove it and check the threads before continuing.
Once all lug nuts are hand-tight, snug them lightly in a crisscross pattern while the truck is still raised. Do not apply final torque until the tire is on the ground.
Initial Lug Tightening and Lowering the Truck
Lower the jack slowly until the spare just touches the ground and cannot spin freely. Use the lug wrench to snug the nuts in a crisscross pattern, tightening a little at a time so the wheel seats evenly.
After the nuts are snug, lower the truck fully and remove the jack. The truck’s weight should now rest on the spare tire before final tightening.
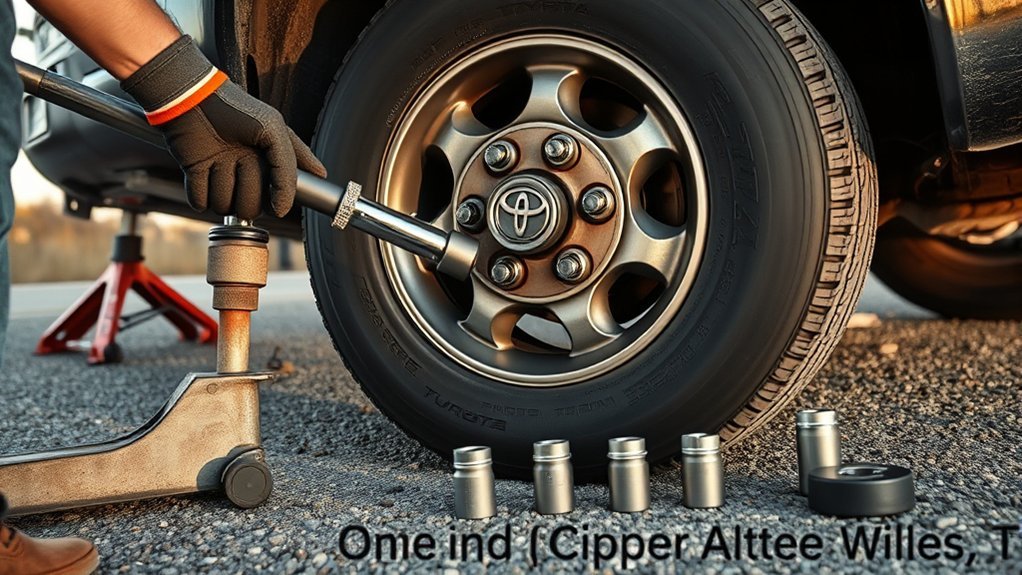
Final Torque, Inspections, and Post-Drive Checks
Use a calibrated torque wrench for final tightening whenever possible. Tighten the lug nuts in a crisscross pattern two or three passes, increasing evenly until each nut reaches the correct torque for your wheel type and model year.
| Wheel Type | Common Toyota Tundra Manual Spec | Important Note |
|---|---|---|
| Steel wheel or compact spare | 154 ft-lbf / 209 N·m | Verify in your exact owner’s manual before final torque |
| Aluminum wheel | 97 ft-lbf / 131 N·m | Applies where Toyota lists this spec for your model/wheel |
After tightening, inspect the wheel. The spare should sit flush against the hub, all lug nuts should be fully seated, and no stud should look cracked, stretched, or damaged. Check the spare tire pressure with a gauge and inflate it to the pressure shown on the tire placard or in the owner’s manual.
Tight is not the same as torqued. A torque wrench is the safest way to confirm the wheel is clamped correctly.
Drive a short distance at moderate speed, then recheck the lug nuts. Where Toyota’s manual calls for it, have the wheel nuts retightened with a torque wrench as soon as possible after changing wheels and rechecked within 100 miles. If any nut turns more than a small amount at the specified torque, have the wheel, studs, and nuts inspected.
Drive Carefully on the Spare
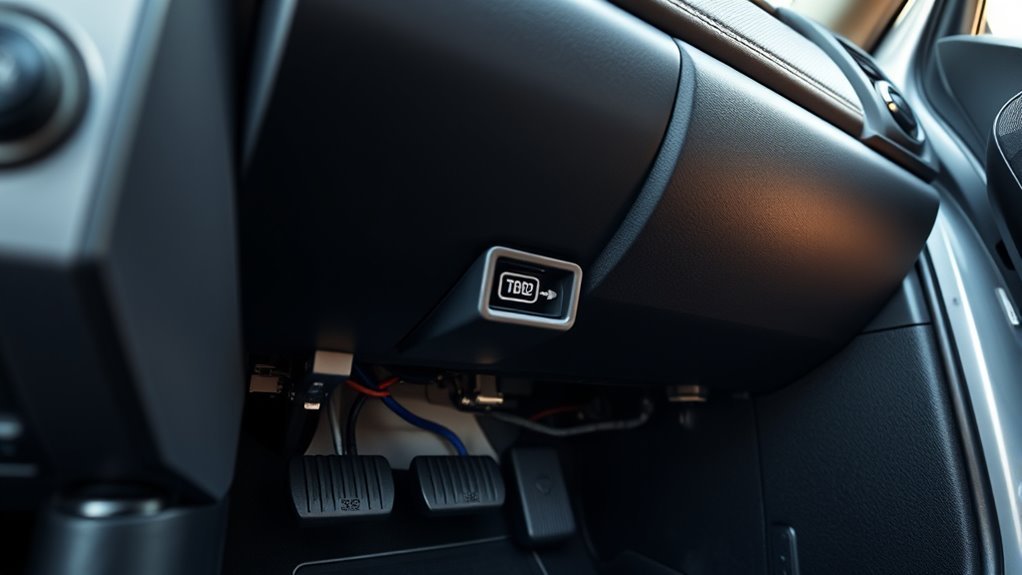
A temporary spare is not a permanent tire. Use it only to get to a safe repair location. Avoid sudden acceleration, hard braking, abrupt steering, towing heavy loads, off-road driving, and high-speed travel. If your Tundra’s spare is marked “TEMPORARY USE ONLY,” follow the sidewall and owner’s-manual limits; Toyota manual guidance for temporary spares includes a 50 mph limit in applicable Tundra manuals.
The tire pressure warning system may not monitor the temporary spare the same way it monitors the regular wheels. Do not assume the spare is properly inflated just because the dashboard light is off.
Note: If you install a temporary spare on a 4WD Tundra, minimize distance and speed. Mismatched tire diameter can affect drivetrain and stability systems, especially during slippery conditions.
Stow Tools, Secure the Jack, and When to Visit a Tire Shop
After the spare is installed and the truck is safely on the ground, stow the flat tire, jack, handle extensions, lug wrench, chocks, and wheel-lock key. If the flat tire goes into the under-bed spare carrier, install the holding bracket correctly, raise the tire straight up, and confirm it is not loose by pushing, pulling, and trying to rotate it. A loose under-bed tire can damage the carrier or become a serious road hazard.
- Confirm the flat tire or spare carrier bracket is centered and secure.
- Remove wheel chocks only after the truck is fully lowered and stable.
- Return the jack and tools to their factory storage positions so they do not rattle or become projectiles.
- Drive to a tire shop for repair, replacement, inspection, and final torque verification if you did not have a torque wrench.
Troubleshooting Common Tundra Flat-Tire Problems
Lug Nuts Will Not Loosen
Make sure the wrench is fully seated and turn counterclockwise with steady pressure. Do not use sudden, uncontrolled force that could knock the truck or injure you. If the nuts are seized or overtightened, call roadside assistance.
Wheel Is Stuck to the Hub
Double-check that all lug nuts are removed. If the wheel is stuck by corrosion, do not crawl under the truck or strike it from a dangerous position. Rock the tire carefully from the sides. If it will not release, get professional help.
Jack Feels Unstable
Stop immediately. Lower the truck, reposition the jack on the correct jack point, and make sure the base is on hard, level ground. If the ground will not support the jack, do not continue.
Spare Is Flat or Damaged
Do not install a damaged or underinflated spare for normal driving. Inflate it if safe and possible, or call for roadside help. A spare with cracks, bulges, exposed cords, or severe aging should be replaced.
Frequently Asked Questions
How do you take off the spare tire on a Toyota Tundra?
Assemble the factory jack handle extensions, insert the tool through the spare-tire access opening, engage the lowering screw, and turn in the direction listed in your owner’s manual. On many late-model Tundras, the spare lowers by turning counterclockwise. Lower it fully, remove the holding bracket, and inspect the spare before mounting it.
Can I change a Toyota Tundra flat tire myself?
Yes, if the truck is in a safe location, the ground is hard and level, the spare is usable, and you have the factory tools, wheel-lock key if needed, chocks, and enough visibility. If traffic, weather, terrain, stuck lugs, or physical strain make the job unsafe, call roadside assistance.
Where is the jack on a 2020 Toyota Tundra?
On many 2020 Toyota Tundra models, the jack and tire tools are stored under the rear seat. Lift the rear seat cushion and release the retaining strap or bungee to remove the jack and tool bag. Storage can vary by cab and trim, so check the owner’s manual if the tools are not there.
Can you change just one tire on a truck?
You can replace one tire temporarily with the spare in an emergency, but the permanent replacement should match the correct size, load rating, speed rating, and tread needs for the truck. On 4WD trucks, mismatched tire diameter can affect drivetrain behavior, so ask a tire professional if the remaining tires are significantly worn.
What is the Toyota Tundra lug nut torque for a spare tire?
For many late-model Toyota Tundra manual contexts, Toyota lists 154 ft-lbf for steel wheels or compact-spare installation and 97 ft-lbf for aluminum wheels. Always verify the exact value in the owner’s manual for your model year, wheel type, and lug nut setup.
How fast can I drive a Toyota Tundra on the temporary spare?
Follow the speed limit printed on the spare and the limit in your owner’s manual. Toyota Tundra manual guidance for temporary spares includes not driving over 50 mph where that temporary spare applies. Drive only far enough to reach a safe repair location.
Conclusion
Changing a Toyota Tundra flat tire is mostly about safe setup, correct jack placement, careful lug-nut handling, and proper torque. Park on firm, level ground, use chocks, lower and inspect the spare, lift only at the approved jack point, hand-thread the lug nuts, tighten in a crisscross pattern, and verify torque with a wrench. Afterward, drive cautiously to have the flat repaired or replaced, and do not treat a temporary spare as a normal tire.
Sources
- Toyota Owners — 2025 Tundra: If you have a flat tire — backs up Tundra flat-tire procedure, spare installation, torque guidance, and stowing warnings.
- Toyota Owners — 2020 Tundra manuals and warranties — supports checking the exact model-year owner’s manual for tool locations and specifications.
- eCFR — 49 CFR 571.138 Tire Pressure Monitoring Systems — supports monthly cold tire-pressure checks, including the spare if provided, and TPMS limitations.
- NHTSA TireWise — supports tire safety, maintenance, and tire-pressure awareness.
- AAA Club Alliance — How to Change a Tire — supports general roadside tire-changing safety, star-pattern tightening, spare limits, and when to call roadside assistance.