Reducing Toyota Camry cabin noise is not about covering every inch of metal with the heaviest material you can buy. The best results come from finding the main noise path first, then using the right material in the right place: damping for vibrating panels, absorption for open cavities, and barrier material only where airborne noise is entering the cabin.
Quick Answer
To quiet a Camry, start with tires, door seals, loose trim, doors, front floor, rear wheel wells, and trunk. Use butyl mats to reduce panel vibration, Thinsulate or acoustic fiber to absorb sound in cavities, and mass-loaded vinyl only where you can install it safely without blocking vents or wiring.
Key Takeaways
- Treat the biggest noise paths first: tires, doors, floor, wheel wells, trunk, and worn seals.
- Use butyl mats for vibration, acoustic insulation for absorption, and MLV for airborne noise only where it can sit flat and safely.
- On a Camry Hybrid, never cover the traction-battery air intake vent, high-voltage areas, seat wiring, or airbag/SRS components.
- Measure before and after each stage so you do not add unnecessary weight or chase a noise that is really a tire, alignment, or trim problem.
At a Glance
| Time Required | 2–4 hours for doors; 6–12 hours for floor/trunk; 1–2 days for a full interior project. |
| Difficulty | Moderate for doors and trunk; advanced for carpet, seats, headliner, and hybrid-sensitive areas. |
| Tools Needed | Plastic trim tools, clip remover, roller, utility knife, isopropyl alcohol, gloves, painter’s tape, torque wrench if seats are removed. |
| Cost | About $150–$500 for targeted DIY materials; $700–$2,500+ for larger professional installs. |
Warning: Camry Hybrid models contain high-voltage hybrid components. Toyota warns that the hybrid system is high voltage and should be handled with care. Do not touch orange cables, service plugs, battery covers, airbag/SRS wiring, seat wiring, or traction-battery cooling vents. If the job requires working near those areas, use a hybrid-qualified installer or Toyota service information before continuing.
Quick Wins: High-Impact Insulation Choices for Your Camry
Start with the easiest checks before removing panels. A noisy Camry may need better tires, correct tire pressure, a seal repair, or a loose-trim fix before it needs more insulation. The NHTSA TireWise guidance recommends using the Tire and Loading Information Label or owner’s manual for the correct tire size and pressure.
After those basics, treat the large panels and open cavities that commonly transmit road noise:
- Doors: Add butyl damping to the outer door skin and large flat inner areas, then use a light absorber behind the door card where it will not interfere with the window, lock rods, speaker, drains, or wiring.
- Front floor and footwells: Add damping to flat metal sections and a decoupled barrier only where it can sit smoothly under the carpet.
- Rear wheel wells and trunk: Treat the wheel-arch area and trunk floor because tire noise often enters from the rear of the cabin.
- Roof/headliner: Treat this only if rain noise or roof panel resonance is a real complaint. Headliner removal increases the risk of broken clips, creases, and airbag interference.
Note: A quieter Camry usually comes from several small improvements, not one thick layer. Fix tire pressure, alignment, seals, and rattles first; then add damping and absorption in stages.
[Products Worth Considering]

These TPE door anti‑kick pads provide durable, water‑resistant protection for Toyota Tundra doors from 2022 to 2026. They fit precisely, are easy to install with double‑sided tape, and can be cleaned simply with water. The pads guard against scuffs and impacts while preserving the door's appearance and smooth operation.

The Pigenius windshield sunshade protects your Tundra's interior from heat and UV damage while keeping the cabin cool. Its accordion design folds easily for storage and quick setup, and the triple‑laminate construction provides durable, reflective protection. Ideal for long trips and daily commutes, it guards dashboards, seats, and steering wheels from sun‑related wear.

Upgrade your Toyota's front bumper with this premium license plate bracket that fits US and Canada plates perfectly. Made from heavy‑duty, rust‑proof plastic, it protects your paint and stays street legal. The kit includes six unique screws and a wrench for quick, tool‑free installation, ensuring a secure mount without scratches.
Find the Noise Before Adding Material
Before buying sound deadener, take a short test drive and identify the main noise source. Tire-pavement noise is a major source of vehicle noise at road speeds, and the Federal Highway Administration has long studied tire/pavement noise as a key part of traffic noise. That is why tires, pressure, road surface, and wheel wells matter so much.
Simple Noise Test
- Use the same road twice: Drive once on smooth pavement and once on rough pavement at the same speed.
- Record a baseline: Use a phone decibel app only as a comparison tool, not a lab-grade meter. Record the same route, speed, HVAC setting, and window position each time.
- Listen by location: Door hiss suggests seals or door treatment. Low roar from the rear suggests tires, wheel wells, or trunk. Buzzing suggests loose trim or clips.
- Check tires first: Verify pressure, tread wear, tire age, balance, and alignment before adding weight to the car.
- Fix rattles before damping: A loose clip, license plate, trunk tool tray, or speaker grille can sound like road noise.
Where to Add Insulation: Doors, Floor, Wheel Wells, Trunk, and Roof
Think of the Camry cabin as one connected acoustic shell. Sound can enter through tires, suspension mounts, thin sheet metal, door openings, trunk cavities, and trim gaps. Treat the highest-return areas first instead of covering everything.
[Products Worth Considering]

Secure your vehicle's fuel tank with this durable ABS locking gas cap that provides a tight, waterproof seal to prevent leaks and theft. The key‑operated lock offers peace of mind while meeting OEM part numbers for a wide range of makes and models. Ideal for harsh weather conditions, it protects the tank from rust and corrosion, ensuring safe and reliable driving.

Upgrade your vehicle's cargo capacity with these heavy‑duty aluminum roof crossbars that lock securely and reduce wind noise. The aerodynamic design and adjustable width provide a quiet, stable platform for luggage up to 260 lb, while the easy‑install kit and labeled front and rear bars simplify setup. Ideal for Toyota Grand Highlander and Lexus TX models from 2024‑2026 with flush side rails.
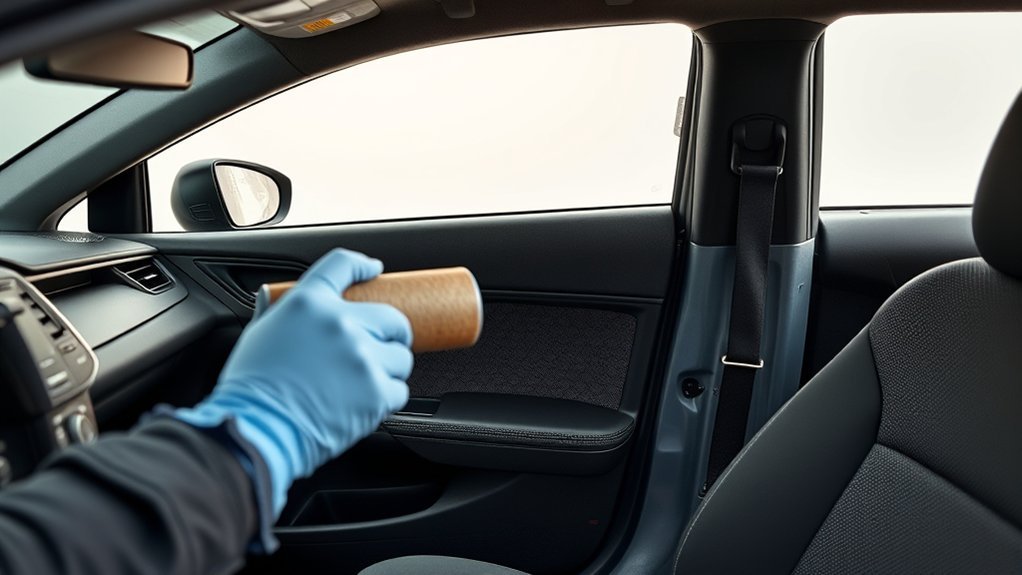
Doors and Inner Skins
Doors are usually the best first DIY project because they are accessible and affect both road noise and stereo clarity. Apply butyl damping to large flat metal sections, especially the outer door skin behind the speaker and the inner metal areas that ring when tapped.
For many damping products, 25–60% coverage on a flat panel is a practical starting point. Some manufacturers recommend about 60% panel coverage for maximum quieting with their systems, so follow the product instructions rather than assuming one number fits every material.
- Clean metal with isopropyl alcohol and let it dry fully.
- Use a roller so the butyl bonds to the metal without air pockets.
- Do not cover drain holes, crash sensors, side-impact beams, window tracks, lock rods, or wiring connectors.
- Add a light absorber behind the door panel only where it will not touch the glass or moving parts.
Floor, Firewall, and Center Tunnel
The front floor, footwells, and center tunnel help control low-frequency road and drivetrain noise. This area is more labor-intensive because seats, trim, and carpet may need to come out. If you remove seats, protect connectors, avoid SRS wiring, and reinstall fasteners correctly.
A good floor stack usually has three layers: butyl damping on selected metal panels, a decoupler such as closed-cell foam where appropriate, and a barrier layer such as mass-loaded vinyl only where it can sit flat under the carpet. Do not force thick layers under seat rails, pedals, wiring harnesses, or air ducts.
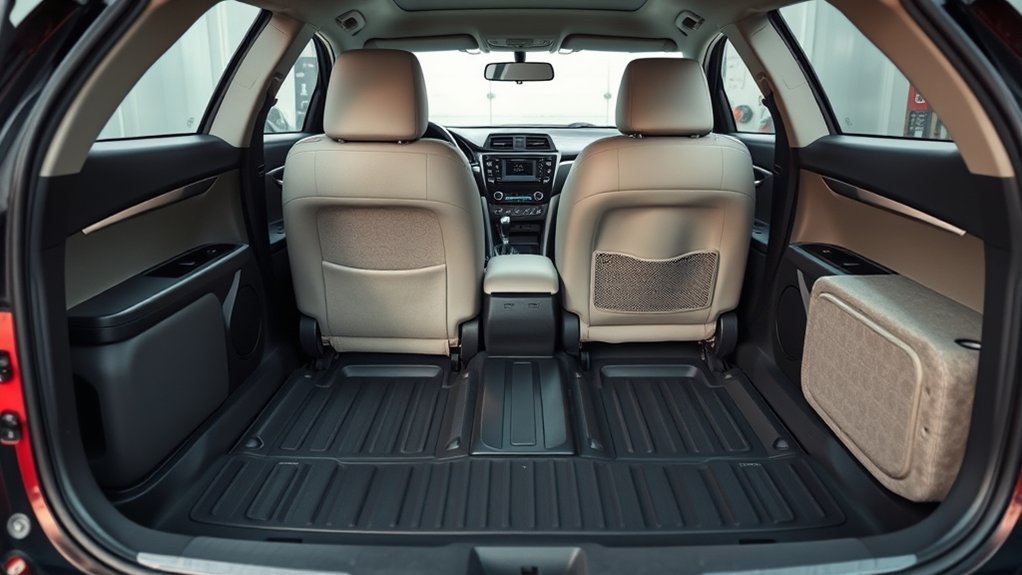
Wheel Wells and Trunk
Rear tire noise often enters through the rear wheel wells, trunk floor, quarter panels, and spare-tire area. Add damping to the trunk floor and wheel-arch metal, then use acoustic insulation in open trim cavities. If using spray-on deadener inside wheel wells, follow the product cure time, mask brake/suspension parts carefully, and do not trap moisture behind liners.
Roof and Headliner
Roof treatment can reduce rain noise and roof-panel resonance, but it is rarely the first priority for road noise. Headliner removal can crease the liner and may expose curtain airbag areas. Use lightweight damping and acoustic insulation only where it will not interfere with airbags, wiring, sunroof drains, antennas, or trim clips.
Best Materials: Butyl, Thinsulate, MLV, and Spray-On Deadener
Different materials solve different problems. Butyl mats damp vibrating metal. Acoustic insulation absorbs sound inside cavities. Mass-loaded vinyl blocks airborne noise when it is installed as a decoupled barrier. Spray-on products help in shapes where mats do not fit.
| Material | Best Use | Where to Use It | Avoid |
|---|---|---|---|
| Butyl damping mat | Reduces panel vibration and resonance | Doors, floor, trunk, rear quarter panels, roof panel | Drain holes, moving parts, vents, airbags, wiring connectors |
| 3M Thinsulate or automotive acoustic fiber | Absorbs mid/high-frequency sound in cavities | Door cards, trunk trim, quarter panels, headliner spaces | Wet areas, battery vents, window tracks, tight mechanisms |
| Mass-loaded vinyl (MLV) | Blocks airborne noise when decoupled from metal | Floor, firewall area, trunk floor, rear seat bulkhead | Areas where it wrinkles, bunches, blocks ducts, or prevents trim from fitting |
| Spray-on deadener | Covers curved or tight shapes | Wheel wells, seams, irregular cavities | Brake parts, exhaust heat zones, sensors, unclean or wet surfaces |
3M lists automotive Thinsulate acoustic insulation products for vehicle noise and vibration applications, and its automotive brochure shows use areas such as doors, headliners, wheel arch liners, trim panels, and luggage compartment trim. Use it as an absorber, not as a heavy barrier.
Pro Tip: Tap a bare metal panel before and after rolling on butyl. If the ringing turns into a dull thud, the damping layer is doing its job. Extra layers after that point often add more weight than benefit.
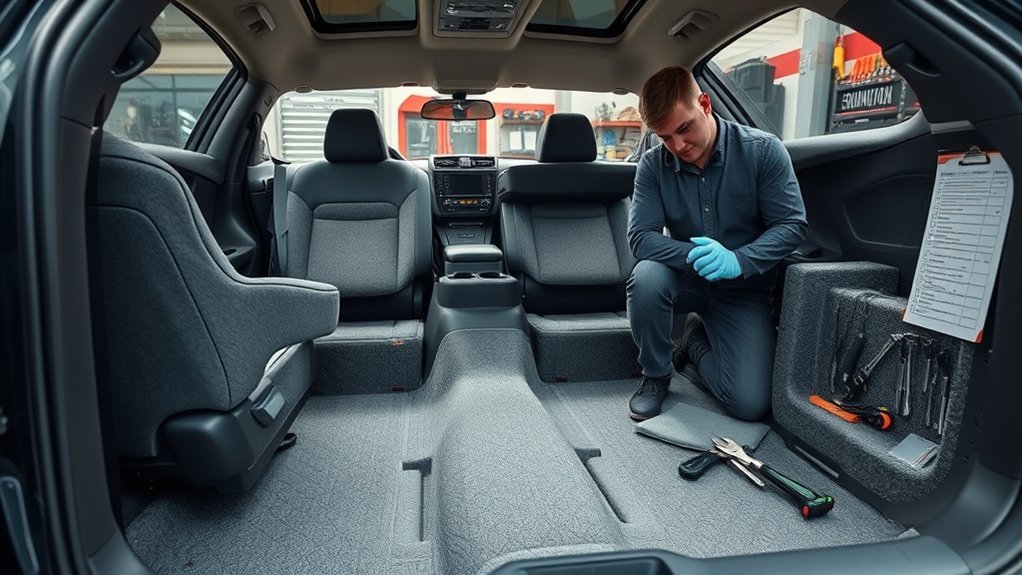
Step-by-Step DIY Installation Plan
Use a staged plan so you can stop when the cabin is quiet enough. This keeps cost, weight, and trim-removal risk under control.
- Document the car first: Take photos of panels, clips, wiring paths, screws, and factory insulation before removing anything.
- Remove trim gently: Use plastic trim tools and replace broken clips instead of forcing panels back into place.
- Clean the metal: Vacuum dust, wipe with isopropyl alcohol, and let the surface dry before applying damping material.
- Apply butyl strategically: Place pieces on large flat areas and roll them firmly until the foil pattern is pressed into the panel.
- Add absorption only where it fits: Keep material away from moving glass, seat tracks, battery vents, HVAC ducts, airbags, and latch mechanisms.
- Reassemble and test: Drive the same route you used for the baseline test. Listen for new rattles before moving to the next area.
DIY vs Professional: Tools, Hybrid Cautions, and Realistic Skill Checks
DIY soundproofing can save money if you are comfortable removing trim, identifying clips, cleaning panels, and routing material around wiring. Doors and trunk trim are reasonable first projects. Carpet removal, seat removal, headliner work, and hybrid-sensitive areas are much more advanced.
Use a professional installer if:
- You are working on a Camry Hybrid and the project reaches the rear battery area or cooling intake vent.
- You need to remove seats, pillar trim, or headliner panels near SRS airbags.
- You want a full-floor MLV installation without carpet fitment problems.
- You do not have a clean, warm, dry workspace for adhesive bonding.
- You want before/after noise measurements and a workmanship warranty.
Warning: Do not cover the traction-battery air intake vent on a Camry Hybrid. Toyota instructs owners to inspect and clean this vent when it is dusty or clogged, and improper handling of the vent cover or filter can damage parts. Insulation that blocks airflow can create performance and service problems.
Find and Vet an Installer for a Hybrid Camry
A hybrid-capable installer should be able to explain what they will remove, what they will not touch, how they protect wiring and vents, and how they confirm the car is reassembled correctly.
Verify Hybrid Experience
Ask whether the shop has worked on Toyota hybrids, not just gas sedans. A good installer should understand high-voltage identification, battery cooling airflow, SRS caution zones, seat wiring, trim-clip replacement, and safe material placement around vents and harnesses.
Inspect Previous Work
Ask for photos of previous installs before trim panels were reinstalled. Look for clean cuts, rolled butyl, uncovered drain holes, protected wiring, and trim that fits flush after reassembly. If they claim a specific decibel reduction, ask how they measured it and under what driving conditions.
Confirm Full-Service Capability
Before approving the job, get a written scope that lists the treated areas, materials, estimated added weight, warranty terms, and safety exclusions. The best shops will explain why they are not treating certain areas, especially near airbags, hybrid battery vents, or high-voltage components.
Budget Plans: Step-by-Step Upgrades With Costs
Costs vary by material brand, local labor rate, and how much trim must be removed. These ranges are practical planning estimates, not guaranteed quotes.
| Plan | Best For | What to Do | Estimated Cost |
|---|---|---|---|
| Budget DIY | Door resonance, light road noise, stereo improvement | Treat front doors, trunk floor, spare-tire area, and obvious rattles | $150–$400 |
| Balanced | Daily drivers with tire roar and rear cabin noise | Doors, rear wheel wells, trunk, selected floor areas, seals, and rattle fixes | $500–$1,200 DIY/pro mix |
| Premium Pro | Full-cabin quieting with minimal trim-fitment risk | Doors, full floor, trunk, wheel wells, selected roof/headliner, pro measurement, reassembly warranty | $1,200–$2,500+ |
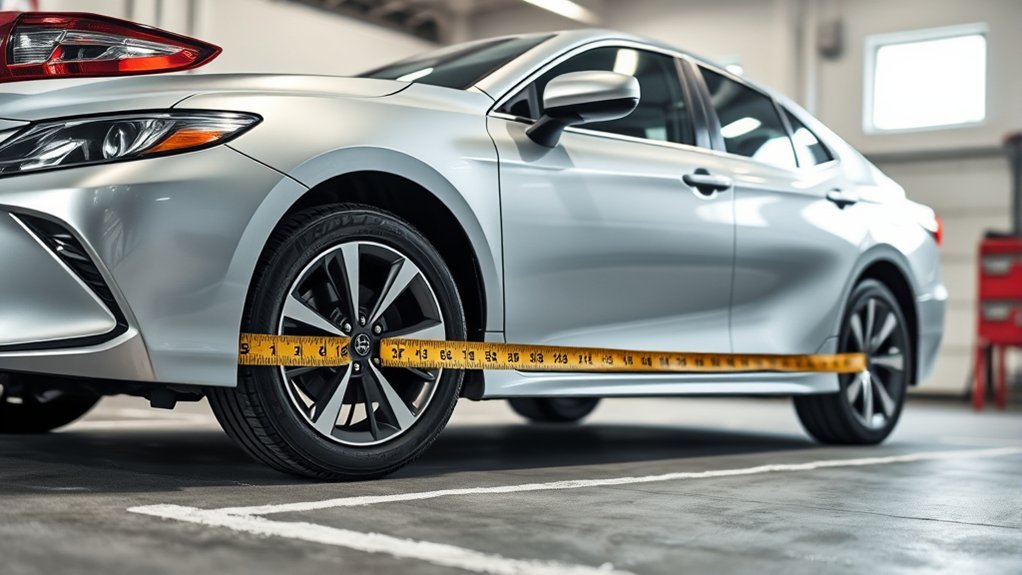
Tires and Suspension Upgrades That Complement Soundproofing
Tires are often the largest road-noise variable you can change without removing interior panels. Before adding heavy materials, check the basics:
- Tire pressure: Use the driver-side door-jamb label or owner’s manual, not the maximum pressure printed on the tire sidewall.
- Tread wear: Cupped, feathered, or uneven tread can create a humming or roaring sound that insulation will not fix.
- Balance and alignment: Vibration and uneven wear can make a quiet tire sound loud.
- Tire type: Grand touring and low-noise touring tires are usually quieter than aggressive performance or winter tires, but they must match the correct size, load rating, and speed rating.
- Wheel size: A taller sidewall can soften impact harshness when it is an approved size for the vehicle. Do not change wheel diameter or tire size unless it is compatible with the car and tire label requirements.
A soundproofed cabin will still sound loud if the tires are worn, overinflated, out of balance, or not suited to the road surface.
Troubleshooting, Maintenance, and When Not to Add More Material

If the cabin still sounds loud after sound treatment, do not immediately add another layer. Work through the common problems first.
- New rattle after install: Check clips, screws, seat trim, speaker mounts, and wire harnesses that may now touch a panel.
- No improvement after door treatment: Check tire noise, door seals, mirror wind noise, and untreated rear wheel wells.
- Carpet will not fit: MLV or foam may be too thick around seat mounts, console brackets, pedals, or ducts.
- Musty smell: Material may be trapping moisture. Remove it, dry the area, and check drain paths.
- Hybrid warning or battery cooling message: Stop driving hard, inspect for blocked vents or disturbed covers, and contact a Toyota dealer or qualified hybrid technician.
Do not remove good factory insulation unless it is wet, damaged, contaminated, or blocking a repair. Factory materials are usually placed for a reason, and replacing them with the wrong material can create fitment, moisture, odor, or service problems.
Frequently Asked Questions
Does the Toyota Camry have a quiet cabin?
The Camry is reasonably quiet for a mainstream sedan, but road texture, tire choice, wheel size, and trim condition can still create noticeable tire roar or door resonance. Targeted sound treatment can help, especially in doors, floor areas, rear wheel wells, and the trunk.
What is the purpose of sound insulation in a car?
Sound insulation reduces vibration, absorbs sound inside cavities, or blocks airborne noise. In a Camry, butyl mats reduce metal-panel ringing, acoustic fiber reduces reflected sound behind trim, and MLV can block airborne noise when it is installed with a decoupling layer.
Why does my Toyota Camry sound loud on the highway?
The most common causes are tire roar, uneven tire wear, incorrect tire pressure, rough pavement, worn door seals, loose trim, and noise entering through wheel wells or the trunk. Diagnose these first before adding heavy material.
Can I soundproof a Camry Hybrid myself?
You can handle basic door or trunk treatment if you avoid high-voltage areas, seat wiring, airbags, and battery cooling vents. Do not work near orange cables, hybrid battery covers, or traction-battery airflow parts unless you have proper hybrid service knowledge.
Where should I add sound deadening first?
Start with the doors and trunk because they are easier to access and often give a clear improvement. If highway road noise is the main issue, add rear wheel-well and floor treatment after checking tires, pressure, balance, and alignment.
Is mass-loaded vinyl worth it in a Camry?
MLV can help block airborne noise, but only when it is decoupled from the metal and installed without gaps or bunching. It is most useful on the floor, firewall area, trunk, and rear seat bulkhead. It is usually not the first material to buy for doors.
Will sound deadening void my Toyota warranty?
Adding sound deadening does not automatically void a warranty, but damage caused during installation can create repair disputes. Avoid cutting wiring, blocking vents, interfering with airbags, trapping moisture, or preventing trim and seats from reinstalling correctly.
How much weight does soundproofing add?
A targeted door-and-trunk project may add only a modest amount of weight, while full-floor damping plus MLV can add much more. Check the product’s weight per square foot and treat only the areas that produce a measurable improvement.
Conclusion
The best Camry sound insulation plan is targeted and safe: diagnose the noise, fix tires and rattles first, treat doors and rear wheel wells early, and use the right material for each job. Butyl mats reduce vibration, acoustic insulation absorbs cavity noise, and MLV blocks airborne noise only when installed correctly. For Camry Hybrid models, protect high-voltage areas, airbag zones, and traction-battery airflow at every step.
Sources
- Toyota Owners — 2025 Camry Hybrid system precautions — backs up high-voltage hybrid safety cautions.
- Toyota Owners — Cleaning the hybrid battery air intake vent — backs up traction-battery cooling vent warnings.
- NHTSA TireWise — backs up tire pressure, correct tire size, rotation, and tire-maintenance guidance.
- 3M Thinsulate Acoustic Insulation for Automotive — backs up automotive acoustic insulation use.
- HushMat FAQs — backs up practical panel-coverage guidance for automotive damping products.
- FHWA — The Little Book of Quieter Pavements — backs up tire-pavement noise background.