If your RAV4 clunks when you turn, start by checking and lubricating the steering intermediate shaft splines and tightening linkage bolts; a CRC white lithium grease injection and proper torque often stops the noise quickly. Isolate the intermediate shaft with the engine off to confirm the source, inspect tie rods, joints, and mounts for play, and use the “spline trick” or replace worn parts if needed. Continue for step‑by‑step fixes and cost estimates.
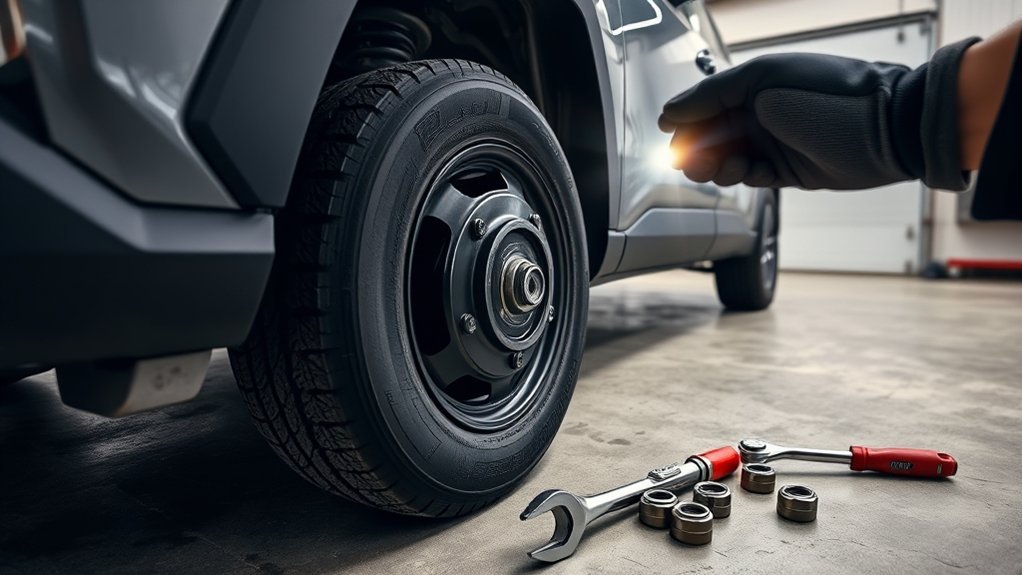
Quick Fix: Stop the RAV4 Steering Clunk in 5–10 Minutes

If your RAV4 is making a clunk when you turn, you can often silence it in 5–10 minutes by injecting CRC White Lithium grease into the intermediate shaft splines. You’ll free the steering joint quickly: use a hook-type tool to expose the splines, apply grease thoroughly, cycle the wheel to seat the lubricant, and recheck for residual play. This is pragmatic steering maintenance that puts control back in your hands without a shop visit.
The procedure is accessible—most owners report noticing the issue near 65,000 miles—and a sub-two-minute video demonstrates each step if you prefer a visual guide. While many see immediate relief, the fix can be temporary; plan periodic checks as part of noise prevention to avoid recurrence. You’ll act efficiently, armed with simple tools and a clear technique, reclaiming freedom from distracting clunks and extending the service life of the steering interface.
[Products Worth Considering]

The Pigenius windshield sunshade protects your Tundra's interior from heat and UV damage while keeping the cabin cool. Its accordion design folds easily for storage and quick setup, and the triple‑laminate construction provides durable, reflective protection. Ideal for long trips and daily commutes, it guards dashboards, seats, and steering wheels from sun‑related wear.

The Autorder windshield sun shade umbrella provides full coverage for Toyota RAV4 models from 2019 to 2026, blocking heat and UV rays with its advanced ice crystal material. Its ten reinforced skeletons and anti‑puncture edges ensure durability and stability, while the effortless umbrella‑style deployment and compact storage bag make it convenient for everyday use. Keep your car interior cool and protected from sun damage with this easy‑setup, high‑performance sunshade.

The KDOWES front windshield sun shade offers a custom fit for Toyota RAV4 SUVs, featuring a double‑layer heat shield that blocks up to 99% of solar rays and reduces interior temperature by up to 40°F. Reinforced steel rings and Velcro fasteners ensure easy installation and a secure fit, while the foldable cartilage steel ring allows convenient storage. This high‑quality, reflective fabric protects upholstery, dashboard, and electronics from UV damage, keeping the cabin cool and comfortable.
Quickly Diagnose the RAV4 Clunk When Turning
When your RAV4 clunks during turns, start by isolating the steering intermediate shaft and electric power‑assist components to pinpoint whether worn splines, a loose coupling, or the rack/motor interface is the source. First, perform a static test: with the engine off, have an assistant slowly turn the steering wheel while you listen and feel at the shaft, rack bellows, and motor mounting points. Note any change in steering feedback and whether the noise shifts with load or wheel position. Next, check fasteners and visible spline engagement; loose bolts or dry splines often reproduce the clunk around 65,000 miles. If you hear the click only under assist, suspect the electric motor/rack interface. For a quick verification, apply CRC White Lithium grease to exposed splines as a temporary measure and retest; many users report a short-term fix. Log findings, then plan work into your maintenance schedule or seek professional repair to guarantee lasting freedom from the noise.
Common Causes: Intermediate Shaft, Linkage, and Mounts Explained
You’ve already checked the intermediate shaft and rack/motor interface; now focus on the specific parts that commonly generate clunks: the intermediate shaft splines, tie rod ends and draglink, and the mounting points that secure the rack and motor.
Start with the intermediate shaft splines — wear or play here lets steering input jump, producing a distinct clunk during turn initiation or reversal. Inspect for spline wear and axial movement; looseness points to spline or coupling failure. Next, examine the tie rod ends and draglink in the steering linkage: ball joint wear or distorted sockets will translate steering loads into impact noises. The linkage’s simple construction makes inspection and replacement straightforward; if wear is evident, replacement with proper tools may be needed. Finally, check rack and motor mounts for loose bolts or degraded bushings that let the assembly shift under load. Use systematic noise diagnosis: isolate components, load the steering, and observe movement. Addressing these steering components restores control and frees you from persistent clunks.
[Products Worth Considering]

Protect your Toyota RAV4 interior with this custom‑fit windshield sun shade that blocks 99% of harmful UV rays and reduces cabin heat. The mirror cut‑out ensures a seamless fit without gaps, while durable 240T polyester and bendable wire keep it sturdy through repeated use. Foldable and stored in a convenient pouch, it offers easy installation and removal for everyday comfort.

The Autovir windscreen shade offers full windshield coverage for Toyota RAV4 models from 2019 to 2026, blocking up to 99.95% of UV rays and reducing interior heat. Its multi‑layer reflective material provides SPF 100 and UPF 80+ protection while keeping the dashboard, seats, and steering wheel cooler. The foldable design installs quickly and stores conveniently in the glove box, and reinforced stitching ensures long‑lasting durability for daily use.
Try These DIY Fixes (Lubricate, Tighten, Spline Trick)
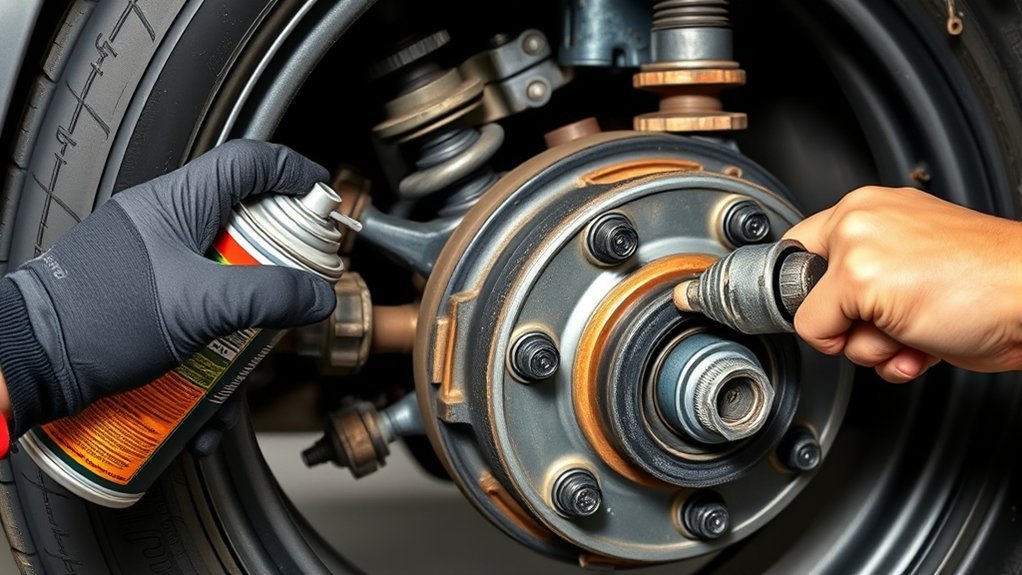
Start by injecting CRC White Lithium grease into the intermediate shaft splines to quiet wear and improve engagement. Then check and torque the steering linkage bolts to spec, since loose fasteners are a common source of clunks. If needed, you can complete a quick shaft removal/replacement—using the “spline trick” to compress the joint during reinstallation for a proper fit—in about 5–10 minutes with basic tools.
Grease The Splines
Try injecting CRC White Lithium grease into the steering intermediate shaft splines and checking for loose linkage bolts—this quick 5–10 minute DIY often stops the clunking by lubricating wear points and securing components. You’ll use a hook tool to expose the splines, apply grease into the grooves, cycle the shaft to work lubricant in, and inspect for play. Spline maintenance like this reduces metal-on-metal wear and delays replacements. Set a lubrication frequency—every 12 months or 12k miles as a baseline, sooner if you hear noise or drive in harsh conditions. Results vary by vehicle history, so treat this as a low-risk, empowering step toward control. If clunks persist after lubrication, escalate diagnostics rather than repeating the same fix.
Tighten Steering Bolts
Tighten the steering bolts and check the splines as a combined DIY step to eliminate play in the intermediate shaft and steering rack connections. You’ll perform basic steering maintenance: inspect all fasteners linking the rack to the electric power steering motor and intermediate shaft, then torque bolts to spec. Use a calibrated wrench and a methodical bolt inspection routine so nothing’s missed. If splines feel dry or gritty, access them with a hook tool and apply CRC White Lithium grease—this reduces backlash and quiets movement. The whole trick takes 5–10 minutes and prevents accelerated wear. By tightening bolts and lubricating splines regularly, you reclaim control, extend component life, and stop the clunk before it becomes a safety or expense problem.
Quick Shaft Replacement
If lubricating the splines and checking fasteners doesn’t stop the clunk, you can replace the intermediate shaft quickly by removing the top and bottom retaining bolts with a 12 mm hex socket and swapping the shaft assembly—this procedure is straightforward with basic hand tools and usually takes under an hour for a DIYer familiar with steering components. Start by confirming noise troubleshooting steps: grease splines with CRC White Lithium using a hook tool (5–10 minutes; some videos show under 2 minutes), tighten linkage bolts, and inspect for wear. When installing the new shaft, verify shaft alignment before final torquing to avoid binding. Regular inspections and lubrication prevent recurrence and restore confident, liberated control of your RAV4’s steering.
When to Replace the Intermediate Shaft or Linkage : Step‑by‑Step
Start by checking the linkage for excess play at the splines and joints; any noticeable looseness at rest or while turning warrants attention. Grease the shaft and retest the steering to see if noise and play are reduced—if the clunk persists or worsens, plan for replacement, especially around the 65,000-mile mark. When replacing, use a 12 mm hex socket, keep the linkage compressed during removal, and fit quality parts to restore steering reliability.
Inspect For Excess Play
When you hear a clunk while turning, inspect the intermediate shaft and linkage for play by having an assistant slowly steer left and right while you watch and feel for movement at both ends; any visible wobble, axial movement, or loosened joint indicates wear or looseness that needs further disassembly. Perform a focused linkage inspection: visually check for rust, cracked joints, or torn boots that signal steering wear. If you see movement, support the vehicle, remove cover panels, and use a 12 mm hex head socket to undo the top and bottom bolts securing the linkage for a detailed check. Measure play by hand; significant free travel or damaged components means replacement. Tighten or replace fasteners as required to restore firm, safe steering response.
Grease And Retest
One simple step you can try before removing parts is to inject grease or light oil into the intermediate shaft splines and linkage joints, then retest steering under the same conditions that produced the clunk. Perform targeted spline maintenance: clean visible debris, apply grease into the splines, and work the steering to distribute lubricant. Use accepted lubrication techniques—light oil can be temporary, grease gives longer service. After greasing, drive the car through the same maneuvers that caused the noise and listen for reduction or elimination of the clunk. If the noise stops, continue periodic inspections and maintain lubrication. If the clunk remains despite proper lubrication and inspection, the worn intermediate shaft or linkage likely needs replacement.
Replace If Persistent
If lubrication and basic adjustments haven’t stopped the clunk, replace the intermediate shaft or affected linkage to restore steering integrity and prevent further wear. You’ll need a 12 mm hex head socket to remove the top and bottom bolts; undo them methodically, support the steering column, and compress the linkage to free it without binding. Inspect surrounding components for wear before fitting the new part so you don’t trade one failure for another. Install the replacement steering linkage or intermediate shaft with proper alignment, torque bolts to spec, and confirm free, smooth articulation. After reassembly, perform a road check and re-inspect fasteners. Regular inspections will free you from recurring issues and keep steering reliable, safe, and under your control.
Parts, Costs, and Safety Checks Before You Drive
Start by confirming the steering linkage is the source of the clunk: you’ll need a 12 mm hex head socket to remove the top and bottom bolts for inspection and replacement, and a careful check of fastener torque and lubrication can often fix the issue without parts replacement. You’ll perform steering maintenance, inspect bushings, and test for play before buying parts. Use CRC White Lithium grease for a low-cost fix; if parts are needed, prioritize part quality for longevity and safety.
| Item | Action | Est. Cost |
|---|---|---|
| Grease | Lubricate linkage with CRC | $5–10 |
| Bolts | Torque check / replace if stripped | $2–20 |
| Linkage | Replace if worn | $30–150 |
Before you drive, verify no play, confirm torque specs, and road-test at low speed. If clunk persists, replace linkage with quality parts. Your freedom on the road depends on reliable steering; don’t risk it.
Frequently Asked Questions
How Much Does It Cost to Replace a Wheel Bearing on a Toyota RAV4?
You’ll pay roughly $300–$600 to replace a Toyota RAV4 wheel bearing; parts $100–$200, labor $200–$400. Prioritize wheel bearing maintenance and noise diagnosis so you’re empowered to avoid bigger, liberty-restricting repairs.
What Would Cause a Clunking Noise When I Turn?
You’re hearing clunks when you turn because worn steering joints, loose suspension issues, or drivetrain problems (like faulty CVs or intermediate shafts) create play and metal-on-metal contact; inspect, grease, tighten, or replace components promptly.
Do Tie Rods Clunk When Turning?
Yes — you’ll hear tie rods clunk when turning if they’re worn or loose; they cause steering issues and affect suspension components. Inspect for play, cracking, or lubrication loss, and replace faulty rods to regain safe control.
Conclusion
You’ve got this — most steering clunks aren’t apocalypse-level, but they won’t fix themselves. Start with the 5–10 minute checks: inspect mounts, intermediate shaft play, and linkages; tighten and lubricate where specified. If splines are worn or the shaft has axial play, replace the intermediate shaft or linkage per the step‑by‑step guide. Use OEM parts, check torque specs, and confirm no leaks before driving. Still unsure? Get a pro to verify safety.