If your RAV4 Prime charging is interrupted, start by confirming the charge schedule and source, then inspect the port, cord, fuses and 12‑volt battery for loose connections, corrosion or low voltage. Test both a known 120V outlet and a 240V EVSE to isolate the fault, note charger LED patterns and vehicle error codes, and document timestamps and conditions. If onboard charger or ECU faults appear, seek professional diagnostics; continue for step‑by‑step tests, error interpretations and repair prep.
How to Fix a RAV4 Prime That Won’t Charge
If your RAV4 Prime won’t charge, start by verifying the charging schedule isn’t set to “off,” then proceed methodically. First, confirm charging settings in the infotainment or mobile app to rule out software prevention. Next, inspect the charge port for debris or corrosion; clean with compressed air and a nonconductive brush to eliminate physical connection issues. Plug into both a 120V outlet and a public charging station to isolate the onboard charger: if one source charges and the other doesn’t, note that pattern. Use a multimeter to test fuses associated with the charging circuit for continuity; replace any blown fuse with the exact specification. If the vehicle consistently fails to accept charge across sources and fuses test good, document your findings and contact the dealer for diagnostic services. They can evaluate the charging ECU and onboard charger assembly under warranty. You’ll regain control by following these targeted, technical steps toward liberation from uncertainty.
[Products Worth Considering]

The Pigenius windshield sunshade protects your Tundra's interior from heat and UV damage while keeping the cabin cool. Its accordion design folds easily for storage and quick setup, and the triple‑laminate construction provides durable, reflective protection. Ideal for long trips and daily commutes, it guards dashboards, seats, and steering wheels from sun‑related wear.
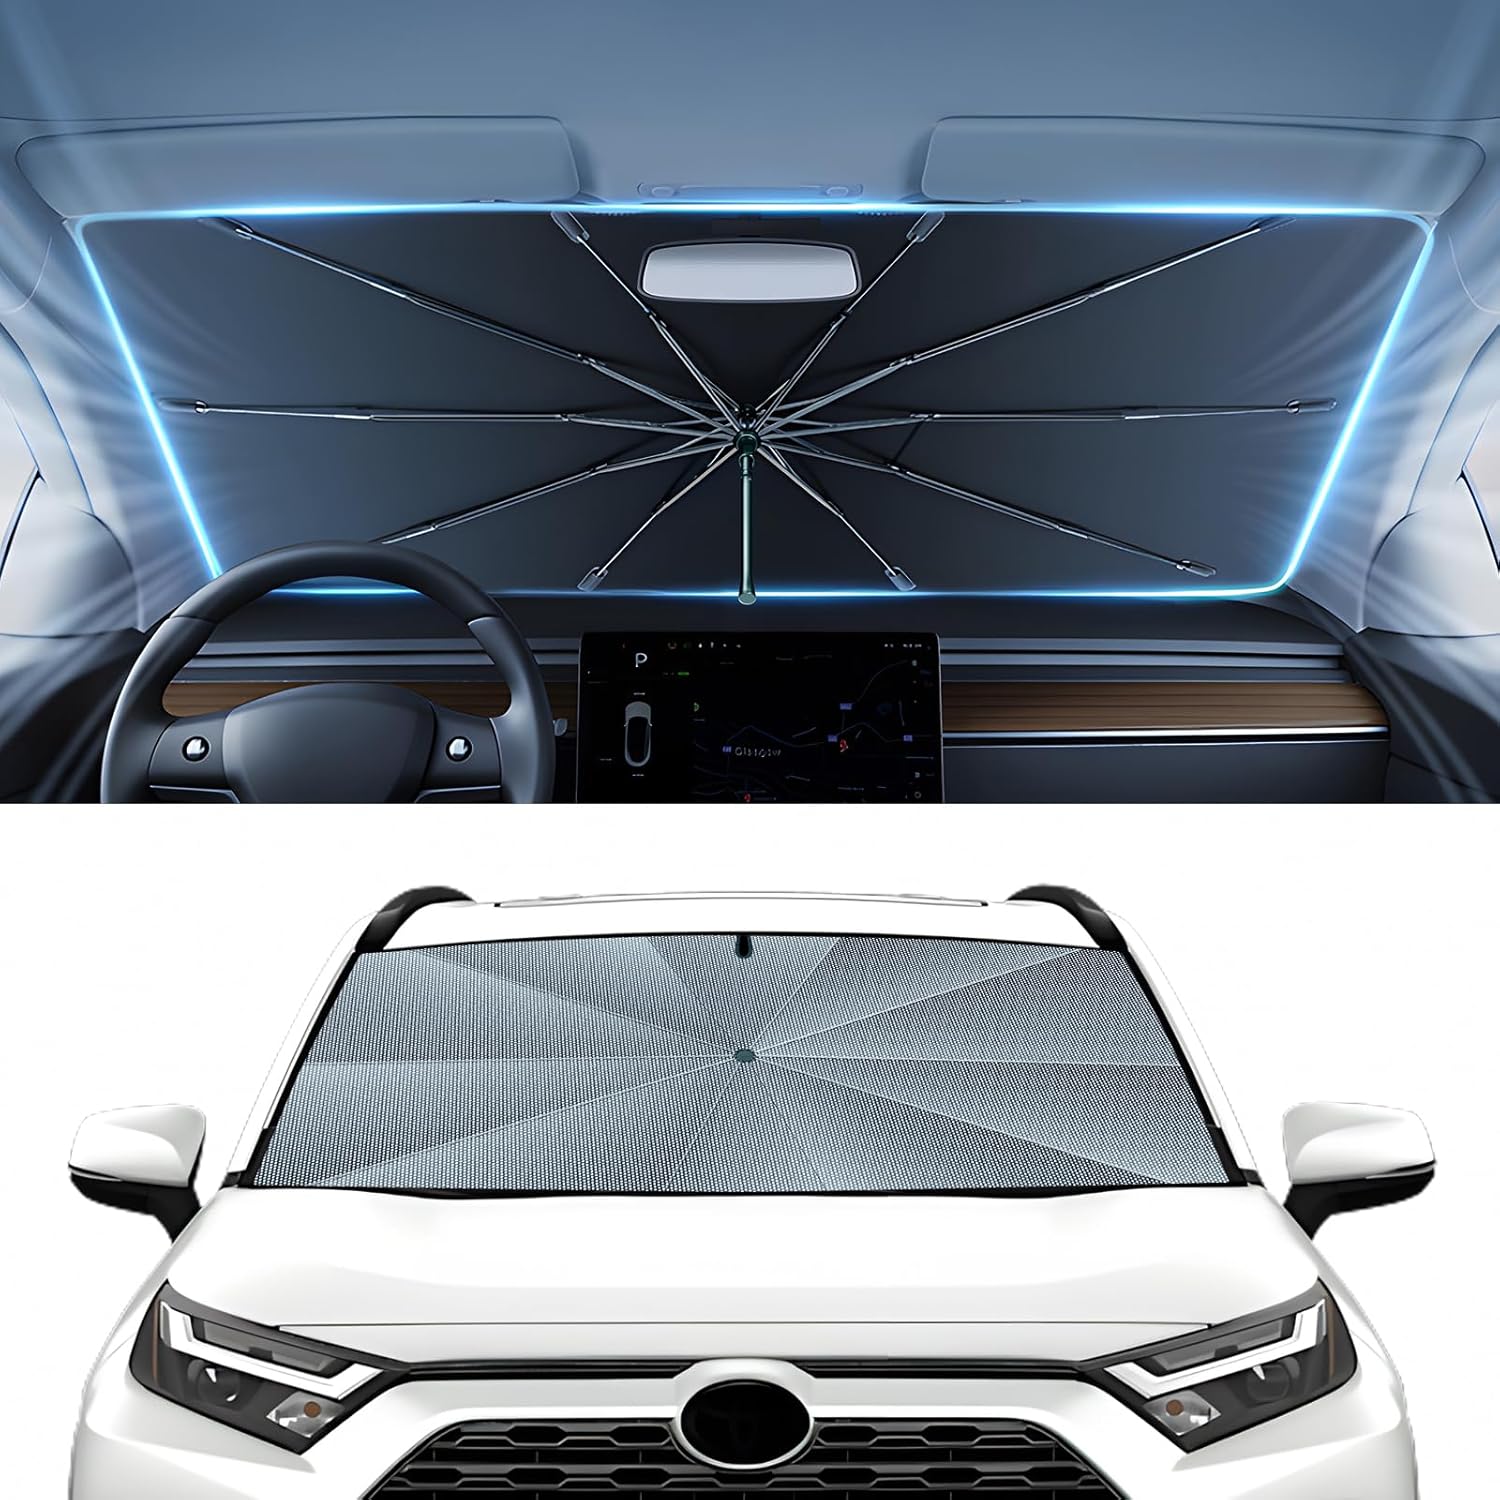
The Autorder windshield sun shade umbrella provides full coverage for Toyota RAV4 models from 2019 to 2026, blocking heat and UV rays with its advanced ice crystal material. Its ten reinforced skeletons and anti‑puncture edges ensure durability and stability, while the effortless umbrella‑style deployment and compact storage bag make it convenient for everyday use. Keep your car interior cool and protected from sun damage with this easy‑setup, high‑performance sunshade.

The KDOWES front windshield sun shade offers a custom fit for Toyota RAV4 SUVs, featuring a double‑layer heat shield that blocks up to 99% of solar rays and reduces interior temperature by up to 40°F. Reinforced steel rings and Velcro fasteners ensure easy installation and a secure fit, while the foldable cartilage steel ring allows convenient storage. This high‑quality, reflective fabric protects upholstery, dashboard, and electronics from UV damage, keeping the cabin cool and comfortable.
Quick Checklist to Try First When Your RAV4 Prime Won’t Charge
After you’ve checked settings and basic diagnostics from the previous section, run through this concise checklist to quickly rule out the most common causes when your RAV4 Prime won’t charge. Be systematic and decisive—this list frees you from uncertainty and gets you to targeted repairs.
- Verify the charging schedule isn’t set to “off”; if it is, enable immediate charging and retry.
- Perform a debris inspection at the charging port; remove dirt or foreign objects and reseat the connector.
- Try both a 120V household outlet and a public charging station to isolate vehicle vs. external charger faults.
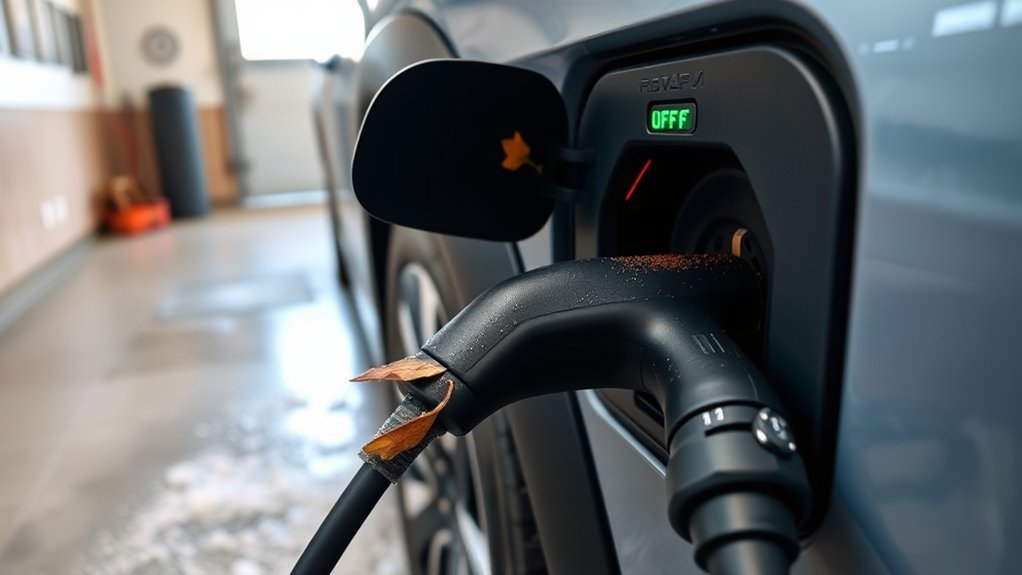
- Observe the power cord indicator: a green-to-red flash typically signals an onboard charger or connection fault requiring deeper inspection.
- Inspect relevant fuses in the engine bay, front dash, and rear cargo area for visible damage or displacement.
Follow these steps in order; they’ll quickly eliminate common external and user-configurable issues so you can act with clarity.
How to Test the 12‑Volt Battery and Fuses (Fast Checks)
Start by measuring the 12‑volt battery voltage with a multimeter; a resting battery should read about 12.30–12.90 V and should rise to roughly 14–14.5 V with the engine running. Inspect the battery terminals for corrosion, looseness, swelling, or leakage and note the battery age (typically 4–5 years) to assess replacement need. Then open the engine‑compartment fuse box, locate the alternator/”ALT” fuse, and check it for continuity, replacing any blown fuses.
Check Battery Voltage
When you suspect charging issues, begin by testing the 12‑volt battery with a multimeter: a healthy, resting battery should read about 12.30–12.90 V, and with the engine running the voltage should rise to roughly 14–14.5 V to show the alternator is charging. Use this precise check to assess battery health and detect voltage fluctuations that undermine system reliability.
- Verify resting voltage with engine off; record the value.
- Start engine; confirm charging voltage 14–14.5 V within seconds.
- Inspect terminals for corrosion; clean and tighten connections.
- Visually examine battery case and cables for damage or looseness.
- Scan fuse box for obvious blown fuses (noting alternator-related fuses).
If readings deviate, you’ll isolate alternator vs. battery problems and act to reclaim operational freedom.
Inspect Charging Fuses
If you suspect a charging fault, check the 12‑volt fuses in the engine‑bay fuse box to rule out a simple blown fuse before moving to more complex diagnostics. You’ll test the battery with a multimeter: 12.30–12.90 V engine off, 14–14.5 V running. Locate the “ALT” 7.5 A fuse, pull it, and perform fuse continuity testing; a blown fuse shows discoloration or a broken filament. Replace any blown fuse with the identical amperage — fuse replacement tips: match rating, seat firmly, avoid cheap substitutes. Regular checks prevent unexpected charging failures and free you from avoidable roadside constraints. Act methodically: inspect, measure, test continuity, replace, then verify charging voltage.
| Step | Expected value |
|---|---|
| Battery (off) | 12.30–12.90 V |
| Charging (running) | 14–14.5 V |
Diagnose the Charging Cord and EVSE: 120V vs 240V Tests
Start with basic 120V checks: inspect the cord for damage, confirm secure connections, and verify the charger’s indicator lights remain steady during a charge attempt. Then move to 240V station tests, using a known-good EVSE to confirm higher-power operation and watching for faster current draw and any fault indications. If one voltage works and the other doesn’t, that pattern points toward an EVSE or onboard charger issue rather than the vehicle’s high-voltage battery.
[Products Worth Considering]

Protect your Toyota RAV4 interior with this custom‑fit windshield sun shade that blocks 99% of harmful UV rays and reduces cabin heat. The mirror cut‑out ensures a seamless fit without gaps, while durable 240T polyester and bendable wire keep it sturdy through repeated use. Foldable and stored in a convenient pouch, it offers easy installation and removal for everyday comfort.

The Autovir windscreen shade offers full windshield coverage for Toyota RAV4 models from 2019 to 2026, blocking up to 99.95% of UV rays and reducing interior heat. Its multi‑layer reflective material provides SPF 100 and UPF 80+ protection while keeping the dashboard, seats, and steering wheel cooler. The foldable design installs quickly and stores conveniently in the glove box, and reinforced stitching ensures long‑lasting durability for daily use.
120V Basic Checks
Because charging problems can stem from either the vehicle or the supply equipment, begin by isolating the fault with controlled 120V and 240V tests of the OEM cord and any EVSE you’re using. Check the Charging Schedule to verify charging isn’t set to “off.” Watch Indicator Lights on the OEM 120V charger—flashing green then red often indicates a charger fault or poor connection. Inspect the vehicle inlet for debris that could interrupt contact.
- Plug into a known-good 120V outlet and observe charge initiation and lights.
- Repeat with a verified 240V source to compare behavior.
- Swap cords or EVSE to see if the fault follows the equipment.
- Note any persistent error patterns for diagnostics.
- Confirm external charging station status before blaming the vehicle.
240V Station Tests
Having narrowed the issue with basic 120V/240V checks, you’ll use the V Station to isolate whether the fault is in the charging cord or the EVSE by running controlled 120V and 240V diagnostic cycles. Connect the V Station per its manual, select 120V first, and observe voltage delivery and indicator lights on the charging cord; changes in light status or intermittent voltage indicate cord faults. Repeat at 240V to assess the EVSE’s capacity to sustain required amperage—failure to reach or hold specified voltage points to the EVSE. Log results for each cycle and compare against your RAV4 Prime service manual parameters. These V Station diagnostics verify charging cord compatibility and empower you to reclaim control over charging reliability.
When the Onboard Charger or ECU Is Likely the Problem
When your RAV4 Prime won’t accept charge from both 120V and 240V sources and the dashboard shows errors like “charging stopped by system malfunction,” the onboard charger or its ECU is a likely culprit and should be prioritized in diagnostics. You’ll proceed methodically: isolate the AC-to-DC conversion path and confirm the control electronics.
- Verify error codes and record timestamps from the vehicle’s diagnostic interface.
- Test charging with vehicle off and with ICE charging available to see if onboard charger fails while ICE-supplied charging works.
- Inspect and continuity-test fuses for the charging system; blown fuses often point to ECU malfunction or charger faults.
- Measure AC input and DC output at the charger assembly to confirm conversion failure versus upstream supply issues.
- Log environmental observations (port cleanliness noted) but prioritize electronic diagnostics when both voltages fail.
You’ll act decisively: confirm charger assembly failure before replacing batteries, liberating yourself from unnecessary parts swaps.
Check Connectors, Debris, Moisture, and Temperature Effects
If connectors, port surfaces, or seals are loose, corroded, or contaminated you’ll see interrupted charging or intermittent faults, so inspect and clean every mating surface and probe for moisture before moving to electrical diagnostics. Start with visual and tactile checks: verify connector maintenance by confirming tight fit, no bent pins, and no green or white oxidation. Remove debris with a soft brush and use isopropyl alcohol on lint-free wipes to clean contacts; don’t spray cleaners into the port. Probe seals and cavities with a flashlight and absorbent swab to detect moisture; dry with low-pressure warm air, not heat guns. For moisture prevention, apply dielectric grease lightly to rubber seals and store charging equipment off the ground. Monitor ambient temperature: avoid charging in extreme heat or cold, and, when possible, move the vehicle to a temperature-controlled space to stabilize battery chemistry. Perform regular inspections after exposure to rain, salt, or dirt to sustain reliable charging.
What Charging Lights and Error Codes Mean (What to Ask the Dealer)
After you’ve checked connectors, seals, and ambient conditions, interpret the charger and vehicle indicators to pinpoint the fault: a flashing green on the charger usually means the unit has detected a connection or handshake problem or that charging initiated but didn’t complete, while a solid red or a red power-cord light indicates a fault state often tied to the onboard charger or a severe connection error. You’ll use charging light meanings to triage before contacting the dealer.
- Note dashboard messages (e.g., “charging stopped by system malfunction”) and record time/date.
- Capture charger LED patterns and any sequence changes during attempted charging.
- Retrieve or request stored error codes from the vehicle diagnostic system; they convey error code significance.
- Ask the dealer for full diagnostic reports showing fault codes, freeze-frame data, and test steps.
- Demand clarity on whether the fault implicates the onboard charger, external charger handshake, or wiring.
Be direct with the dealer: precise data liberates you from vague diagnoses and speeds effective repair.
Costs, Warranty Coverage, and What to Document for the Dealer
Because warranty terms and diagnostic policies vary, you should document every charging incident and confirm coverage before authorizing repairs. Record timestamps, charger type (level 1/2), error messages, indicator lamp states, ambient conditions, and a step-by-step sequence of events; these documentation tips guarantee reproducibility and strengthen your case for coverage. Review your warranty timeline—commonly 2 years or 25,000 miles—and map incident dates to determine applicability. Ask the dealer explicitly about warranty implications for diagnostic fees: many dealers waive or absorb diagnostics if they verify a warranty-related fault; otherwise compare fees across locations. Know that replacement components like an onboard charger can approach $850 installed, so establishing warranty responsibility can save significant cost. Store photos, screenshots, and charger serials in a dated file you’ll present at intake. Be procedural: present the documented chronology, request written confirmation of coverage decisions, and get any fee waivers or denials in writing to preserve leverage for appeals.
When to Call a Pro and What to Bring to the Repair Visit
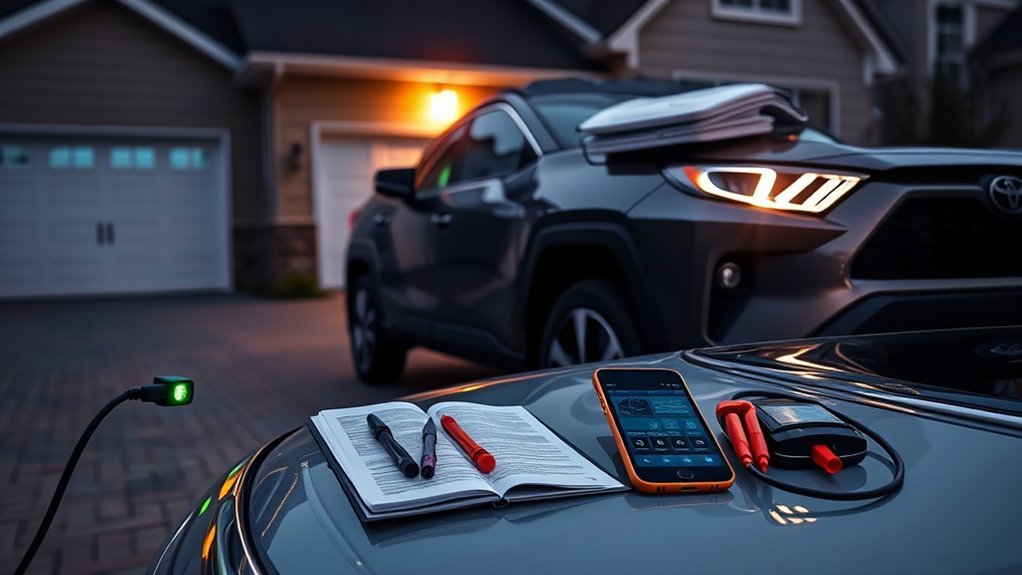
Once you’ve documented incidents and confirmed warranty standing, call a professional when charging failures persist despite basic troubleshooting or when error codes, indicator lamp patterns, or auditory cues point to electrical or onboard charger faults. You’ll seek a professional assessment to isolate root causes and avoid unsafe DIY interventions. Prepare precise repair documentation and evidence to speed diagnosis.
If charging problems persist despite basic checks, call a technician with documented incidents and warranty details to diagnose safely.
Bring the following to the appointment:
- Vehicle warranty paperwork and service manual to verify coverage and locate fuses/components.
- Chronology of charging attempts, error messages, station IDs, and troubleshooting steps already performed.
- Audio/video clips or notes describing unusual sounds or behaviors observed during charging.
- Results from testing with alternate chargers or stations to show reproducibility or location-specific issues.
- Recent service records and any prior relevant diagnostic reports.
Hand these items to the technician, state the problem deterministically, and request documented findings and a written estimate before authorizing repairs. This preserves your rights and supports efficient, liberated resolution.
Frequently Asked Questions
Why Does My Car Keep Saying Charging Interrupted?
Your car’s saying charging interrupted because the charging system sensed a fault — try troubleshooting tips: inspect cable, port debris, fuses, 12V state, and charger; if faults persist, get a professional diagnosis to reclaim reliable charging.
What Are the Four Common Symptoms Caused by Charging System Problems?
About 60% of failures start with battery issues: you’ll see dashboard warnings, reduced electronic functionality, fluctuating voltage readings, and physical battery distress. Check Battery health, Charging cables, Power sources, and Software updates methodically to reclaim control.
Conclusion
So you checked fuses, the 12‑volt, cords, pins, and even wiped away the suspicious damp—yet the RAV4 Prime still refuses to drink. Ironically, the more methodical your troubleshooting, the likelier the fault is electronic and beyond a quick fix. Don’t waste time guessing: document error lights, test results, and photos, then take it to the dealer or a certified EV tech. That paperwork is the only thing likely to speed a warranty repair.