Why Your RAV4 Brake Pedal Pulses and How to Fix It
What’s in This Article
- Before You Begin the Brake Pedal Pulsation Check
- Quick Diagnosis: Is the Pulsation Front or Rear on Your RAV4?
- Likely Causes of Brake Pedal Pulsation in a RAV4
- How Rotor Runout Creates Pedal Vibration
- Sticking Calipers, Seized Pistons, and Slide-Pin Problems
- Home Garage Inspection Checklist: Tools, Safety, and What to Look For
- If You Find Rotor Runout: Resurface or Replace Rotors and Pads
- How to Check and Service Calipers, Sliders, and Brake Hoses
- How to Bed-In Your New Brakes
- DIY Costs and Parts for a RAV4 Brake Job (Estimate + Checklist)
- When to Take Your RAV4 to a Professional Mechanic?
- Frequently Asked Questions
If your RAV4’s brake pedal pulses when you stop, don’t ignore it. You may have rotor runout, disc thickness variation, sticking calipers, worn pads, or a rear brake issue. A short road test can help you decide where to inspect first.
Test your vehicle at a low speed in a safe area. Notice whether the vibration comes through the steering wheel, seat, or just the pedal. Then inspect rotor runout, pad wear, caliper slide pins, brake hoses, and brake fluid condition before you replace parts.
Quick Answer
Brake pedal pulsation in a Toyota RAV4 often comes from rotor runout or disc thickness variation. A sticking caliper, seized slide pin, damaged brake hose, or rear brake issue can create the same feeling. If the steering wheel shakes with the pedal, start with the front brakes. If only the pedal pulses, inspect the rear brakes too.
Key Takeaways
- Start with a safe low-speed test to locate the vibration before you remove parts.
- Measure rotor runout and thickness with the right tools instead of guessing.
- Inspect caliper pistons, slide pins, boots, hoses, and pads for drag or uneven wear.
- Replace rotors that fall below the minimum thickness or show severe heat damage.
- Hire a mechanic if you find brake fluid leaks, damaged lines, ABS warnings, or weak stopping power.
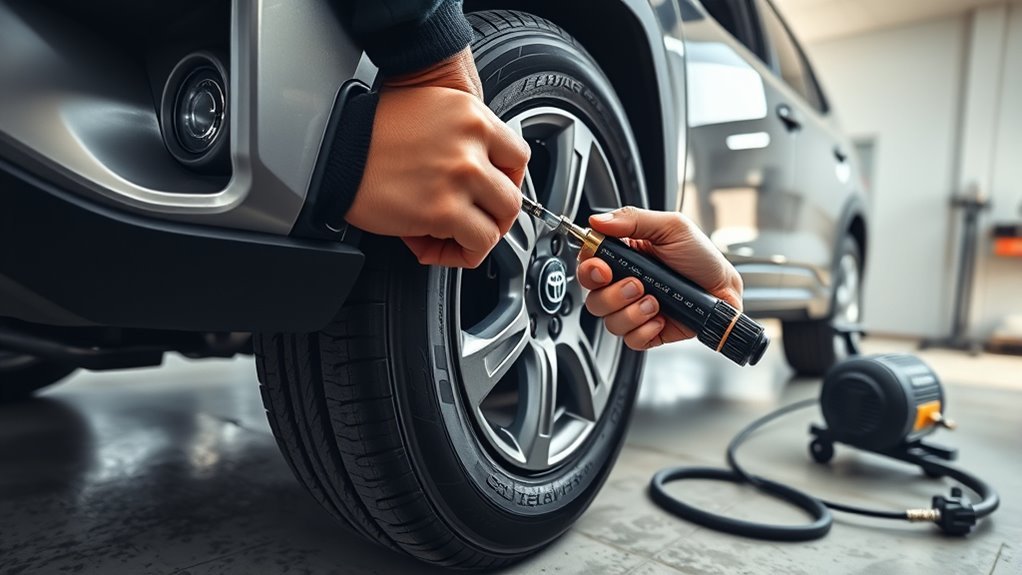
Before You Begin the Brake Pedal Pulsation Check
Set aside about 45 to 90 minutes for a basic inspection. You will need a flashlight, jack stands, a floor jack, a lug wrench, a dial indicator, a micrometer, brake cleaner, and the correct repair manual for your RAV4 model year.
Work only on a hard, flat surface. Set the parking brake, chock the wheels, and support the vehicle with jack stands before you place any part of your body near the wheel well.
Warning: Stop driving and get professional help if your brake pedal sinks, the brake warning light stays on, fluid leaks, or the RAV4 pulls hard during braking.
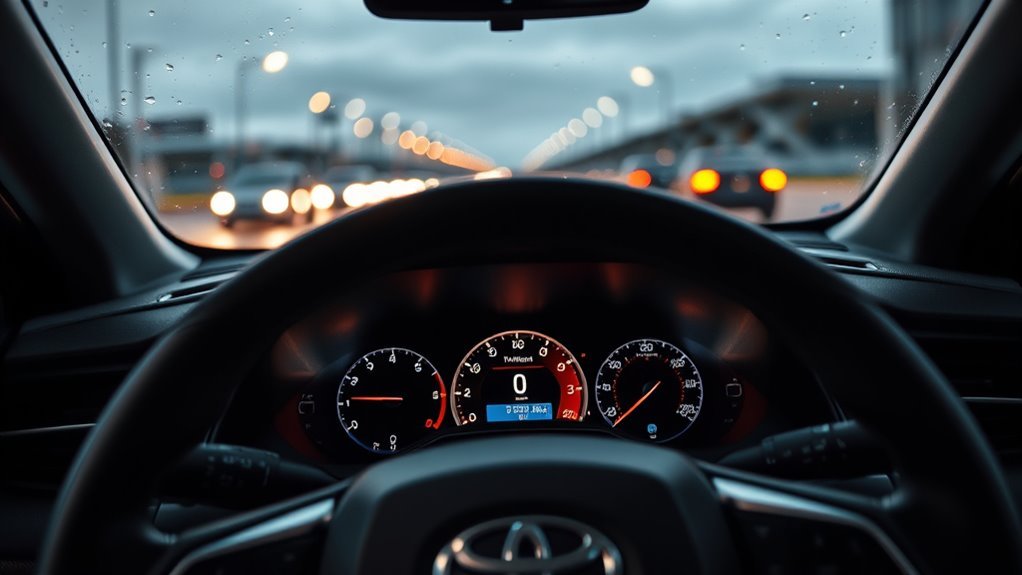
Quick Diagnosis: Is the Pulsation Front or Rear on Your RAV4?
You can run a focused test to find where the brake pedal pulsation starts. Apply the brakes gently at a low speed, then make a few firmer stops in a safe place. Keep both hands light on the wheel so you can feel steering vibration.
Suspect the front brakes if the steering wheel shakes with the pedal. Suspect the rear brakes if the steering wheel stays steady while the pedal pulses. Pulsation through your seat can also point to a rear brake problem.
Inspect the rear rotors, parking brake hardware, or rear drums if your RAV4 model uses drums. Then measure front rotor runout and check the caliper pistons. Sticking pistons can cause uneven wear and can feel like a rotor problem.
Check your brake fluid level and fluid condition too. Brake fluid problems usually cause a soft, fading, or inconsistent pedal, not a true pulse. Still, low or contaminated fluid needs prompt attention because it can reduce braking performance.
Likely Causes of Brake Pedal Pulsation in a RAV4
Focus first on rotor runout, disc thickness variation, uneven pad deposits, sticking calipers, and rear brake faults. These problems create changing brake force each time the wheel turns. That changing force travels back through the pedal.
Rear brake issues can create isolated pedal feedback when the steering wheel stays calm. Depending on your RAV4 year and trim, inspect rear rotors, parking brake hardware, shoes, drums, wheel cylinders, or calipers. Look for scoring, uneven wear, leaks, and loose or corroded hardware.
You should also verify the caliper pistons and sliders at the front wheels. Sticking parts can hold one pad against the rotor and create hot spots. Clean hardware and free-moving slide pins help the pads wear evenly.
- Check rotor runout with a dial indicator.
- Measure rotor thickness with a micrometer.
- Inspect pad wear on both inner and outer pads.
- Test caliper slide pins for smooth travel.
- Inspect brake hoses for cracks, bulges, and internal restriction signs.
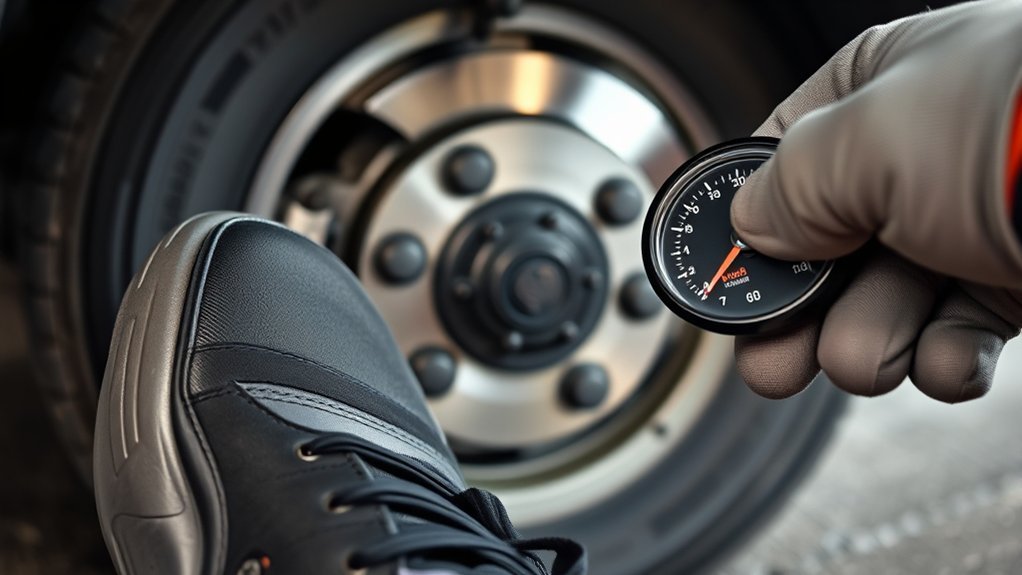
How Rotor Runout Creates Pedal Vibration
Check the rotor runout and thickness first. Lateral runout means the rotor moves side to side as it spins. That movement can create disc thickness variation, uneven pad contact, and a pulse you feel through the brake pedal.
Many drivers call this a warped rotor, but the real problem often comes from runout, pad material transfer, rust on the hub, or uneven rotor thickness. Measure the rotor before you decide on repair. Resurfacing or replacement can restore even contact if the rotor still meets Toyota’s model-specific limits.
Rotor Runout And Thickness
If your RAV4’s brake pedal pulses without steering vibration, rotor runout or thickness variation can still play a role. Use a dial indicator to measure runout. Compare the reading with the factory specification for your exact RAV4 year.
Use a micrometer to measure rotor thickness at several points around the rotor. Do not rely on sight alone. A rotor can look smooth but still create pedal feedback under braking.
| Check | Action |
|---|---|
| Runout exceeds Toyota spec | Correct hub fit, resurface, or replace rotor |
| Thickness varies around the rotor | Resurface only if enough material remains |
| Thickness below minimum | Replace rotor |
| Rust or dirt on hub face | Clean hub before rotor installation |
Brake Pad Contact Variance
Look next at how rotor surface changes affect pad contact during braking. High spots and low spots change the clamping force at each wheel rotation. This creates cyclical force that travels through the hydraulic system and pedal.
Inspect your pads for uneven wear. Check the pad backing plate, clips, and abutment areas. Replace pads that show taper wear, glazing, cracks, oil contamination, or heat damage.
Note: Use your RAV4 repair manual for exact runout, rotor thickness, and torque specs because limits vary by model year.
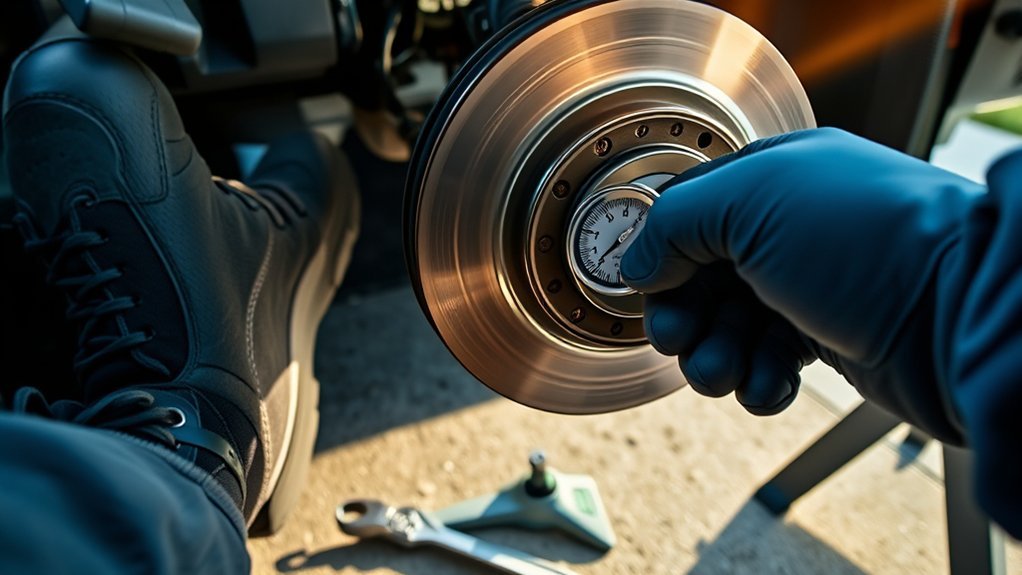
Sticking Calipers, Seized Pistons, and Slide-Pin Problems
Check the calipers for piston seizure. A frozen piston can hold the brake pad against the rotor, which creates heat, uneven wear, and pedal pulsation. Inspect and free any stuck slide pins so the caliper can move correctly.
If the pads do not retract fully, clean, lubricate, or replace the affected pistons, pins, boots, and hardware. Use only brake-safe grease in the correct areas. Keep grease away from the pad friction surface and rotor face.
Caliper Piston Seizure
When caliper pistons seize or slide pins bind, they keep pads pressed against the rotor. This creates uneven pad wear, overheating, and noticeable brake pedal pulsation. Inspect piston movement and slide pin freeplay during service.
You can diagnose seized pistons by measuring pad drag, checking for uneven rotor temperatures, and watching the piston return when you release the brake pedal. Replace the caliper if cleaning and lubrication do not restore smooth movement.
- Remove the caliper, compress the piston, and watch the return stroke for hang-ups.
- Inspect the dust boots, check for corrosion, and look for bore scoring.
- Clean and lubricate approved contact points with brake-safe grease.
- Replace the caliper or piston assembly if movement stays restricted.
Stuck Slide Pins
If the slide pins seize or bind, they stop the caliper from sliding freely. This holds one pad tighter than the other. The result can include uneven pad wear, overheating, and brake pedal pulsation.
Lift the vehicle safely, remove the wheel, and check the pin boots for damage or corrosion. Clean the pins with brake cleaner and lubricate them with the grease your repair manual specifies. Replace damaged boots or pins before reassembly.
Pad Retraction Failure
Caliper pistons and slide pins must retract smoothly. Any binding can hold the pads against the rotor. That drag creates heat and uneven wear, which can show up as pedal pulsation.
- Visually inspect the pistons and dust boots for damage or fluid seepage.
- Unbolt the caliper, test slider movement, and clean the channels.
- Replace seized pistons or rebuild the calipers when needed.
- Reassemble with correct grease and follow factory torque specs.
Home Garage Inspection Checklist: Tools, Safety, and What to Look For
Before you start a DIY brake job, gather your essential tools. You will need a strong flashlight, basic hand tools, a heavy-duty floor jack, jack stands, a dial indicator, and a micrometer. A brake fluid tester can help you screen fluid condition, but it does not replace proper service guidance.
Wear gloves and safety glasses to protect yourself from brake dust and chemicals. Keep brake cleaner away from flames, painted surfaces, and your skin. Wash your hands after the inspection.
Inspect your workspace before you lift the RAV4. Use a level concrete surface and avoid dirt, gravel, or sloped ground. Check the ground around the wheels for brake fluid.
Assess your brake systems carefully. Look for exposed wiring on Anti-lock Brake System (ABS) sensors near the wheels. Log your findings clearly and fix immediate safety hazards first.
If You Find Rotor Runout: Resurface or Replace Rotors and Pads
When you detect rotor runout or thickness variation, decide whether to resurface or replace the rotors. Check the rotor thickness, pad condition, hub cleanliness, and repair cost. Resurfacing can restore a flat braking surface only if the rotor remains above the manufacturer’s minimum thickness.
Replacement often makes more sense when the rotor shows heat cracks, deep scoring, heavy rust, or low thickness. Install new brake pads with resurfaced or new rotors. Old pads can transfer uneven material to the fresh rotor surface and bring the pulse back.
- Resurface when thickness stays above the minimum spec and runout can be corrected.
- Replace when low thickness, heat damage, cracks, or scoring compromise the rotor.
- Clean the hub face before installing any rotor.
- Install new pads with resurfaced or new rotors.
Pro tip: Measure runout after you mount the rotor because hub rust and uneven lug torque can create a new pulsation problem.
How to Check and Service Calipers, Sliders, and Brake Hoses
Start by jacking up the vehicle, placing it on stands, and removing the wheel to access the caliper. Inspect the caliper piston for smooth retraction when you press and release the brake pedal. Sticking pistons cause continuous pad contact and rotor wear.
Clean the dust boots, check for fluid leaks, and watch the piston movement. Replace any piston, seal, or caliper that resists movement. Do not force a damaged piston back into service.
Next, conduct a slider inspection. Remove the caliper, clean the slider pins, remove corrosion, and apply the brake grease your repair manual specifies. Replace seized pins, torn boots, or damaged brackets.
Inspect the brake hoses for bulges, cracks, rubbing, or collapse. A hose can fail internally and hold pressure at the caliper. Confirm your brake fluid level and flush fluid if it looks dark, contaminated, or fails testing.
How to Bed-In Your New Brakes
After installing new rotors and pads, bed them in according to the pad maker’s instructions. Bedding transfers an even layer of pad material onto the rotor. That even layer helps prevent future pulsation.
Find a safe, open road with no traffic behind you. Speed up to about 35 mph, then apply moderate brake pressure to slow to about 5 mph. Do not stop completely during the cycle.
Repeat that process four or five times. Then increase to about 45 mph and brake harder down to about 5 mph for another few cycles. Drive normally for several minutes so the brakes can cool.
DIY Costs and Parts for a RAV4 Brake Job (Estimate + Checklist)
A basic DIY brake job on a Toyota RAV4 often involves replacing both rotors and pads on one axle. Parts cost varies by model year, trim, brand, shipping, and hardware needs. Kelley Blue Book lists typical pad and rotor replacement at about $250 to $400 per axle for many shop repairs.
Expect higher totals if you need calipers, hoses, wheel cylinders, parking brake hardware, or dealer labor. Compare parts by fitment, warranty, and friction material, not price alone. Poor fit can cause noise, drag, or recurring pulsation.
- Parts checklist: rotors, pads, caliper hardware, clips, boots, brake cleaner
- Tools checklist: jack, stands, lug wrench, torque wrench, micrometer, dial indicator
- Cost checklist: parts subtotal, shipping, hardware, consumables, tool rental
- Procedure checklist: lift, remove wheel, inspect, measure, replace parts, torque, bed-in
Follow basic brake maintenance tips. Inspect your lines, measure rotor thickness, clean hub surfaces, and torque bolts to spec.
When to Take Your RAV4 to a Professional Mechanic?
Seek a professional evaluation if your brake pedal pulsation continues after you replace pads or rotors. Document the symptoms before your appointment. Note noises, steering vibration, reduced stopping power, rotor discoloration, burning smells, or warning lights.
Book service if you detect grinding noises, brake fluid leaks, severe overheating, blue rotor spots, or repeated pedal feedback. These signs can point to problems beyond a basic DIY repair. A technician can measure rotor runout, inspect hub runout, test caliper slides, and check brake fluid with proper tools.
Regular brake inspections help keep your vehicle safe. Schedule checks more often if you drive hilly routes, tow heavy loads, or make frequent stop-and-go trips. Prompt service can prevent more rotor, caliper, and tire wear.
Frequently Asked Questions
How do you fix brake pedal pulsation on a RAV4?
Start with a safe road test, then inspect rotor runout, rotor thickness, pads, calipers, slide pins, and rear brake parts. Resurface or replace rotors only after you confirm they meet repair limits. Replace worn pads and repair sticking calipers before you test-drive the RAV4 again.
What is the most likely cause of brake pedal pulsation?
The most likely cause is rotor runout or disc thickness variation. Sticking calipers, seized slide pins, uneven pad deposits, and rear brake faults can also cause a pulsing pedal. Measure the parts instead of replacing parts by guesswork.
Can bad brake fluid cause pedal pulsation?
Bad brake fluid usually causes a soft, spongy, or fading pedal rather than a rhythmic pulse. Still, contaminated or low fluid can reduce braking performance. Check the fluid level, color, and warning lights during your inspection.
Can you drive with a pulsing brake pedal?
You can make a short, careful trip to a repair shop if the brakes still stop normally and no warning light appears. Do not keep driving if the pedal sinks, the vehicle pulls hard, fluid leaks, or the warning light stays on. Brakes affect safety, so fix the cause quickly.
Do new RAV4 brakes need to be bedded in?
Most new pads and rotors need a bedding process, but the exact steps depend on the pad maker. Proper bedding helps place an even pad layer on the rotor. Follow the product instructions and avoid hard stops until the brakes cool.
Safety Disclaimer: This article is for informational purposes only and does not replace a factory repair manual or professional brake inspection. Brakes affect vehicle safety, so consult a qualified mechanic before you drive with warning lights, fluid leaks, weak braking, or any repair you do not fully understand.
Conclusion
A pulsing RAV4 brake pedal usually means one part of the brake system applies uneven force. Start with a safe test, then inspect the front and rear brakes in a clear order. Measure rotor runout, check caliper movement, inspect hoses, and confirm pad condition before you replace parts.
If you find simple pad or rotor wear, use the right tools and follow the repair manual. If you find leaks, ABS faults, dragging calipers, or weak stopping power, schedule professional service. A calm, measured diagnosis protects your RAV4 and keeps every stop predictable.
References
- Toyota Tech Tip T-TT-0132-11, Best Practices for TCMC Front Brake Pad Installation — Toyota Motor Sales, USA, 2014
- Brake Pedal Pulsation and Disc Thickness Variation — Wagner Brake
- 49 CFR 571.116, Standard No. 116, Motor Vehicle Brake Fluids — Electronic Code of Federal Regulations
- 2021 RAV4 Hybrid Owner’s Manual, If You Have a Flat Tire — Toyota Motor Sales, U.S.A.
- Brake Repair Prices and Cost Estimates — Kelley Blue Book
- Resurfacing Rotors vs. Replacing — J.D. Power