You can replace your Toyota RAV4 key fob battery in minutes: slide out the mechanical key, pry the case open with the key or a small flat screwdriver, note the old CR2032’s orientation, swap in a fresh CR2032 positive side up, snap the halves back together and test each button and the red LED. If it doesn’t work, recheck seating, clean contacts, or try a reprogram; keep going for troubleshooting, disposal, and storage tips.
Quick Steps: Replace a RAV4 Key Fob CR2032 Battery
Start by sliding the fob to release and remove the mechanical key, then use that key or a small flat-tip screwdriver to gently pry the case open—avoid forcing it to prevent damage. You’ll expose the battery compartment; note the orientation of the old battery before removal so you can match it precisely. Remove the spent CR2032 cell and dispose of it responsibly. Select the correct battery type and seat the new cell firmly in the compartment, confirming the polarity aligns with the original placement. Snap the case back together without bending plastic tabs, return the mechanical key into its slot, and slide it home. Test the key fob by pressing a button and observing the red indicator light; a steady flash confirms successful installation. These concise, technical steps free you from dependency on service centers and put control back in your hands with minimal tools and clear, reliable procedure.
What You Need: CR2032, Mechanical Key, Screwdriver
You’ll need a fresh CR2032 battery, the mechanical key from your fob, and a small flat-tip screwdriver. Use the key to release the blade and the screwdriver to gently pry open the case, taking care not to damage clips or circuitry. Note the old battery’s orientation and handle cells with clean, dry hands or anti-static precautions to avoid shorting or contamination.
[Products Worth Considering]

Protect your Toyota key fob with this soft TPU cover that offers a precise 1:1 fit for 3‑button models. The elastic material cushions against dust and scratches while maintaining full button functionality. Easy to install and portable, it clips onto bags or pockets for on‑the‑go convenience.

Protect your Toyota key fob with this premium soft TPU case that offers 360-degree coverage against drops, dust, and scratches while maintaining full signal strength. The sleek gold‑rimmed design adds a stylish touch, and the attached leather‑aluminum keychain provides convenient carrying. Made from durable materials with strong color fastness, it fits like a glove for a seamless look and feel.

Protect your smart key with this handcrafted crazy horse leather fob cover, designed to fit Toyota Tundra, Sienna, and Sequoia models from 2021 to 2026. The slim case offers all‑round protection against scratches, dust, and damage while preserving signal transmission. Its premium leather look adds a touch of luxury to your vehicle interior, making it an ideal gift for any occasion.
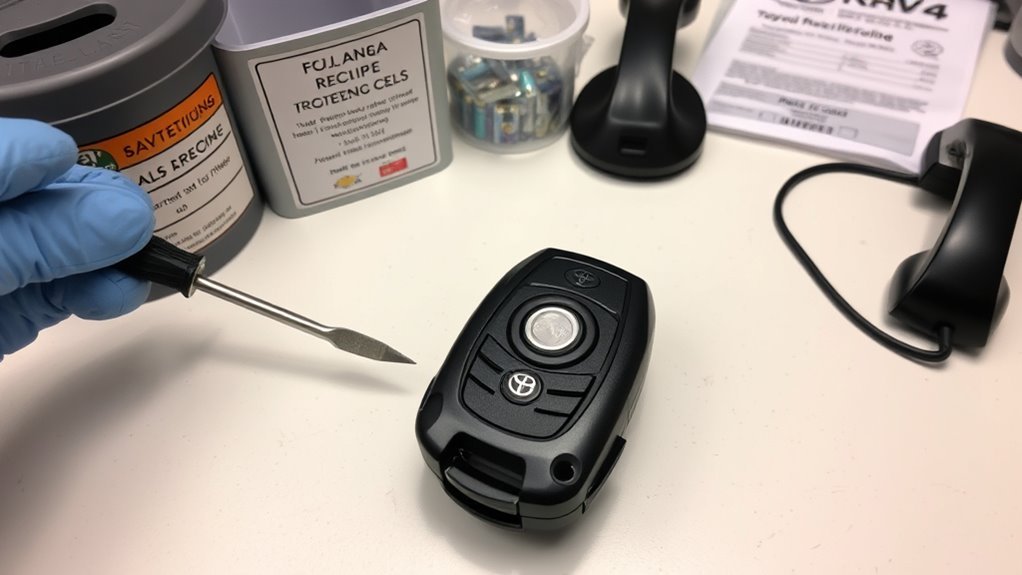
Required Tools And Parts
You need three simple items to replace the RAV4 key fob battery: a CR2032 coin cell, the fob’s mechanical key (slide the release to access it), and a small flat-tip screwdriver for prying if the key won’t separate the case; work on a clean, well-lit surface and note the battery’s polarity before removing the old cell.
- CR2032 battery — common, inexpensive, replaceable across key fob types; keep spare to avoid downtime and extend effective battery lifespan.
- Mechanical key — slide out to open the case; it’s the primary tool for most RAV4 fobs and prevents scratching.
- Small flat-tip screwdriver — for tight seams where the key can’t pry; use minimal force to avoid damaging the shell.
These parts free you from dealer dependence and let you control maintenance.
Handling And Safety Tips
Gather your CR2032, the fob’s mechanical key, and a small flat-tip screwdriver, and work on a clean, well-lit surface to minimize errors and protect components. You’ll remove the mechanical key first, then pry the case gently at the designated seam using the screwdriver—don’t force it. Handle the circuit board and battery by the edges to avoid static discharge and contamination that reduce battery longevity. Replace with the CR2032 oriented as marked, snap the case back, and test the fob before closing. Dispose of the old battery at a proper recycling point. Keep spare CR2032s and practice routine key fob maintenance: periodic tests, clean contacts, and timely replacements so you stay independent and prepared.
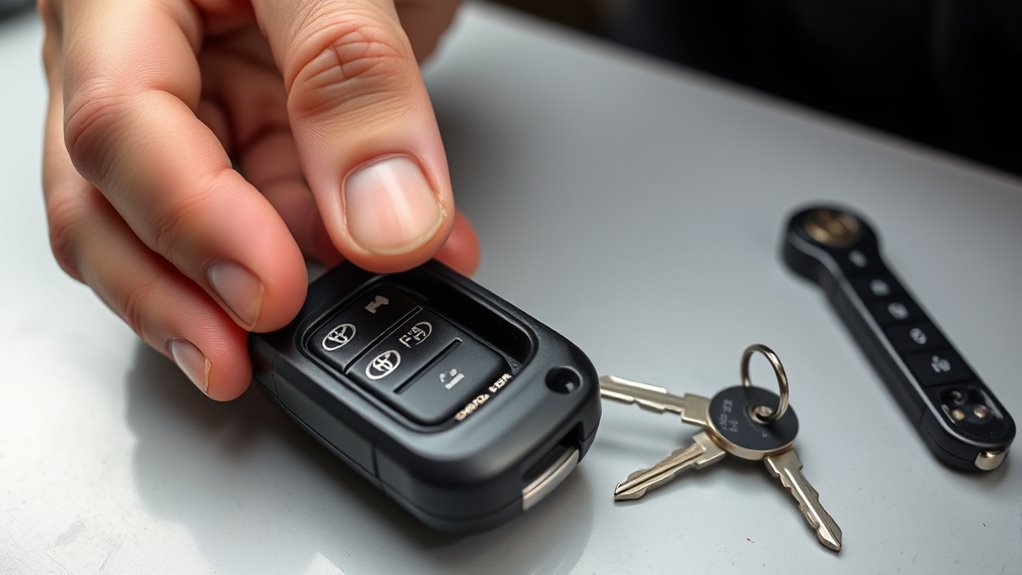
Access the Mechanical Key and Open the Fob
Before replacing the battery, slide the fob housing to expose and pull out the mechanical key, then insert that key into the small slot or seam to open the case. You’ll perform straightforward steps that support key fob maintenance and preserve battery longevity by minimizing accidental damage and contamination.
- Slide and extract: Push the release on the housing, pull the mechanical key straight out, then use it to find the designated slot at the seam.
- Twist or pry: Insert the key gently into the slot and twist to separate the halves; if resistance persists, use a small flat tip screwdriver to pry with controlled pressure.
- Protect the shell: Work along the seam, avoid forcing clips, and keep plastic fragments from falling into the cavity.
These actions free you from dependence on dealers; they’re precise, low-risk maneuvers that let you continue pursuing independent, empowered maintenance.
[Products Worth Considering]

Protect your Toyota smart key with this genuine crazy horse leather cover that fully wraps the fob, guarding against drops, shocks, and scratches. The heavy‑duty metal carabiner adds secure anti‑loss functionality, clipping to belts or bags without interfering with signal transmission. Its stylish black finish and tactile feel bring a premium look while preserving full key functionality.

Protect your Toyota key fob with this slim, one‑piece TPU case that offers a snug, lightweight fit without adding bulk. The transparent front panel safeguards buttons while keeping them visible, and the clear back design shows the original logo for a premium look. Easy snap‑on installation and durable construction guard against scratches, drops, and everyday wear, making it ideal for a wide range of Toyota models.
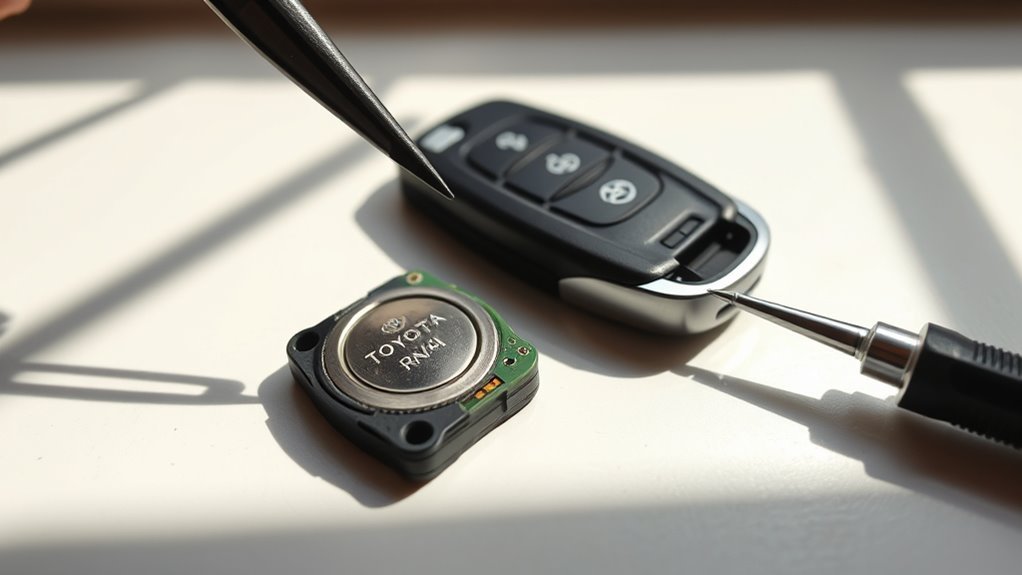
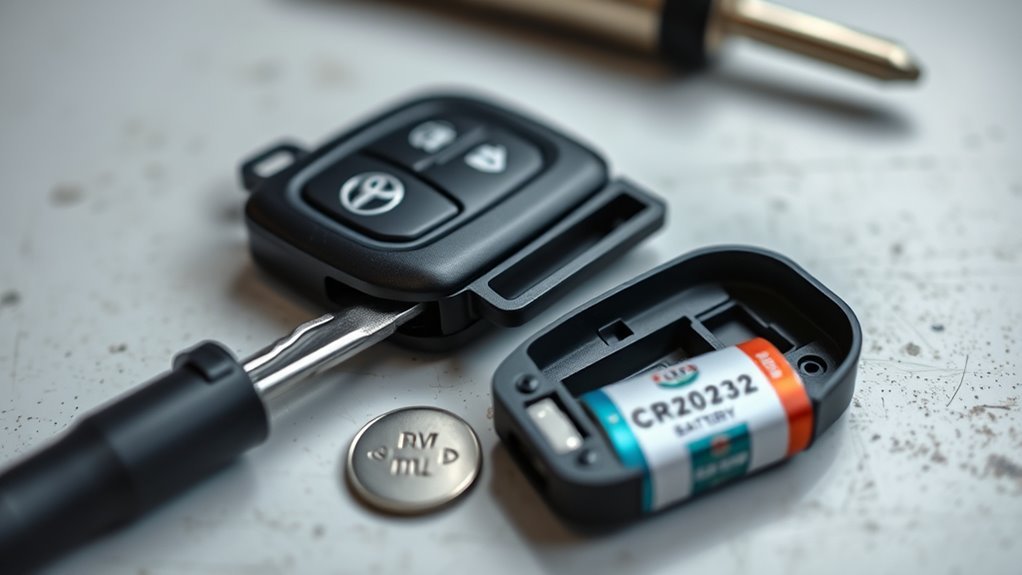
Remove the Old CR2032 Battery Safely
Use the mechanical key or a small flat-head screwdriver to gently pry the CR2032 out, taking care not to dislodge any internal components. Note and remember the battery’s orientation (positive side up/down) before removal so you can install the new cell correctly. Inspect the compartment for debris or corrosion and handle the old battery carefully for proper disposal.
Remove Battery Carefully
Pry the old CR2032 out gently with the mechanical key or a small flat-head screwdriver, taking care not to score or deform the plastic casing. You’re protecting the shell so future key fob maintenance is simpler and the battery lifespan of replacements isn’t compromised by poor contact. Work methodically and stay mindful of containment.
- Use steady, controlled pressure at the battery edge; don’t force or twist to avoid cracking the case.
- Handle the cell by its rim; avoid puncturing or bending to prevent leakage or shorting.
- Inspect and clear any debris from the compartment; collect the old battery for proper disposal per local regulations.
These steps free you from avoidable failures and keep the system reliable.
Check Battery Orientation
With the old CR2032 removed, note how it sat in the compartment so you can match that orientation when installing the replacement. Use the mechanical key or a small flat screwdriver to pry the cell gently, avoiding damage. Inspect the compartment for debris or corrosion; clean with a dry, soft brush if needed. Handle the spent battery carefully to prevent leakage. Confirm the positive (+) side faces up before seating the new cell. This small attention protects contacts and supports battery longevity tips while empowering you with fob maintenance advice that sustains freedom from service shops.
| Position | Detail |
|---|---|
| Positive up | + side visible |
| Pry tool | Small flat screwdriver |
| Inspect | No debris/corrosion |
| Handle | Avoid leakage |
Install the New CR2032 With Correct Orientation
Place the new CR2032 into the battery well so the positive (+) side faces up, matching the old battery’s orientation and any compartment markings. Align it precisely for reliable contact; incorrect placement can break fob compatibility and shorten battery lifespan. Press down gently until the cell seats; you shouldn’t force it, just confirm it’s flush and stable.
Place the CR2032 with the + side up, aligned and seated gently—confirm flush fit and test the fob immediately.
- Verify orientation against the stamped marking or the removed battery to guarantee polarity and fit.
- Seat the cell with even pressure so the spring/contact holds it; this secures electrical connection and preserves battery lifespan.
- Test the fob immediately—lock/unlock and panic functions—to confirm fob compatibility and proper installation before proceeding.
You’re reclaiming control of a small but essential system. Accurate installation prevents intermittent failures and saves time. If the fob doesn’t respond, recheck orientation and seating rather than assuming a defective battery.
Reassemble the Fob and Return the Mechanical Key
Snap the fob halves back together, aligning the seams and buttons so the casing fits flush; press firmly until you hear a click that verifies the internal clips have engaged. Once closed, verify the housing sits evenly with no gaps—tight seating preserves fob durability and prevents moisture or debris from shortening battery lifespan. Slide the mechanical key back into its slot until it locks; you’ll feel a tactile stop when it’s secure. Keep the key’s channel clear of residue so it can return smoothly and not stress the case over time.
After reassembly, press each button to verify physical responsiveness; this quick check guarantees you didn’t pinch the circuit or misalign contacts during closure. Finally, recycle the old CR2032 per local rules to reduce waste. Proper reassembly and responsible disposal extend the device’s useful life and support your independence from frequent replacements.
Verify the RAV4 Key Fob (Red Light & Button Test)
After installing the new CR2032, press each fob button and watch for the red LED to flash—this confirms the battery and circuit are functioning. Test fob functionality deliberately and efficiently: press lock, release, and panic while observing the red light and tactile response.
- Check immediate response: press each button and confirm the red light illuminates. If it does, the battery orientation and seating are likely correct and the internal contacts are making connection.
- Perform a range check: step several feet from the vehicle and cycle the buttons. Reliable red light flashes plus vehicle response show effective transmission and liberated ownership—you’re back in control.
- If the red light fails to activate, open the case and re-seat the CR2032, verifying polarity. Persistent failure may indicate deeper issues; consider reprogramming or professional help rather than guessing.
Keep testing precise and purposeful to restore dependable fob functionality without unnecessary steps.
Troubleshooting: Battery Still Dead, Signal Issues, and Next Steps
If the fob still won’t respond, first confirm the CR2032 is seated with the correct polarity and that the battery contacts and compartment are clean and free of debris; a poor connection is the most common cause of persistent failure. Next, inspect the contacts for corrosion or bent tabs and clean them with isopropyl alcohol and a soft tool. Test the mechanical key to rule out physical damage that could mask as an electronic fault.
Proceed with key fob troubleshooting by attempting the vehicle-specific reprogramming sequence; a lost pairing will leave a perfectly good fob inert. While testing, minimize signal interference: move away from dense electronics, wireless routers, or metal structures that block RF. If the fob remains unresponsive after reseating the battery, cleaning contacts, confirming the mechanical key, and reprogramming, accept that internal transmitter failure or deeper electronic damage is likely. At that point, arrange professional diagnostics or replacement to restore control and regain autonomy.
Disposal, Storage, and When to Call a Pro
Handle old CR2032 cells responsibly: recycle them at designated drop-off points to avoid environmental harm, and store spares in a cool, dry place away from direct sunlight and metal objects to preserve shelf life and prevent shorting. You’ll reduce waste and lower the risk of accidental discharge by following basic battery recycling practices. For proactive key fob maintenance, test your fob monthly and keep one programmed spare to avoid lockouts.
Recycle old CR2032s, store spares cool and insulated, test your key fob monthly and keep a programmed spare.
- Store: keep batteries in original packaging or insulated case; temperature control extends usable life and prevents contact with conductors.
- Dispose: take used CR2032 cells to municipal or retail battery recycling centers; don’t toss them in household trash to prevent contamination and fire risk.
- Call a pro: if a fresh battery doesn’t restore function, seek a technician for diagnostics or reprogramming; professional service resolves internal faults or signal issues reliably.
Act deliberately; maintain autonomy over your access and minimize environmental impact.
Frequently Asked Questions
What Size Battery Do I Need for a Toyota RAV4 Key Fob?
You need a CR2032 3V lithium coin cell for a Toyota RAV4 key fob. You’ll embrace simple battery types, perform key fob maintenance confidently, check polarity, keep spares, and reclaim control over small, practical upkeep tasks.
Conclusion
Like swapping a spent cell in a machine, replacing your RAV4’s CR2032 restores its heartbeat. You’ve removed the mechanical key, opened the fob, swapped cells with correct polarity, and reassembled cleanly—each step a precise gear meshing back into place. Test the LED and buttons; if signals falter, troubleshoot or call a pro. Treat old batteries as hazardous waste and store spares cool and dry so your key’s pulse never fails.