To use the Hyundai Sonata tire mobility kit, park safely, shake the sealant bottle, connect the hose to the flat tire’s valve, plug the compressor into the power outlet and run it for about 5 to 7 minutes. Then drive right away for about 4 to 6 miles (around 10 minutes) at no more than 50 mph to spread the sealant, stop, and top the tire up to the door-placard pressure. If pressure is below 29 PSI at any point, don’t drive; call roadside assistance instead.
Quick Answer: Hyundai Sonata Tire Mobility Kit Steps
| Stage | Key number (from Hyundai’s owner’s manual procedure) |
|---|---|
| Compressor run time to inject sealant | About 5–7 minutes; never more than 10 minutes at a time |
| Drive to spread sealant | About 4–6 miles (7–10 km), roughly 10 minutes |
| Speed while distributing | At or below 50 mph (80 km/h); at least 12 mph (20 km/h) if possible |
| Minimum pressure to keep driving | 29 PSI (200 kPa); below that, stop and call for help |
| Largest puncture it may seal | About 0.16 in (4 mm), in the tread only |
These figures come from Hyundai’s current owner’s manual procedure for the kit. Your Sonata’s manual and the label on the sealant bottle are the final word for your model year.
What’s in the Kit and When It Works
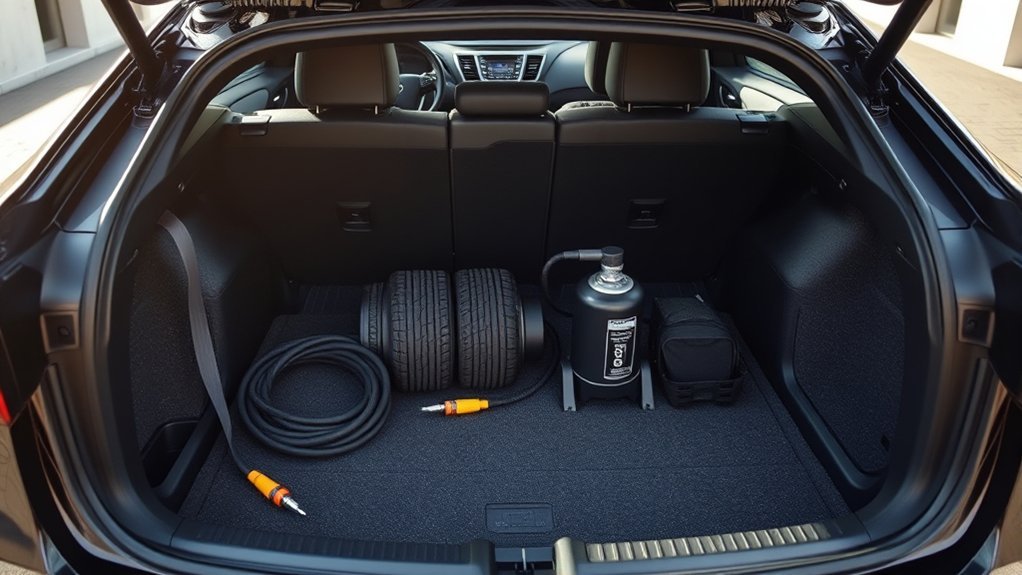
- Sealant bottle: liquid that coats the inside of the tire and plugs small tread punctures. Check the expiry date on the bottle.
- Compressor: 12-volt pump with a pressure gauge, power cable and hose. It can also top up a tire that is just low on air.
- Speed-restriction label: stick it where you’ll see it (Hyundai suggests the steering wheel) as a reminder to drive slowly.
Many newer Sonatas carry this kit under the trunk floor instead of a spare tire. The kit is not suitable for sidewall damage, a tire that has come off the rim, a cut or a hole larger than about 4 mm. In those cases call roadside assistance.
Before You Start: Safety
- Pull well off the road onto firm, level ground, turn on the hazard lights and set the parking brake.
- Get passengers out and away from traffic.
- Leave any nail or screw in the tire; removing it can make the hole bigger.
- Don’t run the engine for long in an enclosed or poorly ventilated space (carbon monoxide risk).
Step-by-Step: Sealing and Inflating the Tire
- Place the speed label. Peel the speed-restriction label off the sealant bottle and stick it on the steering wheel.
- Shake the sealant bottle and remove the caps from the bottle and compressor, fitting them together as shown in your manual.
- Connect the hose to the valve. Remove the valve cap and screw the filling hose on securely. A loose fit can let sealant flow back and clog the hose.
- Check the compressor switch is off, then plug its cable into the vehicle’s power outlet.
- Turn the ignition on and run the compressor for about 5–7 minutes to inject the sealant and add air. Stand clear of the tire while it fills.
- Switch the compressor off, disconnect the hose and stow the kit.
Drive to Spread the Sealant, Then Recheck
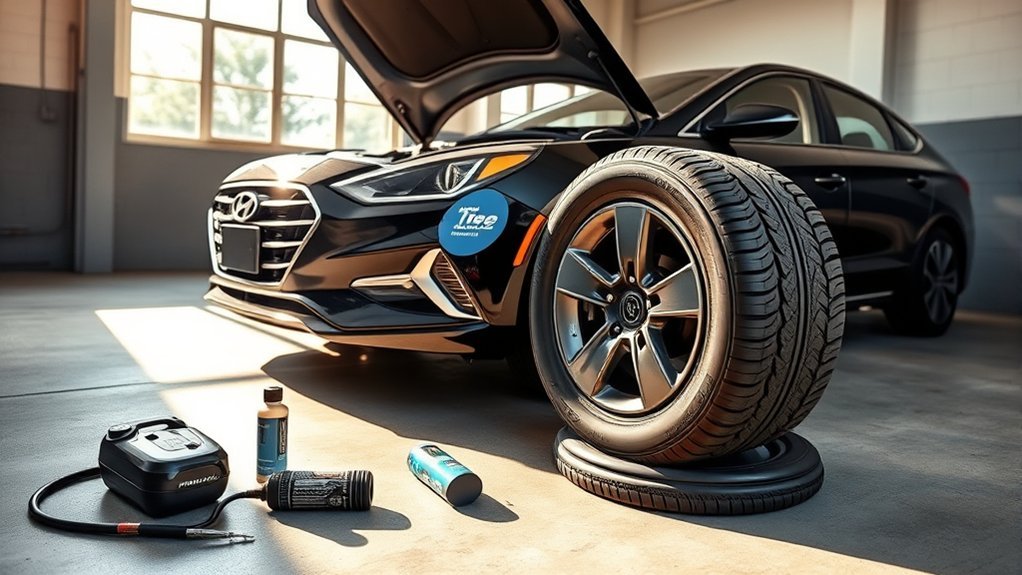
- Drive immediately for about 4–6 miles (roughly 10 minutes) at 50 mph or less, and above 12 mph if possible.
- Stop somewhere safe, reconnect the compressor hose and run the engine.
- Adjust to the placard pressure. Switch the compressor on to add air, and turn it off briefly to read the gauge accurately (it reads high while running). Use the release button to let air out.
- If pressure won’t hold, repeat the short drive and recheck.
- If it’s under 29 PSI or won’t reach the proper pressure, stop driving and call for a tow.
If you feel unusual vibration or noise, slow down, pull over safely and call roadside assistance. The correct pressure for your car is on the driver’s door jamb; our Hyundai Sonata tire pressure guide lists typical values by year.
After the Repair: Get the Tire Seen Promptly
- The sealant is a temporary fix. Drive gently and go to a tire shop or Hyundai dealer as soon as possible; check your manual and the bottle label for any distance limit.
- Tell the shop you used sealant. It can contaminate the tire pressure (TPMS) sensor and wheel, and Hyundai recommends having the dealer clean it out when the tire is repaired or replaced.
- Replace the sealant bottle so the kit is ready next time.
- Expect your traction and stability systems to behave normally once the tire is properly repaired; mismatched or underinflated tires can upset them (see Sonata traction and stability control).
When to Call Roadside Assistance Instead
- Sidewall cuts or bulges, or a puncture larger than about 4 mm
- The tire has come off the rim or the wheel is damaged
- Pressure stays below 29 PSI after sealing
- You’re on a busy highway shoulder with no safe place to work
Frequently Asked Questions
How fast can I drive after using the Hyundai tire mobility kit?
Hyundai's procedure says to keep to 50 mph (80 km/h) or less, and at least 12 mph (20 km/h) if possible, while distributing the sealant. Drive gently until the tire is repaired.
How far should I drive after injecting the sealant?
Drive immediately for about 4 to 6 miles (7 to 10 km), roughly 10 minutes, then stop and recheck the pressure. Get the tire inspected by a shop as soon as possible afterward.
What if the tire pressure is below 29 PSI?
Do not drive. Hyundai warns that driving below 29 PSI (200 kPa) can cause sudden tire failure. Call roadside assistance or a tow.
Can the kit fix a sidewall puncture?
No. The kit is meant for small tread punctures up to about 4 mm. Sidewall damage, cuts and larger holes need a tow and a new tire.
How long can I run the compressor?
About 5 to 7 minutes to inject the sealant, and never more than 10 minutes at a time, or the compressor can overheat.
Bottom Line
Inject the sealant for 5–7 minutes, drive 4–6 miles at 50 mph or less, then reset to placard pressure. Below 29 PSI or with sidewall damage, call for help instead of driving.