
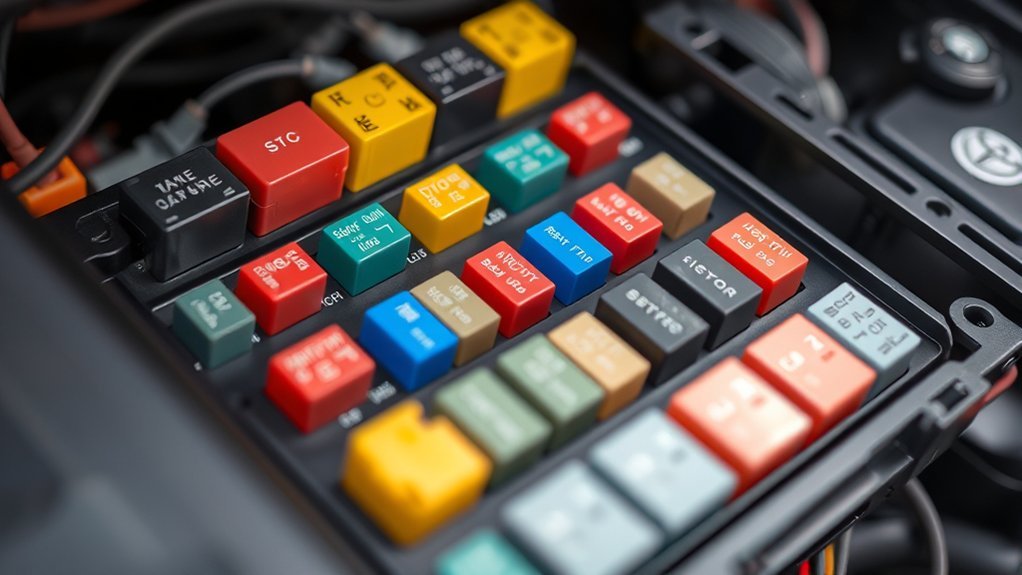
Use the fuse box diagram for your 2009 Toyota Tacoma when an electrical part stops working, such as the horn, radio, power outlet, tail lights, wipers, or power windows. The Tacoma has fuses in the engine compartment and under the instrument panel, and each fuse must be replaced with the same amperage rating shown on the fuse box lid or in the owner’s manual.
Quick Answer
The 2009 Toyota Tacoma fuse boxes are in the engine compartment and under the instrument panel. Turn the engine switch off, identify the failed circuit on the fuse box lid or in the owner’s manual, pull the fuse, and replace it only with a fuse of the same amp rating.
Key Takeaways
- A blown fuse often causes one electrical item, such as the radio, outlet, wiper, horn, or lights, to stop working.
- The 2009 Tacoma uses an engine compartment fuse box and an under-instrument-panel fuse box; diagrams and amp ratings are listed in Toyota’s owner’s manual.
- Always replace a fuse with the same amperage rating. Never use wire, foil, or a higher-rated fuse.
- If the new fuse blows again, the problem is usually a short, overload, faulty accessory, or damaged wiring that needs diagnosis.
At a Glance
| Time Required | 5–15 minutes for a basic fuse check |
| Difficulty | Beginner |
| Tools Needed | Fuse puller, needle-nose pliers, flashlight, replacement fuses, optional multimeter |
| Cost | Usually under $10 for a small automotive fuse assortment |
Understanding the Importance of Fuses in Your Tacoma
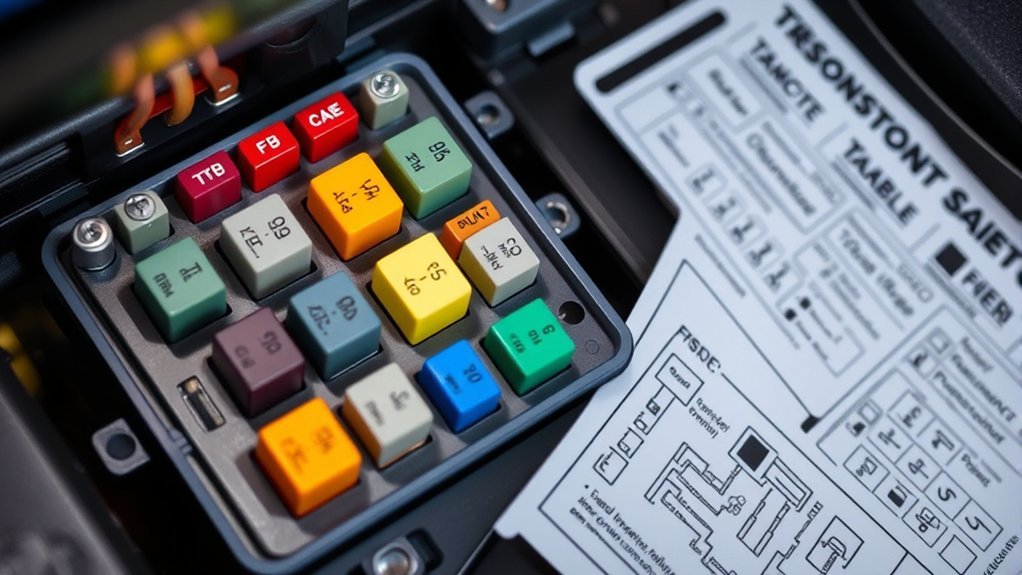
Fuses protect your Tacoma’s electrical circuits by opening the circuit when current rises above the fuse’s rated amperage. That helps prevent wiring damage, overheated circuits, and electrical fires. Toyota’s 2009 Tacoma owner’s manual says the fuses are designed to blow before the wiring harness is damaged, which is why the correct fuse rating matters.
Common reasons for fuse failure include short circuits, damaged wiring, water intrusion, defective bulbs, faulty relays, and aftermarket accessories that overload the circuit. A fuse can also fail with age or vibration, but repeated failure is a warning sign that something else is wrong.
Warning: Never install a higher-amp fuse, wrap a fuse in foil, or use wire in place of a fuse. Toyota specifically warns against higher-rated fuses or substitute objects because they can damage wiring and create a fire risk.
Locating the Fuse Boxes: A Step-by-Step Guide
The 2009 Toyota Tacoma fuse layout is split into three diagram groups: engine compartment Type A, engine compartment Type B, and under the instrument panel. Always confirm the exact fuse by checking the diagram on your Tacoma’s fuse box lid or the official Toyota owner’s manual listing.
Engine Compartment Fuse Box
- Park the truck on a level surface and turn the engine switch off.
- Open the hood and locate the black fuse and relay box in the engine compartment, near the battery/left side of the engine bay on most U.S. models.
- Release the lid tabs and lift the cover straight up.
- Use the diagram on the lid to match the failed circuit to the correct fuse.
- Check engine-related and high-current circuits here, including items such as A/C, headlights, horn, trailer circuits, ABS, alternator main fuse, and engine control circuits.
Under-Instrument-Panel Fuse Box
- Turn the engine switch off and remove the key.
- Look under the instrument panel on the driver’s side on U.S.-market models.
- Remove the lower cover or access panel carefully so the tabs do not break.
- Use the fuse panel diagram to identify the correct circuit.
- Check cabin-related circuits here, including GAUGE, TAIL, ACC, power outlet, door locks, wipers, washer, 4WD, and power windows.
Note: Fuse locations can vary by market, drivetrain, cab style, and equipment. If your cover diagram differs from an online diagram, trust the fuse box cover and the manual for your exact truck.
Common 2009 Tacoma Fuses and What They Control
The full fuse chart is in the Toyota owner’s manual, but these are some of the fuses Tacoma owners commonly look for when troubleshooting everyday electrical problems.
| Fuse | Amp Rating | Location | Main Circuit |
|---|---|---|---|
| A/C | 10A | Engine compartment | Air conditioning system |
| FR FOG | 15A | Engine compartment | Front fog lights |
| STOP | 10A | Engine compartment | Stop lights, ABS, VSC, shift lock, fuel injection, towing converter |
| OBD | 7.5A | Engine compartment | On-board diagnostic system |
| HORN | 10A | Engine compartment | Horn |
| DOME | 7.5A | Engine compartment | Interior and personal lights |
| TAIL | 10A | Under instrument panel | Tail lights, license plate lights, parking lights, instrument illumination |
| PWR OUTLET | 15A | Under instrument panel | Power outlets |
| DR LCK | 20A | Under instrument panel | Door lock system |
| WSH | 10A | Under instrument panel | Windshield washer |
| WIP | 30A | Under instrument panel | Windshield wipers and washer |
[Products Worth Considering]

This car fuse assortment kit provides a handy mix of micro, mini, and standard blade fuses to help replace blown fuses across a wide range of vehicles and equipment. With multiple current ratings, color-coded identification, and an included puller, it is designed to make emergency repairs and routine maintenance faster and easier. It is a practical backup solution for cars, RVs, trucks, boats, motorcycles, and more.
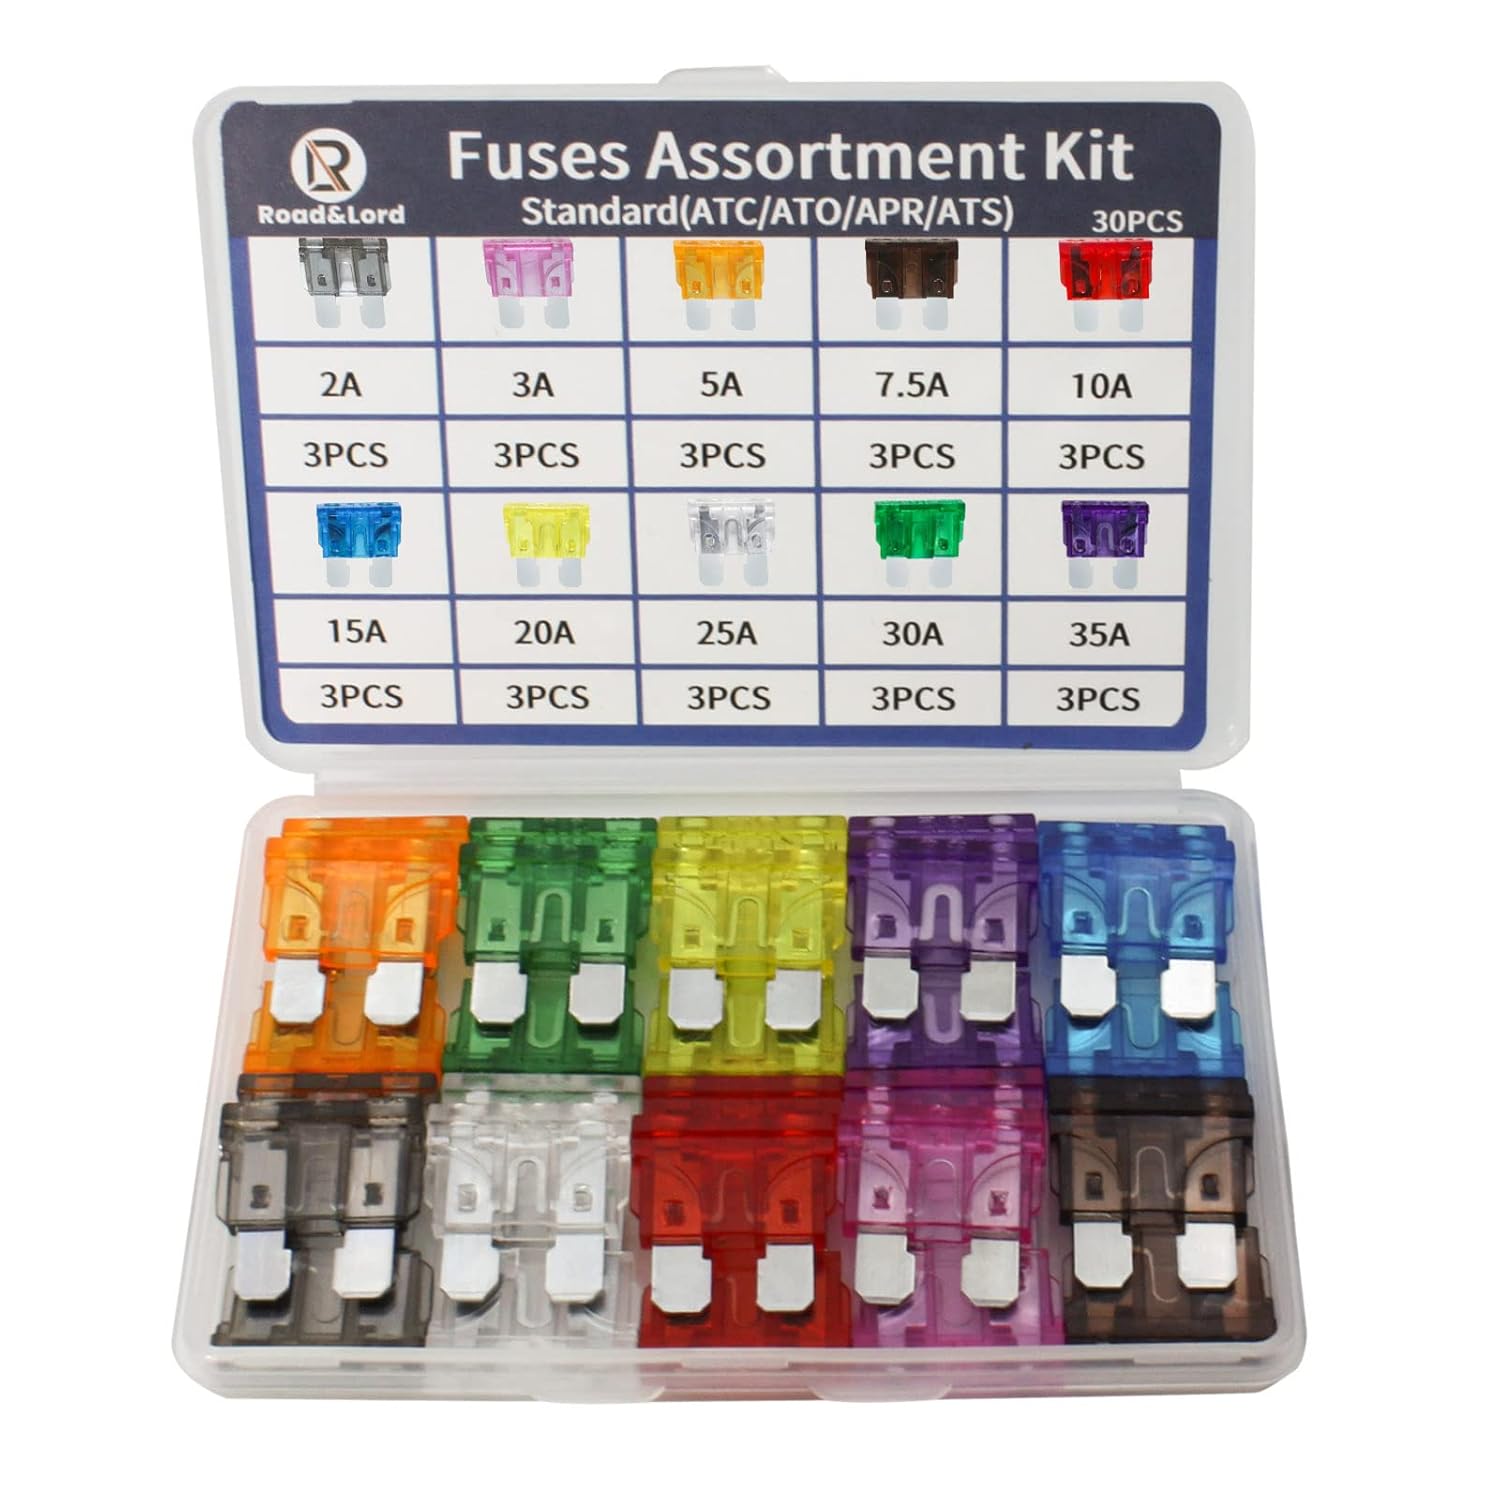
This standard blade fuse assortment kit provides a convenient selection of common amp ratings to help protect vehicle electrical systems from overloads, short circuits, and wiring damage. With transparent, color-coded housings and clearly marked ratings, it makes blown fuse replacement fast and easy for cars, trucks, boats, RVs, and other DC applications. The durable compact case keeps the fuses organized for reliable storage and quick access when needed.

This 6-way fuse block helps organize and protect low-voltage wiring in vehicles, boats, and RVs while making blown fuses easy to spot with red LED indicators. It is built from fire-resistant PBT material for dependable insulation, heat resistance, and added safety. With included blade fuses, labels, and mounting hardware, it offers a clean, convenient solution for electrical repairs and upgrades.
Check and Replace Fuses Safely
Before you check or replace a fuse in your Toyota Tacoma, make sure the engine switch is off and the key is removed. This reduces the chance of a short or accidental electrical contact while your hands are near the fuse panel.
- Identify the failed component. For example, note whether the problem is the horn, radio, outlet, tail lights, wipers, or a group of related items.
- Find the matching fuse. Use the fuse box lid diagram or the owner’s manual fuse chart.
- Remove the fuse. Use the pullout tool supplied in the fuse box if available. Needle-nose pliers can help, but pull straight and avoid crushing the plastic fuse body.
- Inspect the element. A blown blade fuse usually has a broken metal strip, dark spot, or visible gap inside the plastic housing.
- Match the amperage. Replace the blown fuse with the same amp rating, such as 7.5A, 10A, 15A, 20A, or 30A.
- Test the component. Turn the key on only after the new fuse is seated and the panel is clear of tools.
- Stop if it blows again. A repeat failure usually means the circuit has an overload or short that needs diagnosis.
Pro Tip: Take a clear phone photo of the fuse panel before pulling anything. It gives you a quick reference if you accidentally remove more than one fuse or lose track of the original slot.
[Products Worth Considering]

This assorted blade fuse kit provides a wide range of clearly color-coded replacements to help protect vehicle electrical systems from overloads and short circuits. It includes standard, mini, and low-profile mini fuses with amperages from 2A to 40A, making it a versatile choice for cars, RVs, boats, trucks, and other marine or automotive applications. A fuse puller is included for easier removal and replacement when needed.

This 12-way blade fuse block provides organized, reliable circuit protection for automotive, marine, RV, and other 12V or 24V electrical systems. The built-in LED indicator helps quickly identify blown fuses, while the protective cover and included terminals support a clean, secure installation. With multiple fuse ratings included, it offers a convenient all-in-one solution for managing and protecting your wiring.
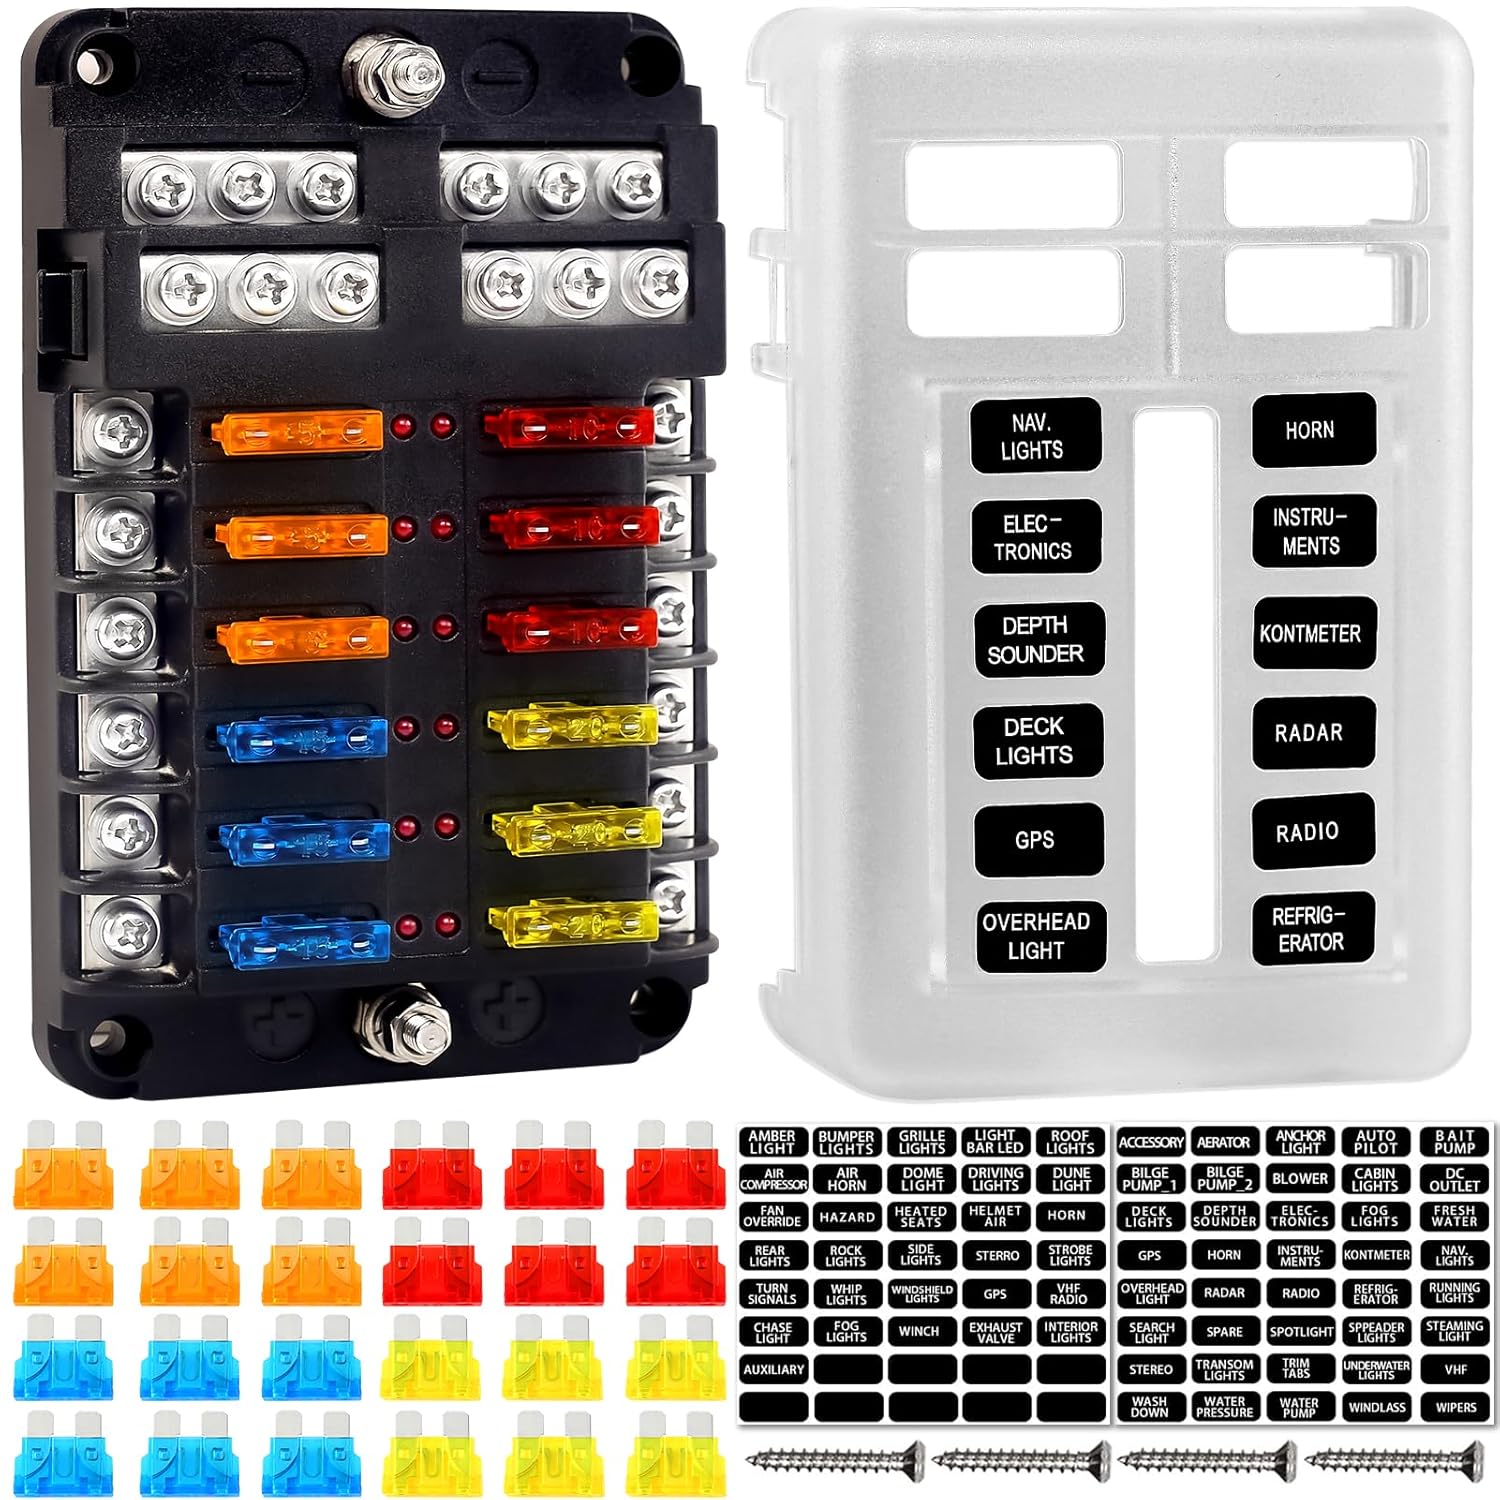
This 12-circuit fuse block provides organized, independent protection for vehicle and marine electrical systems, helping keep wiring neat and easier to maintain. Built with flame-retardant materials, nickel-plated copper components, and a protective cover, it offers reliable conductivity, corrosion resistance, and splash protection. LED indicators quickly identify blown fuses, while the included labels and extra blade inserts simplify installation and future service.
Identifying and Solving Common Fuse Problems
Fuse problems are usually simple, but the cause behind a blown fuse can be more complex. The key is to notice whether the failure happens once, after rain, after installing an accessory, or immediately after turning on a specific component.
Common Causes of Fuse Failure
| Cause | Symptoms | What to Do |
|---|---|---|
| Damaged wiring | Fuse blows immediately or after bumps/vibration | Inspect for rubbed, pinched, melted, or exposed wires |
| Defective bulb or component | One circuit fails repeatedly | Check the bulb, socket, motor, relay, or switch on that circuit |
| Overloaded circuit | Fuse fails after adding lights, stereo gear, inverter, or other accessories | Move the accessory to a properly fused dedicated circuit |
| Water intrusion or corrosion | Intermittent electrical issues, green or white residue on terminals | Dry the area, repair leaks, and clean or replace corroded terminals |
| Wrong fuse installed | Circuit behaves oddly, fuse overheats, or wiring gets warm | Install the exact amp rating listed on the lid or in the manual |
Diagnosing Electrical Issues
Start with the circuit that stopped working. If only the power outlet is dead, check the PWR OUTLET and ACC-related fuses first. If the tail lights and license plate lights fail together, check the TAIL fuse. If the scan tool will not connect, check the OBD fuse.
If several unrelated systems stop working at the same time, do not keep replacing random fuses. Check the larger upstream fuses, battery condition, ground connections, and charging system. For advanced diagnosis, Toyota’s Technical Information System provides service publications, wiring diagrams, and repair information for Toyota vehicles.
A fuse that blows again after replacement is not “just a bad fuse.” It is a clue that the circuit may be overloaded, shorted, wet, corroded, or connected to a faulty component.
Tools for Fuse Replacement
A basic fuse check does not require a full mechanic’s tool set. Keep these items in the Tacoma or garage:
- Fuse puller: Safely grips small blade fuses without damaging the fuse box.
- Needle-nose pliers: Useful when the puller is missing, but use light pressure.
- Flashlight: Helps you read the fuse cavity labels and inspect the fuse element.
- Automotive fuse assortment: Keep common ratings such as 7.5A, 10A, 15A, 20A, and 30A.
- Multimeter: Confirms continuity through a fuse and helps diagnose deeper electrical faults.
Tools for Fuse Maintenance
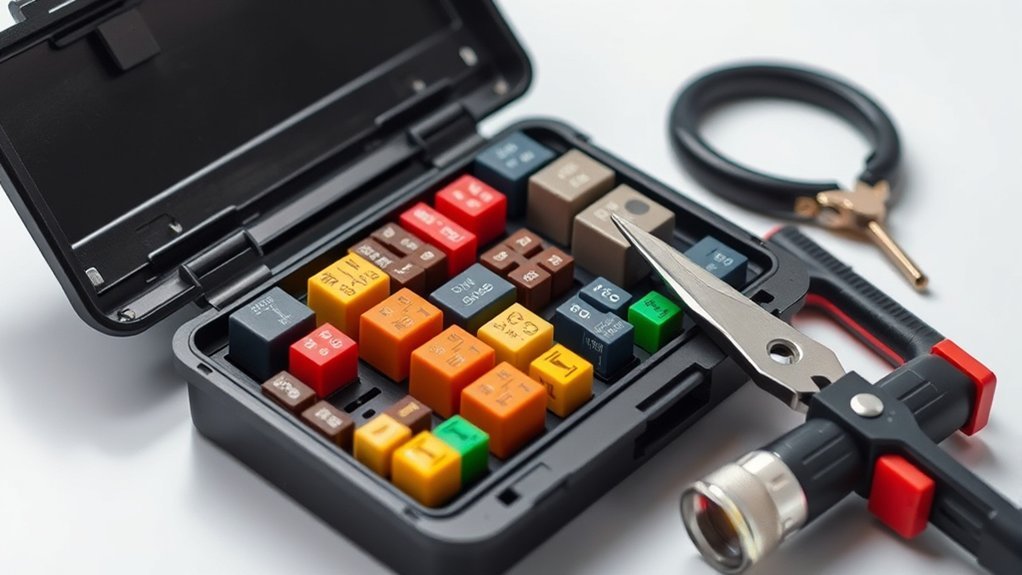
Maintaining your Tacoma’s fuses is mostly about using the right replacement part and avoiding shortcuts. Automotive blade fuses are color-coded by amp rating, but color should not be your only check. Read the number printed on the fuse and compare it with the Toyota diagram.
Use genuine Toyota fuses or equivalent automotive fuses from reputable brands. Manufacturers such as Littelfuse and Eaton Bussmann publish technical information on fuse types and overcurrent protection, which is useful if you are wiring accessories or building a trail-repair kit.
[Products Worth Considering]

This 6-way marine fuse block helps protect branch circuits from short circuits and overloads while keeping automotive and marine wiring organized. It includes LED blown-fuse indicators, a transparent cover, and label stickers for easier circuit identification. Designed for 12V to 36V systems, it supports dependable use in boats, cars, trucks, and other electrical setups.

This automotive fuse assortment kit provides a convenient way to replace blown fuses across a wide range of vehicles and equipment. With multiple common amperage ratings, clear color-coded identification, and included fuse pullers, it helps make electrical maintenance quicker and easier for cars, trucks, RVs, marine applications, and more.

This versatile car fuse assortment kit includes multiple fuse sizes and current ratings to help keep vehicles protected and ready for quick repairs. With organized color-coded fuses, a fuse puller, and installation guidance, it offers a convenient backup solution for a wide range of automotive and recreational vehicles. It's ideal for drivers who want a practical emergency replacement set for everyday use and travel.
Aftermarket Accessories and Fuse Safety
Many Tacoma fuse problems start after adding aftermarket lights, radios, chargers, inverters, trailer equipment, dash cameras, or off-road accessories. Do not solve an accessory problem by installing a larger fuse in an original Toyota circuit. The fuse is sized to protect the factory wiring, not the new accessory.
If an accessory needs more current than a factory outlet or lighting circuit can provide, use a dedicated fused circuit, proper wire gauge, a relay when needed, and a clean ground point. For trailer wiring or brake-controller problems, also check the towing-related fuses in the engine compartment, including TOWING TAIL, TOWING BRK, BATT CHG, and TOWING where equipped.
Note: If you are adding high-draw accessories such as light bars, compressors, or power inverters, use the accessory manufacturer’s wiring instructions and an appropriately rated fuse near the power source.
Your Questions About Tacoma Fuses Answered
The fastest way to troubleshoot a Tacoma fuse problem is to match the symptom to the circuit. For example, a dead power outlet points you toward the PWR OUTLET and ACC circuits, while dead tail and license plate lights point toward the TAIL fuse under the instrument panel.
Common abbreviations can be confusing. “RH” means right-hand, “LH” means left-hand, “FR” means front, “RR” usually means rear, “P/W” means power window, and “ECU” refers to an electronic control unit. When in doubt, use the diagram in the owner’s manual rather than guessing from the abbreviation.
Frequently Asked Questions
What are the symptoms of a blown fuse in my Tacoma?
Common symptoms include one electrical part not working, such as the horn, radio, power outlet, wipers, interior lights, tail lights, or power windows. A blown fuse can also cause a group of related components on the same circuit to stop working at the same time.
Where is the tail light fuse on a 2009 Toyota Tacoma?
The TAIL fuse is listed as a 10A fuse under the instrument panel. It protects circuits such as the tail lights, license plate lights, parking lights, front fog lights, instrument panel light control, and illumination circuits. Always confirm the location on your fuse box cover before pulling it.
Can I use a fuse from another vehicle?
Yes, but only if it is the same physical fuse type and the same amperage rating. Do not use a fuse just because it fits the slot. The amp number must match the rating listed for that Tacoma circuit.
Where can I find replacement fuses for my Tacoma?
You can find replacement automotive blade fuses at Toyota dealers, auto parts stores, hardware stores, and online retailers. Choose the correct fuse style and amperage rating. Keeping a small fuse assortment in the glove box is useful for roadside troubleshooting.
How often should I check my Tacoma’s fuses?
You do not need to inspect every fuse on a fixed schedule unless you are chasing an electrical problem. Check the fuses when a component stops working, after water intrusion, after installing an accessory, or during a routine under-hood inspection if you notice corrosion or loose covers.
Do aftermarket accessories require different fuses?
Many aftermarket accessories need their own properly sized fuse and wiring. Do not increase the rating of a factory Tacoma fuse to power an accessory. Use the accessory manufacturer’s fuse recommendation, proper wire gauge, and a dedicated circuit when the current draw is higher than the factory circuit allows.
Conclusion
Understanding your Toyota Tacoma’s fuse box diagram makes electrical troubleshooting faster and safer. Start with the fuse box cover or Toyota owner’s manual, match the failed component to the correct fuse, and replace a blown fuse only with the same amperage rating. If the replacement fuse blows again, stop and diagnose the circuit instead of installing another fuse. That simple rule protects your Tacoma’s wiring and helps prevent bigger repair bills.
Sources
- Toyota Owners: 2009 Tacoma Manuals and Warranties — official owner’s manual access for fuse location, fuse replacement, and maintenance reference.
- 2009 Toyota Tacoma Owner’s Manual PDF — official fuse replacement instructions, fuse layout, amperage ratings, and Toyota safety warnings.
- Toyota Technical Information System — Toyota service support source for repair manuals, wiring diagrams, service bulletins, and technical publications.
- Toyota Support: Repair Information and Publications — explains where Toyota repair, maintenance, wiring, and reference publications are available.
- Littelfuse Automotive Blade Fuses — technical background on automotive blade fuses and overcurrent protection.


[…] use and keep the hose free from kinks. If the unit refuses to turn on, check your car’s fuse box and inspect the inflator’s power cord for […]