What’s in This Article
- Quick Answer: What to Do for AGM or Lithium Upgrades
- Before You Modify Your Tacoma’s Charging System
- How the Tacoma Charging System Works
- What Smart Charging Means on Third-Gen Tacomas
- Why 13.6 to 13.8 Volts Can Fall Short
- Symptoms and Dashboard Warnings to Watch For
- Quick Multimeter and 2,000 RPM Load Tests You Can Run
- Upgrade Options for Better Charging
- Dual-Battery and Accessory Load Examples
- Maintenance Checklist and Practical Recommendations
Your Tacoma’s charging system can look healthy on a quick voltage check and still fall short for an AGM or lithium upgrade. The battery, alternator, voltage regulator, wiring, and truck control logic all work together, so one weak link can leave you with dim lights, warning messages, slow starts, or an undercharged auxiliary battery. This guide shows you how the system works, what 13.6 to 13.8 volts means, how to test voltage under load, and when a DC-to-DC charger makes sense.
Quick Answer: What to Do for AGM or Lithium Upgrades
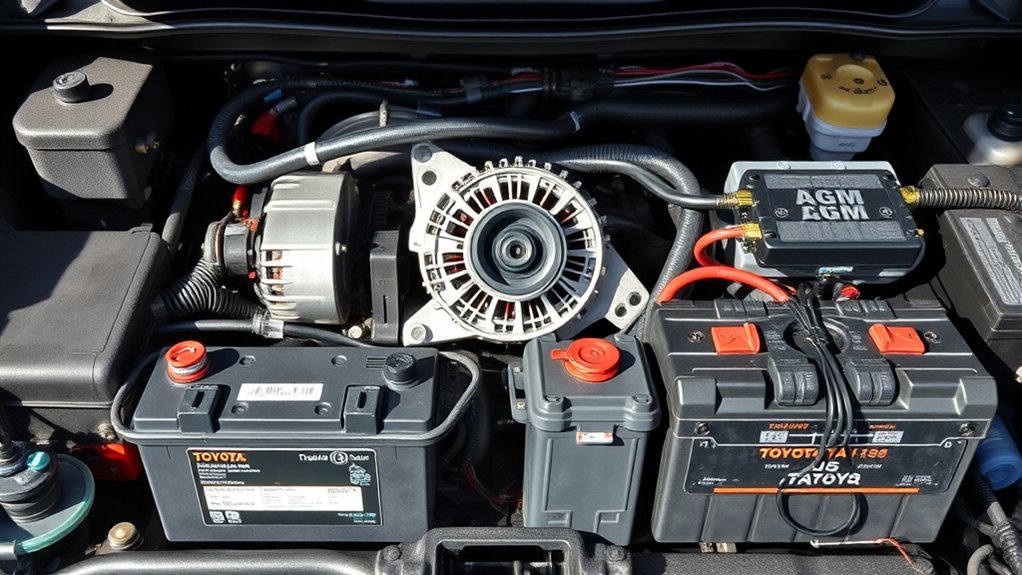
If you upgrade your Tacoma to an AGM or lithium battery, don’t assume the stock charging system will fully charge it. Many AGM batteries need about 14.4 to 14.7 volts during absorption, while many 12-volt LiFePO4 packs need a lithium-compatible charger, correct current limits, and a battery management system (BMS). Start by confirming your battery chemistry, your accessory load, and your use case, such as towing, off-road travel, camping, or daily driving. For most auxiliary AGM or lithium setups, a DC-to-DC charger gives you a safer and more stable charging profile than relying on alternator voltage alone.
Key Takeaways
- Test your Tacoma at rest, at idle, and near 2,000 RPM before you buy charging parts.
- Match the charger to your battery chemistry because AGM and lithium batteries need different profiles.
- Use a DC-to-DC charger for most lithium house batteries and many dual-battery AGM setups.
- Check cables, grounds, fuses, and belt condition before you blame the alternator.
- Stop driving and seek help if the charging warning stays on while the engine runs.
Before You Modify Your Tacoma’s Charging System
Before you add an AGM, lithium, dual-battery kit, fridge, inverter, or compressor, write down your real electrical load. Include running amps, startup surge, battery capacity, cable length, and where you plan to mount each fuse. This simple plan helps you choose safe wire size, a proper charger, and a battery that matches your use.
Check your exact Tacoma year, trim, and wiring diagram before you treat any forum advice as universal. Toyota charging behavior can vary by model year and equipment, and aftermarket accessories can change the load pattern. If you can’t confirm a circuit, ask a qualified technician to inspect the system before you modify it.
How the Tacoma Charging System Works (Battery, Alternator, Regulator)
Your charging system ties the battery, alternator, voltage regulator, wiring, grounds, belt drive, and control logic into one loop. The alternator turns engine rotation into electrical power, then the regulator manages output so the truck can run accessories and charge the battery. Most healthy 12-volt automotive systems charge in the 13-volt to mid-14-volt range, but smart charging can move voltage by design.
When you understand the battery, alternator, regulator, and wiring loop, you can test problems instead of guessing.
- Battery: Stores energy, supplies cranking current, and accepts charge based on chemistry and temperature.
- Alternator: Produces current based on RPM, field control, pulley speed, temperature, and load demand.
- Voltage regulator: Controls alternator output and helps prevent overcharging or undercharging.
- Wiring and grounds: Carry current between the alternator, battery, chassis, and accessories.
- Diagnostic checks: Inspect belts, terminals, grounds, system voltage, and voltage drop under load.
What Smart Charging Means on Third-Gen Tacomas
On many third-gen Tacomas, charging voltage can change instead of staying at one fixed number. The truck may reduce alternator load during some driving conditions, then raise output when the battery or electrical load needs more support. This can help efficiency, but it can also create confusing voltage readings when you add a second battery or a high accessory load.
Confirm charging at about 2,000 RPM with major electrical loads on before you plan an upgrade. If you see voltage drop and stay low, test the battery, belt, alternator output, grounds, and cable voltage drop before you add more parts.
Battery-Aware Voltage Control
Battery-aware charging tries to balance fuel economy, battery health, and electrical load. The system can raise voltage when the battery needs charge, then lower output when the battery reaches a safer charge level or the engine load needs management. That behavior can help the stock battery, but it may not give an AGM or lithium auxiliary battery the profile it needs.
- Watch voltage at rest, at idle, and under load.
- Compare readings to your battery maker’s charging instructions.
- Test near 2,000 RPM with headlights, blower, and other loads on.
- Use a DC-to-DC charger when the battery needs a stable charging profile.
ECM Communication and Model-Year Differences
Modern charging systems may use the engine control module, sensor inputs, and sometimes a communication line to control alternator output. That means voltage can shift because the truck commands it, not because the alternator has failed. You need scan-tool data, a wiring diagram, or model-specific service information if you want to confirm how your Tacoma controls charging.
Don’t assume every third-gen Tacoma uses the same alternator logic or the same communication setup. If you plan an expensive lithium upgrade, confirm the truck’s charging behavior first. That step can save you from nuisance BMS shutdowns, weak charging, or wasted parts.
Why 13.6 to 13.8 Volts Can Fall Short for AGM and Lithium Charging
A Tacoma that sits around 13.6 to 13.8 volts may maintain a standard flooded starting battery, but that voltage may not fully charge many AGM or lithium upgrades. Lifeline lists 13.5 to 13.8 volts as a float range for 12-volt AGM batteries and 14.4 to 14.7 volts as a typical absorption range. That gap matters when you expect a deep-cycle AGM to recover after heavy accessory use.
Lithium batteries need more than a voltage number. A 12-volt LiFePO4 battery usually needs correct current limits, cell protection, and a charger that works with its BMS. Without that control, alternator charging can overload the alternator, trip the BMS, or leave the battery short of a full charge.
- Alternator ceiling: A 13.6 to 13.8 volt reading may not meet AGM absorption needs.
- AGM risk: Chronic undercharging can reduce usable capacity and shorten battery life.
- Lithium risk: Poor current control can trigger BMS shutdown or damage cells.
- Practical fix: Use a DC-to-DC charger or matched charging hardware for the battery chemistry.
Symptoms and Dashboard Warnings to Watch For
Watch the dashboard for the “Check Charging System” message or the battery warning light while the engine runs. Toyota identifies the charging system warning light as a sign of a charging system malfunction, so you should treat it seriously. You may also notice slow starts, frequent jump-starts, dim lights, flickering lights, or voltage swings when you turn on the blower, lights, or A/C.
Dashboard Warning Lights
If the charging warning appears with the ignition on and the engine off, confirm normal startup behavior in your owner’s manual. If the warning stays on while the engine runs, stop in a safe place and inspect the system. A weak battery, loose belt, corroded terminal, damaged cable, failed alternator, or control issue can trigger charging problems.
- Check battery voltage and inspect the terminals for corrosion or looseness.
- Measure alternator output with a multimeter while the engine runs.
- Inspect the serpentine belt for glazing, cracking, slip, or poor tension.
- Scan for stored codes if voltage readings don’t explain the warning.
Starting and Charging Symptoms
Use symptoms as clues, not final answers. Dim lights, a battery warning lamp, repeated jump-starts, and slow cranking can point to the battery, alternator, wiring, grounds, belt, or accessory load. Corroded cables and loose grounds can mimic alternator failure, so inspect connections before you replace major parts.
Track battery health with both resting voltage and loaded voltage. A battery can show a decent resting number and still fail under cranking load. Keep notes from each test so you can spot a pattern instead of chasing the same fault twice.
Quick Multimeter and 2,000 RPM Load Tests You Can Run
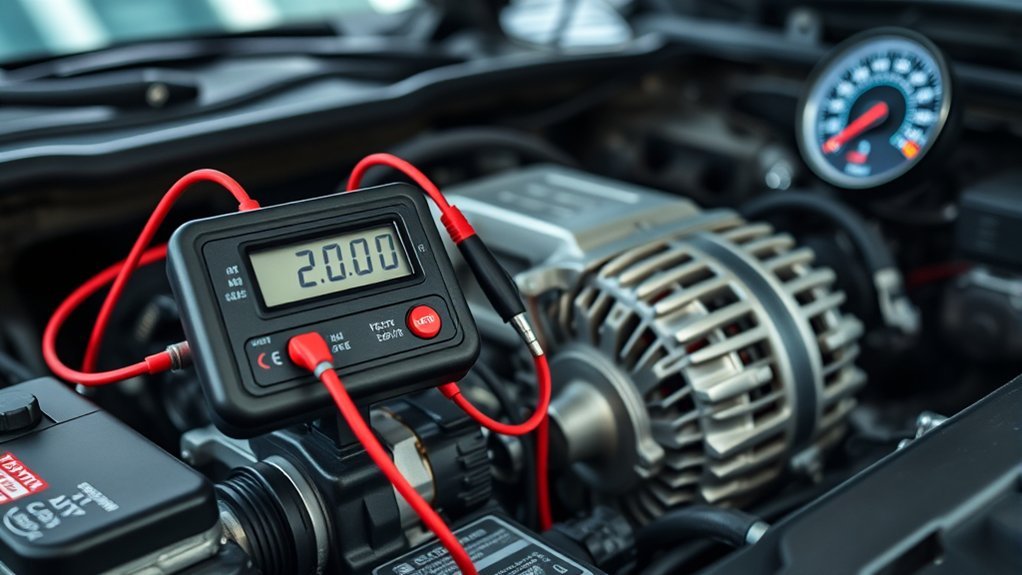
Warning: Keep hands, tools, sleeves, and meter leads away from belts, pulleys, fans, and hot engine parts while the engine runs.
A multimeter test can give you useful data in a few minutes. Start at the battery posts, not the cable clamps, so you measure the battery directly. Then repeat the test with the engine running, near 2,000 RPM, and with major loads turned on.
- Measure resting voltage after the truck sits with the engine off.
- Start the engine and measure voltage at the battery posts.
- Raise engine speed to about 2,000 RPM and turn on headlights, blower, and A/C.
- Watch for voltage that drops below the low 13-volt range and stays there.
- Measure alternator-to-battery voltage drop and inspect wiring if you see more than about 0.2 volts on a charging cable path.
During cranking, a healthy 12-volt battery should usually stay near or above 9.6 volts under a short load test. Temperature, battery type, and test method can change the exact pass point, so treat this as a screening test. Recharge and retest the battery before you condemn it.
Upgrade Options: DC-to-DC Chargers, High-Output Alternators, Isolators
Stock charging can struggle when you add a fridge, inverter, compressor, lighting, winch use, or a deep-cycle auxiliary battery. Choose alternator upgrades only when you need more sustained current and you know the wiring, belt drive, and heat load can handle it. A high-output alternator can help heavy loads, but it won’t replace the need for the correct battery charging profile.
A DC-to-DC charger usually gives you the cleanest path for lithium and many dual-battery AGM setups. It limits current, boosts or regulates voltage, and separates the starting battery from the auxiliary bank. An isolator can protect the starting battery, but a simple isolator may not give a lithium or AGM bank the charging curve it needs.
Solar can reduce alternator load during camping or long parked periods. Pair solar with a proper solar charge controller, or use a combined DC-to-DC and solar charger when your setup supports it. Match every fuse, cable, breaker, and ground point to the expected current.
[Products Worth Considering]

𝐈𝐦𝐩𝐨𝐫𝐭𝐚𝐧𝐭: Alternator-powered charger – NO solar input. For RVs/vans/boats with auxiliary battery (not for standard cars). Use 10 AWG cable ≤ 3m for 20A output (longer causes shutdown). 𝐁𝐓-𝟐 𝐫𝐞𝐪𝐮𝐢𝐫𝐞𝐝 𝐭𝐨 𝐫𝐞𝐝𝐮𝐜𝐞 𝐭𝐨 𝟏𝟎𝐀 𝐟𝐨𝐫 𝐥𝐨𝐧𝐠 𝐜𝐚𝐛𝐥𝐞 𝐫𝐮𝐧𝐬.

PROFESSIONAL DC TO DC CHARGER: The Orion-Tr Smart DC-DC Charger is a professional charger that uses three stages to efficiently and safely charge your batteries.

THE ULTIMATE BATTERY-TO-BATTERY CHARGER: The Orion XS, engineered from the ground up, redefines DC-DC battery charging. Ideal for dual battery systems charged by (intelligent) alternators. It not only ensures top-tier performance but also guarantees the safety of your system.
Real-World Dual-Battery and Accessory Load Examples (Isolator Cycling)
A dual-battery system can behave differently under real loads than it does in a simple driveway test. A fridge, inverter, air compressor, or camp lighting can pull voltage down at idle. When voltage drops, an isolator may open to protect the starting battery, then reconnect when the alternator recovers.
- You run a heavy load, and voltage drops enough for the isolator to separate the batteries.
- You reduce the load, and the alternator brings system voltage back up.
- The isolator reconnects, and both batteries begin sharing charge again.
- Repeated cycling tells you the system needs better current control, more alternator output, or a lower load.
Test with your actual accessories, not just a no-load voltage reading. That real-world test shows whether your Tacoma can support your trips without draining the starting battery.
Maintenance Checklist and Practical Recommendations
Start with a quick visual and electrical inspection. Check battery terminals for corrosion and tightness, inspect the serpentine belt, and test alternator output under load. Clean terminals, tighten clamps, and protect clean connections with dielectric grease where appropriate.
- Test battery resting voltage after the truck sits.
- Test charging voltage with the engine running.
- Run a cranking or load test when starting feels weak.
- Inspect grounds, battery cables, alternator connections, and fuses.
- Check accessory wiring for loose terminals, poor crimps, or undersized cable.
If the battery warning light illuminates while the engine runs, follow a clear sequence. Check belt condition, measure open-circuit battery voltage, then measure charging voltage under known accessory load. Keep records of tests, batteries, alternators, and accessory changes so you can find repeat problems faster.
When to Stop Testing and Call a Professional
Stop testing and call a qualified mechanic or auto electrician if you smell burning insulation, see smoke, melt a fuse holder, find a hot cable, or see the charging warning stay on while driving. You should also get help before you wire a lithium battery, high-output alternator, large inverter, or dual-battery system if you can’t calculate current draw and fuse size.
Vehicle electrical faults can damage control modules and start fires when you guess. A professional can test alternator output, ripple, voltage drop, parasitic draw, and charging commands with the right tools. That inspection often costs less than replacing parts at random.
Frequently Asked Questions
Can I Reprogram the ECU to Raise Alternator Voltage Output?
Don’t treat ECU tuning as the first fix for low charging voltage. A DC-to-DC charger, proper wiring, and a battery-specific charging profile usually give you a safer path. ECU changes can create warranty, emissions, drivability, or electrical issues, so use a qualified tuner only after you confirm the real fault.
Will Higher Alternator Output Void My Vehicle Warranty?
A higher-output alternator or aftermarket charging part does not automatically void your whole warranty in the United States. The FTC says a dealer or manufacturer must prove the aftermarket part or poor installation caused the damage before it can deny that related warranty claim. Keep receipts, wiring diagrams, photos, and test results in case you need to show proper installation.
Note: Warranty rules can vary by country, coverage type, and vehicle use, so read your warranty documents before major electrical upgrades.
Can AGM Batteries Suffer From Undercharging if You Store the Vehicle Long Term?
Yes. AGM batteries can lose charge during storage, and chronic undercharging can shorten battery life. Use a quality smart maintainer with an AGM setting, reduce parasitic loads, and store the battery in a moderate temperature range when possible.
Are Jump-Start Procedures Different With AGM or Lithium Starters?
Yes. AGM batteries need correct polarity and controlled charging, while lithium starter batteries need manufacturer-approved jump-start steps and current limits. Follow the battery maker’s instructions, and don’t jump-start a swollen, frozen, hot, leaking, or damaged battery.
How Does Cold Weather Affect Alternator Charging and Battery Health?
Cold weather slows battery chemistry and reduces cranking power. Your alternator may work harder after a cold start because the battery accepts charge more slowly and the truck uses more electrical load. Test before winter, keep terminals clean, and recharge weak batteries before they leave you stranded.
Safety Disclaimer: This article is for informational purposes only and does not replace advice from a qualified mechanic or auto electrician. Always consult a certified technician before you modify your vehicle’s charging system, lithium battery setup, fusing, or high-current wiring.
Conclusion
Your Tacoma’s charging system works best when the battery, alternator, regulator, wiring, and accessory load all match the job. Test the system before you upgrade, then choose charging hardware that fits your AGM or lithium battery chemistry. If you run a fridge, inverter, compressor, or dual-battery setup, a DC-to-DC charger often gives you the most controlled path. Build the system carefully now, and your truck will support your gear with far fewer surprises.
References
- Dashboard Warning Lights Explained – Toyota Owners, 2026.
- AGM Batteries: A Comprehensive Guide – Lifeline Batteries, 2025.
- Charging Lithium Batteries: The Basics – Battle Born Batteries, 2025.
- How to Charge Dakota Lithium and LiFePO4 Batteries – Dakota Lithium, 2021.
- Auto Warranties and Auto Service Contracts – Federal Trade Commission, 2025.
- Alternator Troubleshooting – DENSO Aftermarket Europe, 2022.
- Load Testing Your Battery – Discover Battery, accessed 2026.