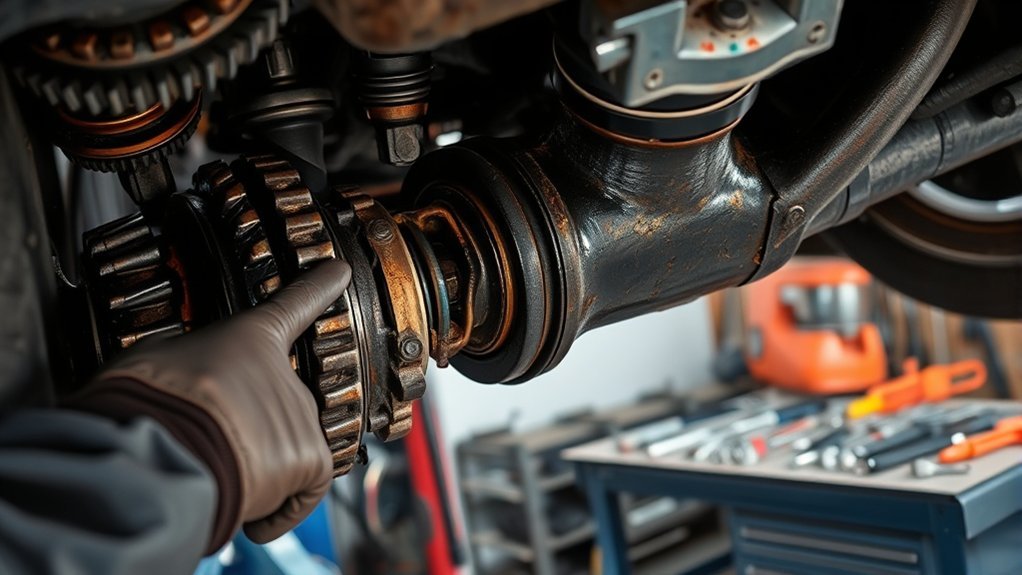
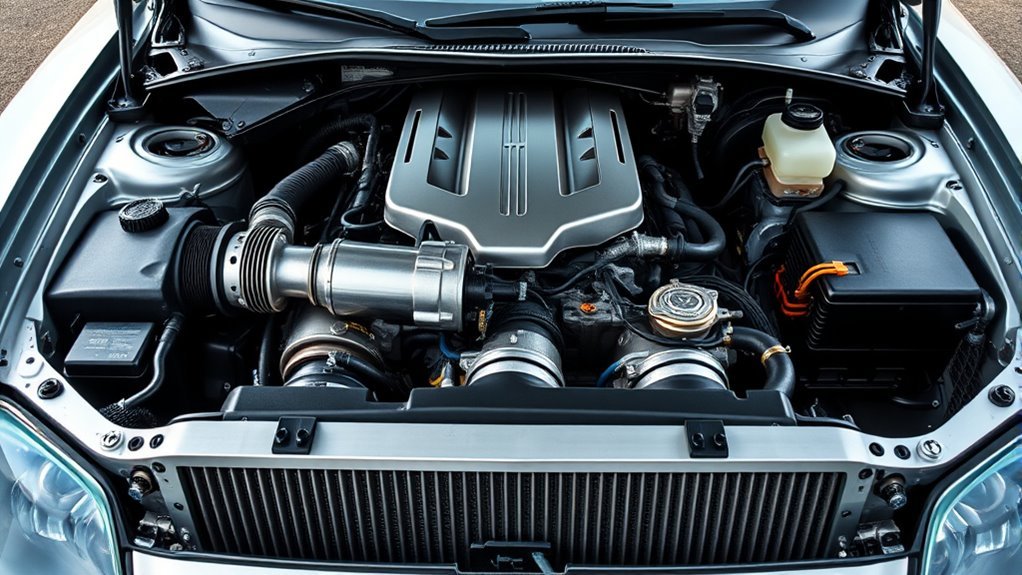
A Toyota Supra oil leak is easiest to diagnose when you separate fresh leakage from old service residue or light seepage. Start with the highest wet point, not the puddle on the ground, because oil can travel down and rearward across the engine. The exact inspection points also depend on whether you have a 2020+ GR Supra or an older Supra.
Quick Answer
If your Toyota Supra is leaking oil, clean the suspected area and identify the highest point where fresh oil appears. On a 2020+ GR Supra, inspect the valve-cover perimeter, oil-filter housing area, oil pan, drain plug, and turbo oil-line area. Use engine-oil UV dye when residue makes the source unclear.
Last checked: October 5, 2026. Technical facts were verified against manufacturer and official service sources; repair-cost examples were checked against current published estimates.
Common Oil Leak Sources in the Toyota Supra
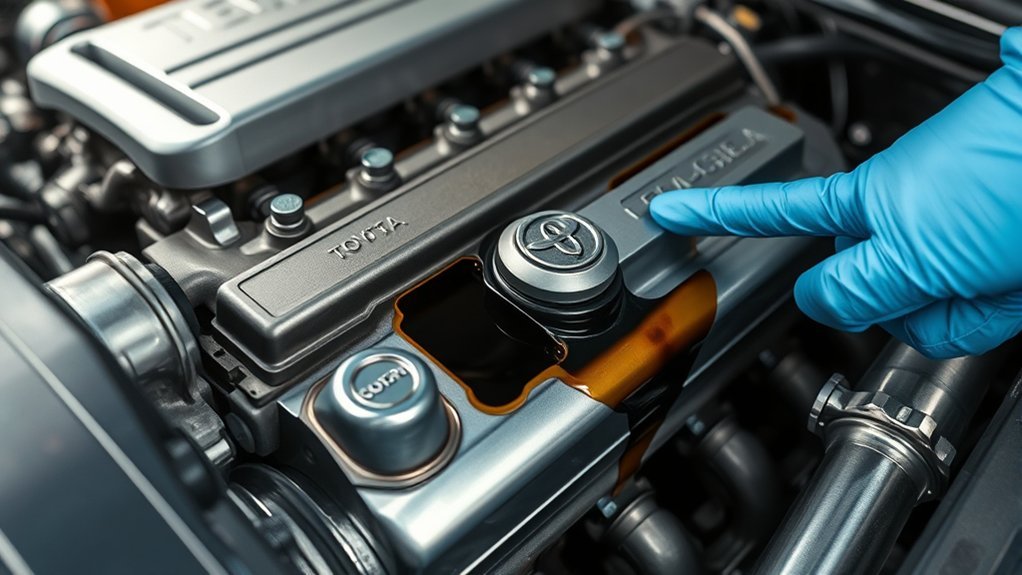
The best places to inspect depend on the Supra generation and engine. A Mk5 GR Supra uses a different engine design from a 2JZ-powered Mk4, so terms and leak points should not be treated as interchangeable.
| Supra | Areas to inspect |
|---|---|
| 2020+ GR Supra | Valve-cover perimeter, oil-filter housing and cap area, oil pan and drain plug, and turbo oil supply/return area. Also rule out oil left behind during servicing. |
| 1993–1998 Mk4 | Valve-cover gaskets, camshaft oil seals, crankshaft seals, oil-pan sealing surfaces, and engine-specific oil-cooler seals. |
| Earlier Supra generations | Use the engine-specific repair information rather than assuming B58 or 2JZ leak points apply. |
Do not assume every dark area needs a gasket. Toyota’s oil leak diagnosis bulletin defines an active leak by pooling, droplet formation, or dripping. A thin damp film without droplets is classified as seepage and can often be monitored rather than immediately repaired.
How to Spot Oil Leaks Easily
Start with a clean, cool engine and work from the top downward. Fresh oil usually gives you a better clue than the location of the puddle because airflow and gravity can carry oil far from its source.
- Check the oil level or oil-level warning first. On Mk5 GR Supras, low oil does not automatically prove an external leak. Toyota issued a 2021 B58 oil-level tech tip that specifically tells technicians to consider driving style, trip length, previous oil additions, and oil consumption before deciding what repair is needed.
- Inspect before cleaning. Look for the highest wet point, formed droplets, oil tracks, and dirt stuck to oily surfaces. Check underneath the engine as well as around upper sealing surfaces.
- Clean the suspected area. Use an appropriate automotive cleaner on cooled components and follow its label. Removing old residue prevents a previous spill from being mistaken for a new leak.
- Drive and reinspect. After cleaning, recheck the same areas for fresh oil. A leak that appears only after a drive may be easier to trace while the residue is still fresh.
- Document the source. Photograph the highest fresh-oil point before taking anything apart. This is especially useful if the repair may be covered by a warranty.
Visual Inspection Techniques
Use a bright flashlight and inspect joints from above and below. Pay particular attention to the edge of the valve cover, oil-filter area, oil-pan joint, drain plug, and any oil lines or connections near the turbocharger on a GR Supra.
If the engine was recently serviced, inspect around the oil-filter cap and filler area for spilled oil before replacing parts. Residual service oil can run downward and look like a gasket failure.
Common Leak Indicators
Pooling oil, droplets hanging from a component, repeated driveway spots, or fresh oil returning soon after cleaning point to an active leak. A burning-oil smell can occur when oil reaches a hot exhaust or turbocharger area even when no puddle reaches the ground.
Warning: If the red oil-pressure warning appears, or oil is actively dripping onto a hot exhaust or turbo area, stop driving and shut the engine off as soon as it is safe. A severe leak can quickly become an engine-damage or fire risk.
For model-specific warning information and the correct oil-level procedure, use Toyota’s owner’s manual library for your exact model year.
Detect Oil Leaks With Dye
UV dye is useful when normal inspection cannot separate a slow leak from old residue. Use only dye specifically made for gasoline-engine oil, add the amount specified by the dye manufacturer, let it circulate, and inspect the engine with the matching UV light.
[Products Worth Considering]

Professional AC Leak Detector Kit: Designed specifically for detecting automotive air conditioner leak, Vansky AC leak detector flashlight incorporates cutting-edge R&D technologies. Equipped with 68 high-quality LED beads, it can accurately pinpoint leaks, even in garage or indoor space. Compared to other flashlights, Vansky optimized ultraviolet light operates at a level 40% brighter, setting it apart in brightness.
Effective Dye Application Techniques
Clean the suspected area first so old contamination does not hide the fluorescent trail. Add an engine-oil-compatible product according to its instructions; for example, Tracer Products specifies its gasoline-engine oil dye for tracing leaks through gaskets and other oil-system components.
After the dye has circulated, scan from the top of the engine downward. The first bright fluorescent trace is more useful than dye collected at the lowest point.
Identifying Leak Source Efficiently
If several components are oily, identify the highest fresh fluorescent path before authorizing repairs. Fixing the lowest wet gasket first can waste money when the actual leak begins above it.
Repair Procedures for Common Leak Points
Once the source is confirmed, the repair should match the exact component and engine. Do not simply tighten accessible bolts in an attempt to stop a gasket leak; incorrect torque can damage covers, threads, seals, or housings.
Toyota’s leak-repair procedure says gasket, O-ring, and seal surfaces should be cleaned, inspected for imperfections, made oil-free, and reassembled with a new seal where required. For joints that use form-in-place gasket material, the specified sealant and repair-manual procedure matter because preparation and cure time affect the final seal.
After repair, clean away the remaining oil and test-drive the vehicle. Reinspect the repaired area for fresh leakage before considering the job complete.
[Products Worth Considering]

Sets to form an elastic body which is not affected by vibration or impact

COMPATIBILITY — Fits 2003-2024 Toyota 4Runner; 2005-2014 Toyota Tundra; 2005-2015 Toyota Tacoma; 2007-2014 Toyota FJ Cruiser.
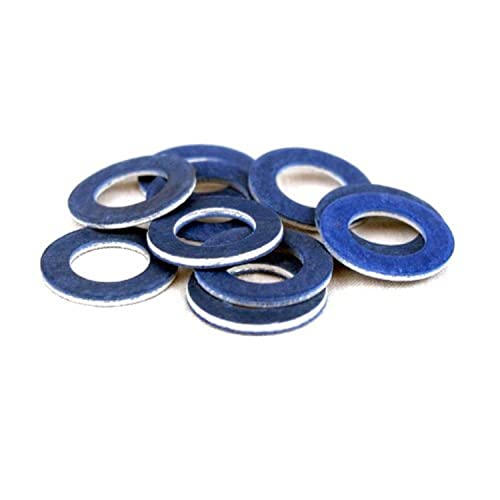
Genuine Toyota - Oil Drain Plug Gaskets (QTY10)
Tips for Keeping Your Toyota Supra Leak-Free
You cannot prevent every aging seal from leaking, but regular inspection makes leaks easier to catch while they are still small. The most useful habit is to establish a clean baseline so you can tell new oil from old residue.
- Check the oil level regularly and investigate an unexpected drop rather than repeatedly topping it off.
- Inspect for new wetness during oil changes, especially around the filter, filler area, drain plug, valve cover, and oil pan.
- After an oil or filter service, wipe spilled oil away so it cannot imitate a later leak.
- Use the correct gasket, O-ring, sealant, and tightening procedure for your exact engine.
- If crankcase-ventilation faults are suspected, diagnose the system rather than replacing unrelated seals.
User Experiences With Toyota Supra Oil Leak Repairs
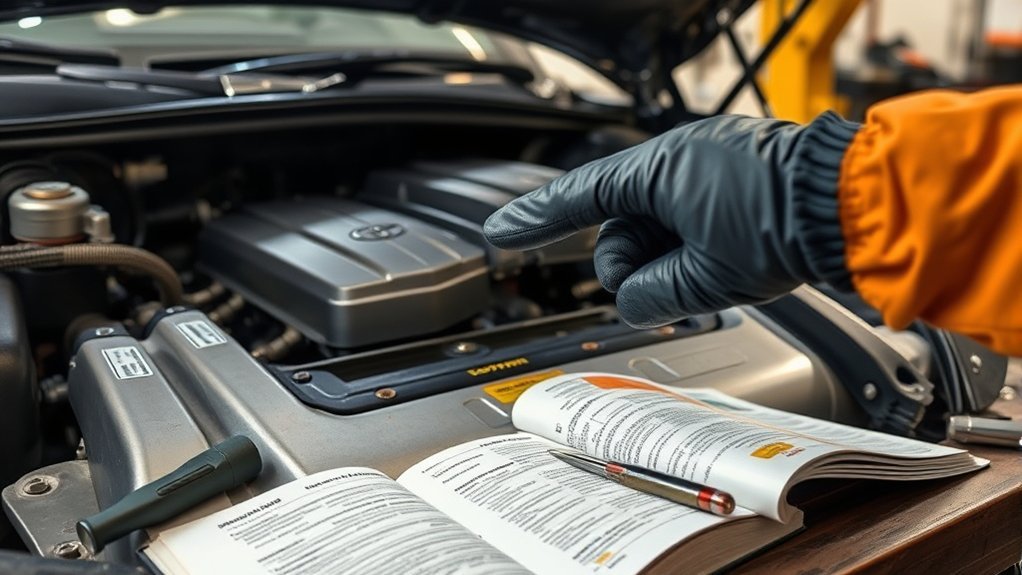
Owner reports can help you decide where to inspect, but they should not determine which part you replace. Oil from different sources can coat the same lower engine surfaces, making two cars with different failures look almost identical from underneath.
The most useful owner information is specific: model year, engine, mileage, the highest point where fresh oil appears, whether the area was cleaned first, and whether the leak returns only after driving. Photos taken before disassembly are far more useful than a general description of an oily engine.
What to Do If You Can’t Find the Leak?
If you cannot find the source, stop replacing parts by guesswork. Clean the engine, establish the oil level, and repeat the inspection after a short period of normal use; then use UV dye if the fresh path is still unclear.
- Confirm the fluid is actually engine oil rather than coolant or another vehicle fluid.
- Remove only the covers needed for safe visibility, then inspect from the highest point downward.
- Use engine-oil UV dye for a slow or hidden leak.
- Check whether the oil appeared immediately after a recent oil or filter service.
- If the leak is above an inaccessible area or oil loss is significant, have a technician inspect it before further driving.
A diagnostic scan may still be useful for related warnings or engine faults, but an external oil leak usually requires physical inspection. A scanner cannot tell you that a particular gasket is leaking simply because oil is visible outside the engine.
Frequently Asked Questions
Can car diagnostics detect oil leaks?
Not directly. A scan tool can reveal related warnings, sensor data, or faults, but it normally cannot identify the physical source of an external oil leak. Finding the source still requires inspection, cleaning, and sometimes UV dye.
How much does it cost to diagnose and fix an oil leak?
Cost depends heavily on the leak source and model year. RepairPal’s 2026 Supra inspection estimate is $122–$179; its GR Supra estimates list $813–$1,172 for a valve-cover gasket and $1,523–$1,888 for an oil-pan replacement, before taxes, location differences, or related repairs.
Is a small oil seep the same as an active leak?
No. Toyota distinguishes light damp seepage from an active leak that forms pooling, droplets, or dripping. Record and monitor light seepage, but investigate any area that becomes wet enough to form drops or repeatedly leaves spots.
Can I drive a Toyota Supra with an oil leak?
It depends on the severity. Do not continue driving with an oil-pressure warning, rapid oil loss, active dripping near hot exhaust parts, or an oil level that cannot be kept in the safe range. A minor seep without measurable oil loss is different, but it should still be monitored.
Conclusion
A Toyota Supra oil leak should be traced before parts are replaced. Clean the area, find the highest fresh-oil point, distinguish seepage from active dripping, and use UV dye when the path is unclear. Most importantly, match the diagnosis to your Supra’s exact generation and engine rather than assuming every Supra shares the same leak points.
Sources
- Toyota T-SB-0008-20: Oil Leak Diagnosis and Repair: Supports Toyota’s leak-versus-seep definitions and sealing-surface repair procedure.
- Toyota T-TT-0642-21: Engine Oil Level Low: Supports the distinction between low oil, driving conditions, and diagnosis on the 2021 B58-powered Supra.
- Toyota Manuals and Warranties: Provides model-specific owner information and warning guidance.
- Tracer Products DYE-LITE Gasoline Engine Oil Dye: Supports the use of oil-compatible fluorescent dye for leak tracing.
- RepairPal Toyota Supra Engine Leak Inspection Estimate: Supports the current diagnosis-cost example.
- RepairPal GR Supra Valve Cover Gasket Estimate: Supports the current valve-cover repair-cost example.
- RepairPal GR Supra Oil Pan Replacement Estimate: Supports the current oil-pan repair-cost example.