Your RAV4’s P0456 means the EVAP system has a small leak, usually from a loose/damaged gas cap, cracked EVAP hose, faulty purge valve, charcoal canister damage, or a bad fuel tank pressure sensor. Start by checking and reseating or replacing the cap, inspect and flex hoses, command the purge valve with an OBD2 tool, and monitor tank pressure sensor output. If you can’t find it, use a smoke test or get professional diagnostics to pinpoint and fix the leak—more detailed steps follow.
RAV4 P0456 Quick Fix Checklist
When you see a P0456 on your RAV4, start with the basics: inspect the gas cap for damage and proper sealing, test the purge valve to confirm it opens and closes, use an OBD2 tool to actuate the vent/ventilation valve, visually check all EVAP hoses for cracks or disconnections, and, if no leak is found, verify the fuel tank pressure sensor‘s output. You’ll approach this checklist like a liberation mission: reclaim control of your vehicle’s emissions and performance. Begin with the cap—replace if seals or threads are compromised. Next, bench-test the purge valve electrically and observe mechanical movement; it must snap open and close. Connect an OBD2 tool to command the vent valve while monitoring for correct actuation. Follow every hose through the EVAP system, feeling for brittle sections and clipped fittings. If hardware checks clean, measure tank pressure sensor voltage or signal against OEM specs to rule out false positives before replacing parts.
Quick Checks: Gas Cap & Hoses
Because most P0456 codes come from simple leaks, start by closely inspecting the gas cap and EVAP hoses for visible damage and secure fitment. You’ll perform a focused gas cap inspection: remove the cap, check the seal for cracks, hardening, or deformation, and examine the cap body for hairline fractures or worn threads. A compromised seal or damaged cap can’t hold pressure and will set the code; replace with an OEM cap when faults appear.
Next assess hose condition along the EVAP circuit. Visually trace hoses for splits, abrasions, soft spots, or disconnected fittings. Gently flex hoses to reveal hidden cracks and confirm clamps and connections are tight. Any suspect hose should be swapped for a correct-diameter replacement to restore system integrity.
Routine gas cap inspection and hose condition checks free you from avoidable emissions faults, improve fuel system reliability, and often resolve P0456 without advanced diagnostic steps.
Test the Purge Valve & Canister
If the gas cap and hoses check out, move on to testing the purge valve and charcoal canister since they control vapor flow and containment in the EVAP circuit. You’ll locate the purge valve atop the engine; it connects to two hoses and meters vapor to the intake. Begin purge valve testing with an OBD2 scan tool: command the valve open/close and verify actuation response and engine behavior. Check electrical connectors for corrosion or looseness.
- Use OBD2-driven actuation to confirm the purge valve opens and closes reliably; note any lag or failure.
- Perform a canister inspection: examine the charcoal canister for cracks, impact damage, or saturation that would prevent vapor capture.
- If both components appear sound, verify wiring integrity and harness continuity before proceeding to advanced leak detection.
You’re reclaiming control: accurate purge valve testing and canister inspection eliminate common EVAP failure points and guide decisive, liberated repairs.
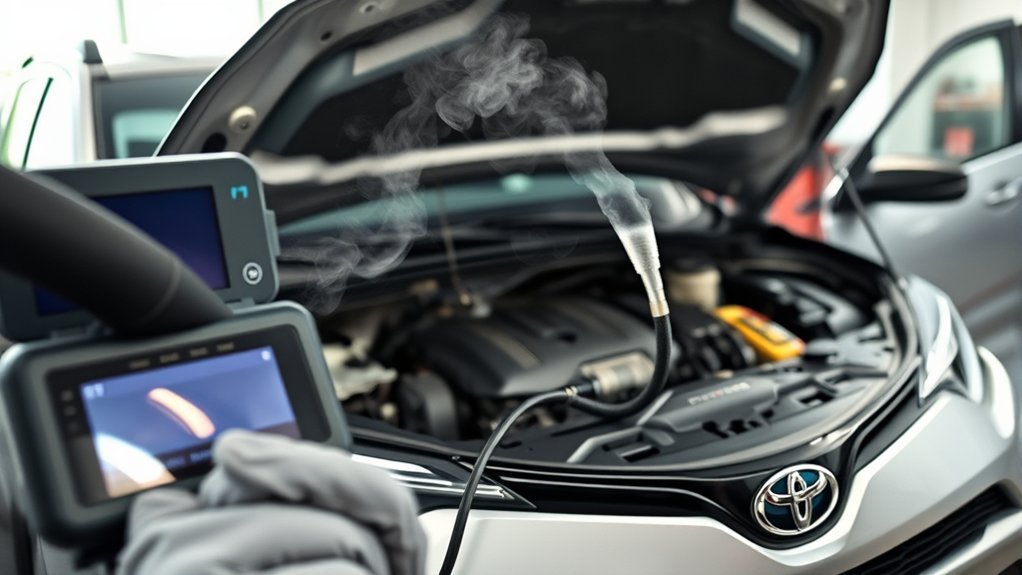
How to Find Small EVAP Leaks (Smoke Test)
Set the smoke machine to low flow and attach it to the EVAP service port or directly to the canister line so you introduce a steady, visible smoke without over-pressurizing the system. Work methodically around hoses and connectors, watching for thin smoke streams that indicate hairline leaks, especially at crimps, joints, and rubber-to-plastic interfaces. After you repair any leaks, reconnect everything securely and clear the fault code so the system can be retested.
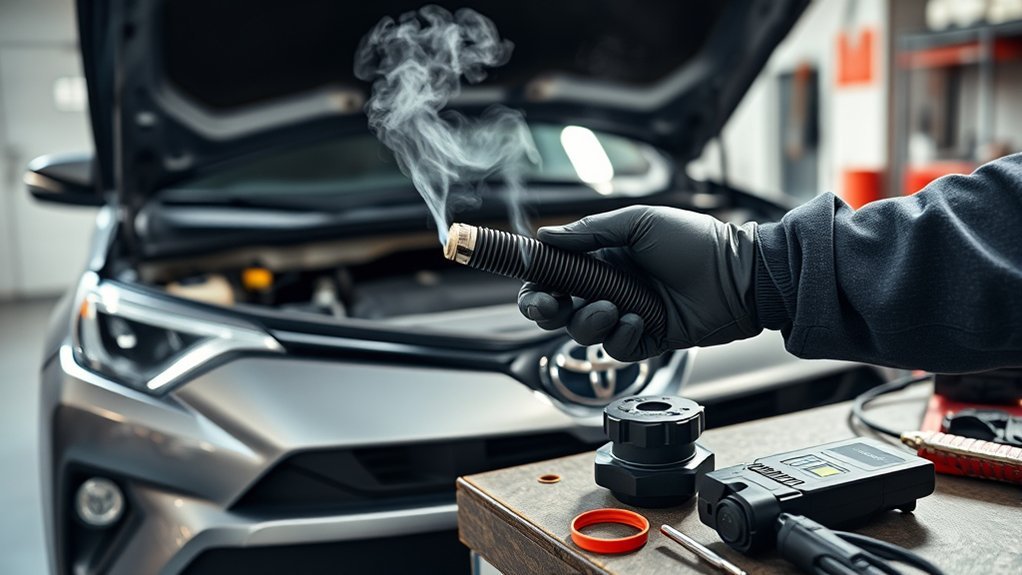
Smoke Machine Setup
When you’re ready to pinpoint small EVAP leaks, rigging the smoke machine correctly is critical: start by confirming the system is sealed — gas cap, purge valve, and charcoal canister — to prevent false readings. Connect the smoke machine setup to the EVAP test port near the canister or tank. Introduce smoke at low pressure and watch for persistent trails.
- Inspect seals: tighten or replace loose caps and valves before testing to guarantee valid leak detection.
- Connection: use correct adapter to the designated test port; secure fittings to avoid introducing new leaks.
- Monitor & act: scan for smoke from cracks, joints, or hoses; note locations, then repair or replace components to clear P0456 and restore freedom from restrictions.
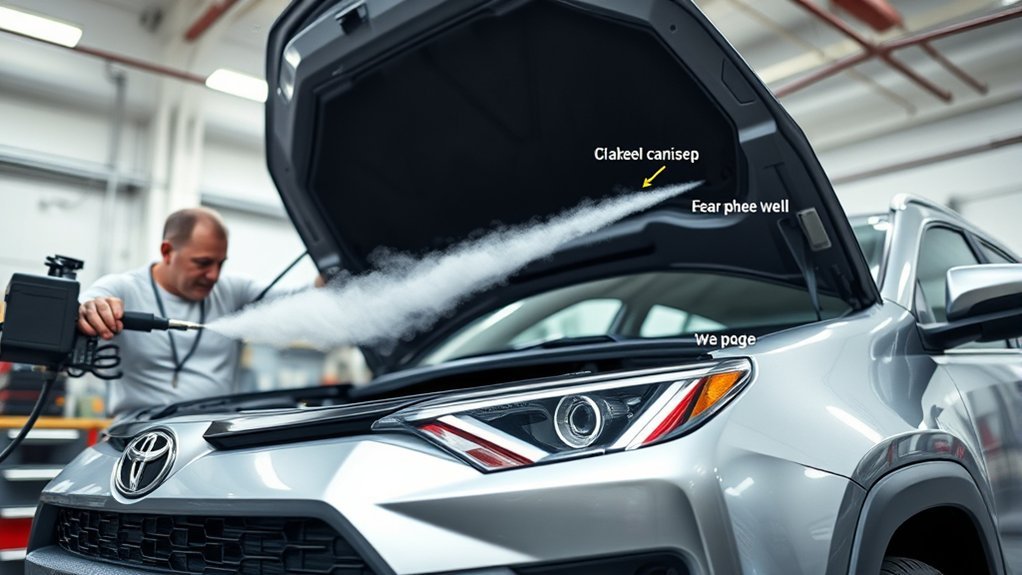
Tracing Hose Leaks
Although small EVAP leaks can hide in complex hose runs, a smoke test makes them visible by forcing non-toxic vapor through the system; you’ll pressurize the EVAP, introduce smoke at low pressure, and watch every hose and connection for continuous or pulsing smoke trails. You set the vehicle systems off, connect the smoke machine to the service port, and confirm steady pressure. During hose inspection, follow lines from the tank to the charcoal canister and purge valve, flexing joints to provoke flow. The smoke will exit any crack, loose clamp, or porous section, providing immediate leak detection. This method cuts diagnostic time and yields definitive visual evidence so you can repair or replace the affected hose or component.
Check the Fuel Tank Pressure Sensor & Wiring
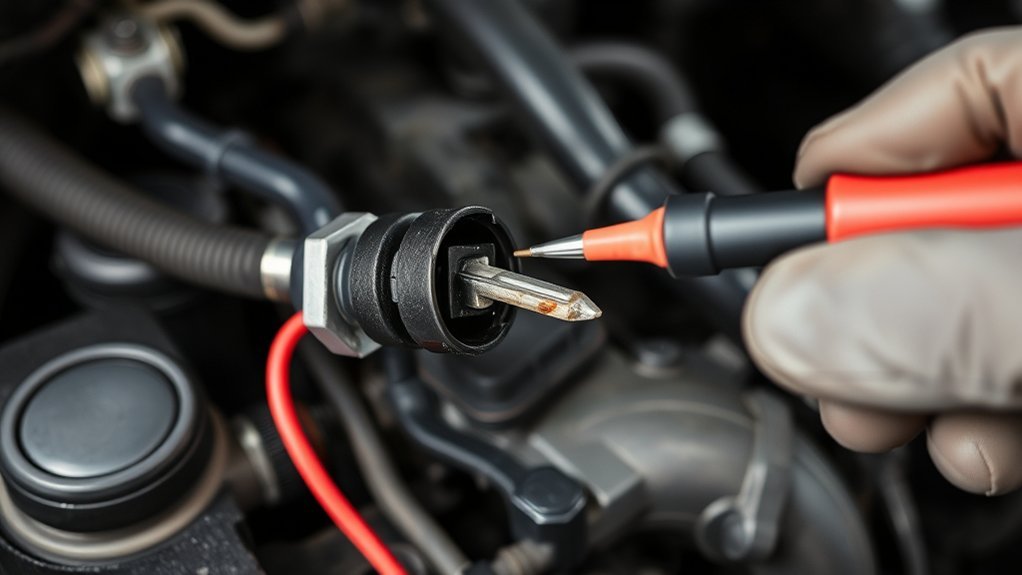
Because the fuel tank pressure sensor sits on the pump assembly and feeds EVAP data to the PCM, you should inspect its wiring and operation first when chasing a P0456. The sensor monitors tank pressure; when it fails or reports erratically, the PCM sees a small leak. Use fuel sensor testing and wiring inspection to isolate the fault.
- Visually inspect wiring: look for chafing, corrosion, pin damage, and secure connectors. Free movement and clean terminals liberate reliable signals.
- Perform fuel sensor testing with an OBD2 scan tool: monitor live pressure values at key events (key on, purge, fill). Compare to expected behavior; inconsistent or flat readings indicate sensor or harness issues.
- Validate symptoms: inconsistent fuel gauge or hard starts alongside abnormal pressure traces confirm sensor-related EVAP faults.
If testing implicates the sensor or harness, replacement of the defective component typically clears P0456 and restores EVAP integrity.
Repair Options for RAV4 P0456: DIY vs Mechanic
You can handle many P0456 fixes yourself with a $10–$100 outlay for a gas cap, basic tools, and an OBD2 scanner. Use a smoke machine and systematic checks for hose, purge valve, and cap leaks, but see a mechanic if the charcoal canister, fuel tank pressure sensor, or welded fuel lines are involved. Expect DIYs to take an hour or two depending on skill, while professional diagnostics and repairs typically cost $100–$200 and save time and risk.
DIY Cost And Tools
When tackling a P0456 on your RAV4, you can often resolve it yourself for $20–$100 by replacing simple parts like the gas cap or purge valve and using basic tools; however, accurate leak detection may require a smoke machine and an OBD2 scanner. You’ll save money and gain independence if you follow a methodical plan: run a scan, inspect fittings, pressure-test or smoke-test, then replace failed components. For clarity, here’s a concise cost comparison and tool recommendations list.
- OBD2 scanner + basic hand tools (screwdrivers, wrenches): low cost, essential for diagnosis and simple fixes.
- Replacement parts (gas cap, purge valve): $20–$100, depending on OEM vs aftermarket.
- Smoke machine: higher upfront but decisive for elusive EVAP leaks; borrow or rent to minimize expense.
When To See Mechanic
If initial checks—like tightening or replacing the gas cap and swapping the purge valve—haven’t cleared P0456, bring the RAV4 to a qualified mechanic for advanced diagnostics. You’ll benefit from mechanic expertise when leaks evade basic tests. Technicians use specialized diagnostic tools — smoke machines, factory scanners, and calibrated pressure rigs — to locate microscopic EVAP leaks and verify component function. If codes persist after part replacement, a mechanic should test the fuel tank pressure sensor and perform any required calibration or replacement. Don’t risk further damage by probing unfamiliar EVAP components; improper handling can worsen leaks or trigger additional codes. Seek professional evaluation when you lack tools, clear diagnostic confidence, or when repairs demand precision beyond DIY scope.
Time And Skill Required
Because EVAP leaks range from trivial to tricky, expect repairs to take roughly 1–3 hours depending on the fault and your experience level. You’ll use repair duration as a planning metric and perform a quick skill assessment before starting. If you value autonomy, you can handle basic fixes; if not, hire help.
- DIY (1–2 hours): Basic tools, OBD2 scanner, check gas cap and purge valve first; moderate skill lets you resolve common causes quickly.
- Advanced DIY (2–3 hours): Smoke test and component testing require a smoke machine and confidence with diagnostics; this is liberating but technical.
- Mechanic (1–3 hours, $100–$300): Faster diagnosis, guaranteed work—choose this if your skill assessment flags uncertainty.
Confirm the Fix, Clear Code & Drive Cycle
Start by clearing the P0456 code with your OBD2 scanner after confirming all repairs and reinstalling components like the gas cap and purge valve; then run a prescribed drive cycle that includes a mix of idle, steady-speed, and varied-speed driving so the ECU can complete EVAP system checks and verify the repair. You’ll perform code confirmation by watching the scanner while the vehicle runs through standard drive conditions: cold start idle, highway steady-speed, and stop-and-go urban segments. Log any pending or active codes and note freeze frame data. If no P0456 returns after the full cycle, you’ve liberated the system and can consider the repair validated. If the code reappears, isolate remaining EVAP elements: inspect hoses, clamps, purge valve operation, and the fuel tank pressure sensor. Repeat repairs, then clear codes and rerun the drive conditions until the ECU completes its monitors without faults.
Frequently Asked Questions
What Is the Code P0456 on a Toyota rav4?
P0456 means you’ve got a very small leak in the evaporative system. You’ll follow a diagnostic process: check the gas cap, inspect hoses, test the purge valve and tank pressure sensor to regain control and freedom.
How Much Does It Cost to Fix Code P0456 on a Toyota?
You’ll typically pay $50–$500+ to fix P0456; cost factors include diagnosis fees, parts, and labor. Consider repair options like gas cap replacement, purge valve, or charcoal canister swaps, and get multiple quotes to guarantee fairness.
Conclusion
You’ve walked through checks from the gas cap and hoses to purge valve, canister, tank-pressure sensor and wiring, plus smoke testing for tiny EVAP leaks. Fix the identified issue—DIY if it’s simple, see a pro for complex repairs—then clear the code and complete a drive cycle to confirm. Remember, “an ounce of prevention is worth a pound of cure”: routine inspections save time and money, so stay methodical and verify the system is truly sealed.