If your Camry won’t crank, start by checking the battery voltage and terminals for low charge or corrosion; a weak or poorly connected battery is the most common culprit. Confirm engine grounds and cables are clean and tight, then listen for relay or starter clicks. Test voltage at the starter solenoid, swap relays, and verify the ignition and neutral‑safety switches and fuses. Replace only one part at a time and log voltages—keep going to see targeted tests and fixes.
Quick Checklist: If Your Camry Clicks But Won’t Crank
If your Camry clicks but won’t crank, start with the basics: check the battery voltage (anything under 12.4 V suggests a weak battery or poor connections), then inspect the battery terminals for corrosion that could impede current. Next, confirm the starter relay clicks and passes voltage—if it’s dead, the starter won’t get power. Try turning the key while someone taps the starter; if it engages, you’re likely facing mechanical starter issues or a failing solenoid. Don’t forget the ignition switch: intermittent contact can mimic dead-start symptoms even when other components test good. On automatics, verify the neutral safety switch by shifting to Neutral and trying to start; a faulty switch can block cranking. You’ll free yourself faster by systematically eliminating each part: battery connections and corrosion first, then relay, ignition switch, neutral safety, and finally the starter. This focused approach gets you moving without guesswork.
Test Battery and Main Power (Voltage & Load)
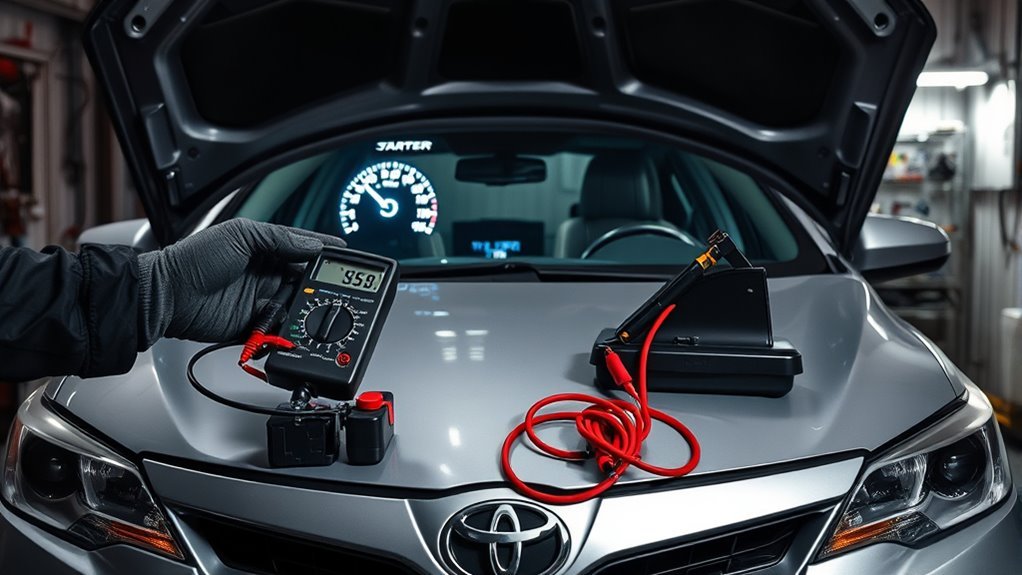
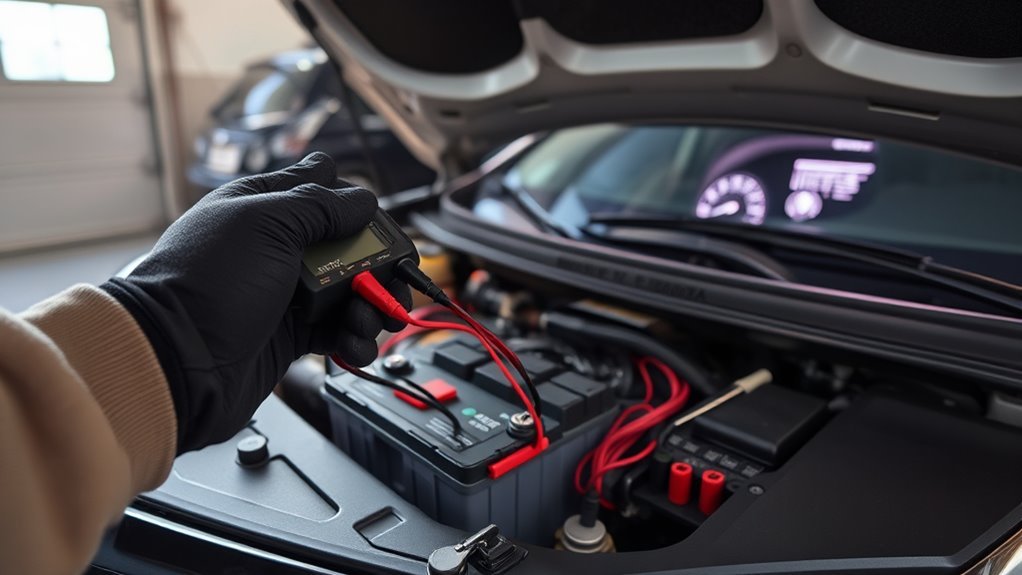
Start by checking the battery voltage with a multimeter — you should see about 12.6 V at rest and 13.7–14.7 V with the engine running. Then perform a starter load test: if voltage falls below 9.6 V while cranking the engine, the battery is weak or failing. Also inspect terminals and main power cables for corrosion or looseness, and if voltage at the battery is good but it still won’t crank, test for voltage at the starter solenoid during a start attempt.
Battery Voltage Check
Begin by measuring the battery voltage with a multimeter; a fully charged battery should read about 12.6 volts or higher, and during cranking the voltage shouldn’t fall below 10 volts. You’ll verify if the battery supports liberation from being stranded by checking voltage stability and basic battery maintenance.
- Verify resting voltage: 12.6V+ means good charge; below 12.4V needs charging or replacement.
- Observe cranking voltage: drops under 10V suggest weak cell or poor connections.
- Inspect terminals and cables: clean corrosion, tighten clamps, and guarantee ground integrity for reliable main power.
- If readings are borderline, perform a load test with proper gear to confirm capacity (should hold ~9.6V under load).
Act decisively to restore freedom on the road.
Starter Load Test
You’ve confirmed the resting and cranking voltages, so now check the battery and main power under load to verify they can deliver the high currents a Camry starter needs. Perform a starter load test: draw half the battery’s rated capacity for 15 seconds and watch voltage response. Most Camrys need 300–600 amps; if voltage drops more than 0.5 volts during load testing, suspect the battery or connections. Measure main power at both positive and negative cables—corrosion or loose clamps will undermine battery performance even if resting voltage looks fine. A healthy battery reads ≥12.4V at rest and the charging system should reach 13.7–14.7V running. Fix weak cells or bad connections to reclaim your starting freedom.
Check Battery Cables and Engine Grounds
Check the battery cables and engine grounds for secure, clean connections, since loose or corroded terminals are a common cause of no-crank problems. You’ll free yourself from needless stalls by doing quick visual and voltage checks: tighten clamps, clean corrosion, and confirm the negative cable and engine ground are solid. Good battery maintenance and corrosion prevention keep the starting system reliable.
Check and clean battery cables and engine grounds—tighten clamps, remove corrosion, and ensure solid negative and engine connections.
- Inspect cable ends and clamp bolts; tighten if loose.
- Look for white/green buildup; clean with a brush and baking soda solution.
- Measure battery voltage at terminals; under 12.4 V suggests a problem with cable or ground.
- Check engine ground strap for tight, corrosion-free contact to chassis or block.
If you find damaged insulation or heavy corrosion, replace the cable or strap. Recheck voltage after cleaning or tightening. These steps remove an electrical bottleneck and restore your Camry’s right to start when you need it.
Starter, Solenoid, and Relay Tests to Confirm Crank vs No‑Crank
When your Camry won’t crank, isolate the starter, solenoid, and starter relay with a few targeted tests so you can tell whether the engine isn’t getting a turn or the starter itself is failing. First, inspect and clean battery terminals and grounds—tight, corrosion-free connections are liberating and often solve no-crank symptoms. Use a multimeter at the starter during a crank attempt: if you see battery voltage present but no rotation, plan for starter replacement. For solenoid maintenance, measure resistance across its terminals; about 0.7 ohms indicates health. You can also apply direct battery voltage to the solenoid terminal—if it clicks but doesn’t engage the starter, the solenoid may be defective. Test the starter relay by swapping it with an identical relay from the fuse box; if swapping restores crank, replace the faulty relay. These focused checks let you diagnose electrical vs mechanical failure quickly and move confidently toward repair or replacement.
Ignition Switch, Neutral‑Safety, and Fuse Diagnostics
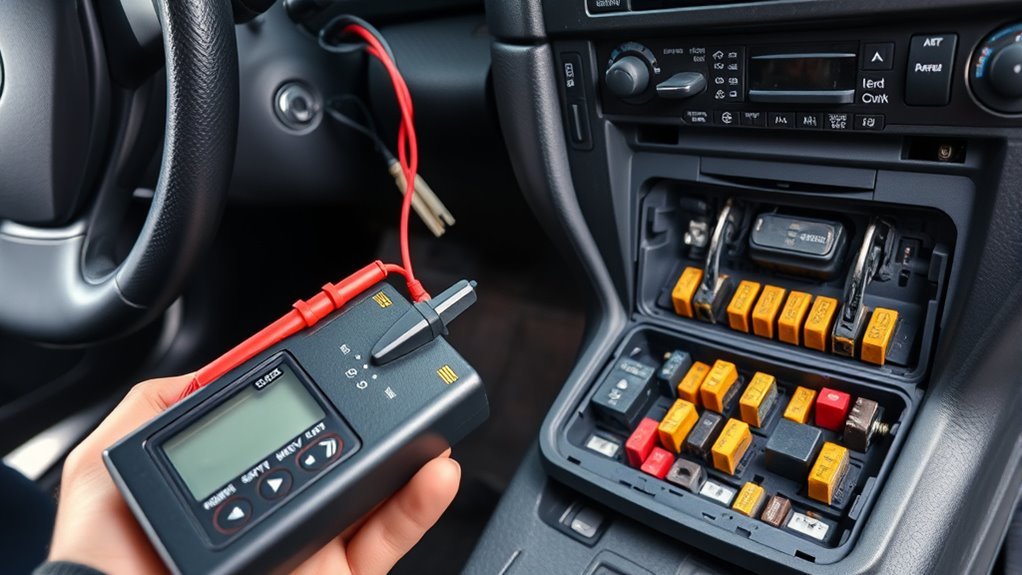
After you’ve ruled out the starter, solenoid, and relay, shift focus to the ignition switch, neutral‑safety switch, and related fuses—these components control whether power actually reaches the starter and will keep the Camry from cranking if they fail. You’ll use ignition troubleshooting steps that free you from guesswork: check fuses first, then verify switch operation with a multimeter. Test continuity on the ignition switch and neutral‑safety switch; if readings are out of spec, plan switch replacement. Inspect connectors for corrosion or loose pins that choke current.
- Check all starter‑related fuses and replace any blown units.
- Use a multimeter to test continuity through the ignition switch contacts.
- Verify neutral‑safety switch closes in Park/Neutral; swap to Neutral to confirm.
- If switches test bad or connectors are damaged, perform switch replacement and secure clean connections.
Stay practical and decisive—restoring reliable starting frees you from repeated roadside frustration.
Trace Intermittent Wiring and Bad Aftermarket Parts
Check intermittent wire connections first, because corrosion or worn terminals can break the starter circuit without warning. Don’t overlook aftermarket relays or ignition parts—cheap components often fail intermittently and mimic wiring faults. Inspect the wiring harness and measure voltage drop during starts to pinpoint loose contacts or damaged runs.
Intermittent Wire Connections
Because intermittent wiring faults often show no visible damage, you’ll need to trace and test suspect circuits methodically when your Camry won’t crank. Use intermittent connection troubleshooting and wiring harness maintenance techniques: probe terminals, wiggle harnesses, and log when failures occur so you can isolate the fault. Focus on ignition switch, starter relay, battery and ground connections — these hide transient opens and corrosion.
- Inspect and clean battery terminals and chassis grounds.
- Check continuity with a multimeter while manipulating wires.
- Document symptoms, times, and conditions to reproduce the fault.
- Replace or repair frayed sections and secure loose connectors.
You want freedom from unpredictable failures: be thorough, precise, and persistent to restore reliable starting without guessing.
Aftermarket Part Failures
While aftermarket parts can save money, they often don’t match OEM tolerances and can introduce intermittent starting faults that mimic wiring problems. You’ll see starters, ignition switches, or relays fail early because aftermarket reliability varies; poor component quality lets relays chatter or lose contact, producing clicks without cranking. Inspect installed parts for loose grounds, misaligned connectors, frayed insulation, or signs of heat damage. Trace symptoms to the component before condemning the harness: swap in a known-good OEM or high-quality unit to confirm. Keep records of part performance and favor suppliers with return policies. You’re freeing yourself from repeat failures by demanding better component quality and testing aftermarket installations before they strand you.
Wiring Harness Inspection
After swapping in a known-good starter or relay, don’t stop at the component — inspect the wiring harness for frays, pinched sections, and damaged insulation that can create intermittent no‑crank faults. You’ll trace circuits, use a multimeter for continuity, and look for corrosion or loose connectors that kill voltage to the starter or ignition. When you find aftermarket parts, verify they meet OEM specs; poor-quality relays or wiring cause unpredictable failures.
- Probe harness connectors for corrosion and tightness.
- Measure voltage and continuity at key points with a multimeter.
- Replace or repair frayed sections, documenting changes for future diagnosis.
- Prefer wiring upgrades that follow OEM routing and specs for reliable harness maintenance.
Take control — fix wiring, free yourself from repeat breakdowns.
Repair Decision Guide: DIY vs Parts to Replace vs Pro Help
If you can handle basic checks—battery terminals, fuses, relays, and visible wiring—start there to rule out simple, low-cost fixes before buying parts or calling a shop. Use DIY Strategies and a clear Cost Evaluation: test battery voltage, clean terminals, swap suspected relays, and inspect fuse continuity. These steps cost little and often reveal the fault.
If those checks fail, decide which parts to replace next based on symptoms and inspection: battery, starter, or ignition switch. Replace only one component at a time so you can isolate the cause. Track changes and immediate electrical responses to guide choices.
Call a pro when diagnostics become murky, multiple parts were swapped without success, or the issue looks like complex wiring or intermittent electrical faults. Professionals bring advanced tools and experience that can save time and prevent repeat repairs. Choose freedom: invest your time when the fix is straightforward, pay for expertise when it isn’t.
Preventive Tips and How to Document Intermittent Faults

Wondering how to catch a flaky starter or weak battery before you’re stranded? You’ll use preventive maintenance and sharp documentation techniques to regain control. Monitor starting behavior and record context: temperature, time of day, and how long the car sat. Note dashboard warnings, headlight dimming, and any unusual clicks. Clean battery terminals regularly and inspect ignition switch, starter relay, and ground connections for corrosion or looseness. Use a multimeter to log resting and cranking voltages; flag any significant drop.
- Record time, temp, symptoms (lights, sounds), and duration of inactivity.
- Log multimeter readings: resting voltage, cranking voltage, and connection checks.
- Inspect and note condition of battery terminals, ignition switch, starter relay, and grounds.
- Track warning lights, sequence of events, and frequency to identify triggers.
You’ll build a concise fault history that frees you from guessing, helps you make informed DIY repairs, or hands clear evidence to a pro for faster, cheaper fixes.
Frequently Asked Questions
Can a Flooded Engine Cause a No‑Crank Condition on a Camry?
Yes — a flooded engine can cause a no‑crank feel when starting issues mask as electrical failure; you’ll free the engine by clearing spark plugs, drying intake, cranking with throttle open, and replacing fuel/ignition components if needed.
Does a Smart Key Battery Prevent the Camry From Cranking?
Like a locked toolbox you forgot, your Camry won’t crank if the smart key battery dies; you’ll find a data point: most failures trace to weak batteries. Replace the battery, and you’ll regain control quickly.
How Do Extreme Cold Temperatures Affect Starter Engagement?
Extreme cold weather slows battery performance and thickens engine oil, so you’ll face starter issues like sluggish engagement or failure; free yourself by charging the battery, using proper oil, and warming the engine before starting.
Can Immobilizer or Anti‑Theft Systems Block Cranking?
Yes — it can: immobilizer functionality can block cranking, and anti theft troubleshooting proves it. You’ll check key recognition, battery, fuses, and ECU signals, reset or reprogram the system, or call a locksmith for liberation.
Will a Bad Fuel Pump Stop the Engine From Cranking?
No, a bad fuel pump usually won’t stop cranking; you’ll still hear or feel starter action. You’ll see fuel pump symptoms like sputter, hesitation, or fuel delivery issues preventing spark or run—diagnose pump pressure and relay.
Conclusion
When your Camry won’t crank, start with the basics: test the battery voltage and load, inspect cables and grounds, and isolate the starter, solenoid, and relays. Don’t forget ignition switch, neutral‑safety, and fuse checks, and trace intermittent wiring or aftermarket parts. If diagnosis points to a simple fix, tackle it yourself; if multiple systems fail, get pro help. Document symptoms and tests like a detective’s notebook—clear, dated, and organized as a roadmap.