🔧 Expert automotive guides trusted by 250,000+ readers monthly
Toyota Camry Guide

Fixing Power Windows in a 2002 Toyota Camry

By Daxon Steele Mar 27, 2026 ⏱ 12 min read Updated: Jul 24, 2026
toyota camry window issues

If a power window on your 2002 Toyota Camry will not move, first turn the ignition to ON, release the window-lock switch on the driver’s door, and determine whether one window or all four windows have failed. One dead window usually points to its fuse, switch, door wiring, motor, or regulator. Several dead windows point more strongly to a shared feed, the driver’s master switch, or the PWR relay circuit. Test the correct fuse and motor circuit before buying replacement parts.

Last updated: July 23, 2026

Quick Answer

For a 2002 Toyota Camry power window that will not work, turn the ignition to ON and make sure the driver-door window-lock switch is released. If one window is dead, test its dedicated PWR fuse and try both available switches. If several windows are dead, also test the 10A ECU-IG fuse, the driver’s master-switch feed, and the PWR relay circuit. Check the motor connector with a multimeter before attempting a direct battery test or replacing the motor.

Key Takeaways

  • Release the driver-door window-lock switch before removing trim or replacing parts.
  • Match the failed door to its specific PWR fuse instead of checking random fuse positions.
  • Test a fuse electrically and replace it only with the same amperage rating.
  • A motor sound with no glass movement usually points to the regulator, track, or glass mounting.
  • Do not apply battery voltage to unidentified terminals on a multi-pin motor connector.
  • Stop testing if a replacement fuse blows again or you find burned wiring or melted connectors.

At a Glance: Match the Symptom to the First Check

Symptom Likely Fault Area First Check
All windows are dead Shared power feed, ECU-IG fuse, master-switch feed, or PWR relay circuit Confirm ignition position, then test ECU-IG and the power-window circuit feeds
Driver’s window works, but passenger windows do not Window-lock switch, master switch, or passenger-window feed Release the window lock and retry the passenger switches
Only one window is dead Door-specific fuse, switch, harness, motor, or regulator Test the fuse assigned to that door and try both switches
Motor hums or clicks, but the glass does not move Regulator, cable, glass clamp, track, or binding run channel Support the glass and inspect the mechanical parts inside the door
Window moves slowly, tilts, or jerks Binding run channel, loose glass, worn regulator, or overloaded motor Inspect glass alignment and mechanical resistance
Replacement fuse blows again Shorted wiring, pinched harness, stalled motor, or seized regulator Stop operating the circuit and diagnose the short or excessive current draw

Why Is My 2002 Toyota Camry Power Window Not Working?

power window troubleshooting guide

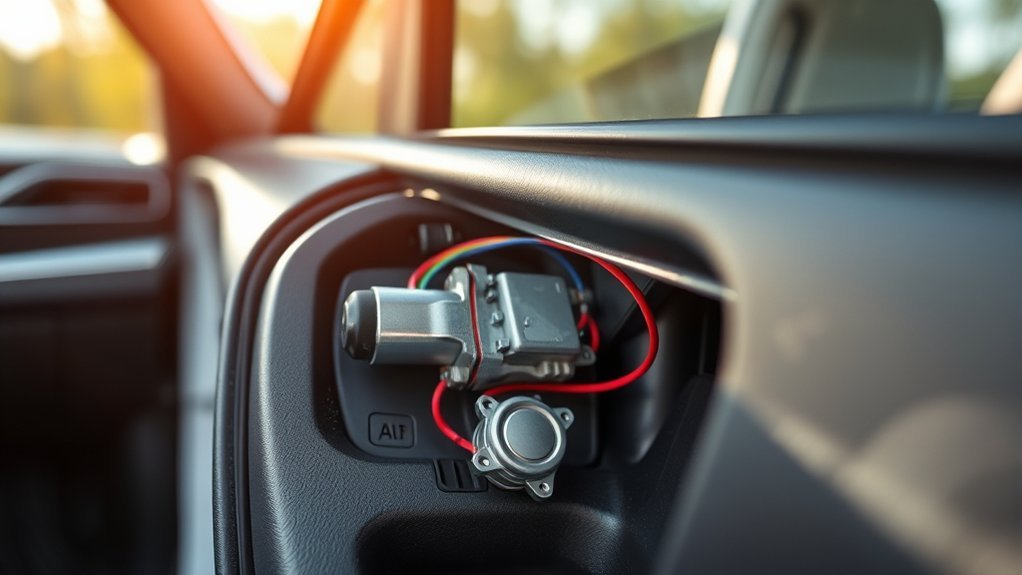
Your 2002 Toyota Camry’s power window system uses the ignition-fed electrical system, a PWR relay circuit, the driver’s master switch, individual door switches, door-specific fuses, wiring, motors, and regulators. The symptom pattern tells you where to start.

Toyota’s 2002 Camry owner’s manual, document OM33567U, states that the windows operate when the ignition switch is in the ON position. The windows can also operate briefly after the ignition is switched off, but that retained operation ends when either front door is opened. The manual also states that pressing the driver-door window-lock switch prevents the passenger windows from operating. Toyota owner manuals can be accessed through the Toyota Manuals and Warranties portal.

The same manual identifies separate fuses for the four power-window circuits:

Fuse Number Label and Rating Protected Circuit
32 ECU-IG, 10A Power-window system and other ignition-fed systems
42 PWR NO.4, 20A Left-rear passenger window
43 PWR NO.2, 20A Front-passenger window and front-passenger door-lock circuit
52 PWR NO.3, 20A Right-rear passenger window
61 PWR NO.1, 30A Driver’s window, driver-door lock circuit, and available moonroof

Toyota’s repair-manual power-source diagram identifies the PWR relay as part of the instrument-panel junction block. Do not replace a relay only because you do not hear a click. A relay may click while its contacts fail to carry current, and the relay may already be energized before you operate a window switch. Confirm the circuit with the correct wiring diagram and a meter.

The shared circuits can provide useful clues. If the driver’s window and available moonroof both fail, inspect PWR NO.1 and its feed. If the front-passenger window and that door’s power-lock circuit fail together, inspect PWR NO.2 and the related wiring.

Common Symptoms of a Power Window Problem

Power-window faults often produce a recognizable pattern. Match the symptom before you remove the door panel or order a motor.

  • No sound and no movement from one window: Test that door’s fuse, both available switches, the door-jamb harness, and the motor circuit.
  • No windows work: Check the ignition position, ECU-IG fuse, power-window feeds, PWR relay circuit, and driver’s master-switch supply.
  • Driver’s window works but passenger windows do not: Release the window-lock switch before testing the master-switch passenger circuits.
  • Motor sound but no glass movement: Inspect the regulator, cable, track, glass clamps, and mounting points.
  • One switch works but another does not: Test the failed switch and its portion of the circuit.
  • Window moves slowly, tilts, or jerks: Check the run channel, glass alignment, regulator, and motor load.
  • Window works only sometimes: Inspect switch contacts, connectors, and the flexible door-jamb harness.

How Do You Troubleshoot a 2002 Camry Power Window?

Use the following order so you do not replace a working motor, switch, or regulator.

  1. Confirm the operating condition: Turn the ignition switch to ON. Do not assume the window should work after retained accessory operation has ended.
  2. Release the window lock: Make sure the window-lock button on the driver’s master switch is not pressed.
  3. Identify the scope: Determine whether one window, all passenger windows, or every window has failed.
  4. Test the correct fuse: Match the failed window to the fuse table. With the circuit powered, use a test light or meter at both fuse test points. You can also remove the fuse with the ignition off and test continuity.
  5. Try both available switches: Operate the affected window from the driver’s master switch and the switch on the affected door.
  6. Check the motor circuit: Use the correct wiring diagram for the door and production configuration. Confirm that the required power, ground, and command signals reach the motor when UP and DOWN are selected.
  7. Inspect the door-jamb harness: Check the rubber boot and connectors for stretched, cracked, corroded, pinched, or broken wiring.
  8. Inspect the mechanism: If the motor operates but the glass does not move normally, support the glass and inspect the regulator, cable, clamps, track, and run channel.

Replace a blown fuse only with the same amperage rating. If the replacement fuse blows immediately or when the window begins moving, stop testing. A shorted wire, stalled motor, or binding regulator may be drawing excessive current.

Warning: Disconnect the negative battery cable before removing trim, unplugging components, or reaching near the regulator. Reconnect it only for a controlled electrical test. Disconnect it again before adjusting or removing the motor, regulator, track, or glass. Keep hands and tools clear of moving parts.

How to Take Off the Door Panel for Wiring Checks

Turn the ignition off and disconnect the negative battery cable before removing the door panel. On a 2002–2006 Camry front door, concealed fasteners are located behind trim near the interior handle, door pull, and upper-front corner. The rear-door arrangement differs, so do not assume every door has the same screw locations.

Use a plastic trim tool to remove the small covers without scratching the panel. Remove each exposed screw, then release the perimeter clips from the lower edge and sides. Do not force the panel if one area remains firmly attached because a concealed fastener may still be installed.

After the clips are free, lift the panel upward from the window ledge. Disconnect the window-switch connector, courtesy-light connector, and handle or lock connections before moving the panel aside. Pull on connector housings rather than the wires.

Step Action Notes
Remove Trim Covers Open the covers around the handle, pull area, and upper-front corner Use a plastic trim tool to reduce surface damage
Remove Fasteners Remove each exposed screw Do not pull hard if a concealed fastener remains
Release Clips Work around the lower and side edges Release clips one at a time before lifting the panel
Disconnect Components Unplug the electrical and handle connections Pull on connector housings, not on individual wires
Secure the Glass Support the glass before loosening regulator hardware Unsupported glass can drop inside the door

How Do You Test the Window Motor Safely?

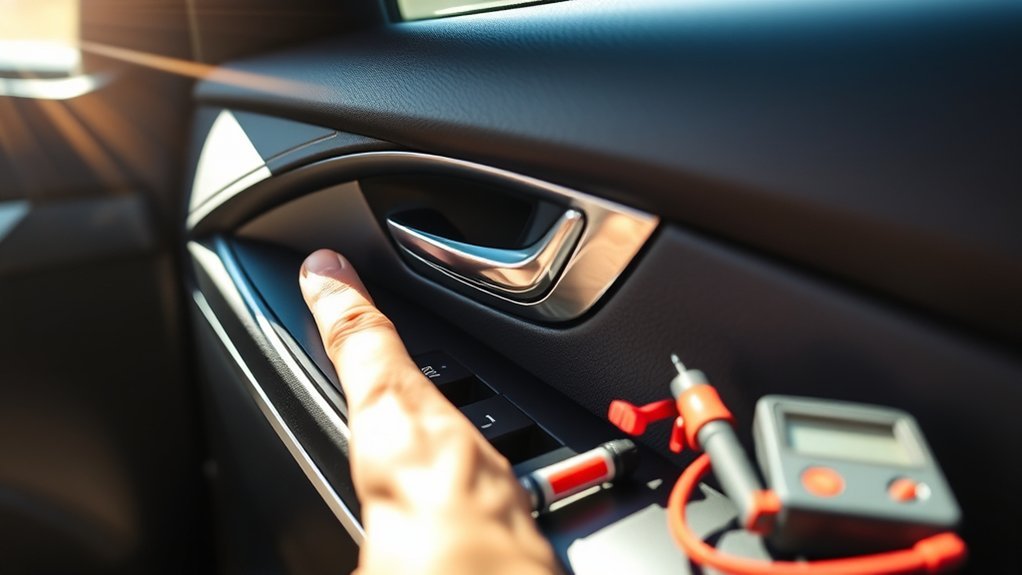
test window motor functionality

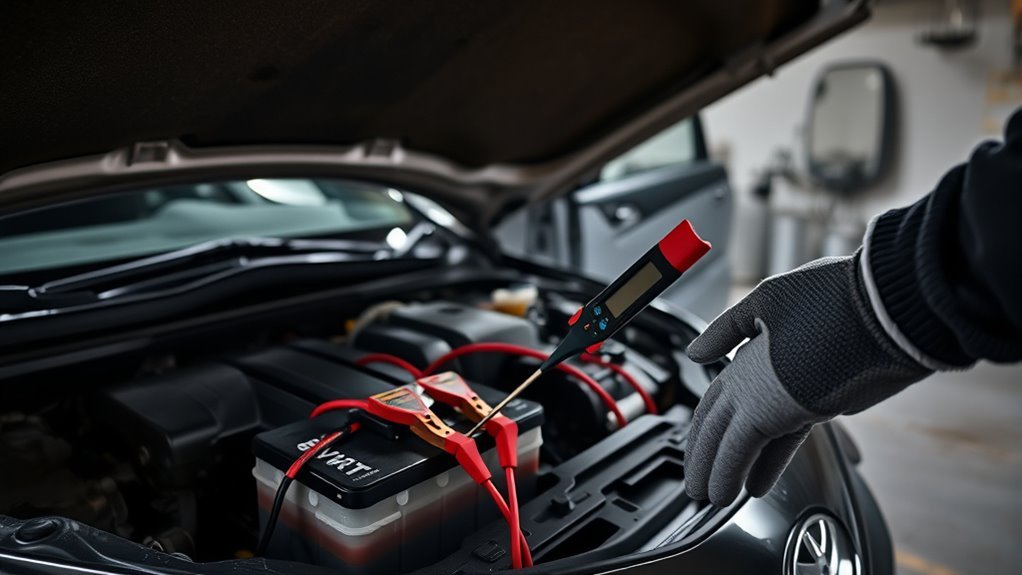
Begin with a vehicle-circuit test rather than connecting the motor directly to a battery. Toyota wiring diagrams distinguish different motor, production, and jam-protection configurations, so do not assume every connector contains only two motor terminals.

With the battery disconnected, expose and unplug the connector as required by the repair procedure. Identify the correct terminals in the wiring diagram for the affected door. Reconnect the battery only for a controlled meter test, keep clear of the regulator, and operate the switch in both directions.

If the correct power, ground, and command reach the motor but it does not move, disconnect the battery again and check whether the regulator or glass is mechanically binding. A seized regulator can prevent a working motor from turning and can cause excessive current draw.

A direct battery test should be used only when the correct motor terminals are known. Disconnect the vehicle harness, use fused jumper leads, and apply power briefly. Do not probe or power unidentified terminals on a multi-pin connector.

  • The correct command reaches the motor, but it remains still: The motor may have failed, or the regulator may be severely bound.
  • The motor runs, but the glass remains still or crooked: Inspect the regulator, cable, track, and glass clamps.
  • No command reaches the motor: Continue testing the fuse, switches, relay circuit, connectors, and wiring.
  • The circuit works in only one direction: Test the switch contacts and the related UP or DOWN circuit.

Pro tip: Do not order a window motor until you have confirmed the motor receives the correct electrical command and the regulator can move without binding.

[Products Worth Considering]

Identifying and Repairing Common Wiring Issues in Power Windows

Broken wires can cause intermittent or complete power window issues, especially inside the rubber boot between the door and body. The harness bends every time the door opens, and the copper strands may eventually break inside insulation that still appears intact.

A wire can look intact while its copper strands are broken inside the insulation. Check continuity while gently flexing the door-jamb harness.

  1. Disconnect the battery: Remove the negative cable before opening the harness or unplugging connectors.
  2. Inspect the rubber boot: Look for stretched, cracked, pinched, discolored, or previously repaired wires.
  3. Check continuity: Test each suspect wire from connector to connector while gently moving the flexible section.
  4. Inspect the terminals: Look for corrosion, moisture, heat damage, loose pins, or a terminal pushed backward in its housing.
  5. Repair the damaged section: Use automotive-grade wire of the same gauge and a sealed repair method suitable for a moving door harness.
  6. Protect the repair: Stagger the splices, use adhesive-lined heat-shrink tubing, and keep rigid splice points away from the tightest bend.

Do not twist bare wires together and cover them with tape alone. A weak or rigid splice can fail again as the door moves.

[Products Worth Considering]

When to Replace the Window Motor or Call a Professional

Replace the window motor only after the correct electrical command reaches it and the regulator has been checked for binding. If the motor operates but the glass stays still, moves crooked, jerks, or drops, inspect the regulator, cable, glass clamps, track, and run channel instead.

Before ordering a motor, regulator, or switch, confirm the part by VIN, build origin, affected door, connector shape, and automatic-window equipment. Do not assume every 2002 Camry door uses the same motor or control arrangement.

Call a professional if you find burned wires, melted connectors, repeated blown fuses, an unidentified multi-pin motor connector, unclear meter readings, or glass that cannot be supported safely. Continued testing of a shorted or stalled circuit can damage the harness, switch, junction block, or motor.

[Products Worth Considering]

Frequently Asked Questions

Why Is My Toyota Camry Window Not Working?

Your 2002 Toyota Camry window may not work because the ignition is not in the required position, the window-lock switch is pressed, a fuse is blown, a switch has failed, door wiring is broken, the motor is worn, or the regulator is damaged. First determine whether one window or several windows have failed.

Which Fuse Controls Each 2002 Camry Power Window?

No. 42 PWR NO.4, 20A, protects the left-rear window. No. 43 PWR NO.2, 20A, protects the front-passenger window. No. 52 PWR NO.3, 20A, protects the right-rear window. No. 61 PWR NO.1, 30A, protects the driver’s window. No. 32 ECU-IG, 10A, also serves the power-window system.

Why Do the Passenger Windows Not Work but the Driver’s Window Does?

Check the window-lock button on the driver’s master switch first. Toyota states that pressing this switch prevents the passenger windows from operating. If the lockout is released, test the master switch, passenger-window fuses, and related wiring.

Why Does Only One Power Window Not Work?

One failed window usually points to that door’s dedicated fuse, switch, wiring, motor, regulator, or glass track. Test the door-specific fuse and try both available switches before removing the panel.

Can a Bad Window Switch Stop the Motor From Working?

Yes. A failed switch can prevent the required power, ground, or control signal from reaching the motor. Testing the motor connector with the correct wiring diagram helps separate a switch or wiring fault from a failed motor.

How Do I Know If the Window Regulator Is Bad?

A damaged regulator may cause grinding, tilted glass, jerky movement, dropping glass, or motor noise without normal glass movement. Support the glass before inspecting the cable, track, clamps, and mounting points.

Is It Safe to Test the Window Motor With a 12V Battery?

Only when the vehicle harness is disconnected and the correct motor terminals have been identified from the wiring diagram. Use fused jumper leads and apply power briefly. Do not apply battery voltage to unidentified terminals on a multi-pin connector.

Why Does the Power-Window Fuse Keep Blowing?

A fuse that blows again can indicate a shorted wire, pinched harness, internally shorted motor, or regulator that is binding and overloading the motor. Do not install a larger fuse. Stop operating the circuit and locate the fault.

Conclusion

Start with the ignition position, window-lock switch, symptom pattern, and correct fuse. If the motor does not receive the required electrical command, continue testing upstream through the switches, PWR relay circuit, connectors, and wiring. If the correct command reaches the motor but it remains still, inspect the motor and regulator for a mechanical bind. If the motor runs while the glass remains still, crooked, or loose, focus on the regulator and glass mounting. Stop DIY testing when a replacement fuse blows, wiring overheats, or the glass cannot be supported safely.

Avatar photo
Daxon Steele
Daxon Steele writes about heavy-duty vehicle performance, towing capacity, payload limits, and truck capability. His content helps readers understand what their vehicles can safely handle before they tow, haul, or upgrade. Daxon focuses on clear explanations backed by practical use cases. He breaks down numbers like gross vehicle weight rating, tongue weight, towing limits, and payload capacity in a way regular drivers can understand. His goal is to help truck owners avoid common mistakes, protect their vehicles, and choose the right setup for work, travel, and daily use.

Leave a Comment

Your email address will not be published. Required fields are marked *