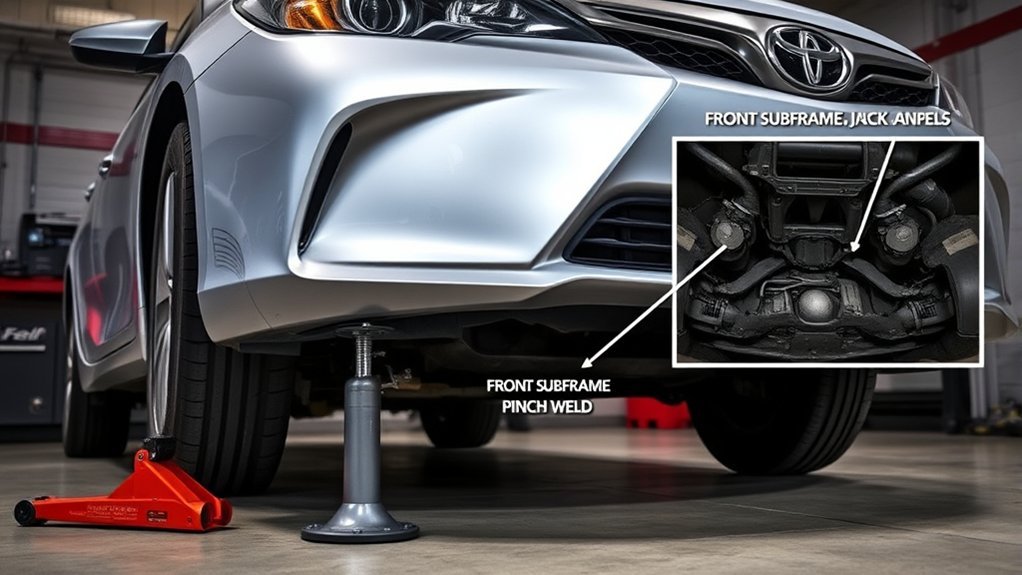
On a U.S.-market 2000 Toyota Camry sedan, the factory emergency jack points are the four reinforced pinch-weld sections along the rocker seams: one just behind each front wheel and one just ahead of each rear wheel. Use these marked notches for one-wheel tire changes. Do not assume a nearby crossmember, frame rail, suspension arm, or center point is safe for a floor jack or stand unless the exact location is shown in Toyota service information for your car. For any work underneath, lift from a verified point and lower the car onto rated jack stands before entering the work area.
Last updated: July 15, 2026 · Reviewed for: lifting safety and source accuracy · [VERIFY: add the real author name and relevant automotive experience in the CMS byline]
Quick Answer
The confirmed owner-use jack points on a 2000 Toyota Camry are the marked pinch-weld notches near each wheel. Use the point behind the front wheel or ahead of the rear wheel for a one-wheel tire change. For a floor jack, center lift, or jack-stand placement, use only locations identified in the exact Toyota service information for your vehicle. Never crawl under a Camry supported only by a jack.
Key Takeaways
- The four side jack points are on reinforced pinch-weld sections just behind the front wheels and just ahead of the rear wheels.
- The factory scissor jack is for changing one tire at a marked side point, not for undercar work.
- A jack raises the car; rated jack stands support it. Use only factory-designated support points.
- Never lift from the oil pan, transmission pan, exhaust, steering rack, floor pan, plastic panels, or an unverified center point.
- Stop if the ground is sloped or soft, the point is rusty or damaged, or you cannot positively identify the correct lift and support locations.
At a Glance
| Vehicle Scope | U.S.-market 2000 Toyota Camry sedan; verify regional models, wagons, and Solaras separately |
| Confirmed Owner-Use Points | Four marked side pinch-weld points near the wheels |
| Center Floor-Jack Points | Use only when identified in the exact Toyota service information for the vehicle |
| Support Equipment | Rated jack stands, wheel chocks, and purpose-made adapters that fit the selected points |
| Stop Conditions | Rust, crushed seams, unstable ground, damaged equipment, or any uncertainty about the point |
Warning: A jack is a lifting tool, not a support stand. If any part of the lift feels unstable, if the ground is sloped or soft, or if the jack point is rusty or damaged, stop and use a professional lift or roadside service.
Where Are the Jack Points on a 2000 Toyota Camry?
For a U.S.-market 2000 Camry sedan, begin with the factory jack-point diagram in the owner’s manual. Toyota’s flat-tire instructions direct you to stop on firm, level ground, set the parking brake, block the wheel diagonally opposite the flat tire, raise the vehicle only enough to remove the tire, and never get under a vehicle supported by the jack alone. Toyota provides its official manual library through Toyota Owners Manuals and Warranties.
The four emergency jack points are along the rocker-panel pinch welds. The front points sit just behind the front wheel openings. The rear points sit just ahead of the rear wheel openings. Look for notches, stamped marks, or a visibly reinforced section where the factory scissor-jack head fits the seam.
| Location | What to Look For | Correct Use |
|---|---|---|
| Behind either front wheel | Marked or notched reinforced pinch-weld section | Raise that front corner for a tire change |
| Ahead of either rear wheel | Marked or notched reinforced pinch-weld section | Raise that rear corner for a tire change |
| Front or rear center area | A factory-identified structural lift point in service information | Floor-jack lifting only after exact model-specific verification |
The owner’s manual tire-change points do not automatically identify every floor-jack or jack-stand location. If you cannot verify a separate structural lift point and a separate support point for the planned job, do not improvise. Use a professional shop lift instead.
Scope Note: The 2000 U.S. Camry sedan belongs to the XV20 generation. Regional models, wagons, the Camry Solara, corrosion, collision repairs, and aftermarket side skirts can change access or structure. Confirm the diagram for the exact vehicle in front of you.
Evidence Gap: [VERIFY: add an original underbody photo or a factory diagram that labels each confirmed 2000 Camry lift and support point. Do not claim hands-on testing unless it was actually performed.]
How Do You Find the Factory Pinch-Weld Jack Points?
Before putting a jack under the Camry, use a flashlight to inspect the rocker seam near the wheel you need to raise. The correct side point is a reinforced section of the pinch weld, close to the wheel opening. You may see two small notches, a stamped shape, or a thicker section that matches the factory jack head.
Use this inspection sequence:
- Find the marked area. Locate the reinforced pinch-weld notch near the wheel you need to lift.
- Check for damage. Reject a point that is bent, crushed, rusted through, soft, or previously repaired without documented structural restoration.
- Match the saddle to the point. Use the factory jack as designed, or a purpose-made slotted adapter that fits the pinch weld and jack saddle.
- Keep the lift vertical. The jack should rise squarely into the point rather than pushing the rocker seam sideways.
- Lift slowly. Watch the saddle, seam, jack base, and vehicle movement as the load transfers.
A side notch tells you where the emergency jack belongs. It does not prove that the nearby rocker seam is a safe jack-stand point. For maintenance, verify the separate support location in Toyota service information before lifting.
Pro Tip: Mark the verified jack and stand locations with painter’s tape before moving the equipment into position. This reduces last-second guessing in a dim garage.
Can You Use a Center Jack Point Near the Exhaust?
Do not choose a center lift point from a verbal description such as “near the exhaust” or “behind the engine.” Heat shields, floor pans, brackets, and exhaust components can sit beside structural members, and a small positioning error can crush sheet metal or damage the exhaust.
A center point is usable only when the exact Toyota service information for the 2000 Camry identifies the structural member and shows the jack-saddle location. The owner’s manual page for changing a flat tire may show only the four side points. If you cannot confirm a front or rear center point, lift only for the owner-manual tire-change procedure or use a professional lift.
Verification Required: [VERIFY: confirm the exact front and rear center floor-jack points from Toyota service information before publishing any diagram, measurement, or component name.]
If a lift point is not marked or identified in the correct factory information, do not put a jack under it.
[Products Worth Considering]

Bendix Premium Ceramic Front Brake Pads are engineered to match original equipment fit, form, and function for a straightforward replacement. Built with durable materials to help resist wear and corrosion, they support consistent braking performance and reduced brake fade for everyday driving. These pads are a dependable choice for compatible Pontiac, Scion, Toyota, and related vehicles.
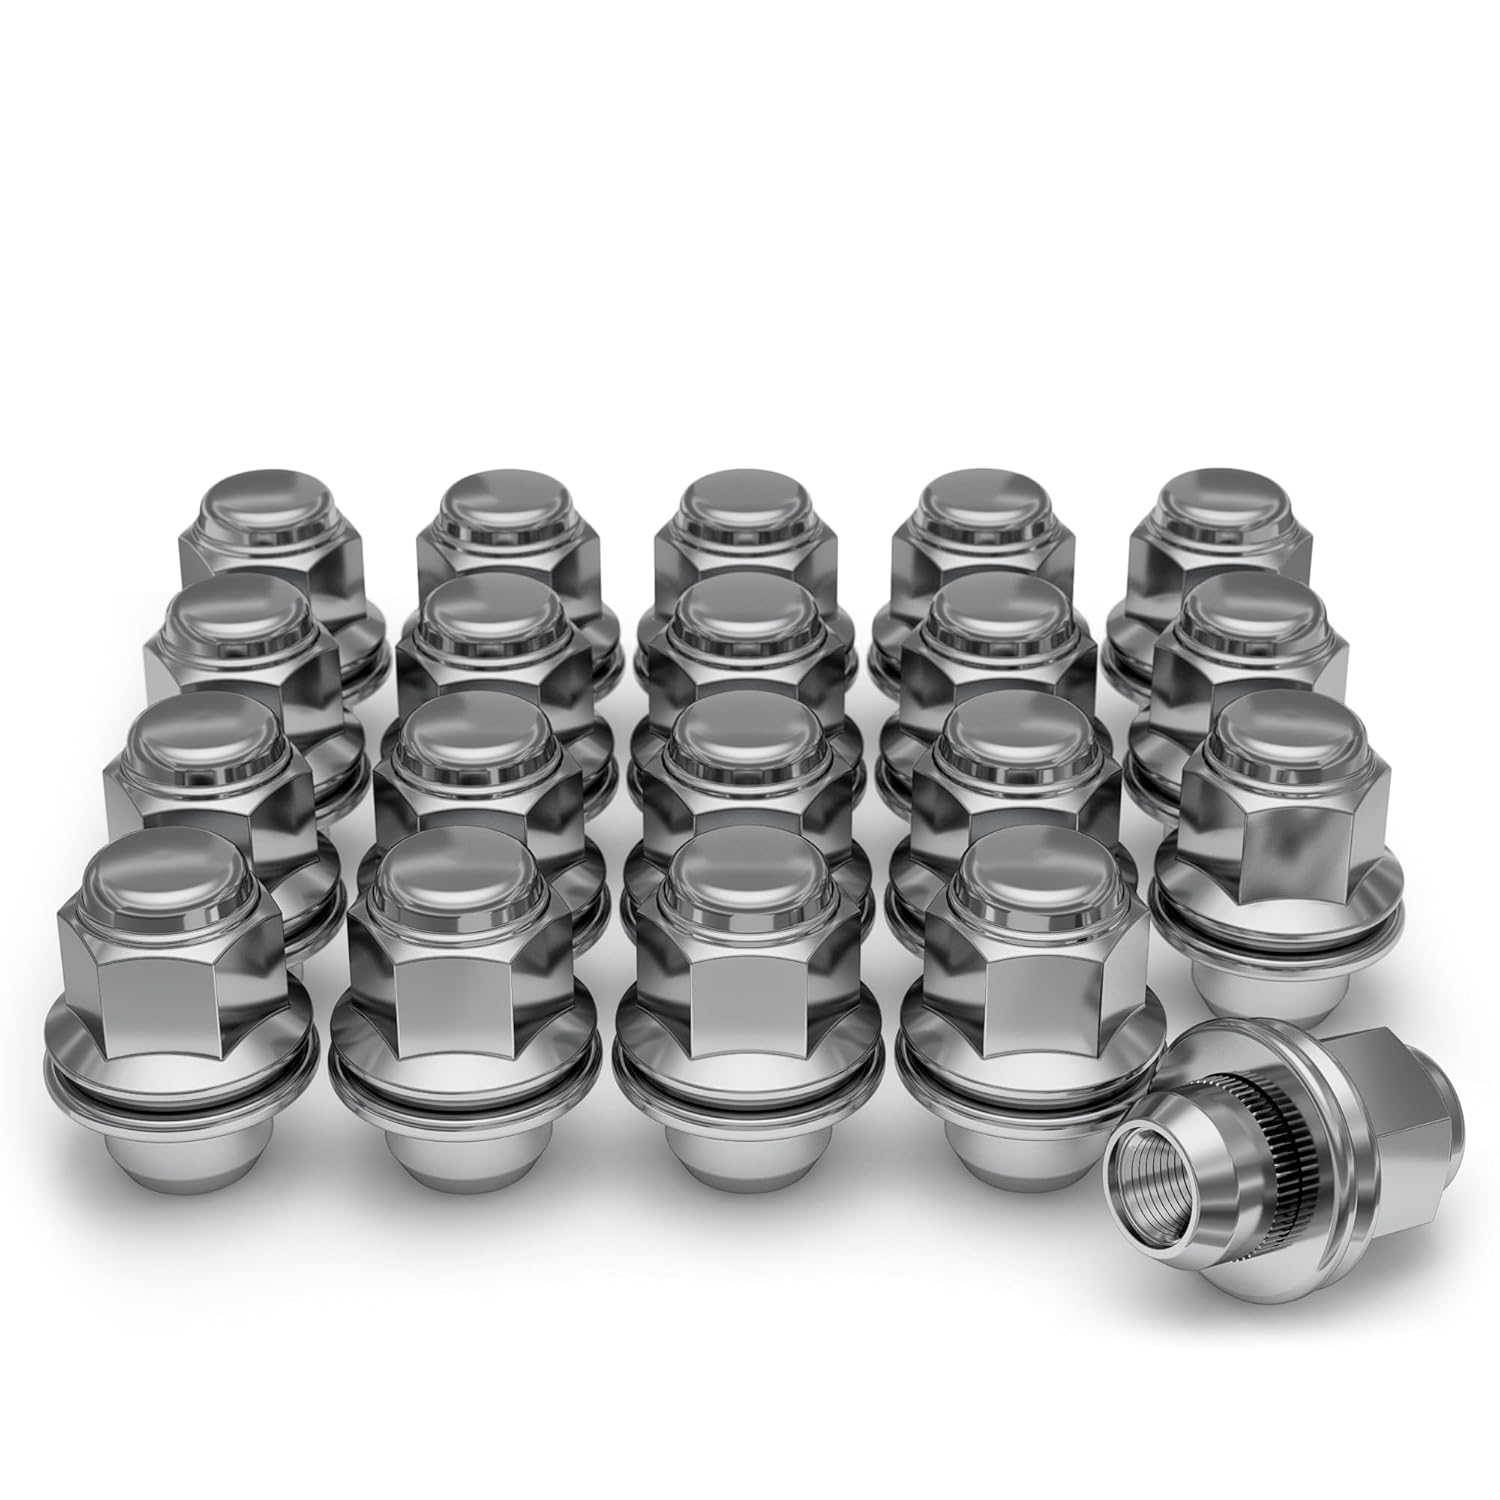
These White Knight mag-style lug nuts are designed for select Toyota, Lexus, Kia, and Genesis vehicles, delivering a secure fit and a clean factory-inspired look. Made from heat-treated cold forged carbon steel with a chrome finish, they offer durable strength, reliable corrosion resistance, and easy installation with a traditional hex-body, flat-seat design. Use them to replace worn or damaged lug nuts while maintaining proper wheel fitment and dependable performance.

This brand new replacement hubcap is designed for Toyota Rav4 models from 2013 through 2018 with 17-inch factory wheels. It features sturdy mounting clips and a heavy-duty steel retention ring for a secure, OEM-style fit, plus a durable ABS construction with a shiny painted finish for a clean factory look. Sold as a single piece, it is a reliable aftermarket alternative to the original wheel cover.
Where Should Jack Stands Go on a 2000 Camry?
Place jack stands only at factory-designated support points shown for the exact vehicle and procedure. Do not assume every frame-like rail, subframe edge, or reinforced-looking bracket is a stand point. The stand saddle must contact a structural area squarely without crushing a seam, loading a bolt head, or balancing on an edge.
A verified jack-stand point should be:
- Specified: identified in Toyota service information or by a qualified lift technician for the exact vehicle.
- Structural: part of the vehicle’s intended load path rather than a cover, bracket, or thin stamped panel.
- Sound: free of severe corrosion, crushed metal, fresh damage, oil, and loose undercoating.
- Stable: broad and level enough for full saddle contact without rocking.
- Symmetrical: paired stands sit at matching left and right locations and the same height.
Avoid suspension arms unless the factory procedure specifically names them for that job. Also avoid plastic undertrays, exhaust parts, the steering rack, brake or fuel lines, sway bars, and stamped floor sections.
Are Subframe or Suspension Tie-In Points Safe for Jack Stands?
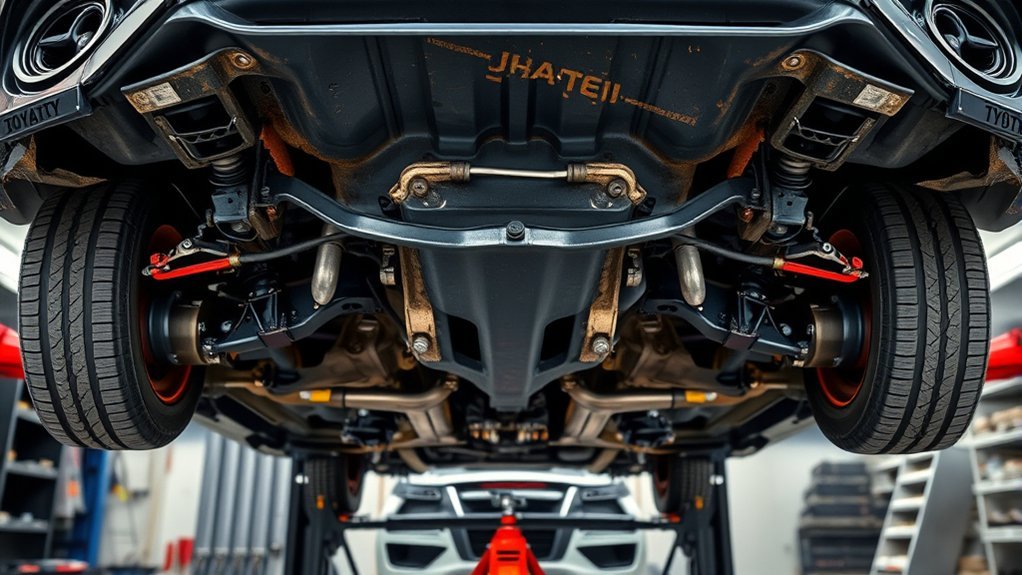
A subframe mounting area or suspension tie-in can carry substantial vehicle loads, but that does not make every visible edge or bracket a safe stand point. Use one only when Toyota service information identifies it for support and the stand saddle can make stable, vertical contact.
Reject a location if the saddle would touch only a bolt head, sharp edge, curved arm, sloped surface, thin flange, or removable bracket. A jack stand must support the car through the intended structure, not balance it on a convenient-looking component.
- Confirm the procedure. Match the point to the exact model and the repair you are performing.
- Check the load path. The support point must connect to the vehicle structure rather than a cover or accessory.
- Use a matched pair. Both stands should have the same rated capacity and height setting.
- Lower slowly. Watch each saddle as the vehicle settles and stop if either stand shifts.
- Test from outside. Give the body a controlled push before placing any part of yourself underneath.
Step-by-Step: Lift and Support the Camry After Verifying Both Points
Use this workflow only after you have identified a model-specific lift point and separate support points for the planned job. The emergency side point alone is not enough information for a two-stand undercar setup.
1. Prepare the Car
- Park on level, hard pavement or a sound concrete floor.
- Shift to Park for an automatic transmission or to first/reverse gear for a manual transmission.
- Set the parking brake.
- Chock the wheels that will remain on the ground on both sides when practical.
- Remove loose cargo that could shift while the car is raised.
2. Verify and Inspect the Lift and Support Points
Confirm the exact lift point and the separate stand locations in Toyota service information. Inspect each contact area for deep rust, perforation, crushed seams, collision damage, fresh repair, oil, loose coating, or a shape that prevents full saddle contact. Stop if any point is questionable.
3. Lift Slowly
Place the jack saddle squarely under the verified lift point. Use only a purpose-made adapter that fits both the jack and the selected point. Raise the vehicle slowly, watching the jack base, saddle, body, and wheel chocks. Lift only high enough to place the stands and complete the job.
4. Place the Stands
Put the stands under the verified, symmetrical support points. Set both stands to the same height and make sure the locking pawls or pins are fully engaged. The saddle must sit flat against the support area before it carries weight.
5. Lower and Test
Lower the vehicle slowly until the stands carry the load. Confirm that both saddles remain centered. A floor jack left nearby does not count as support and must not interfere with the work or the stands. Push the body gently from outside the vehicle. If it moves, creaks, slides, or rocks, raise it and correct the setup before continuing.
Warning: Do not use cinder blocks, bricks, stacked lumber, or a hydraulic jack as the only support. Use rated automotive stands covered by an appropriate portable automotive service equipment standard, such as ASME PASE.
Should You Use a Slotted Pinch-Weld Adapter?
A purpose-made slotted adapter can help a compatible floor jack or stand saddle fit around a reinforced pinch weld without pressing directly on the seam. It does not turn an unmarked rocker section into a safe lift point, and it cannot compensate for rust or structural damage.
Use an adapter this way:
- Confirm compatibility. The adapter must fit the jack or stand saddle and the selected factory point.
- Choose the right slot. The pinch weld should sit inside the slot without being forced sideways.
- Center the load. Contact the reinforced marked section, not a random part of the rocker seam.
- Inspect the adapter. Replace it if it is cracked, oil-soaked, torn, or badly compressed.
- Do not improvise. Avoid loose wood, stacked pads, or homemade spacers that can split or slide.
For undercar work, the support must come from rated stands at verified support points on stable ground. A rubber pad protects contact surfaces; it does not replace correct point identification.
[Products Worth Considering]

This rear trunk lid weatherstrip is designed to fit select Toyota Camry and RAV4 models, helping restore a secure seal around the trunk area. It supports protection against dust, moisture, and road noise while offering a reliable replacement for worn or damaged factory seals. Made for straightforward installation, it provides a practical fit-and-finish upgrade for everyday driving.

This replacement fuel gas cap is designed to fit a wide range of Toyota and Lexus vehicles, making it a practical solution for a lost, worn, or damaged original cap. It helps restore a secure fuel tank seal and supports proper vehicle operation while offering broad compatibility across many popular model years. The package includes one gas cap, and buyers should confirm fitment before ordering.

Slotted Design: The jack pads for floor jack features a slotted configuration, enabling precise alignment with the vehicle's lifting points, such as the car's side weld seam. This design helps avoid bending and scratching of the frame guide rail
How High Should You Lift a Camry?
Lift only as high as the job requires. Extra height raises the vehicle’s center of gravity and increases the effect of pushing, pulling, or hammering during a repair.
| Task | Recommended Lift | Support Method |
|---|---|---|
| Roadside tire change | Tire just clear of the ground | Factory jack at the marked side point; no one under the vehicle |
| Wheel or brake work | Only enough clearance to remove and refit the wheel | Rated stand at a factory-designated support point |
| Oil change | Minimum access to the drain plug and filter | Rated ramps or verified stand points; follow the service procedure for vehicle level |
| General undercar inspection | Minimum safe working clearance | Matched stands at verified points; a professional lift is safer for extended work |
| Exhaust, transmission, or heavy suspension work | Varies by procedure | Professional lift recommended |
Choose a professional lift if the job requires strong pulling, hammering, a long breaker bar, or removal of a heavy part. Those forces can disturb a vehicle even when the initial stand placement looks stable.
How Do You Check That the Camry Is Stable?
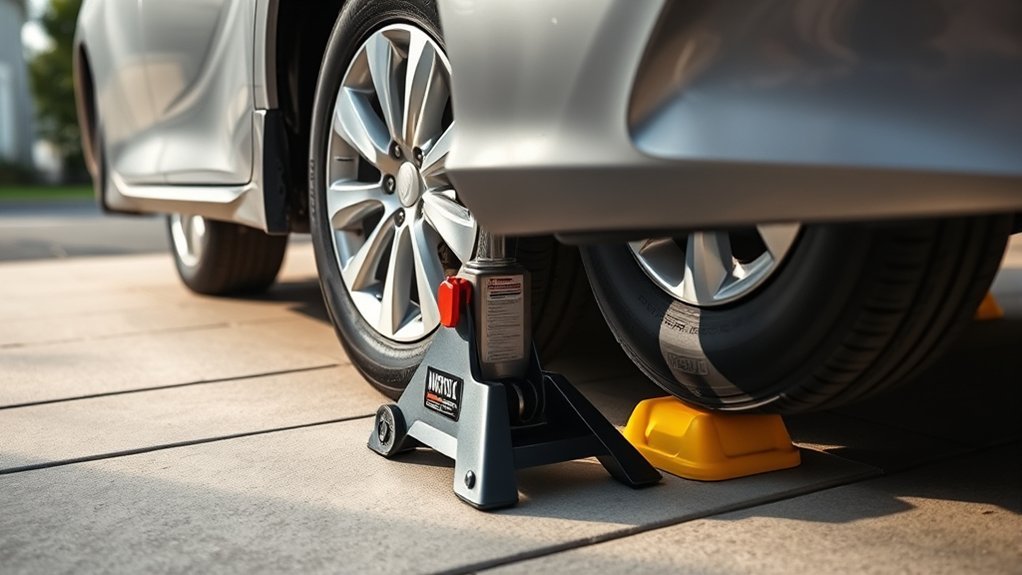
Stability begins before the jack touches the car. Toyota’s flat-tire guidance emphasizes firm, level ground and blocking the wheel diagonally opposite the flat. For maintenance, chock the wheels that remain on the ground, verify each point, and test the supported vehicle from outside before going underneath.
Wheel Chock Placement
When lifting the front, chock the rear wheels. When lifting the rear, chock the front wheels. Push the chocks snugly against the tire tread on both sides when practical. Use chocks designed for the surface and vehicle rather than loose objects.
Confirm Level Ground
Use a sound concrete garage floor or level, hard pavement. Do not jack the Camry on gravel, grass, dirt, a slope, or a driveway with a noticeable incline. A jack or stand can sink, roll, or tilt as the vehicle’s weight transfers.
Inspect Your Equipment
Check the jack, stands, adapters, and chocks before every use. Look for cracked welds, bent legs, missing pins, damaged locking teeth, hydraulic leaks, worn casters, torn pads, or unstable bases. U.S. workplace rules require jack capacity sufficient for the load, prompt securing of a raised load, and inspections based on service conditions. These rules are not a substitute for the equipment instructions, but they support a conservative home-garage habit: remove questionable equipment from service immediately. See 29 CFR 1910.244.
What Jacking Mistakes Should You Avoid?
Most dangerous lifts begin with guessing, rushing, or using the right equipment at the wrong point. Avoid these mistakes:
- Using the jack alone: Never place any part of your body under a car supported only by a jack.
- Guessing at a center point: Do not lift near the exhaust, floor pan, or heat shield without an exact factory-identified location.
- Treating every pinch weld as a jack point: Use only the marked reinforced section.
- Assuming the lift point is also the stand point: Verify a separate support location for undercar work.
- Setting stands on uneven ground: Every stand foot must sit flat and fully supported.
- Mixing stand heights: Unequal support can twist the car and reduce stability.
- Supporting suspension parts without a procedure: Arms and links can move as the suspension unloads.
- Working too high: Raise the vehicle only enough to complete the task.
- Ignoring corrosion: A factory location is unsafe if rust or damage has weakened it.
When Should You Use Ramps, Roadside Assistance, or a Shop Lift?
Jack stands suit some routine jobs, but they are not the safest choice for every surface, vehicle condition, or repair. Match the support method to the work:
- Use ramps for simple access when the wheels can remain installed, the ramps are rated for the vehicle, and the procedure allows the vehicle to sit at that angle.
- Use jack stands only when you have level ground and verified lift and support points for the exact Camry.
- Use a shop lift for exhaust replacement, transmission work, fuel-system work, severe rust, long undercar sessions, or repairs that require heavy pulling.
- Use roadside assistance for a flat tire on a shoulder, incline, gravel surface, soft ground, or an area exposed to traffic.
Note: Check the spare tire before you need it. NHTSA recommends checking the cold pressure of every tire, including the spare, at least monthly and treating a full-size spare as an emergency replacement rather than a permanent substitute for a worn tire. See NHTSA TireWise.
[Products Worth Considering]

IMPROVED LENGTH & WIDER WIDTH: Unlike other previous ramps that ignored length. This car ramps are shortened to the proper length, make the jack's working area no longer limited, can freely and efficiently use the jack and other tools that need to be placed in the chassis for use. Width upgraded to 10 in, avoided the overhang by modified cars's wider tires. NOTE: The lifting height of the tire placement position is 2.6 inches

12,000 LB GVW CAPACITY HANDLES CARS, TRUCKS, SUVS AND VANS -- Rated at 6,000 lbs. per ramp and 12,000 lbs. per pair, these heavy duty car ramps are built to support everything from compact cars and sedans to full-size pickup trucks, SUVs, and vans including 3/4 ton and 1 ton trucks. Get safe, reliable lift for oil changes, tire rotations, brake jobs, and undercarriage inspections without wrestling with a floor jack.

【Jack Assist Only】Provides an 2.6" lift height to create enough clearance for sliding a standard hydraulic floor jack under low-chassis cars. (Not for direct under-car crawling without a jack).
Frequently Asked Questions
Can I use the spare tire jack instead of a floor jack?
Yes, but only for changing one tire at the marked factory side point. The factory jack is not intended for undercar work, repeated garage lifting, or supporting the vehicle while you work underneath.
Can I lift both front wheels from one center jack point?
Only if the exact Toyota service information for your 2000 Camry identifies that center point and the correct jack-saddle position. Do not use a point based only on a forum description, nearby exhaust component, or visual guess.
Can I put a jack stand next to the factory side jack point?
Do not assume the adjacent pinch weld is reinforced for a stand. Use a separate support point identified in Toyota service information for the exact vehicle and procedure.
Are the jack points different between Camry trim levels?
Do not assume a trim badge changes or confirms the lift points. Use the owner’s manual and service information for the exact car because regional body versions, corrosion, collision repair, side skirts, and aftermarket parts can affect access or safety.
How often should I inspect jack points for corrosion or damage?
Inspect every selected lift and support point before each use. Check especially after road-salt exposure, a curb impact, collision repair, or work near the rocker panels or subframe. Do not use a point that is perforated, soft, crushed, or separating.
Can I lift a Camry on an incline if I use extra supports?
No. Extra chocks or blocks do not make a slope safe. Move the vehicle to level, firm ground or call roadside assistance.
Are aftermarket pinch-weld jack pads safe?
They can be safe when they fit the selected jack or stand, match the reinforced pinch weld, remain stable under load, and are in good condition. A pad cannot make an unmarked or damaged point safe.
Where should I never place a jack under a Camry?
Never place the jack under the oil pan, transmission pan, exhaust pipe, catalytic converter, steering rack, sway bar, brake lines, fuel lines, plastic panels, floor pan, suspension arm, or any bracket or center point that is not factory-identified for lifting.
Conclusion
The four owner-use jack points on a 2000 Toyota Camry are the marked pinch-weld sections just behind the front wheels and just ahead of the rear wheels. Use them for the factory tire-change procedure. Before any undercar work, verify a separate lift point and the required stand locations in Toyota service information, work on level hard ground, chock the wheels, and test the supported vehicle from outside. If a point is rusty, damaged, unmarked, or uncertain, stop and use a professional lift or roadside assistance.
Sources
- Toyota Owners Manuals and Warranties: 2000 Camry — official manual library for model-specific tire-changing and jack-point guidance.
- ASME PASE Safety Standard for Portable Automotive Service Equipment — current standard covering portable automotive jacks, stands, ramps, adapters, operation, maintenance, and inspection.
- 29 CFR 1910.244: Other Portable Tools and Equipment — workplace rules covering jack capacity, operation, securing raised loads, and inspection.
- NHTSA TireWise — tire-pressure, spare-tire, tire-condition, and maintenance guidance.