If your Toyota Camry shows a P0456 code, it means there’s a small leak in the EVAP system, which can increase emissions and reduce fuel efficiency. Common causes include a faulty gas cap, damaged hoses, or issues with the charcoal canister and purge valve. Start by inspecting the gas cap and hoses, then test the purge and vent valves. If problems persist, you’re likely facing deeper issues that need expert attention. Discover more steps to diagnose and resolve this issue effectively.
What Does the P0456 Code Mean for Your Camry?

When your Toyota Camry triggers the P0456 code, it signals a very small leak in the evaporative emission control system (EVAP). This leak compromises your vehicle’s ability to manage fuel vapors effectively, potentially leading to increased emissions and reduced efficiency. The EVAP system’s primary role is to capture these fuel vapors and redirect them back into the engine for combustion, minimizing environmental impact.
To diagnose the P0456 code, start by inspecting the gas cap. If it’s not sealing properly, that could be the source of the leak. Next, test the purge valve to verify it operates correctly. If no leaks are found, consider checking the fuel tank pressure sensor, as it might fail and produce erroneous readings. Addressing these issues promptly can help restore the integrity of your EVAP system, enhancing performance and reducing emissions.
Common Causes of the P0456 EVAP Leak Code
Understanding the common causes of the P0456 EVAP leak code can help you pinpoint issues in your Toyota Camry’s evaporative emission control system.
| Component | Possible Issues |
|---|---|
| Gas Cap | Damage or improper sealing |
| Hose Inspection | Cracks or wear over time |
| Charcoal Canister | Damage or saturation |
A faulty gas cap is often the first suspect, as it can fail to seal correctly. Next, conduct a hose inspection; any cracks can lead to leaks. The purge valve might also malfunction, failing to manage gas vapor flow effectively. Finally, a damaged or saturated charcoal canister can’t hold vapors, triggering the code. Sometimes, even a faulty fuel tank pressure sensor sends incorrect information, falsely indicating a leak. Addressing these components will enhance your Camry’s performance and emissions control.
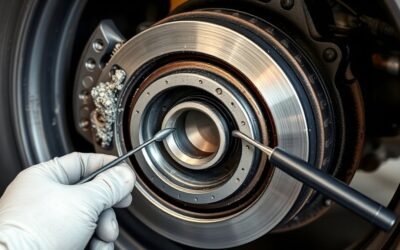
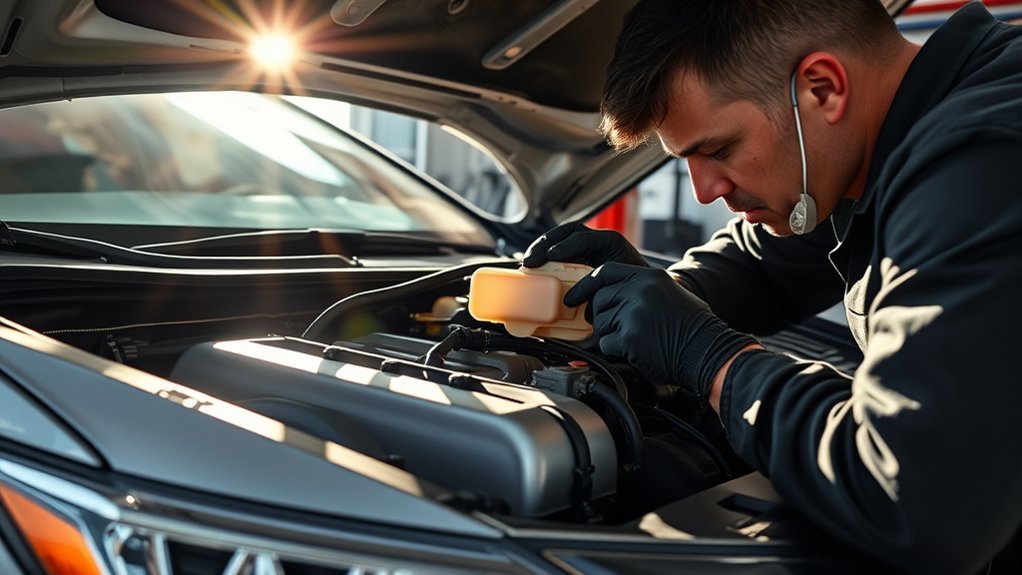
How to Perform a Basic Inspection of the EVAP System
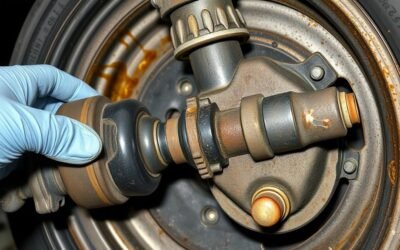
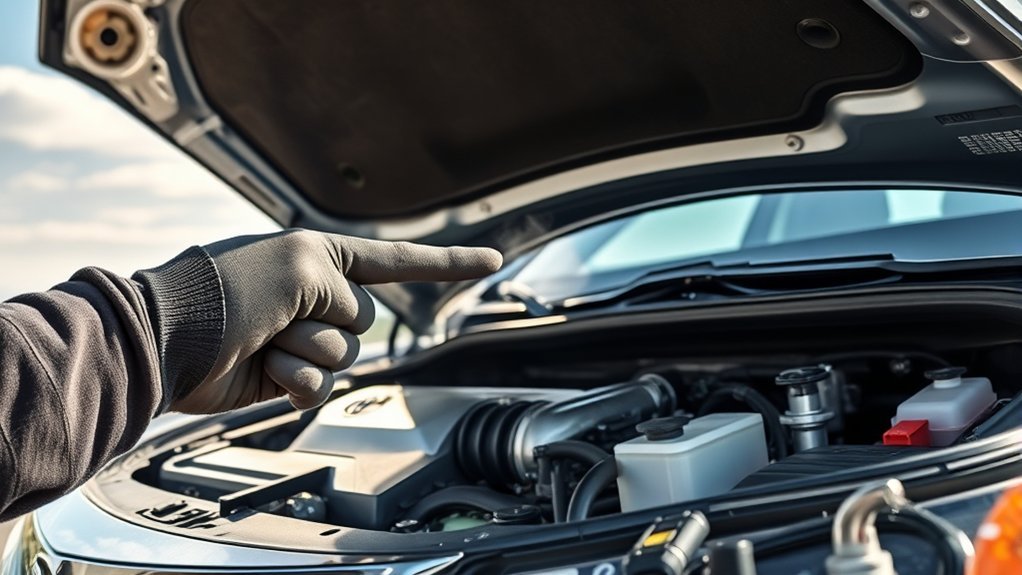
To guarantee your Toyota Camry’s EVAP system is functioning correctly, start with a thorough inspection. Begin with a gas cap inspection; look for visible damage, cracks, or signs of improper sealing, as a faulty gas cap is a common cause of EVAP leaks. Next, check the hose integrity of all hoses connected to the EVAP system. Inspect for wear, cracks, or disconnections that could lead to leaks.
After that, examine the charcoal canister for physical damage or leaks, as it’s essential for storing gas vapors when the engine is off. Additionally, test the operation of the purge valve by manually applying power to guarantee it opens and closes correctly. Finally, utilize an OBD2 scan tool to monitor the EVAP system’s performance and check for any additional codes that may need addressing. This systematic approach helps maintain your Camry’s efficiency and emissions control.
Testing Purge and Vent Valves
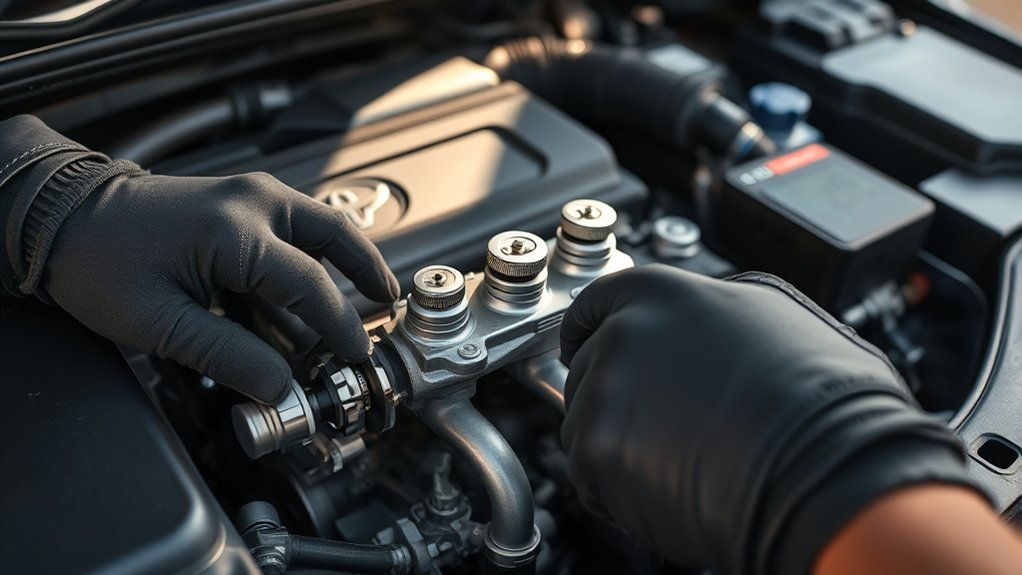
After completing the basic inspection of the EVAP system, it’s time to focus on testing the purge and vent valves. Start with purge valve testing by applying voltage directly to it using a multimeter. You should hear it open and allow airflow when energized; if it doesn’t, it’s likely faulty. Next, conduct a vent valve inspection using an OBD2 scan tool. Command the vent valve to open and close, observing for clicking sounds. A lack of sound may indicate a malfunction. Additionally, inspect the electrical connections and wiring for both valves. Damaged or corroded connections can lead to improper operation, triggering error codes. Ensuring these components function correctly is essential for maintaining the EVAP system’s integrity and preventing leaks. Proper testing and inspection will help you pinpoint issues effectively and keep your Toyota Camry running smoothly.
How to Use a Smoke Machine for EVAP Leak Detection
To use a smoke machine for EVAP leak detection, start by preparing the machine according to the manufacturer’s instructions. Make certain all components of the EVAP system are connected and the gas cap is secure before conducting the test. Introduce smoke at the fuel filler neck or purge valve, then observe for any escaping smoke to identify leaks.
Preparing the Smoke Machine
Before you begin the leak detection process, confirm your smoke machine is properly prepared. Start with smoke fluid preparation; fill the machine with the appropriate smoke fluid, making sure it’s compatible with your equipment. Next, connect the smoke machine to the EVAP system using a vacuum hose. It’s essential to check all connections for leaks before proceeding. Once everything’s in place, activate the smoke machine while the engine is off to pressurize the system. This allows the vaporized medium to flow through and expose potential leaks. Remember to follow safety precautions: guarantee proper ventilation and wear protective gear to avoid inhaling smoke. With the smoke machine prepared, you’re set to identify leaks efficiently.
Conducting the Test
When you’re ready to conduct the test, connect the smoke machine to the EVAP service port, usually found near the charcoal canister or fuel tank. This setup pressurizes the system, allowing for effective leak detection. Before starting, verify all components, including the gas cap and hoses, are properly sealed to avoid false readings. Once activated, monitor the system for smoke visualization, watching for any smoke escaping from damaged areas. Listen closely for audible cues that may indicate a malfunctioning valve or connection. After identifying any leaks, make necessary repairs by replacing damaged components. This process maintains the integrity of your EVAP system and helps sustain peak vehicle performance.
Checking Your Charcoal Canister for Damage
Inspecting your charcoal canister for damage is essential, as it plays a critical role in your vehicle’s EVAP system. This component captures and stores fuel vapors, preventing them from escaping. Look for signs of cracks, bulges, or corrosion that could lead to leaks and trigger error codes like P0456.
To streamline your inspection, consider the following:
| Inspection Aspect | What to Look For | Action |
|---|---|---|
| Physical Damage | Cracks, bulges, corrosion | Replace if found |
| Hose Condition | Wear or leaks | Check connections |
| OEM Parts | Quality of replacement | Use only OEM for reliability |
| Maintenance Tips | Regular checks and cleaning | Schedule inspections |
If you find damage, explore canister replacement options to maintain your EVAP system’s integrity and guarantee proper vapor management. Implementing these charcoal maintenance tips can improve engine performance and reduce emissions.
Troubleshooting the P0456 Fuel Tank Pressure Sensor
When you encounter a P0456 code, symptoms of a failing fuel tank pressure sensor often include poor engine performance and frequent check engine light activation. To confirm the issue, you should test the sensor’s functionality by checking its voltage and resistance. If you find the sensor defective, replacing it with an OEM part is essential for maintaining ideal EVAP system performance.
Symptoms of Sensor Failure
A failing fuel tank pressure sensor can greatly impact your vehicle’s performance, leading to symptoms like rough idling or stalling. You might notice the check engine light illuminating, often accompanied by a P0456 code, which indicates a small EVAP leak. Inaccurate pressure readings from a malfunctioning sensor can cause erratic fuel delivery, complicating sensor diagnostics and masking other performance issues. This malfunction can also prevent the EVAP system from purging fuel vapors effectively, resulting in increased emissions. If you experience these symptoms, regular inspections and testing of the fuel tank pressure sensor, typically located on the fuel pump, are essential. Addressing these concerns promptly guarantees peak vehicle performance and helps maintain environmental standards.
Testing Sensor Functionality
To effectively troubleshoot the P0456 fuel tank pressure sensor, start by using an OBD2 scan tool to retrieve any stored trouble codes. Monitor live data to check the sensor’s pressure readings during engine operation. If the readings are inconsistent or outside the normal range, it may signal a malfunction. Before concluding the sensor is faulty, conduct a wiring inspection to verify all connections are secure and undamaged. Poor wiring can lead to incorrect sensor calibration, mimicking a sensor failure. If everything checks out and the sensor still underperforms, you may need to contemplate a replacement. Remember, access to the fuel tank pressure sensor can be challenging, typically located near the fuel pump assembly.
Replacing the Sensor
Replacing the fuel tank pressure sensor is a critical step in addressing the P0456 code. This sensor monitors vapor pressure in the tank, ensuring proper emissions control. To begin, follow these safety precautions during sensor installation:
- Turn off the vehicle and depressurize the fuel system to prevent spillage.
- Locate the sensor, usually on the fuel pump assembly, often requiring tank removal or access panel use.
- After installation, clear any diagnostic trouble codes and perform a test drive to confirm the repair’s success.
When to Seek Professional Help for EVAP Issues?
When persistent EVAP issues arise, like a lingering P0456 code despite replacing the gas cap and checking for visible damage, it’s time to contemplate professional help. If you’ve exhausted basic troubleshooting, your next step involves advanced diagnostic tools. A professional evaluation can accurately pinpoint the problem, especially if tools like an OBD2 scan tool or smoke machine are necessary for effective leak detection.
Testing components like the purge and vent valves without resolution indicates deeper issues. A mechanic can assess the fuel tank pressure sensor and other hard-to-reach parts that you might overlook. If multiple components in the EVAP system are suspected to be faulty, a seasoned technician can systematically evaluate each part for efficiency and integrity. When your efforts yield no results and the check engine light stays on, don’t hesitate—seek professional assistance to guarantee your Toyota Camry runs smoothly and efficiently again.
Frequently Asked Questions
What Is the Most Common Cause of EVAP Code?
The most common cause of the EVAP code is a loose or damaged gas cap, which disrupts leak detection in the EVAP system. Ensuring a proper seal prevents gas vapors from escaping and triggering issues.
How Much Does It Cost to Fix P2401?
Fixing the P2401 code usually costs between $100 and $300. Addressing EVAP system issues promptly can prevent more expensive repairs. Remember, leak detection diagnostics might add another $75 to $150 to your overall expenses.
Is a PO455 Code Easy to Fix?
Yes, a P0455 code’s often easy to fix. You can tackle DIY repairs by checking the gas cap and hoses. If issues persist, consider seeking professional assistance for thorough diagnostics and repair.
Conclusion
In conclusion, addressing the P0456 code in your Toyota Camry is essential for peak performance. Think of your EVAP system as the lungs of your vehicle; when there’s a leak, it struggles to breathe. By following the inspection and testing steps outlined, you can often pinpoint the issue. However, don’t hesitate to seek professional help if the problem persists—sometimes, a fresh set of eyes can make all the difference in restoring your car’s health.