If your Supra’s backup camera isn’t working, start by checking if the reverse lights activate when in reverse. Inspect the reverse light switch and electrical connections. Next, verify all camera connections are secure and look for any damaged wiring, especially near the trunk hinge. Replace any blown fuses found in the fuse box. Regular maintenance, like cleaning the camera lens, can also help. Continue on for more essential troubleshooting tips and maintenance advice.
Common Reasons Why Your Backup Camera Isn’t Working?
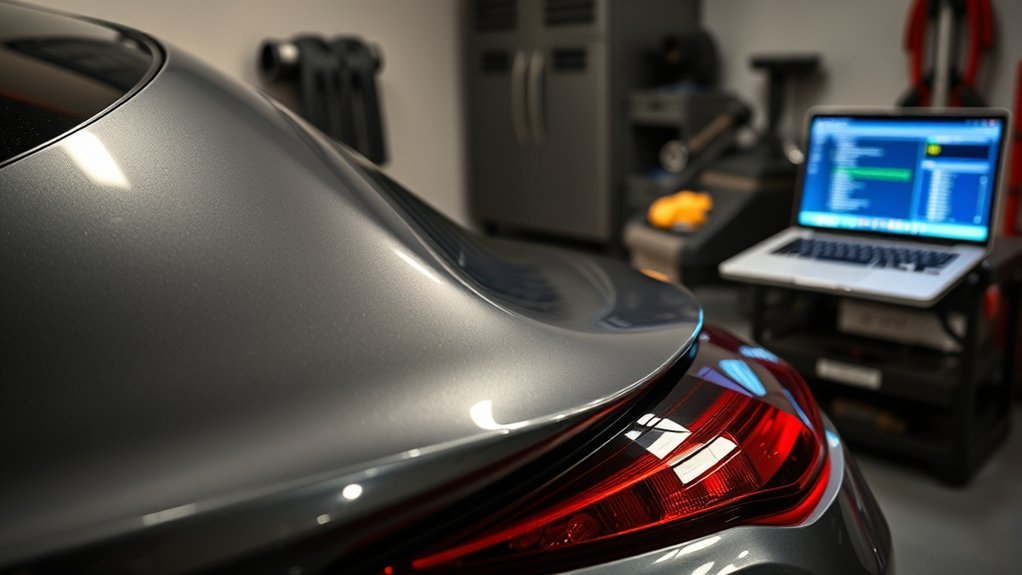
Have you ever wondered why your backup camera isn’t working? Several common issues could be at play. First, a faulty connection might occur if the camera was unplugged during bumper removal, leading to system errors. Next, check for a blown fuse in the camera or display circuit; a simple fuse replacement could solve the problem. Software issues may also prevent functionality, so consider a system reset or update. Additionally, inspect wiring near the trunk hinge for damage, as frayed wires can disrupt the video signal. Finally, if your reverse lights aren’t activating, it could indicate a switch failure, affecting both the camera and lights. Utilizing the right troubleshooting tools can help you diagnose and resolve these issues effectively.
Initial Checks: Are Your Reverse Lights Working?
To start troubleshooting your backup camera, check if your reverse lights activate when you shift into reverse. If they don’t, inspect the reverse light switch and electrical connections, as a faulty switch can disrupt both the lights and camera. If the lights work, the issue may be within the backup camera system itself.
Check Reverse Light Functionality
Start by checking the functionality of your reverse lights, as they play an essential role in diagnosing backup camera issues. Shift your vehicle into reverse and observe whether the reverse lights activate. If they don’t, you may have a faulty reverse switch, which could also affect your backup camera’s operation. Confirm the vehicle is fully in reverse; partial engagement might not trigger the lights. If the reverse lights work, the problem likely lies within the camera installation or its wiring. Proceed with wiring troubleshooting to identify any electrical faults. A functional reverse light system is vital for a reliable backup camera, so don’t overlook this step in your diagnostic process.
Inspect Reverse Light Switch
Before diving deeper into electrical diagnostics, it’s vital to inspect the reverse light switch, as it directly influences the operation of your backup camera. This switch plays an important role by signaling your vehicle to activate the camera when you shift into reverse. If your reverse lights don’t illuminate, it likely indicates a fault in the switch. A malfunctioning reverse light switch can disrupt the camera’s functionality, resulting in a blank screen instead of the expected view. Different reverse light types may require specific switch installations, so verify compatibility. Checking these lights is a straightforward initial step before tackling more complex electronic components. If the lights function but the camera doesn’t, further investigation is warranted.
Assess Electrical Connections
Evaluating electrical connections is essential for diagnosing backup camera issues. Start by checking your reverse lights; if they don’t activate when shifting into reverse, a faulty switch may be the culprit. If the lights work, focus on these steps:
- Inspect Wiring: Look for any damage or loose connections that might disrupt the power supply to the camera.
- Check Connections: Verify the camera is securely plugged in to avoid interruptions in the video feed.
- Reset System: Unplug and replug components to see if this resolves the issue.
Refer to wiring diagrams during your electrical troubleshooting to pinpoint any specific problems. Addressing these factors can help restore your backup camera’s functionality efficiently.
Essential Troubleshooting Steps for Your Backup Camera
When troubleshooting your backup camera, it’s essential to begin by confirming that it activates properly in reverse gear. Check if the reverse lights illuminate; a faulty switch can affect both features. Inspect the wiring for damage, particularly around flex points like the trunk hinge, as frayed wires can disrupt functionality. If issues persist, reset the system by disconnecting the battery for a few minutes to clear software glitches. Verify the camera fuse is intact by consulting your owner’s manual for its location and replacing any blown fuses. Finally, consider camera upgrade options if problems continue.
| Step | Action | Tools Needed |
|---|---|---|
| Confirm Activation | Shift to reverse and check lights | None |
| Inspect Wiring | Look for damage around flex points | Multimeter |
| Reset System | Disconnect battery for a few minutes | Wrench or socket set |
| Check Fuse | Locate and inspect the camera fuse | Fuse puller |
| Explore Upgrades | Research camera upgrade options | Internet access |
How to Clean Your Backup Camera Lens
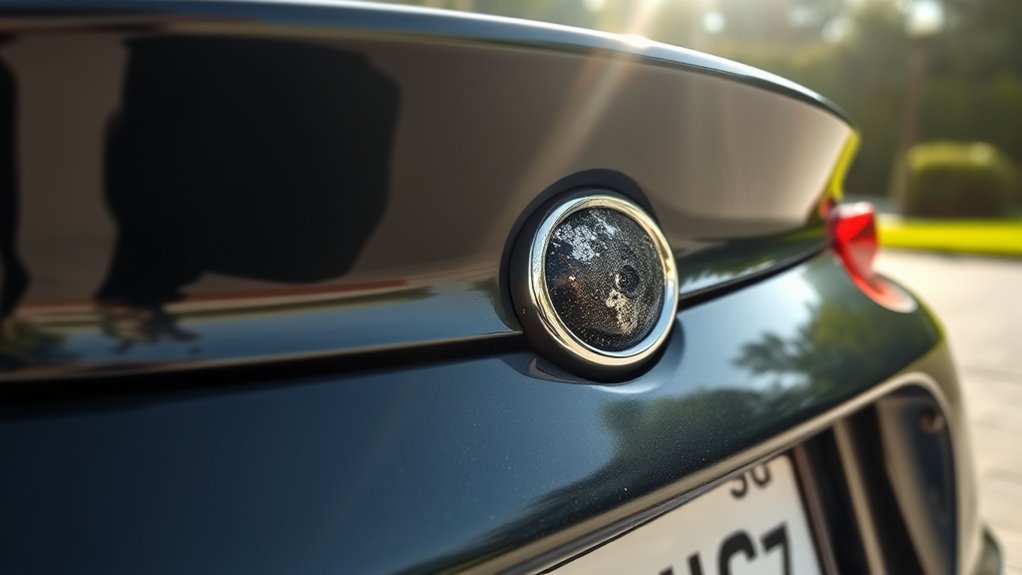
To maintain clear visibility, you should establish a regular cleaning schedule for your backup camera lens. Use a damp microfiber cloth with mild soap, steering clear of harsh chemicals and abrasive materials. Additionally, inspect the lens for any signs of damage or buildup, addressing issues promptly to guarantee peak functionality.
Regular Cleaning Schedule
Maintaining the clarity of your backup camera lens is essential for safe driving, and a regular cleaning schedule can make a significant difference. Follow these camera maintenance tips to guarantee peak visibility:
- Weekly Cleaning: Use a microfiber cloth with a mild cleaner to wipe the lens, preventing dirt and grime buildup.
- Dealing with Grime: For tougher spots, mix a dot of dish soap with water. Avoid harsh chemicals that can damage the lens.
- Inspect Additional Lenses: Don’t forget to check lenses on 360-degree-view cameras located on the trunk, mirrors, or grille.
Regular lens cleaning techniques enhance your camera’s functionality and prolong its lifespan. Inspect for any damage or waterlogging, and consider professional help if needed.
Safe Cleaning Materials
Choosing the right materials for cleaning your backup camera lens is essential for maintaining its clarity and functionality. Use a damp microfiber cloth with mild soap to gently wipe the lens, steering clear of harsh chemicals that could compromise lens protection. Aim for a cleaning frequency of once a week to prevent dirt and grime buildup, ensuring ideal visibility. If you notice significant grime, a small dot of dish soap can effectively remove it without damaging the camera. Always avoid abrasive materials, as they can scratch the lens surface and degrade image quality. Don’t forget to check additional lenses on systems like 360-degree views and keep them clean for thorough safety.
Inspect for Damage
After confirming your backup camera lens is clean, the next step is to inspect it for any signs of damage. This is vital, as any imperfections can greatly affect visibility. Here’s what to check:
- Cracks or Scratches: Inspect the camera lens closely for any physical damage that could impair image quality.
- Waterlogging: Look for moisture inside the lens housing, which can fog the view and decrease functionality.
- Obstructions: Verify there are no debris or dirt blocking the lens, as even small particles can hinder performance while reversing.
System Reset: Unplugging and Replugging Components
To restore functionality to your backup camera system, consider the effective method of unplugging and replugging the components. This system reset can often resolve glitches that cause the camera to become unresponsive. If the camera was disconnected during bumper removal, reconnecting it properly might eliminate any associated errors. It’s essential to adhere to a specific connection order when plugging in components after disassembly; failing to do so can lead to further issues. Once replugged, verify that all connections are secure to prevent ongoing problems with the backup camera system. This straightforward approach can liberate you from frustration and restore your camera’s functionality quickly.
How to Replace Blown Fuses
To replace a blown fuse for your backup camera, start by identifying the fuse location in your owner’s manual. After ensuring the vehicle is off and the battery is disconnected, remove the blown fuse with a fuse puller. Finally, install a new fuse that matches the size and amp rating specified to restore functionality.
Identify Fuse Location
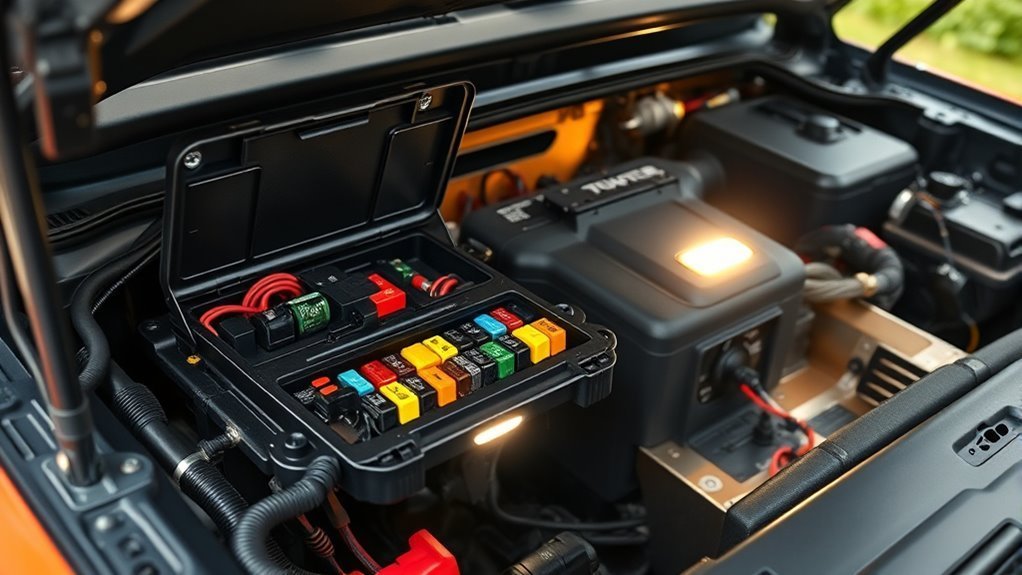
Identifying the fuse location for your Supra’s backup camera is essential for troubleshooting. Start by locating the fuse box, typically under the dashboard on the driver’s side or in the engine compartment. Refer to your owner’s manual for specifics. Follow these fuse accessibility tips:
- Check the fuse diagram on the fuse box cover or in the manual to find the backup camera fuse and its amp rating.
- Gather your fuse replacement tools, like a fuse puller or needle-nose pliers.
- Carefully remove the suspected blown fuse and replace it with a new one of the same size and amp rating, ensuring it’s secure.
After this, test the backup camera by shifting the vehicle into reverse to confirm functionality.
Replace With Correct Fuse
After confirming the fuse is blown, you can proceed with replacing it. First, consult your vehicle’s owner’s manual to locate the fuse block associated with the backup camera and identify the correct fuse types. Before you start, make sure the vehicle is turned off and the ignition key is removed to avoid accidental shorts. Remove the blown fuse and replace it with one that matches the size and amp rating specified in the manual. This step is essential for effective fuse troubleshooting and to prevent further electrical issues. Once the new fuse is in place, shift into reverse to test the backup camera functionality. If the new fuse blows immediately, seek professional diagnosis for potential deeper electrical problems.
Inspecting Trunk Wiring for Damage
While inspecting the trunk wiring for damage, focus on the segments running through the trunk lid, as they often experience stress from frequent flexing at the hinges. Follow these steps to guarantee the wiring harness is intact:
- Check for visible damage: Look for cuts, tears, or exposed copper wire, which may cause intermittent backup camera issues.
- Inspect connections: Verify all wire connections are secure and free from corrosion to maintain signal integrity.
- Use a diagnostic tool: Employ a diagnostic computer to uncover hidden wiring problems that aren’t visible during a visual check.
Regularly monitoring the trunk-mounted wires for wear and tear can prevent future malfunctions and keep your backup camera functioning smoothly.
When to Consult a Dealer for Diagnostics?

When should you consider consulting a dealer for diagnostics regarding your backup camera? If you see a blank screen or error messages after basic troubleshooting, deeper electronic issues may be at play. Persistent “No signal” messages or a black screen after resetting the system indicates potential wiring or component damage, necessitating dealer diagnostics. If your reverse lights also fail, a faulty switch could affect both systems, warranting dealer intervention. Additionally, unresolved software glitches after resets may require professional updates or repairs. If you notice electrical malfunctions like blown fuses or burnt smells, don’t delay—consult a dealer to address these potential hazards. Prioritizing safety and functionality is key to your driving experience.
Regular Maintenance for Your Backup Camera
To guarantee your backup camera functions reliably, regular maintenance is essential. By keeping up with these tasks, you’ll secure peak performance and visibility enhancements:
- Clean the Lens: Weekly, use a microfiber cloth and mild cleaner to remove dirt and grime, preventing obstruction.
- Inspect Wiring: Regularly check the trunk hinge wiring for wear and tear. Replace any damaged or frayed wires to avoid connectivity issues.
- Hydrophobic Coating: Apply this to the lens to minimize water and fog interference, boosting clarity in adverse conditions.
Additionally, perform occasional system resets or software updates. These camera upgrades help resolve glitches, ensuring your backup camera remains a reliable tool for safe driving.
User Experiences and Community Feedback on Camera Issues
User experiences reveal that backup camera issues are a common concern among Toyota Supra owners, often stemming from software glitches. Many users share similar stories, noting that unplugging and replugging components, like a dongle, can sometimes restore functionality. Community troubleshooting emphasizes checking reverse lights; a faulty switch can disrupt both the camera and lights. While some prefer DIY fixes, they often find dealer visits necessary for effective resolution, despite their inconvenience. As you navigate these issues, tapping into community feedback can provide valuable insights and solutions, allowing you to take control of your camera’s performance. Engaging with fellow Supra owners fosters a sense of support and empowerment in tackling these technical challenges together.
Frequently Asked Questions
What Is the Problem With Toyota Backup Cameras?
Toyota backup cameras often face common issues like software glitches and faulty reverse light switches. To troubleshoot, try resetting the system and checking connections. Regular updates can enhance reliability and performance.
Conclusion
If your Supra backup camera isn’t working, don’t panic. You might find the solution in the initial checks or troubleshooting steps outlined above. Often, a simple lens cleaning or a quick inspection of wiring can resolve the issue. Coincidentally, many users have reported similar fixes, reinforcing the importance of regular maintenance. If problems persist, consulting a dealer can save you time and hassle. Stay proactive, and you’ll enjoy the benefits of your backup camera for years to come.