If your 1999 Toyota 4Runner is blowing air but not producing cabin heat, diagnose the cooling side first and the HVAC controls second. Low coolant, trapped air, a water valve or control-cable problem, a restricted heater core, an engine that never warms fully, or an air-mix door fault can all create similar symptoms. The key is to compare engine temperature, coolant level, heater-hose temperatures, water-valve movement, and air-mix operation in that order.
Quick Answer
With the engine fully warm and the heater set to maximum heat, check coolant level, confirm the water valve opens, and compare the two heater hoses at the firewall. A hot inlet with a much cooler outlet suggests restricted heater-core flow; two hot hoses point you toward the air-mix door or its controls.
Key Takeaways
- Never remove the radiator cap while the engine is hot; pressurized coolant and steam can cause severe burns.
- If the engine never reaches normal operating temperature, diagnose the thermostat or cooling system before blaming the heater core.
- A hot heater-core inlet and a much cooler outlet usually indicate poor coolant flow through the core.
- If both heater hoses are hot but vent air stays cold, inspect the air-mix door, cable, or automatic-climate-control servomotor.
- A heater-core backflush should use gentle, controlled water flow; excessive household water pressure can damage an old core.
At a Glance
| Time Required | 20–60 minutes for basic diagnosis; much longer for heater-core replacement |
| Difficulty | Easy to moderate for diagnosis; advanced for heater-core replacement |
| Tools Needed | Gloves, flashlight, infrared thermometer, pliers, drain pan; optional cooling-system pressure tester |
| Cost | Basic checks can cost little or nothing; confirmed valve, cable, thermostat, servo, or heater-core repairs vary widely by part choice and labor |
Warning: Work on the cooling system only when the engine is cold enough to touch safely. Toyota warns not to remove the radiator cap on a hot engine because hot fluid and steam can escape under pressure.
Quick Check: Are Your Heater Hoses Getting Hot?
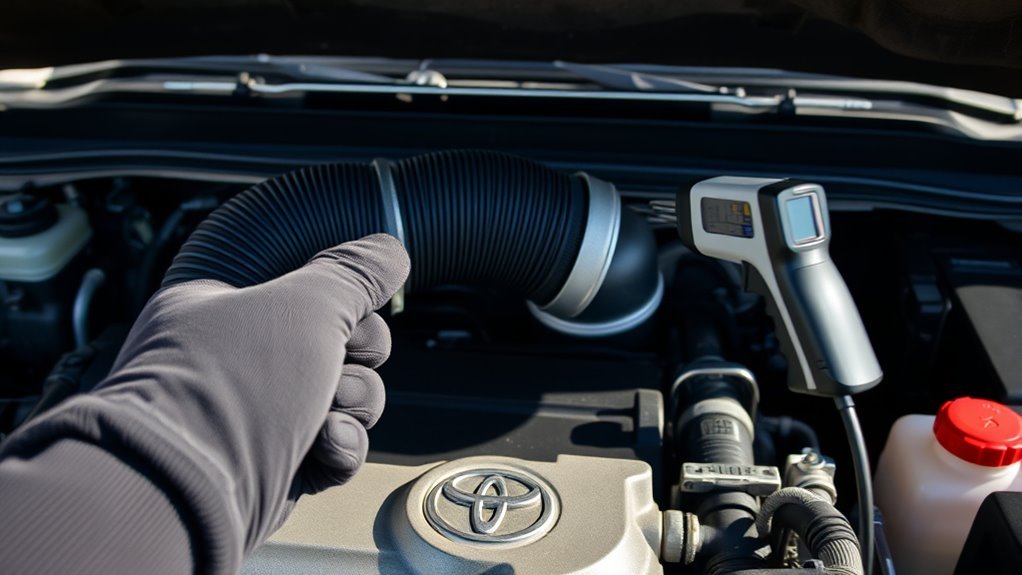
Heater-hose temperature is one of the fastest ways to split a no-heat problem into a coolant-flow problem or an air-mix/control problem. Start the cold engine, set the temperature to full warm, let the engine reach normal operating temperature, and verify that the heater water valve moves toward the warm position.
Use an infrared thermometer if possible instead of grabbing the hoses. Compare the two hoses close to the firewall:
| Hose result | What it suggests |
|---|---|
| Both hoses hot and fairly close in temperature | Hot coolant is likely reaching the heater core; check the air-mix door, cable, or servomotor next. |
| Inlet hot, outlet much cooler | Coolant flow through the heater core may be restricted by sediment, scale, trapped air, or a partially closed valve. |
| Both hoses cool or only slightly warm | Check coolant level, engine warm-up, the heater water valve, trapped air, and upstream coolant circulation. |
| Heat changes when the valve is moved by hand | The valve may be good while its cable, linkage, adjustment, or control mechanism is faulty. |
Pro Tip: Measure both hoses at similar distances from the firewall and on similar hose surfaces. Infrared readings can vary on shiny clamps, metal fittings, and wet surfaces.
Check Coolant Level and Obvious Leaks (1999 4Runner)
Low coolant can leave the heater core partly full of air even before the engine shows an obvious overheating problem. Check the reservoir only with the engine cold, then inspect the radiator, hoses, water valve, water pump area, and heater-hose connections for wetness, dried coolant residue, staining, or corrosion.
Check Coolant Reservoir
With the engine cold and parked on level ground, confirm the coolant reservoir is between the marked lines. If it is low, do not simply keep topping it off indefinitely. Toyota’s owner guidance says a coolant level that drops again soon after replenishing can indicate a leak that needs diagnosis.
For this generation, Toyota specifies Toyota Long Life Coolant or an equivalent ethylene-glycol coolant that protects aluminum components. The owner’s manual also calls for demineralized or distilled water when water is added to the cooling system. Do not mix in random coolant chemistry just because the color looks similar.
| 1999 4Runner cooling-system capacity | Total capacity |
|---|---|
| 3RZ-FE 2.7L with rear heater | 11.0 L (11.6 US qt) |
| 3RZ-FE 2.7L without rear heater | 10.0 L (10.6 US qt) |
| 5VZ-FE 3.4L with rear heater | 9.0 L (9.5 US qt) |
| 5VZ-FE 3.4L without rear heater | 8.0 L (8.5 US qt) |
These are total system capacities from Toyota’s owner manual, not the amount you should expect to add during a small top-off or partial drain.
Inspect Radiator Cap
Only after the engine and radiator are completely cool should you remove the radiator cap. Inspect the rubber seals and spring-loaded parts for damage, hardening, corrosion, or distortion. A cap that cannot hold the specified pressure can contribute to coolant loss and air entering the system.
If the cap looks questionable or coolant keeps disappearing without an obvious leak, use the correct cooling-system pressure tester and cap adapter or have a shop pressure-test the cap and system. Do not substitute a guessed pressure value.
Look for Visible Leaks
Trace the radiator seams, upper and lower radiator hoses, heater hoses, water valve, hose clamps, water-pump area, and firewall connections. Dried pink/red residue, green residue from non-OE coolant, white crust, wet spots, or a sweet coolant odor can point to a leak. Inside the cabin, damp carpet near the heater case, persistent coolant odor, or oily fog on the windshield can indicate a leaking heater core.
A few bubbles can occur while a recently drained system is being bled, so bubbles alone do not prove a head-gasket leak. Persistent bubbling, repeated coolant loss, overheating, or pressurization from a cold start needs deeper diagnosis.
Confirm the Engine Reaches Normal Operating Temperature
A heater core cannot deliver strong heat if the engine coolant never gets properly warm. Watch the coolant-temperature gauge during a normal drive. If the gauge stays unusually low and the heater is weak at all speeds, a thermostat stuck open is a possibility. If the gauge climbs toward the red zone, stop driving and diagnose the cooling system before continuing heater tests.
On the 3.4L 5VZ-FE, Toyota’s service information specifies a thermostat valve-opening temperature of 80–84°C (176–183°F). A thermostat is tested in heated water, not by guessing from hose feel alone. If engine warm-up is normal, move on to the heater circuit.
Test Heater Hose Temperatures to Confirm Core Flow
For a repeatable test, warm the engine fully, set the cabin temperature to maximum heat, select floor mode, and run the blower at a medium speed. Confirm the heater water valve is commanded open. Then use a non-contact thermometer to record both heater-hose temperatures near the firewall.
- Verify the coolant level is correct and the engine reaches normal operating temperature.
- Move the temperature control from cold to hot and confirm the heater water valve lever travels with the command.
- Measure the heater-core inlet hose near the firewall and record the temperature.
- Measure the outlet hose at a comparable location and compare the readings.
- If the inlet is hot and the outlet is substantially cooler, investigate restricted core flow, a partly closed valve, trapped air, or a pinched hose.
- If both hoses are hot but the vents remain cold, shift your attention to the air-mix door and its cable or servomotor.
Do not use a single fixed temperature-difference number as a universal pass/fail value. Ambient temperature, blower speed, engine load, and measurement location all affect the difference.
Inspect and Test the Heater Water Valve and Control Cable
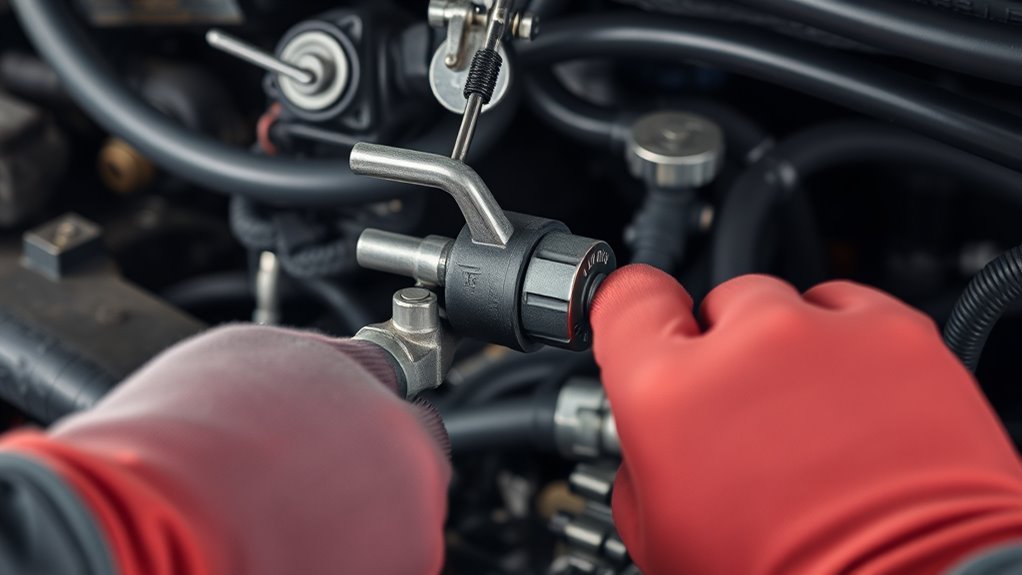
The 1999 4Runner uses a heater water valve and control cable. Toyota’s service procedure calls for warming the engine, disconnecting the water-valve control cable, moving the valve lever to the warm position, and checking whether warm air comes from the vents. If moving the valve by hand changes the outlet temperature, the valve can pass hot coolant and the problem may be in the cable, adjustment, linkage, or upstream control.
Inspect the valve and cable for:
- Full lever travel from cool to warm
- Cracked or brittle plastic at the valve body or cable retainer
- Corrosion around the lever shaft
- Frayed cable strands, kinks, damaged housing, or broken clips
- Coolant seepage around the valve or hose connections
- A cable housing that moves instead of staying anchored when the control is operated
If the valve binds, leaks, breaks apart, or does not change heater output when operated correctly, replacement is justified. After cable or valve work, the cable must be adjusted so the valve reaches its intended end positions.
[Products Worth Considering]

This all-in-one radiator pressure tester and vacuum refill kit helps diagnose cooling system leaks, measure temperature, and refill coolant efficiently. It includes a wide range of adapters for broad vehicle compatibility, plus a pressure tester, vacuum refiller, thermometer, and storage case for organized use. Designed for DIY mechanics and professionals, it simplifies coolant service while reducing guesswork and unnecessary repairs.

This coolant bypass valve is a direct replacement for select Toyota models, helping regulate coolant flow for stable engine temperature and dependable performance. Built from high-temperature, corrosion-resistant materials, it is designed to handle demanding driving conditions while supporting long-term durability. Its straightforward design also makes installation quick and hassle-free.

This engine water pump kit is designed to help maintain reliable cooling performance across a wide range of compatible Toyota, Lexus, Scion, and Pontiac vehicles. Built with aluminum and tested for leak-free operation, it offers a direct replacement solution that supports engine efficiency and long-term service life. The kit includes a professional water pump and gasket for a convenient installation-ready repair.
Diagnose Air-Mix Door, Cable, and Servomotor Problems
If both heater hoses are hot but the vent air remains cold, the problem is likely inside the HVAC case. The 1999 4Runner was available with different climate-control layouts, so do not assume every truck uses the same actuator arrangement.
- Identify the control type. Manual climate-control systems use mechanical control cables for air-door movement. Automatic climate control uses servomotors, including an air-mix control servomotor.
- Watch the linkage. Move the temperature control slowly from full cold to full hot and confirm the air-mix linkage travels smoothly through its full range.
- Listen for abnormal operation. Clicking, repeated hunting, or a motor that stops before full travel can indicate a damaged gear, binding door, faulty position feedback, or servomotor problem.
- Check the automatic system correctly. Toyota service information includes a dedicated air-mix servomotor circuit and DTC 41 for the automatic A/C system. Follow the correct wiring diagram and test values for the installed system instead of applying battery power to unknown pins.
- Check the door mechanically only when accessible. If the actuator or cable is removed, gently verify that the air-mix door itself is not jammed. Do not force a stuck door.
Note: A blower problem and a no-heat problem are different. If little or no air comes from the vents at any temperature setting, diagnose the blower motor, resistor/controller, relay, fuse, and duct obstruction separately.
[Products Worth Considering]
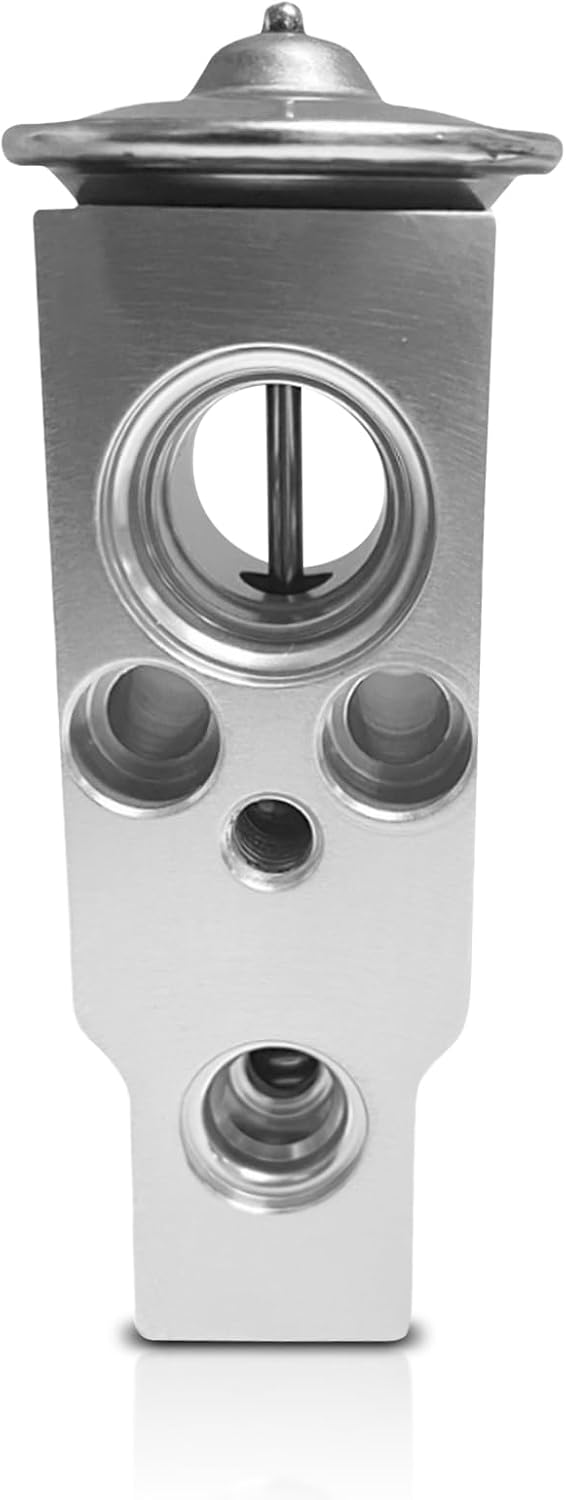
This automotive A/C expansion valve helps regulate refrigerant flow for efficient cooling and stable climate control performance. Built from durable metal for reliable resistance to wear, rust, and corrosion, it is designed to handle demanding vehicle conditions while supporting long-lasting operation. It is a practical replacement part for compatible Lexus, Honda, Toyota, Suzuki, Jaguar, and Land Rover models.

The OEMTOOLS coolant vacuum refill kit helps quickly refill a vehicle’s cooling system while removing trapped air that can lead to overheating and engine damage. It also performs vacuum leak tests to help confirm system integrity and reduce the chance of repeat repairs. With multiple bushings, adapters, and a tapered cone seal, it is designed for flexible use on many radiator and coolant bottle necks.

AISIN OE matched engine coolant thermostat delivers consistent temperature control for reliable cooling system performance. Built with high-quality materials and designed for perfect OE form, fit, and function, it helps maintain efficient engine operation across a wide range of compatible Lexus, Scion, and Toyota vehicles. The correct OE specified operating temperature supports dependable cooling, while note that a gasket is not included.
How to Clear or Replace a Clogged Heater Core (DIY)
If the inlet hose is hot, the outlet stays much cooler, the water valve opens fully, and no hose is kinked, a restricted heater core becomes a strong suspect. A careful backflush may restore flow, but an old heater core can leak after disturbance, so be prepared to stop if you see seepage.
- Let the engine cool completely and place a drain pan under the heater-hose area.
- Drain enough coolant to lower the level below the heater-core connections. Capture the coolant; do not dump antifreeze on the ground, into a storm drain, or into household plumbing.
- Disconnect the two heater hoses at the firewall without twisting or crushing the heater-core tubes.
- Attach a drain hose to one tube and a low-pressure water source to the other. Start by backflushing opposite normal coolant flow.
- Use only gentle, controlled flow. Do not hit an old heater core with unrestricted household water pressure.
- Alternate direction if needed until the discharge runs clear and flow is free. Avoid improvised soaps, acids, or caustic cleaners unless a product is specifically approved for automotive cooling systems and used exactly as directed.
- Reconnect the hoses and clamps, refill with the correct coolant mixture, bleed trapped air, warm the engine, and check carefully for leaks.
If flushing does not restore flow, or the core leaks, replacement is the next step. Toyota’s service information shows that front heater-unit removal involves disconnecting the heater hoses and removing the instrument panel and heater unit; it also calls for removal of the cooling unit. Because that work can involve the A/C system, refrigerant must be handled with approved recovery equipment rather than vented.
Warning: Heater-core replacement is not a simple under-hood swap on this 4Runner. If the procedure requires opening the A/C refrigerant circuit, use a qualified shop with proper refrigerant-recovery equipment.
[Products Worth Considering]

This coolant thermostat is a direct replacement designed for a wide range of Toyota, Lexus, and Scion vehicles. It helps maintain proper engine temperature, supports reliable cooling system performance, and installs easily without special tools or programming. Built to meet OEM standards, it offers durable, stable operation and dependable fitment for compatible models.

This dual filter kit helps keep your vehicle running and riding cleaner by replacing both the engine air filter and cabin air filter at the same time. It is designed for a range of Toyota and Lexus hybrid models, helping support engine performance while reducing odors and airborne particles inside the cabin. Built with high-quality filtration materials, it offers a convenient maintenance solution for routine filter replacement.

This coolant electric water pump is designed as a replacement for select Toyota vehicles, helping maintain proper engine cooling performance and reliable temperature control. Built to OE specifications, it offers fitment support for compatible Avalon, Camry, and RAV4 models with 2.5L L4 engines. It also includes cross-reference part numbers for easier matching and comes with after-sales support for covered defects.
Short-Term Fixes You Can Use While Parts Are on Order
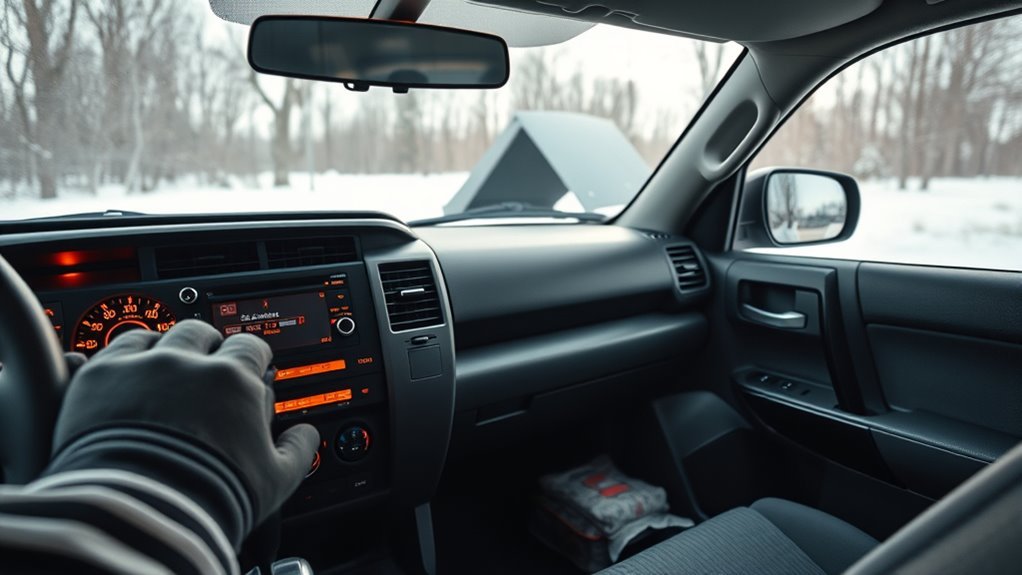
A temporary workaround is reasonable only after you know what failed. If the water valve and heater core are healthy but the cable no longer opens the valve, manually placing the valve in the warm position can restore heat until the cable or control is repaired. This will reduce or eliminate normal temperature control, so treat it as temporary.
Temporary Manual Valve Adjustment
- Start with a cold engine and inspect the valve for cracking or leakage. Do not operate a failing valve that looks ready to break.
- Disconnect the failed control cable only if needed and move the valve lever gently to the warm position.
- Secure the loose cable so it cannot contact belts, pulleys, the fan, or hot exhaust components.
- Warm the engine and verify that both heater hoses become hot and cabin heat returns.
- Watch the coolant level and temperature gauge closely. Stop driving if the system leaks or the engine overheats.
This confirms a control problem without permanently modifying the cooling system.
Cabin Airflow Workarounds
For temporary comfort, use the factory blower and choose floor/windshield mode when you need both cabin heat and defogging. Heated seats, a properly fused 12-volt heated blanket, and warmer clothing can help while you wait for parts. A small 12-volt defogger may help a small glass area, but it is not a substitute for the engine’s heater.
Avoid household space heaters, open-flame heaters, fuel-burning heaters, or improvised high-current devices inside the vehicle. They can create fire, electrical, or carbon-monoxide hazards. Keep enough fresh-air flow to control window fogging.
When to Replace Parts or Call a Pro: Cost, Time, Safety
Replace a part only after the symptom points to it. The water valve should be replaced if it leaks, binds, breaks, or fails Toyota’s warm/cool functional test. Replace or adjust a cable if its housing, clips, or travel prevent the valve or air-mix door from reaching full range. Replace a thermostat only when warm-up behavior or testing shows it is faulty.
| Repair | DIY or pro? | 2026 cost context |
|---|---|---|
| Diagnosis, cable inspection, valve adjustment | Reasonable DIY for many owners | Often little more than tool or small-part cost if no component replacement is needed |
| Heater water valve | Moderate DIY if the cooling system is cold and accessible | RepairPal’s June 18, 2026 estimate for a 1999 4Runner is about $536–$576 installed; local prices vary |
| Heater-core backflush | Moderate DIY with careful hose handling and low water pressure | Usually far less than core replacement if the core is only restricted and does not leak |
| Heater-core replacement | Professional repair is often the better choice | RepairPal’s January 28, 2026 model-year estimate is about $1,925–$2,210 before taxes, fees, and related work |
| Automatic air-mix servomotor/electrical diagnosis | DIY only with the correct wiring information and test equipment | Varies by failed component and labor time |
Call a professional if the engine overheats, coolant repeatedly disappears, the heater core leaks into the cabin, you cannot safely disconnect old heater hoses, or the job requires opening the refrigerant circuit.
Frequently Asked Questions
Why is my 1999 Toyota 4Runner not blowing hot air?
Common causes include low coolant, trapped air, a heater water valve or control-cable problem, a restricted heater core, an engine thermostat that keeps the engine too cool, or an air-mix door/control fault. Start with coolant level, engine warm-up, valve movement, and heater-hose temperatures.
Why does the blower run but the air stay cold?
If airflow is strong but cold, the blower motor is doing its job. The fault is more likely on the heat-production or temperature-control side: coolant flow through the heater core, the heater water valve, engine warm-up, or the air-mix door.
What heater-hose temperatures indicate a clogged heater core?
A hot inlet hose paired with an outlet that is substantially cooler is a classic sign of restricted coolant flow through the heater core. Two hot hoses make a severe flow restriction less likely and shift attention toward the air-mix door or its controls.
How do I fix a heater that is not blowing hot air?
Fix the confirmed cause rather than replacing parts at random. Correct low coolant or leaks, bleed trapped air after cooling-system work, repair the water-valve cable or valve, replace a faulty thermostat, gently backflush a restricted heater core, or repair the air-mix control system if coolant flow is normal.
Does a 1999 4Runner have a factory cabin air filter?
Toyota’s cabin-air-filter application chart lists 4Runner replacement filters beginning with the 2003 model year, so a stock 1999 4Runner should not be diagnosed for no heat by replacing a factory cabin filter. If airflow is weak, inspect the blower, evaporator/heater fins, ducts, and intake area instead.
Can I drive with the heater water valve manually left open?
It can work as a temporary diagnostic or emergency workaround if the valve itself is sound and there are no leaks, but you may lose normal temperature control. Repair the cable or control mechanism as soon as practical and stop driving if coolant leaks or engine temperature rises.
Conclusion
When a 1999 Toyota 4Runner blows cold air, diagnose it in a sequence that separates engine warm-up, coolant flow, and air-mix control. Confirm the engine reaches normal temperature, verify coolant level and leaks, make sure the heater water valve opens, and compare the two heater-hose temperatures. A hot inlet with a much cooler outlet points toward restricted flow; two hot hoses with cold vents point toward the air-mix system. Backflush only with gentle pressure, and leave dashboard-level heater-core or refrigerant work to a qualified shop when the job exceeds your tools or experience.
Sources
- Toyota 4Runner Owner’s Manual — coolant safety, coolant type, system capacities, and HVAC operating guidance.
- 1999 Toyota 4Runner service information: heater control valve test — water-valve functional test.
- 1999 Toyota 4Runner service information: front heater unit — heater-unit and instrument-panel removal sequence.
- U.S. EPA: Regulatory Requirements for MVAC System Servicing — refrigerant recovery and servicing requirements.
- U.S. EPA: Used Antifreeze Disposal — safe handling and disposal of used coolant.
- Toyota Cabin Air Filter application chart — 4Runner cabin-filter applications begin with the 2003 model year.