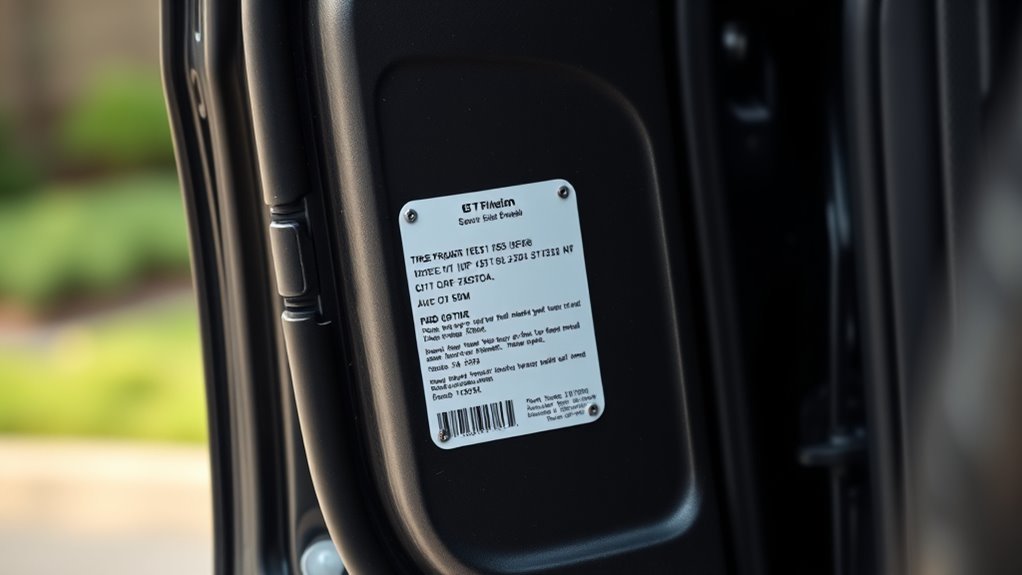
Check the door‑jamb placard on your 4Runner (usually on the striker post or inner frame) to see the exact factory tire sizes, load indexes, cold PSI for front and rear, GVWR and GAWR, plus seating and payload limits. Match replacement tires to the listed size and load rating, set cold pressures with a gauge to the placard values, and note any yellow modifier stickers that change capacities. Keep documentation for option changes and expect more detailed guidance ahead.
Find and Read the 4Runner Door‑Jamb Placard
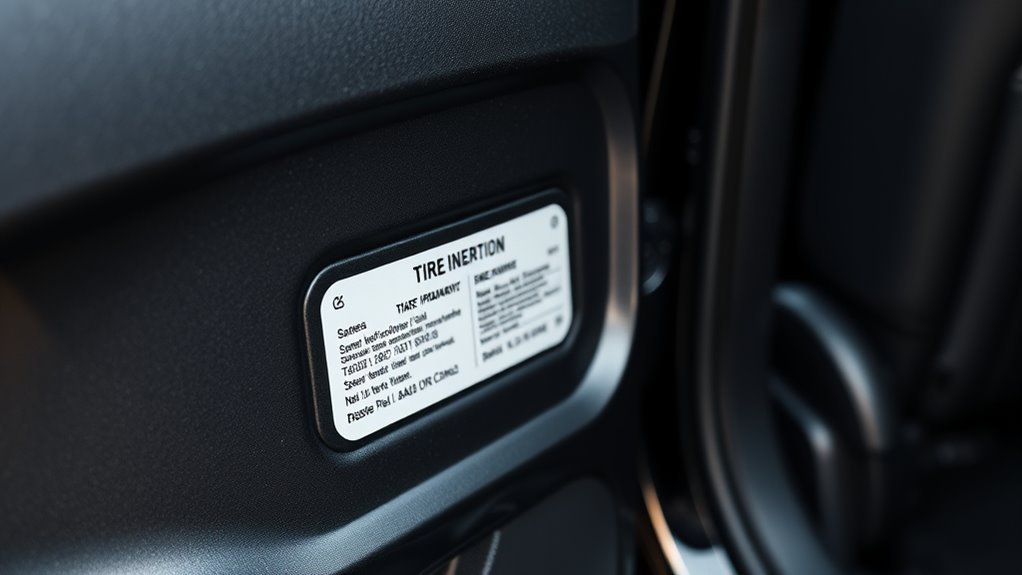
When you open the driver’s door, check the door‑jamb placard—the small sticker lists the factory tire sizes and cold inflation pressures for your 4Runner, so you’ll know the OEM specs (commonly P225/75R15 for Base/SR5 and P265/70R16 as an option) and the recommended 32 PSI for all four wheels. You’ll find the placard location on the striker post or inner frame near the hinge; seeing it removes guesswork and empowers you to act. Read the listed sizes and the cold tire pressure recommendation before buying or mounting tires. If the sticker shows different sizes—older models sometimes vary—document what it says so installers can match OEM options. Don’t assume a mechanic knows factory variants; the placard is the authority. Adjustments for seasonal changes are reasonable, but start with the door‑jamb guidance. Use this simple check to keep performance, fuel economy, and safety aligned with the vehicle’s intent.
What the Placard’s Lines Actually Show
The placard’s lines give you compact, essential specs: tire sizes (standard and optional), cold inflation pressures (commonly 32 PSI), GVWR and GAWR values, and maximum front/rear axle loads, plus seating and total payload capacity required by post‑2006 rules. You’ll read recommended tire sizes for your model—standard and alternates—so you pick correct replacements. You’ll see the cold inflation number (typically 32 PSI) to follow tire maintenance tips and preserve handling and wear. GVWR and GAWR set legal weight ceilings; axle max loads tell you how to allocate cargo. Seating and payload figures show real-world limits for people and gear.
- Confirm size entries before buying tires.
- Use the cold pressure on placard for daily checks.
- Compare GVWR/GAWR to planned loads.
- Balance cargo to honor axle limits.
Use the placard as a liberation tool: clear, authoritative limits that free you to travel safely with confident load distribution advice and minimal risk.
Read Tire Size and Load Index Correctly
Check the placard to confirm the tire size notation (for example P225/75R15) so you’re sure the installed tires match the recommended fitment. Read the load index number to know the maximum weight each tire can support, and compare it to your vehicle’s needs. Note the speed rating letter on the placard too, since it tells you the tire’s approved maximum speed and is often listed right after the size.
Tire Size Notation
Reading your 4Runner’s tire placard tells you exactly how to interpret tire size codes like P225/75R15 and load indexes so you can choose tires that fit and carry the proper weight. You’ll see the standard P225/75R15 and an optional P265/70R16 listed; that optional size affects speedometer and odometer calibration. Know the tire size importance for fit, clearance, and legal compliance. Use tire size conversion when comparing diameters and speeds between sizes.
- P = passenger tire; 225 = section width (mm)
- 75 = aspect ratio (height/width)
- R15 = radial construction, 15-inch rim
- Optional P265/70R16 changes overall diameter and calibration
Verify sizes and load ratings against documentation to avoid installation errors and safety risks.
Load Index Meaning
After you’ve confirmed the correct tire size, you’ll need to match the load index printed on the placard to any replacement tire. The load index is a numerical code showing the maximum weight a properly inflated tire can carry; higher numbers mean greater capacity. For example, index 95 supports about 1,521 lbs (690 kg) and 100 supports about 1,764 lbs (800 kg). You must honor the load index importance on the placard: choosing lower-capacity tires risks overloading, tire failure, and compromised handling. Follow tire safety guidelines by pairing correct size, load index, and inflation. That keeps your 4Runner secure and frees you from compromises that limit performance, stability, and the confidence to drive as you intend.
Speed Rating Placement
Where exactly should you look for the speed rating on your 4Runner’s tire placard? It’s printed right next to the tire size and load index on the door jamb placard. You’ll see a sequence like P225/75R15 followed by a load index number and a letter denoting the speed rating. Grasping speed rating importance frees you to choose tires that match safety and performance needs.
- Check directly after the size and load index on the placard.
- Note the single-letter rating (e.g., P, Q) that shows max safe speed.
- Match replacement tires to the placard to maintain legal compliance.
- Use understanding ratings to balance load capacity and desired performance.
Follow the placard exactly; your freedom on the road depends on it.
What Front and Rear PSI Numbers Mean
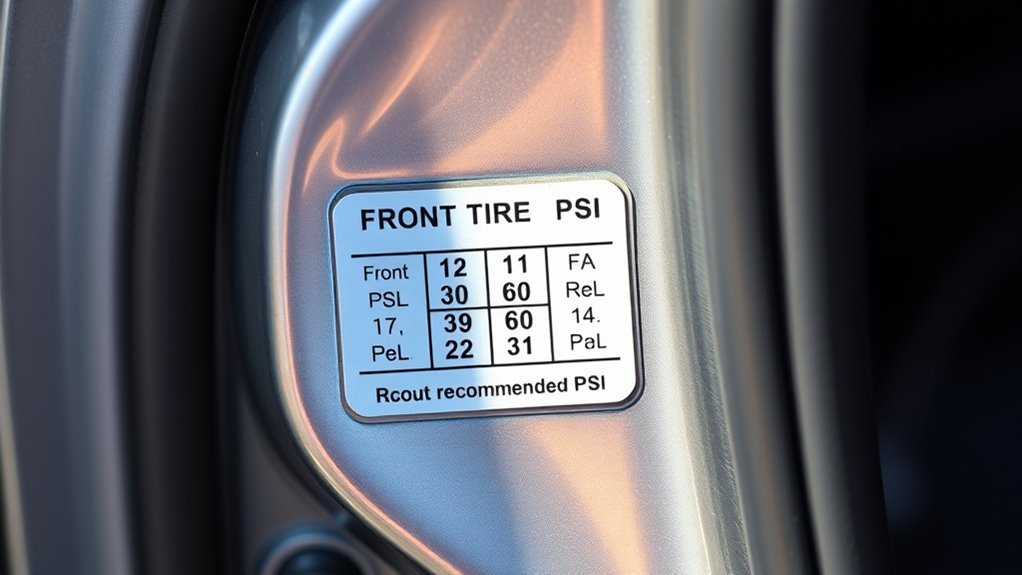
Because the placard lists separate front and rear PSI, you should set each axle to the specified pressure to match the vehicle’s weight distribution and handling design. Those front and rear PSI numbers tell you the manufacturer-tested tire pressure for ideal tire pressure, safety performance, and fuel efficiency per axle. You’ll follow different numbers because the 4Runner’s load isn’t balanced equally; steering, braking, and engine weight usually demand distinct front pressures.
Keeping the stated PSI prevents uneven wear, reduces blowout risk, and preserves predictable handling under varied loads. Don’t guess or apply one pressure to all four tires; that ignores the vehicle’s engineered balance. Over- or under-inflation harms ride quality and control, so treat the placard as a liberation tool: it frees you from uncertainty and keeps you in command of your safety and the vehicle’s certified performance.
Set Tire Pressure Using the Placard and a Gauge
Now that you know why the placard lists different front and rear PSI, use that placard as your target and a reliable gauge to set the pressures. You’ll follow the placard—typically 32 PSI for a 4Runner—but verify with a consistent tool. Gauge accuracy matters: prefer a quality dial gauge over random station units. Check cold tires, adjust, then re-check after a short drive to confirm sensor and pressure stability.
Use the placard as your target, set cold tires with a quality gauge, adjust in small steps, then recheck.
- Start with cold tires and read the placard target.
- Use a reliable, calibrated dial gauge to determine gauge accuracy.
- Deflate or add air in small increments; re-measure after each change.
- Adjust seasonally (32 PSI winter; 34–35 PSI summer) and recheck regularly.
You deserve control over your vehicle’s performance. Rely on precise readings, not dealer guesses. Regular verification prevents over-inflation, preserves ride quality, and keeps you confidently on the road.
How GVWR, GAWR, and Curb Weight Affect Loads
When you load your 4Runner, GVWR, GAWR, and curb weight together tell you exactly how much extra cargo and passengers you can safely carry: know the numbers, and you control your freedom to travel without risk. GVWR is the cap on total vehicle weight; subtract curb weight and you get the load carrying capacity. GAWR breaks that capacity into axle limits—exceed an axle and you risk instability, brake or tire failure, and legal trouble. You must plan load distribution so weight sits within each axle’s rating; shift cargo forward or aft, balance passengers, and keep heavy items low. The safety implications are clear: staying under GVWR and respecting GAWR prevents accidents and mechanical damage. Use the placard values to make informed choices before every trip. Doing so liberates you to carry what you need with confidence, not guesswork, and keeps you compliant with regulations and safe on the road.
When Placard and Tires Conflict : What to Do?
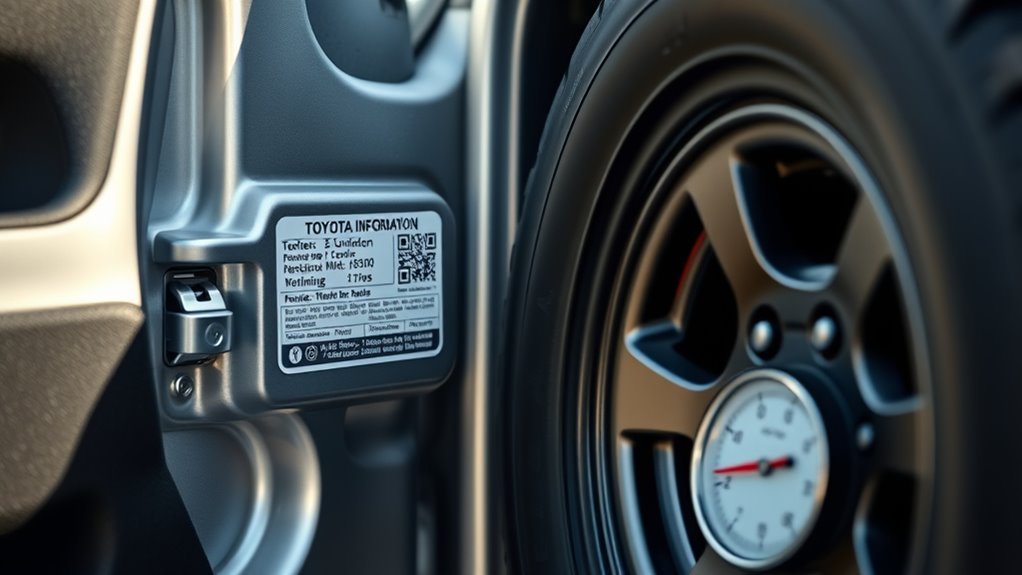
After you’ve checked GVWR, GAWR, and curb weight to plan load limits, you may still run into an unexpected mismatch between the tire placard and the tires fitted to your 4Runner. You’ve got options—don’t accept confusion. First, confirm factory option verification: pull the window sticker or call the dealership to verify original equipment. Mechanics may refuse installations when sizes conflict, so be ready to show documentation.
Checked GVWR, GAWR, and curb weight? Verify OEM tire size—get the window sticker or dealer note to avoid disputes.
- Ask for the original window sticker or build sheet.
- Explain your preferred tire size and why it’s appropriate.
- Bring alternative proof if factory options differ from the placard.
- Recheck tire pressure after installation; size affects inflation needs.
Address tire installation challenges directly and assertively. If the dealer confirms a different OEM size than the placard, request a written note to present to service. You’ll protect safety, preserve freedom on the road, and avoid needless disputes by documenting and communicating clearly.
Why Modifier (Yellow) Stickers Change Placard Info
When a modifier (yellow) sticker is applied, it signals a manufacturer liability notice that something changed after original assembly. You’ll see weight and capacity adjustments listed so the placard matches the vehicle’s new configuration. Those updates require replacing the original label to keep load ratings accurate and legally compliant.
Manufacturer Liability Notice
Because factory or dealer-installed modifications can reduce a vehicle’s safe load capacity, manufacturers place yellow modifier stickers to update the tire placard and warn you of the change. You should treat these stickers as a clear Manufacturer Liability Notice: they document alterations, preserve compliance standards, and spell out legal implications if altered information isn’t followed.
- They record weight-affecting changes required by NHTSA rules.
- They protect manufacturers and inform you of reduced capacities.
- They create a paper trail that can limit modifier liability after incidents.
- They compel dealers to update labels so you know the vehicle’s true limits.
You get empowerment by checking these stickers—know your vehicle’s safe boundaries and insist on accurate, lawful documentation.
Weight And Capacity Adjustments
Those yellow modifier stickers you learned about in the liability notice do more than warn—they change the numbers on your placard and often reduce the vehicle’s stated carrying capacity. You’ll see them when factory modifications—like removing a third-row seat or roof rack—alter the Gross Vehicle Weight Rating (GVWR). Those changes must be documented so you know the adjusted load carrying capacity and can protect occupants and cargo. For your liberation, insist on clear labels: they give you control over decisions that affect load safety and legal exposure. Modifiers are legally required to update weight information to maintain compliance awareness and limit liability. Read the sticker, compare it to the placard, and act on the revised limits.
Required Label Replacement
If a factory change alters your 4Runner’s weight or tire specifications, the original tire placard must be replaced with a yellow modifier sticker so you have accurate, legally required load information. You’re responsible for ensuring the updated sticker shows correct tire sizes, load limits, and weight capacities — that’s the placard importance. Modifier stickers exist to meet federal compliance requirements and to protect you from liability if a mismatch causes an accident. Keep documentation of any modifications and the replacement sticker.
- Verify the yellow sticker matches documented changes.
- Retain modification records for inspection and resale.
- Check that tire size and load ratings are legible and exact.
- Report missing or incorrect stickers to the modifier or manufacturer.
This keeps you free and informed, not bound by misinformation.
When to Replace or Update the Placard After Mods
When you make any modification that affects vehicle weight, tire size, or load limits, update the tire placard immediately so it reflects the new specifications and legal ratings; federal rules require documenting changes that alter GVWR or GAWR, and failing to replace the placard can create unsafe conditions and liability. You’ll replace the placard after adding or removing seats, installing heavy gear, changing suspension or bumpers, or swapping to larger or different tires. Treat every change that shifts axle loads or overall mass as a trigger for placard update—this is about modification safety and legal compliance. Updating keeps your 4Runner’s tire pressure and load limits accurate for daily driving, towing, and off-road freedom. Don’t wait until an inspection or incident; proactive replacement protects you, passengers, and rescuers. If a modification alters GVWR or GAWR, get the new placard printed and affixed per manufacturer or regulatory guidance so labels match the vehicle’s true capabilities and your rights are preserved.
Quick Placard Mistakes and Troubleshooting Tips
Because the door-jamb placard is your primary quick-reference for tire size and pressure, always cross-check it against your owner’s manual and actual tire markings before any service or swap; mismatches, fading, or omitted optional sizes are common and can lead to wrong tires, improper inflation, or service refusals. You want clear, actionable info so you can stay mobile and in control.
- Verify placard tire size against the tire sidewall and factory specs to avoid fitment issues.
- Confirm placard pressure numbers; use inflation tips like cold-pressure checks for accuracy.
- If a service center disputes options, carry factory option documentation to prevent refusals.
- Replace a faded or damaged placard; obscured load or PSI data compromises safety.
Regularly inspect the placard during tire maintenance. If anything looks off, don’t accept assumptions—consult your manual or dealer. These steps keep you liberated from guesswork, reduce risk, and guarantee compliant, safe tire maintenance.
Frequently Asked Questions
How to Read Tire Pressure on Door Jamb?
Look at the placard’s PSI value for front/rear, match it to your tire size, then set pressures with a reliable gauge. You’ll follow tire maintenance tips, perform regular pressure monitoring, and reclaim control of safety.
How Do You Know Which Tire Is Low on a Toyota?
Blast off—you’ll immediately see which tire’s low by the TPMS warning lights and tire pressure readings: check the dashboard light, use a gauge at each wheel, listen for hissing, and inspect visual height differences for liberation.
How to Read a Tyre Placard?
You read a tyre placard by checking the placard location, noting tire specifications (size, cold PSI), load and GVWR, then adjust pressures accordingly; you’ll follow those limits confidently, freeing yourself from guesswork and unsafe driving.
Conclusion
So you found the placard — congratulations, you now know exactly how many pounds your 4Runner can carry and what PSI to run. Ironically, that tiny sticker often saves you from ruining expensive tires or getting a tow, yet most drivers ignore it until something goes wrong. Use the numbers, not guesses. Check after mods or tire changes, keep a gauge handy, and if anything doesn’t match, resolve the conflict before you drive.