To inspect and replace the serpentine belt and tensioner on your RAV4, start by checking for signs of wear, like a vibrating tensioner or a worn belt. Confirm the engine’s cool before removing the coolant reservoir for better access. Carefully rotate the tensioner to relieve belt tension, then remove it. When installing the new tensioner, align the dowel pin and torque it properly. Run the engine to check for smooth operation; watch for further tips on maintaining your system.
How to Identify Symptoms of a Worn Tensioner
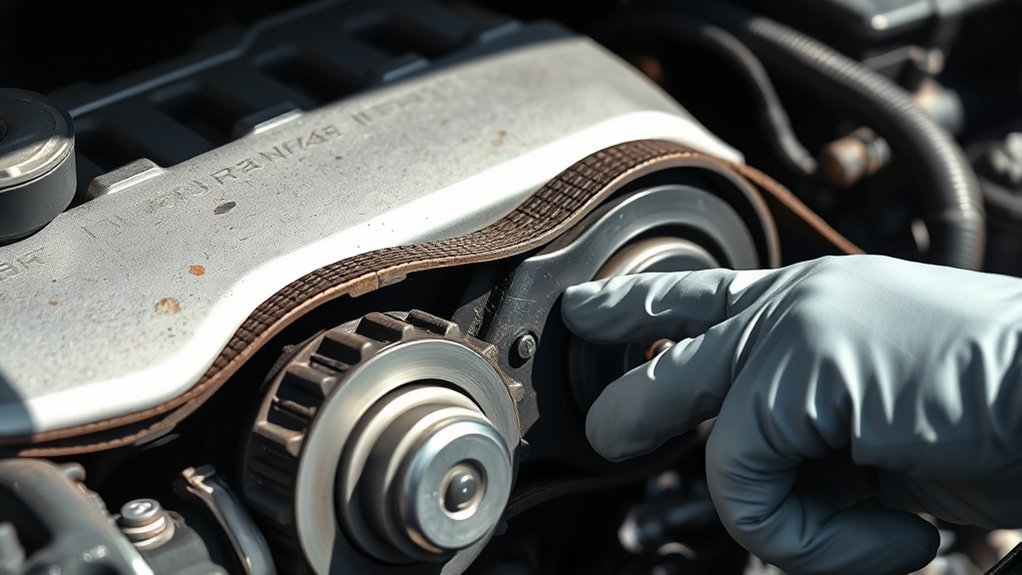
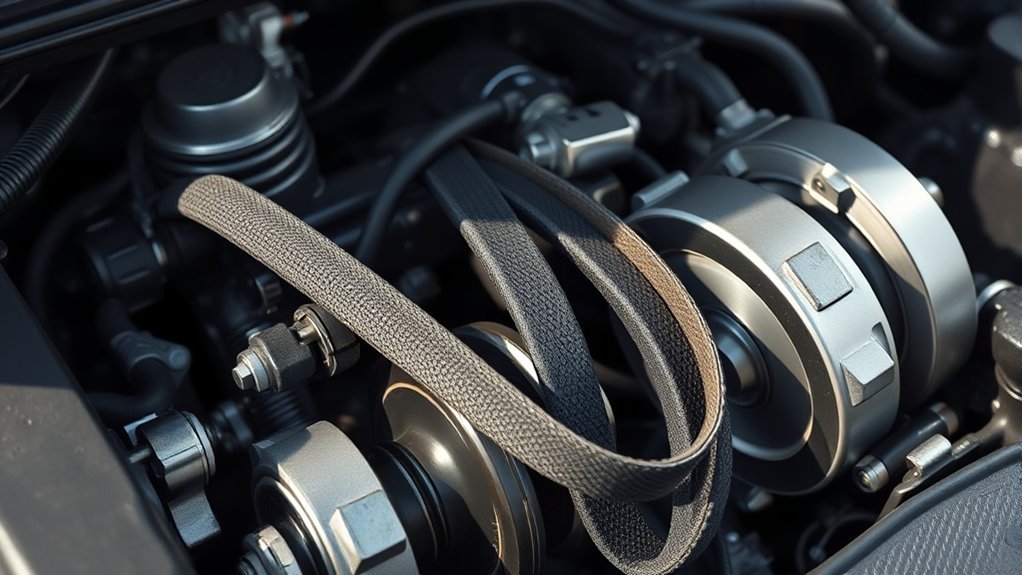
A worn serpentine belt tensioner can lead to significant engine problems, so it’s crucial to identify symptoms early. Start by visually inspecting the tensioner for any signs of wear or damage. If you notice the tensioner bouncing or vibrating during engine operation, this indicates it’s struggling to maintain proper tension. You should also perform a manual inspection; gently pull on the serpentine belt and check for excess play, which reveals a loss of spring tension.
Keep an eye out for misalignment or abnormal movement while the engine runs. These issues can signal that the tensioner isn’t holding the belt firmly, leading to belt slippage and possible performance issues. Regular tensioner maintenance can prevent further belt wear and guarantee peak engine performance. By catching these symptoms early, you can address potential problems before they escalate, liberating your vehicle from costly repairs.
Preparing Your RAV4 for Tensioner Replacement
Before starting the replacement of your RAV4’s serpentine belt tensioner, verify the engine is completely cool to prevent burns or injuries. To gain easier access to the tensioner, you’ll need to remove the coolant reservoir by unscrewing its two 10 mm bolts. Decide whether you’ll work from above or below the engine bay based on your comfort and accessibility.
Next, confirm that the new tensioner matches the old one in both shape and design, as different tensioner types can affect fitment. Clear any obstacles in your workspace to facilitate the replacement process. Gather your replacement tools, including a 14 mm socket and a ratcheting wrench, so you’re fully prepared before you begin. Taking these steps will streamline the replacement and help you get back on the road efficiently.
Step-by-Step Guide to Removing the Old Tensioner
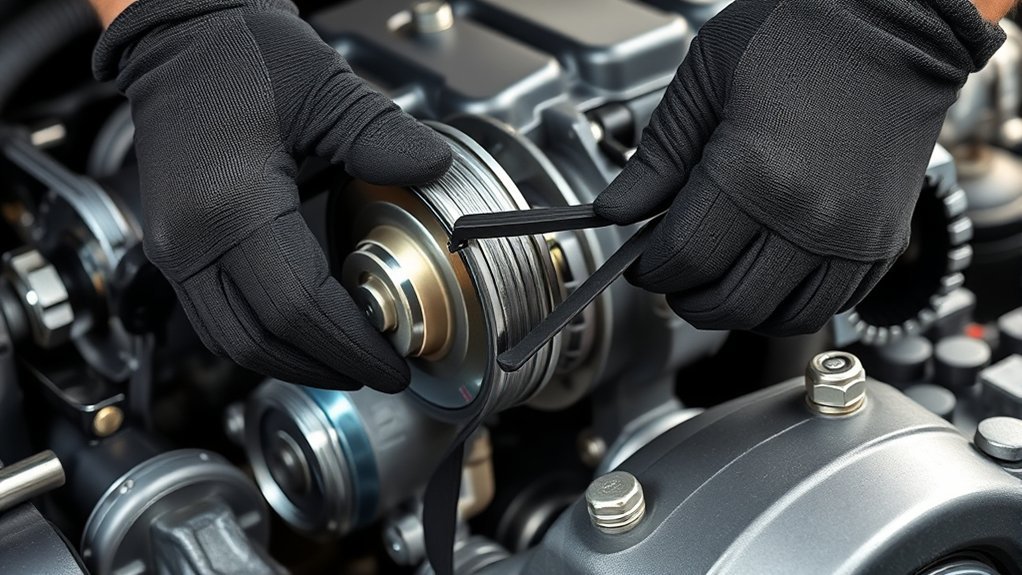
Start by rotating the serpentine belt tensioner clockwise with a 14 mm socket or wrench to relieve tension. Once the tension is released, slide the serpentine belt off the tensioner and completely remove it from the crank pulley. This gives you full access to the tensioner itself.
Next, locate the 12 mm bolt securing the tensioner pulley. Use a ratcheting wrench for better leverage and remove this bolt carefully. Different tensioner types may require specific handling, so consult your vehicle’s manual for guidance.
Locate the 12 mm bolt securing the tensioner pulley and carefully remove it with a ratcheting wrench for optimal leverage.
After removing the old tensioner, make sure the dowel pin aligns correctly with the engine block hole during installation. This alignment is vital for proper function.
Finally, when replacing the tensioner, torque the new bolt to 15 ft-lb using a crow’s foot attachment for accurate measurement—this maintenance tip guarantees longevity and peak performance.
Steps for Correctly Installing the New Tensioner
When installing the new tensioner, make certain to align the dowel pin with the engine block hole for proper placement. It’s essential to use a torque wrench with a crows foot attachment to secure the tensioner bolt to the specified torque of 15 ft-lb. This guarantees that the tensioner functions correctly and maintains the appropriate tension on the serpentine belt.
Align Dowel Pin Correctly
Aligning the dowel pin correctly is essential for a secure installation of the new tensioner. Follow these steps to verify proper dowel pin alignment and tensioner fitment:
| Step | Action |
|---|---|
| Inspect | Check the dowel pin for damage or debris. |
| Position | Gently slide the tensioner into place. |
| Align | Confirm the dowel pin is fully seated in the hole. |
| Secure | Tighten the tensioner bolt after double-checking alignment. |
| Torque | Use a torque wrench to tighten to 15 ft-lb. |
This process assures a reliable fit, reducing the risk of misalignment. Always prioritize precision during installation for peak performance.
Torque Specifications Importance
Making sure the dowel pin is correctly aligned is just the beginning; applying the right torque to the tensioner bolt is equally important for a reliable installation. Use a torque wrench with a crow’s foot attachment to reach the tensioner bolt effectively, especially in tight spaces. Tighten the bolt to 15 ft-lb, as per the manufacturer’s specifications, to guarantee peak function and longevity of the new tensioner. Over-tightening can damage components, while under-tightening may cause improper tension and premature wear of the serpentine belt. Always consult your vehicle’s service manual for specific torque requirements. Accurate torque application is crucial to prevent future issues like belt slippage or tensioner failure, which can compromise engine performance.
Common Issues When Installing the Serpentine Belt
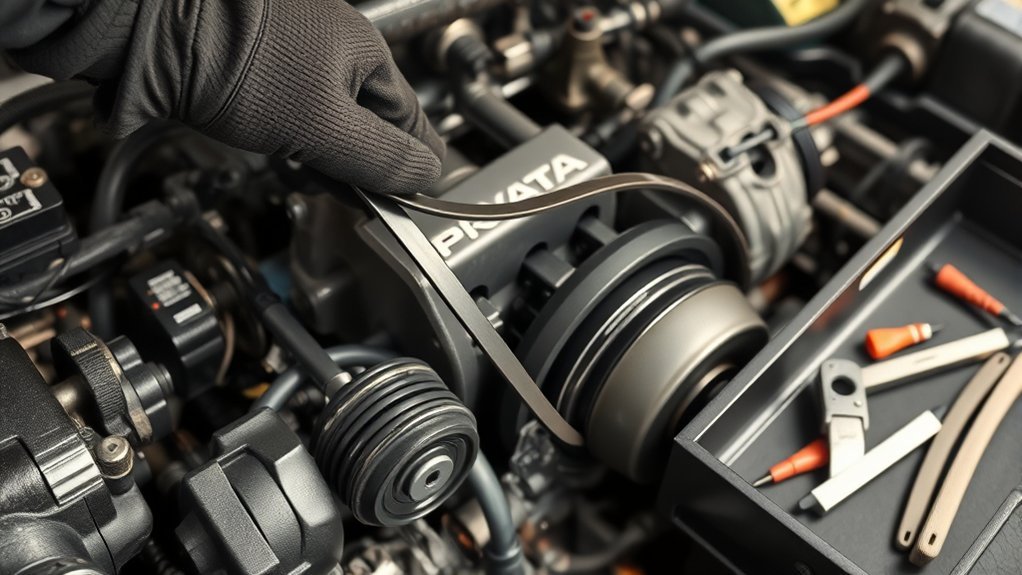
When installing the serpentine belt, misalignment of pulleys can lead to premature wear and possible failure. You need to guarantee the belt is routed correctly according to the diagram, as improper routing may cause slippage. Additionally, watch for tensioner installation errors that can affect overall performance.
Misalignment Of Pulleys
Misaligned pulleys can lead to significant issues during serpentine belt installation, potentially causing excessive wear and premature failure. To guarantee proper pulley alignment, use a straightedge tool to check that all pulleys line up within a tolerance of 1/16 inch. Uneven tension from misaligned pulleys can exacerbate belt wear, leading to costly repairs down the line. Before installation, verify that the tensioner is in good condition; a faulty tensioner can also contribute to misalignment, causing a bouncing effect that increases wear on connected components. Finally, always refer to the engine’s diagram for correct serpentine belt routing to prevent misalignment during installation. Taking these steps will help maintain your RAV4’s efficiency and longevity.
Incorrect Belt Routing
Incorrect belt routing can lead to serious operational issues in your RAV4, including slippage and premature wear. Always reference the routing diagram, typically found on a sticker in the engine bay, to guarantee proper belt routing. Pay close attention to how the belt orients around each pulley; improper pulley alignment can result in noise and reduced efficiency. Make certain the belt is seated firmly in all pulley grooves; an incorrectly positioned belt may skip or disengage during operation. Additionally, check for any obstructions or misaligned components that could obstruct the belt’s movement. After installing, manually rotate the belt to confirm it moves freely without binding or interference from surrounding parts, ensuring peak performance.
Tensioner Installation Errors
Installing the serpentine belt tensioner requires careful attention to detail, as even minor errors can lead to significant performance issues. First, verify the tensioner aligns with the engine block’s dowel pin; misalignment can cause improper tensioning and affect the tensioner lifespan. Always torque the tensioner bolt to the specified 15 ft-lb to prevent a loose setup or mounting damage. Pay close attention to the routing of the serpentine belt, as incorrect routing can lead to premature wear and slippage. After installation, double-check that all pulleys are fully seated and the belt is correctly positioned. Finally, inspect the tensioner’s spring mechanism before and after installation to confirm it provides adequate tension during engine operation.
How to Test Your Engine After Tensioner Replacement
After replacing the tensioner, it’s crucial to test your engine to confirm everything is functioning correctly. Start by running the engine and listening for any unusual noises that could indicate improper installation or a malfunctioning tensioner. Observe the serpentine belt during operation; it should run smoothly without slipping or wobbling on the pulleys.
After a few minutes, check the belt for visible signs of wear or damage to verify proper tension and alignment, especially considering the specific tensioner types and belt materials used. Monitor the tensioner itself for any bouncing or excessive movement, which may suggest it’s not functioning as intended. Finally, perform a visual inspection of all connections and components to verify everything is secure, and that no tools or debris were left in the engine bay. This thorough testing helps guarantee your engine operates effectively after the replacement.
What to Watch Out for When Replacing Your Tensioner?
Testing your engine post-tensioner replacement sets the stage for a successful replacement process. Before you get started, make sure the engine is cool to avoid burns. Start by removing the coolant reservoir for easier access to the serpentine belt tensioner, which is secured by two 10 mm bolts. Use a 14 mm socket to rotate the tensioner clockwise and carefully slide the serpentine belt off.
When installing the new tensioner, pay close attention to tensioner wear. Align the dowel pin with the engine block hole and torque the securing bolt to 15 ft-lb using a crows foot attachment for proper leverage. After replacing the tensioner and belt, verify that all pulleys are fully seated. Finally, reattach the coolant reservoir before starting the engine. This meticulous approach guarantees peak performance and helps you avoid future issues.
Frequently Asked Questions
When to Replace Serpentine Belt on Toyota RAV4?
Replace your Toyota RAV4’s serpentine belt every 60,000 to 100,000 miles. Watch for signs of wear, like cracks or fraying, and address any loss of tension promptly to maintain peak vehicle performance.
What Else Should Be Replaced When Replacing a Serpentine Belt?
When you replace the serpentine belt, don’t overlook the belt tensioner replacement and idler pulley inspection. Worn components can lead to failures, so verify everything’s in top condition for maximum performance.
How Much Does It Cost to Replace a Serpentine Belt on a Toyota RAV4?
Replacing a serpentine belt on your Toyota RAV4 typically costs between $100 and $200. Factors like serpentine belt lifespan and labor rates influence replacement cost, so consider those when planning your service.
Conclusion
Now that you’ve inspected and replaced your RAV4’s tensioner, imagine the smooth hum of your engine as it glides effortlessly on the road. You’ve eliminated those annoying squeaks and potential breakdowns. Remember to keep an eye on your new components for wear and tear, and don’t hesitate to revisit this guide if you encounter any issues. With these steps, you’re equipped to maintain your vehicle’s performance and longevity, ensuring every drive feels like a dream.