If your RAV4’s brake pedal pulses when you brake, you’re likely dealing with uneven rotor thickness (warping), sticking calipers or seized pistons, or rear-drum problems. Test at low speed to see whether vibration comes through the steering (front) or pedal only (rear). Inspect rotor runout, pad wear, caliper slide pins, wheel cylinders and brake fluid; measure deviations with a dial indicator. Replace or resurface rotors, service calipers, or rebuild drums as needed, and continue for detailed checks and fixes.
Quick Diagnosis: Is the Pulsation Front or Rear on Your RAV4?
Wondering whether that brake-pedal pulsation is coming from the front or rear of your RAV4? You’ll run a focused, procedural check: note where the vibration transmits. If the steering wheel stays steady while the pedal feel is pulsing, suspect the rear drums. If the steering wheel vibrates with pedal feedback, target the front rotors. Also watch seat feedback—pulsation through the seat reinforces a rear issue. Next, perform a controlled test: at low speed, apply brakes gently, then at progressive harder stops, record where vibration localizes. Inspect components methodically: check rear drum condition, measure rotor runout up front, and verify caliper piston mobility; sticking pistons cause uneven wear and can mimic rotor issues. Confirm brake fluid level and contamination; air or degraded fluid alters pedal feel and response. Act on findings quickly—addressing symptoms early prevents escalation and frees you from greater repair constraints.
Likely Causes of Brake Pedal Pulsation in a RAV4
When your RAV4’s brake pedal pulses without steering-wheel vibration, focus first on rear brake components—warped drums or shoes, seized wheel cylinders, or improper adjustment commonly cause that isolated pedal feedback. Inspect rear drums/shoes for scoring and uneven wear; measure drum runout and shoe thickness against spec. Check wheel cylinders for seizure or leakage and confirm hardware springs and adjusters move freely. Improper adjustment or contaminated linings produce uneven contact and recurrent pulsation. While front rotor issues are common, don’t skip rear checks if steering remains steady.
Also verify caliper pistons/sliders at the front for sticking that can amplify uneven wear; free-moving guidance prevents localized hotspots. Use brake maintenance tips: routine inspections, timely pad/shoe replacement, and clean/lubricate hardware. Modify driving habits to avoid repeated heavy downhill braking and sudden cooling events. Early, targeted maintenance prevents escalation, restores pedal feel, and frees you from prolonged vibration and costly repairs.
How Warped Rotors Create Pedal-Only Vibration
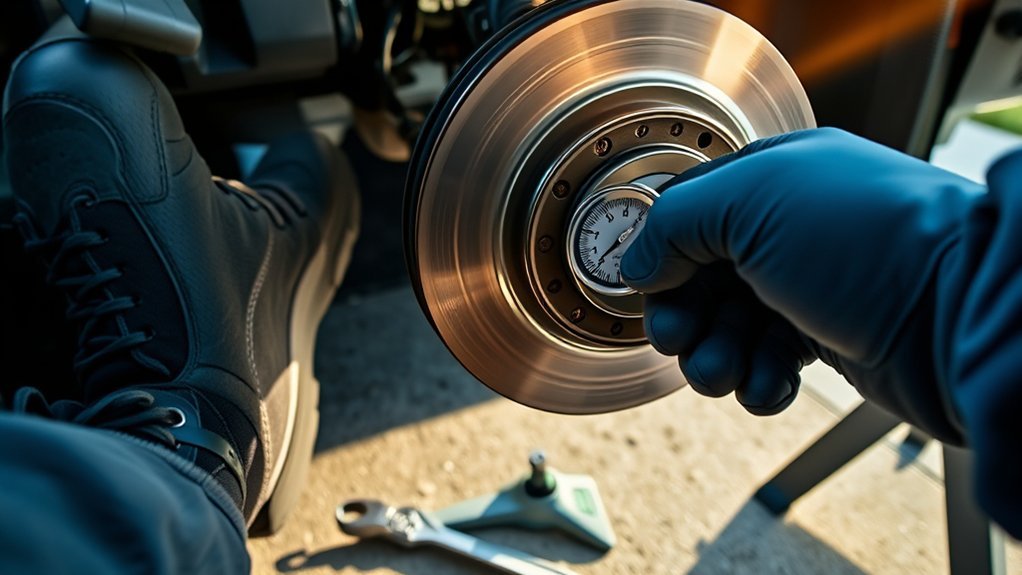
Check rotor runout and thickness first, because lateral wobble or uneven wear changes the rotor surface that the pads contact. That runout creates alternating gaps and high spots so your pads compress unevenly, producing a pulsation you feel in the pedal but not the wheel. Measure runout with a dial indicator and inspect pad contact; resurfacing or replacing the rotor restores uniform thickness and eliminates the pedal-only vibration.
Rotor Runout And Thickness
If your RAV4’s brake pedal pulses without steering vibration, it’s often due to rotor runout or thickness variation causing uneven pad contact. You’ll inspect rotor runout with a dial indicator, record deviation, and compare against spec. Overheating from prolonged braking creates thickness variation; just 0.002 inches can cause pedal pulsation. Follow brake rotor maintenance schedules, measure thickness at multiple points, and use thickness measurement techniques to decide resurfacing versus replacement. Act to reclaim driving freedom: restore rotational true and consistent thickness so braking feels direct and controlled.
| Check | Action |
|---|---|
| Runout > spec | Resurface or replace rotor |
| Thickness variation ≥ .002″ | Replace rotor |
| Thickness below min | Replace rotor |
| Routine interval | Measure during service |
Brake Pad Contact Variance
Having confirmed rotor runout or thickness issues, look next at how those imperfections change pad contact during braking. You’ll observe that warped rotors create intermittent pad-to-rotor engagement; high spots contact the pad first, then drop away, producing cyclical force variations transmitted up the pedal. This vibration often isolates to the brake pedal because the oscillation is axial, not lateral, so steering remains steady. Addressing it restores control and freedom from uncertainty: inspect pads for uneven wear, measure rotor surface with a dial indicator, and check pad backing plate alignment. If rotors are thermally damaged, replace or resurface per rotor maintenance specs. Also replace pads showing accelerated brake pad wear to prevent recurrence and maintain consistent braking feel.
Sticking Calipers, Seized Pistons, and Slide-Pin Problems
Check the calipers for piston seizure, because a frozen piston will keep the pad pressed against the rotor and cause overheating and pedal pulsation. Inspect and free any stuck slide pins so the caliper can float and allow even pad retraction. If pads aren’t retracting fully, remove, clean, lubricate, or replace the affected pistons and pins to restore proper braking function.
Caliper Piston Seizure
When caliper pistons seize or slide pins bind, they keep pads pressed against the rotor and create uneven pad wear, overheating, and noticeable brake pedal pulsation; you should inspect piston movement and slide-pin freeplay during routine service to catch these failures early. You’ll diagnose seized pistons by measuring pad drag, checking uneven rotor temperature, and observing piston return when releasing brake pressure. Prioritize caliper maintenance and piston lubrication to restore movement or decide replacement.
- Remove caliper, compress piston, watch return stroke for hang-ups.
- Inspect dust boots, corrosion, and bore scoring; quantify reuse limits.
- Clean and lubricate piston skirts and caliper surfaces with approved products.
- Replace caliper or piston assembly if movement remains restricted after maintenance.
Stuck Slide Pins
If slide pins seize or bind, they’ll keep the caliper from sliding freely and prevent the pads from retracting, producing uneven pad wear, overheating, and a pronounced brake pedal pulsation. You’ll perform a targeted caliper inspection: lift the vehicle, remove the wheel, and check pin boots for corrosion or contamination. Free movement is mandatory; if pins resist, clean with brake cleaner, lubricate with high-temperature grease, and replace damaged boots. Inspect pistons for seizure signs—uneven pad contact or dragging. Document pad wear patterns and torque hardware to spec. Regular brake maintenance prevents binding and restores equal pressure distribution, reducing pedal vibration. If servicing doesn’t restore smooth travel, replace pins or the caliper assembly to reclaim control and safety.
Pad Retraction Failure
Because caliper pistons and slide pins must retract smoothly, any seizure or binding will lock the pads against the rotor and create drag, overheating, and uneven wear that often shows up as pedal pulsation. You should inspect pistons, seals, and slide pins for corrosion or contamination; frozen pistons prevent pad retraction and cause continuous contact. Free-moving sliders guarantee even pad wear and consistent pedal feel. Follow caliper maintenance tips: clean, lubricate with proper grease, and replace damaged seals. Review brake pad selection to avoid incompatible compounds that retain heat.
- Visually inspect pistons and dust boots for damage or seepage.
- Unbolt caliper, test slider movement, and clean channels.
- Replace seized pistons or rebuild calipers when necessary.
- Reassemble with correct grease and torque specs.
Home Inspection Checklist: Tools, Safety, and What to Look For
Before you start, gather essential tools—a flashlight, screwdriver, level, and moisture meter—so you can assess areas efficiently and accurately. Use home inspection tools methodically and follow safety precautions: wear gloves and a mask when entering dusty or mold-prone spaces, and shut power before probing electrical panels.
Systematically inspect for water damage: scan ceilings and walls for discoloration, probe suspect areas with the moisture meter, and trace stains to their source. Examine the foundation for hairline and wider cracks, verify slope and drainage away from the building, and flag any locations where water pools.
Assess electrical systems: open panels only after de-energizing, look for exposed wiring, test outlets for correct polarity and grounding, and confirm circuit breakers are labeled. Log findings clearly, prioritize immediate hazards, and plan corrective actions that restore safety and autonomy. You’ll leave with a concise, actionable checklist to reclaim control of your space.
If You Find Warping: Resurface or Replace Rotors and Pads
When you detect rotor warping, decide quickly whether to resurface or replace by checking rotor thickness, pad condition, and cost: resurfacing can restore flatness if the rotor remains above the manufacturer’s minimum thickness, but replacement—often economical given new rotors starting near $12—is usually preferable, and you should install new brake pads at the same time to prevent uneven wear and preserve braking performance. Inspect thickness with calipers, measure runout, and assess pad material. If rotors are within spec, resurfacing benefits include restoring a true braking surface and extending rotor longevity; if not, replace both rotors and pads.
- Resurface when thickness > minimum spec and runout is correctable; this maximizes rotor longevity when feasible.
- Replace when thickness or heat damage compromises strength or when cost favors new rotors.
- Always replace brake pads with resurfaced or new rotors to prevent uneven wear.
- Inspect regularly to liberate yourself from recurring pulsation and unsafe braking.
How to Check and Service Calipers, Sliders, and Brake Hoses
Start by jacking the vehicle and removing the wheel to access the caliper, then visually and manually inspect the caliper piston for smooth retraction when you press and release the brake pedal—sticking pistons cause continuous pad contact and rotor wear. Perform caliper maintenance by cleaning dust boots, checking for fluid leaks, and actuating the piston; replace any piston or seal that resists movement. Next, conduct slider inspection: remove the caliper, clean slider pins, remove corrosion, and apply high-temp brake grease so pins move freely; replace seized pins or damaged boots. Inspect brake hoses for bulges, cracks, or collapse—squeeze hoses off-vehicle to feel for soft spots that indicate internal failure. Confirm brake fluid level and color; flush contaminated fluid to restore hydraulic responsiveness. Reassemble, torque hardware to spec, and bed new pads with the rotors installed together to prevent future pulsation. These steps restore even pad contact and reclaim braking control.
DIY Costs and Parts for a RAV4 Brake Job (Estimate + Checklist)
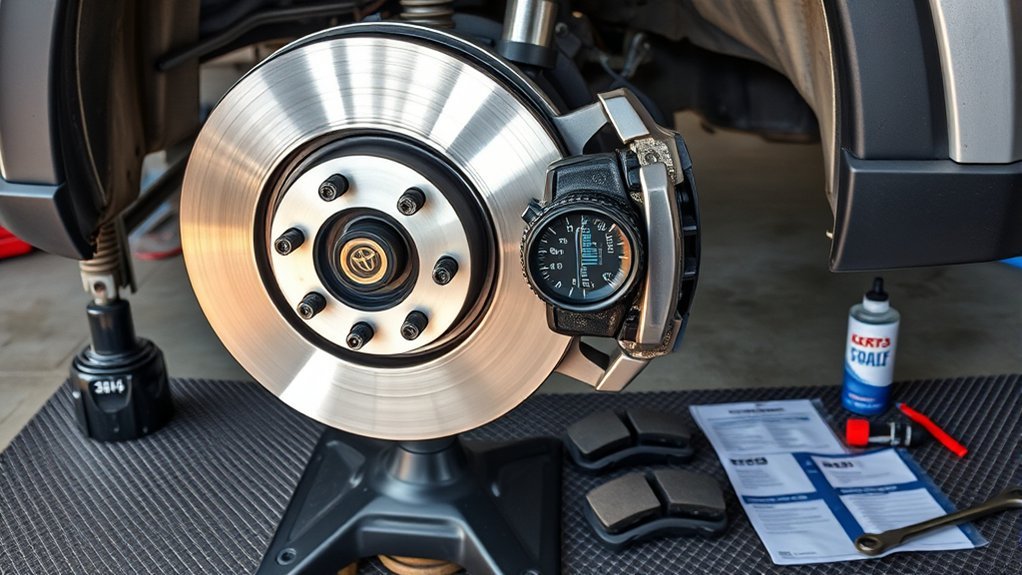
A basic DIY brake job on a Toyota RAV4 typically involves replacing both rotors and pads and can cost you as little as $50–$150 for parts if you shop economically (rotors can be found for about $12 each, pads $20–$50 a set), though expect higher totals once you add shipping, hardware, and optional caliper components. You’ll need rotors, pads, possibly caliper kit or slides, jack, lug wrench, brake cleaner and basic hand tools. Budgeting saves you from surprise fees and frees you to choose budget friendly upgrades without compromise.
- Parts checklist: rotors, pads, caliper hardware/bolts, brake cleaner
- Tools checklist: jack, stands, lug wrench, C-clamp or caliper piston tool
- Cost checklist: parts subtotal, estimated shipping, hardware, consumables
- Procedure checklist: lift, remove wheel, unbolt caliper, swap rotor/pads, torque, bed-in
Follow brake maintenance tips: inspect lines, measure rotor thickness, torque bolts to spec. Execute methodically to reclaim control and mobility.
When to Take Your RAV4 to a Professional Mechanic?
Noticing persistent brake pedal pulsation after you’ve replaced pads or rotors? If pulsation continues despite basic inspections, seek a professional evaluation. Start by documenting symptoms—noise, steering vibration, reduced stopping power, or rotor discoloration—and avoid driving aggressively. These details let the mechanic prioritize tests for warped rotors, seized calipers, or poor pad retraction.
Book a service when you detect grinding noises, overheating signs (blueing or raised rotor spots), or consistent pedal feedback; these indicate failures beyond DIY scope. A technician will perform precise rotor runout checks, caliper slide tests, and brake-fluid temperature inspection using proper tools and torque specs.
For drivers who value control and freedom, regular professional inspections are a form of empowerment: preventive brake maintenance tips include scheduled evaluations, especially if you drive hilly routes or tow loads. Don’t delay—professional intervention preserves safety, prevents costly rotor or caliper replacement, and restores reliable braking performance.
Frequently Asked Questions
How to Fix Brake Pedal Pulsation?
Inspect the brake rotor for warping, resurface or replace it, perform a caliper inspection and free sticking pistons/sliders, replace pads with quality parts, bleed the system, test under load—you’re reclaiming safe, reliable braking freedom.
What Is the Most Likely Cause of Brake Pedal Pulsation?
The most likely cause is a warped brake rotor causing pedal pulsation; you’ll inspect rotors first, replace or resurface them, then verify wheel alignment and rear drum condition to liberate safe, predictable braking performance.
What Causes Pulsation or Shudder During Braking May Be Caused By?
You’ll feel pulsation from rotor warping, uneven wear on the brake disc and pads, hydraulic issues or moisture buildup, plus tire balance or suspension problems; inspect, measure runout, replace warped rotors, bleed lines, and correct balance.
Conclusion
You’ve now got the checklist to pinpoint and fix RAV4 brake pedal pulsation: verify front vs rear, inspect rotors, calipers, sliders, hoses, and measure runout; resurface or replace warped rotors, and service sticking components or replace hoses as needed. Tackle routine jobs with the right tools, safety gear, and parts list, but don’t hesitate to hand it to a pro for complex caliper or ABS issues—brakes are the heart of safe driving, not a place to cut corners.