
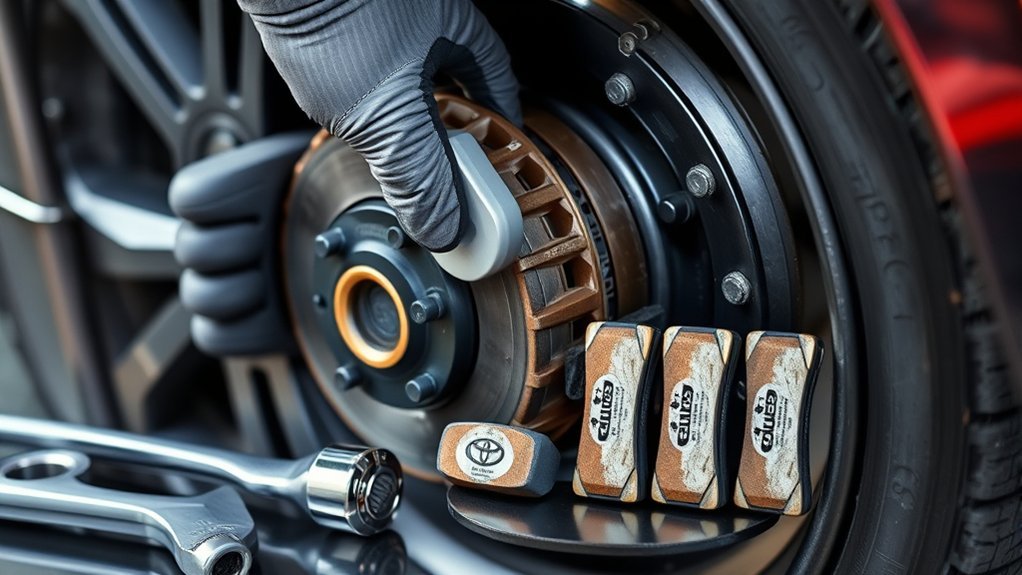
Replacing the front brake pads on a Toyota Camry is a doable DIY job if you work slowly, support the car safely, and use the correct specifications for your exact model year. This guide walks through the front disc brake pad replacement process, but always confirm fastener torque, lift points, brake fluid type, and any model-specific steps in your Camry owner’s manual or factory repair information before you begin.
Quick Answer
To replace Toyota Camry front brake pads, loosen the front wheel nuts, raise and support the vehicle on jack stands, remove the wheel, unbolt and support the caliper, swap the pads and hardware, inspect the rotor and slide pins, compress the caliper piston, reassemble with model-specific torque specs, then pump and test the brakes before driving.
Key Takeaways
- Replace front brake pads in pairs: do both front wheels, not just one side.
- Never rely on a jack alone. Use jack stands on solid ground and chock the rear wheels.
- Do not use compressed air or dry brushing on brake dust. Use a safer wet-wipe or brake-cleaning method.
- Do not use a universal caliper bolt torque number. Torque specs vary by model year and fastener.
- Pump the brake pedal before moving the car, then perform a slow, controlled test in a safe area.
At a Glance
| Time Required | About 1.5–3 hours for both front wheels if you have the tools ready |
| Difficulty | Moderate DIY job; not recommended if you are unsure about lifting, torque specs, or brake safety |
| Tools Needed | Lug wrench, floor jack, jack stands, wheel chocks, metric sockets/wrenches, torque wrench, C-clamp or brake piston tool, bungee cord or wire, brake cleaner or wet wipes, and high-temperature brake lubricant |
| Cost | Varies by pad material, model year, hardware kit, rotor condition, and local labor rates if you use a shop |
Warning: Brakes are safety-critical. If you find a leaking caliper, cracked hose, badly grooved rotor, damaged slide pin, stripped fastener, soft pedal that will not firm up, or any warning light after the repair, stop and have the vehicle inspected by a qualified technician.
Gather Your Tools: What You’ll Need
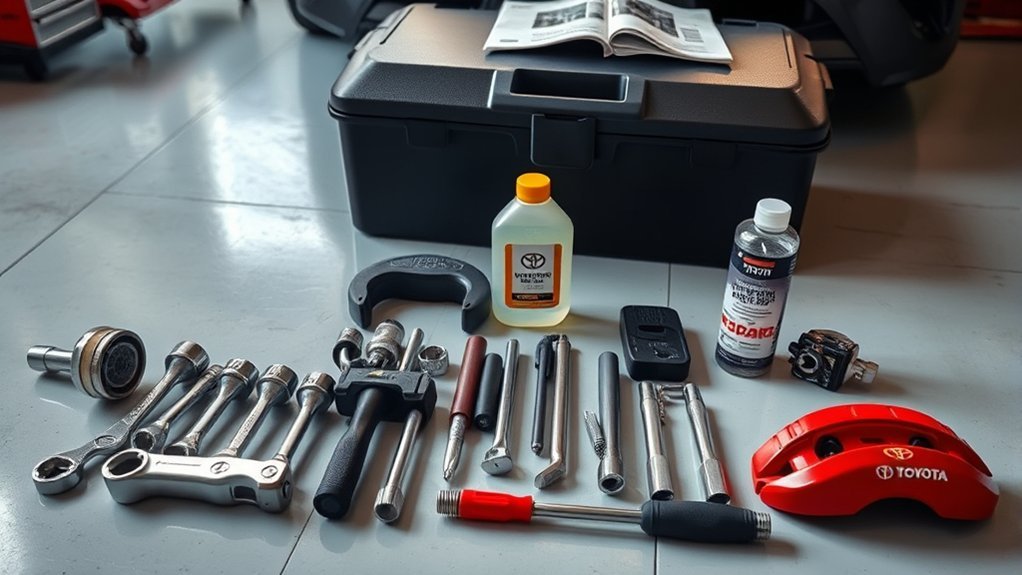
Before removing anything, gather all tools and parts so the Camry is not sitting apart while you search for supplies. You will usually need a lug wrench, a quality floor jack, jack stands, wheel chocks, a metric socket set, open-end wrenches, a torque wrench, a C-clamp or disc brake piston compressor, and a bungee cord or wire to support the caliper.
For parts and supplies, have the correct front brake pads for your model year, new pad hardware or abutment clips if supplied, high-temperature brake lubricant, brake cleaner or a safer wet-cleaning setup, shop towels, gloves, and eye protection. If the rotors are worn or damaged, you may also need new rotors.
Note: Socket sizes and torque values are not identical across all Camry years. Use Toyota owner’s manuals and Toyota Technical Information System repair information to confirm the correct lift points, fluid type, fastener torque, and service procedure for your exact vehicle.
[Products Worth Considering]
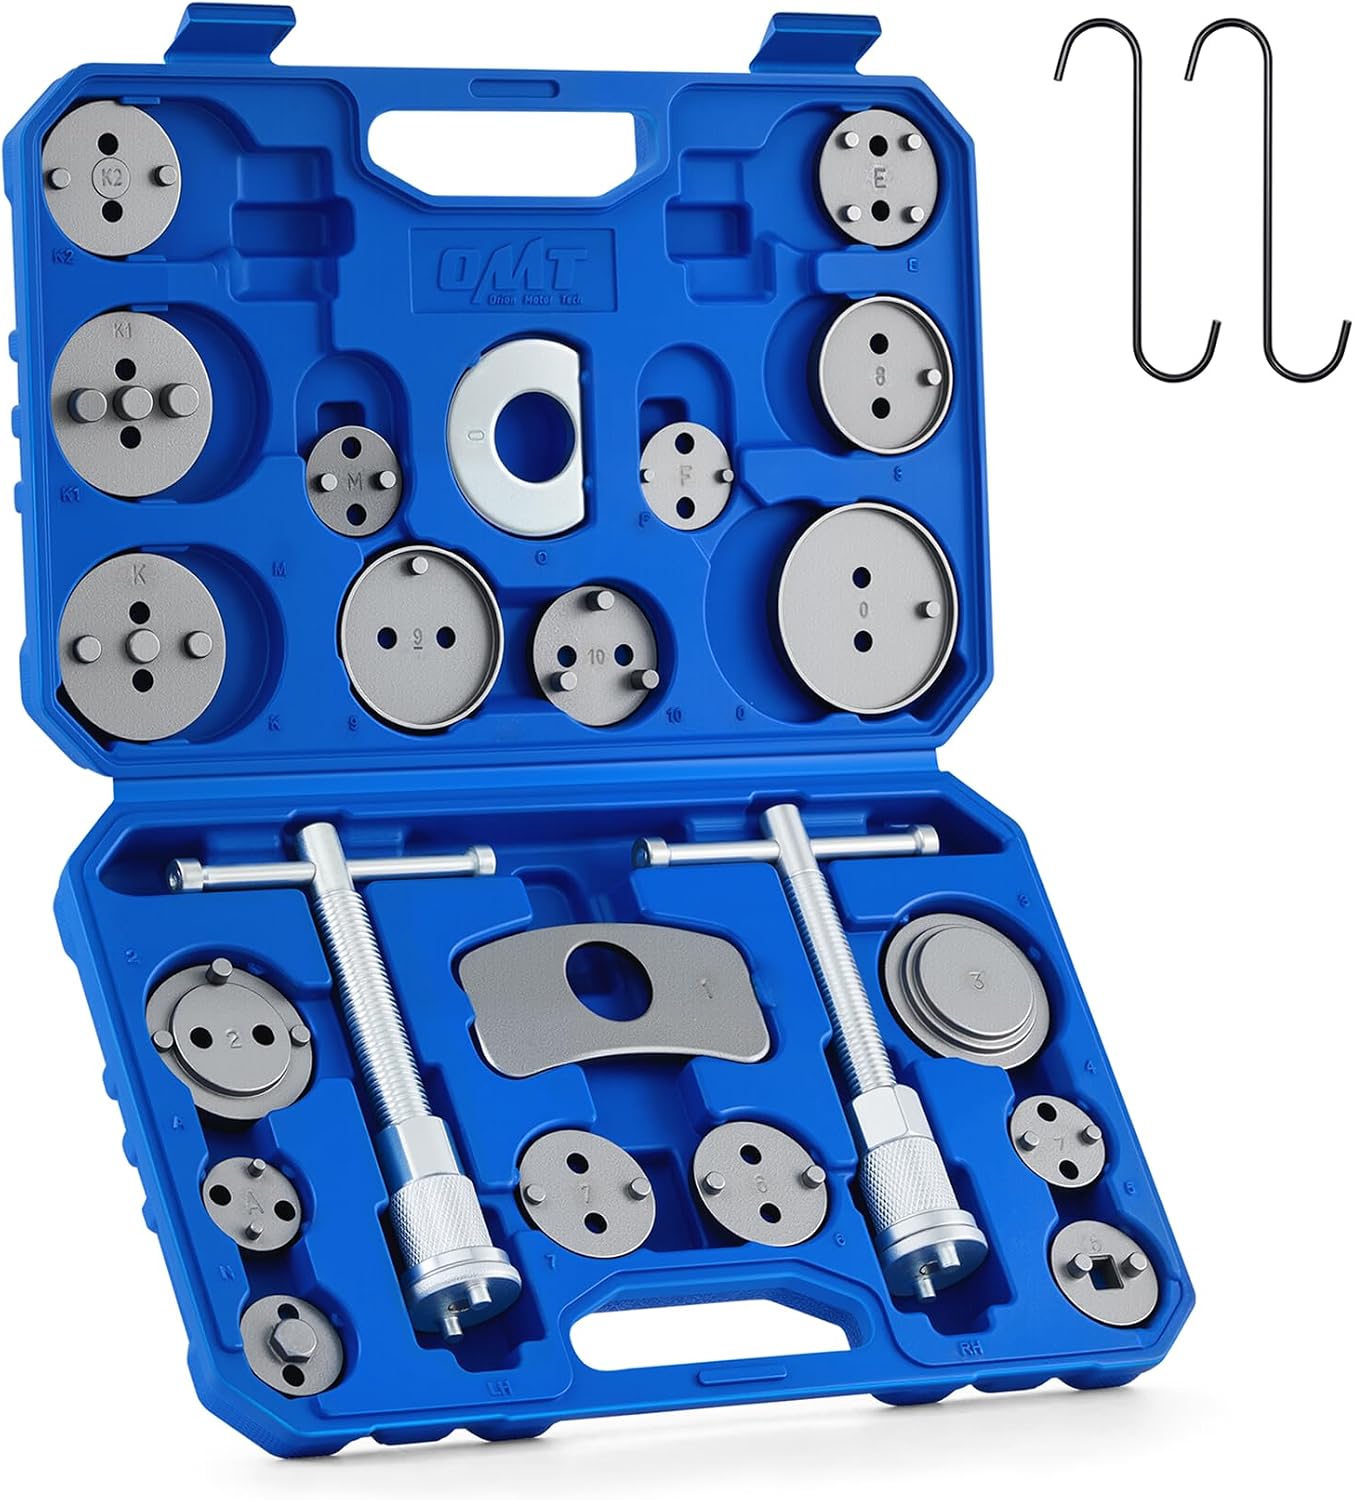
This 24-piece brake caliper compression tool set helps you quickly and safely rotate pistons back into the caliper during brake pad service. It includes multiple adapters, retaining plates, thrust bolt assemblies, and hangers for broad vehicle compatibility, while the heavy-duty steel construction and organized storage case make it ideal for reliable shop or home repairs.
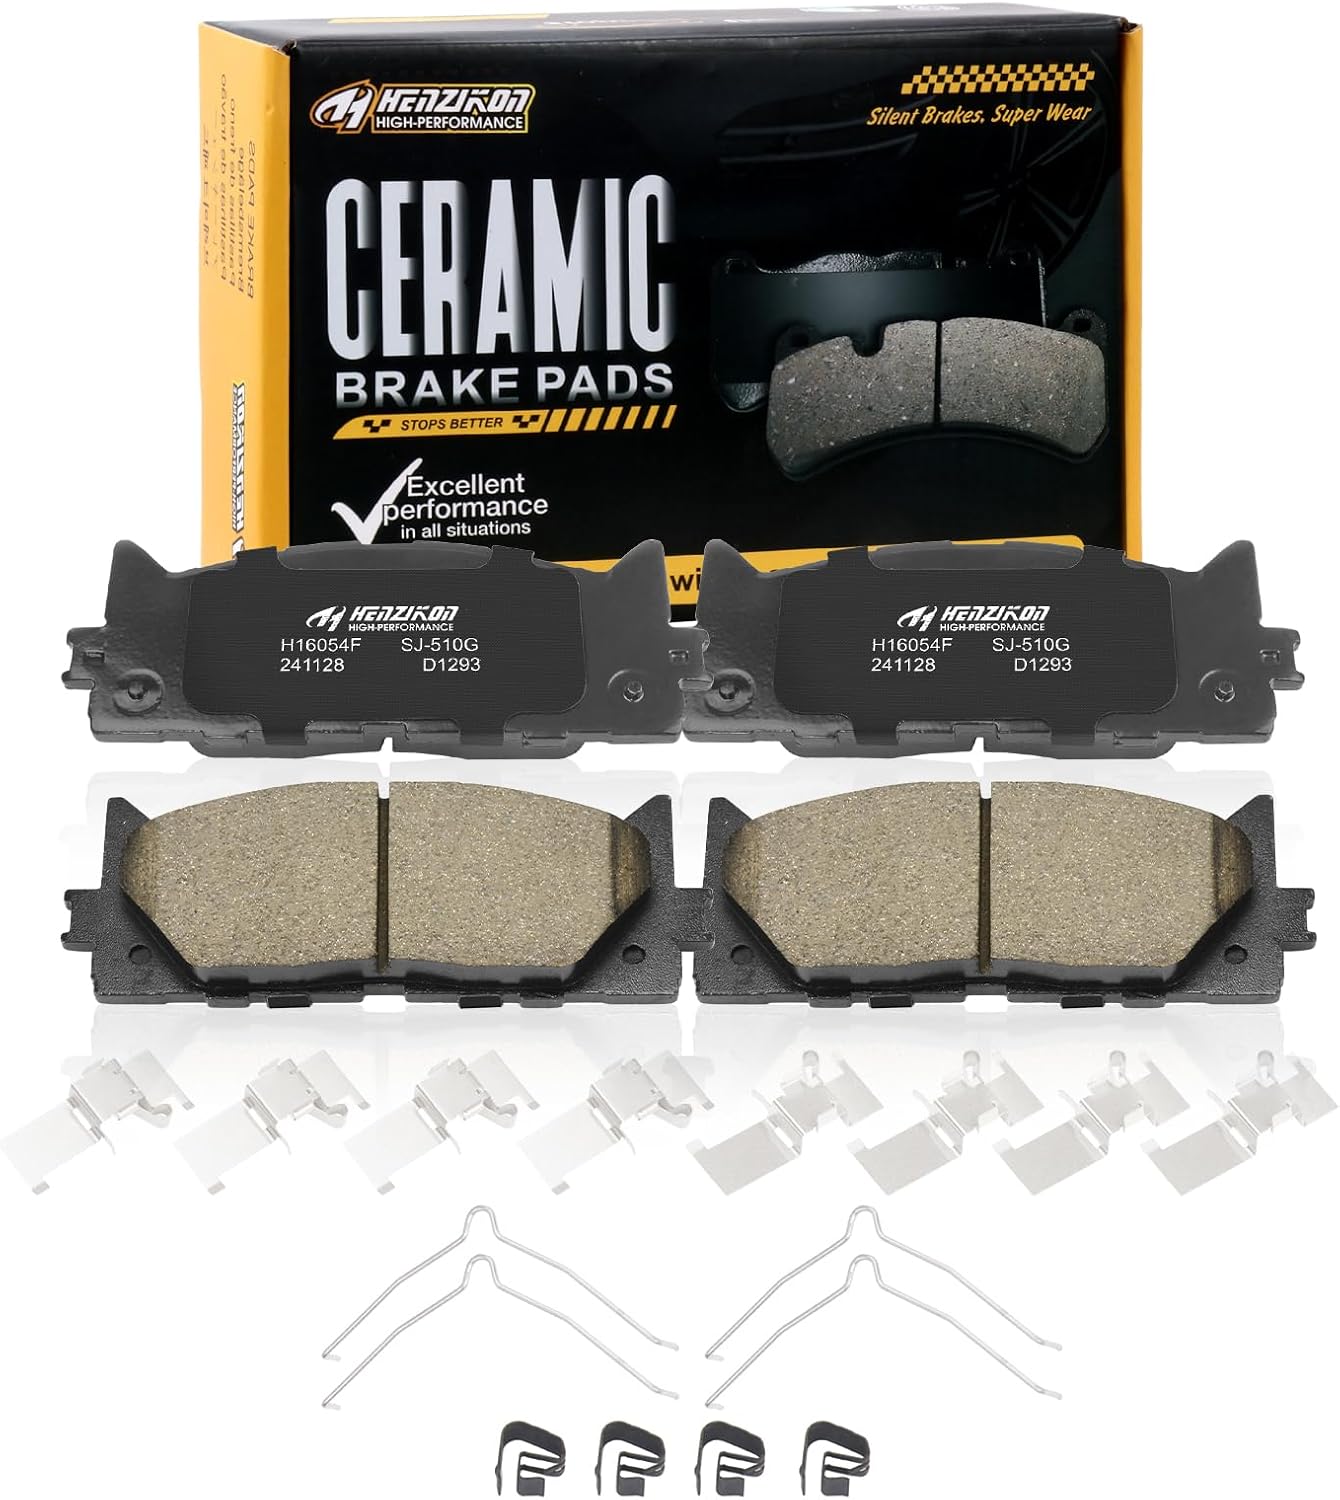
These ceramic front brake pads are designed for compatible Toyota Avalon, Camry, and Lexus ES-series vehicles, offering dependable stopping power and smooth, consistent braking performance. Built with included hardware for easier installation, they help reduce squealing and brake dust while supporting long-term durability for everyday driving.
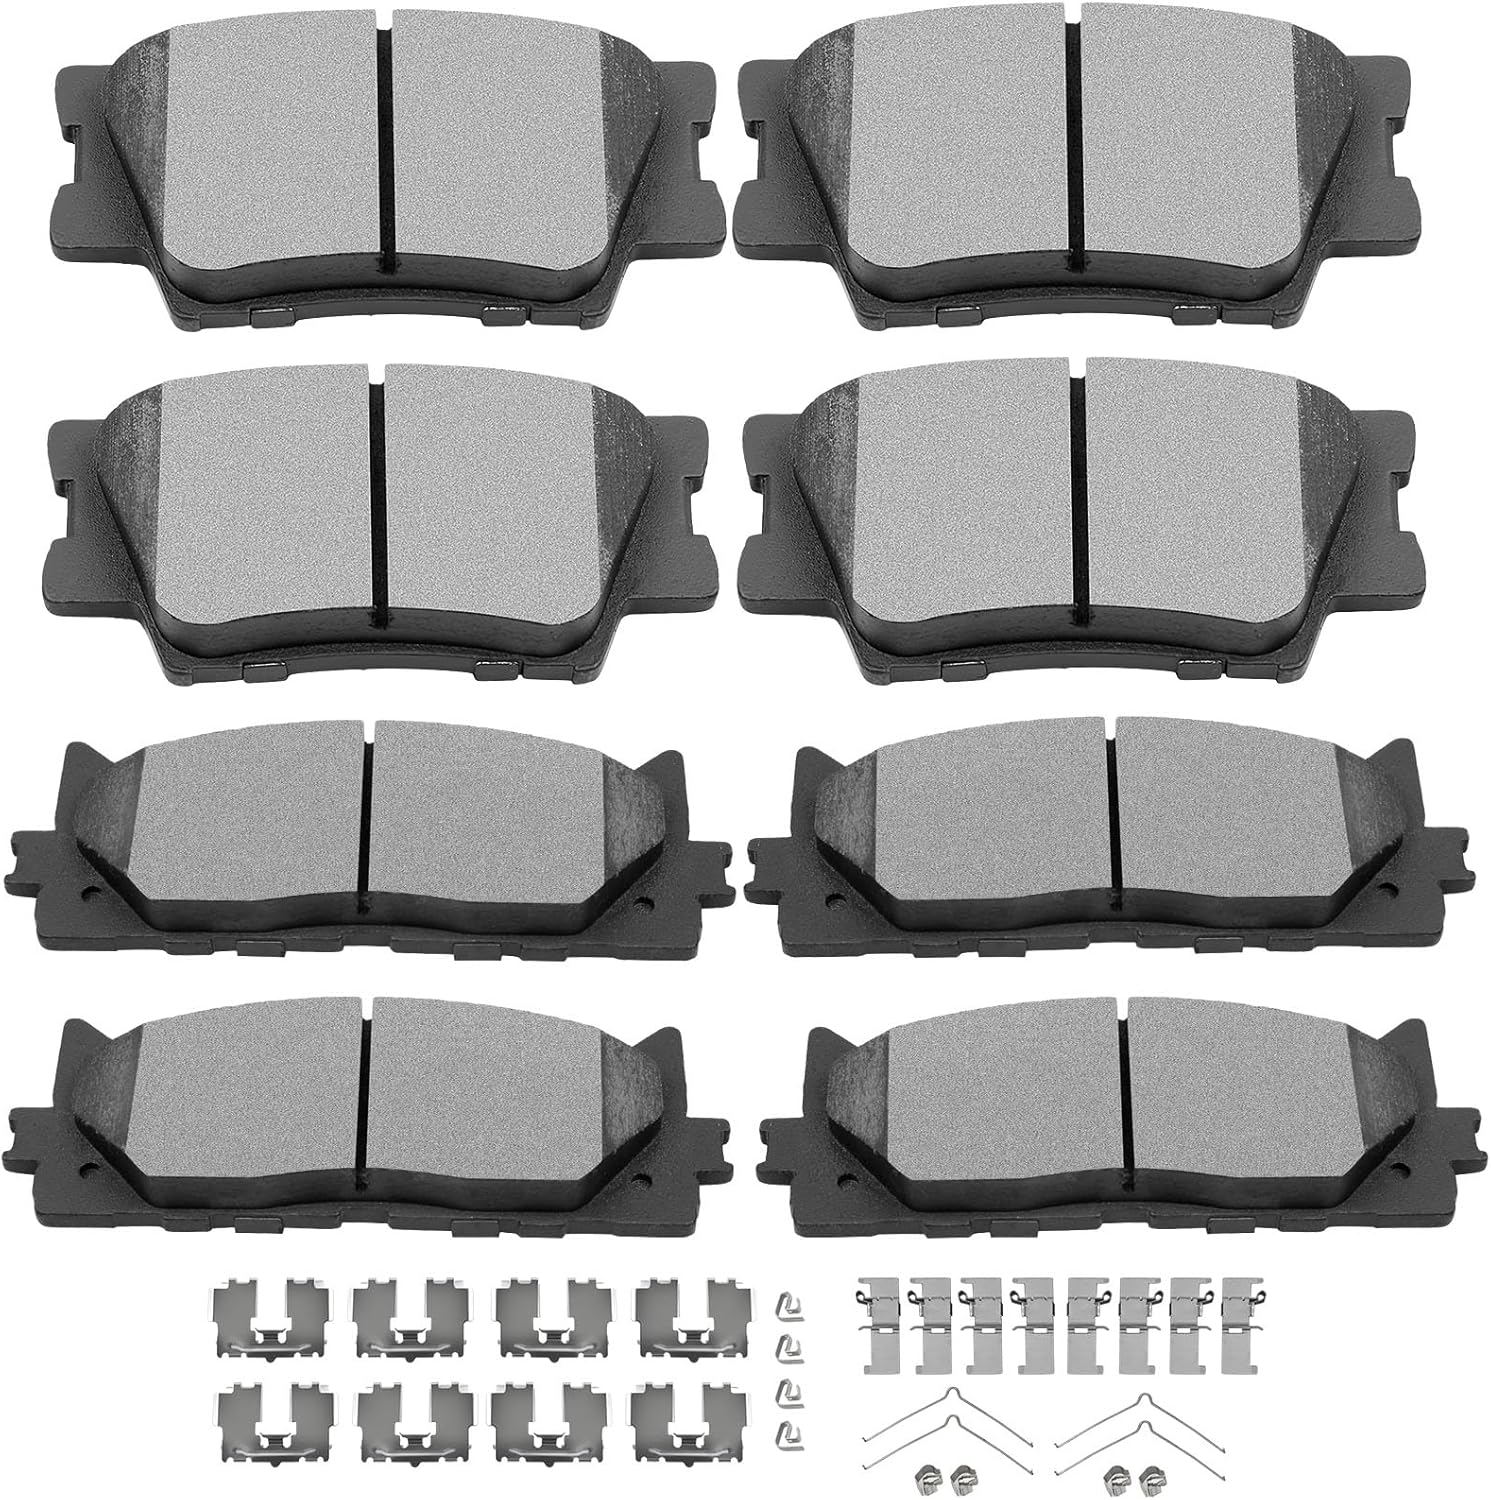
This ceramic front and rear brake pad set is designed as a direct replacement for select Lexus and Toyota models, helping restore reliable stopping performance. The pads feature a scorch-treated friction surface for quicker break-in and consistent wear, while the included gasket design helps reduce vibration and noise for quieter braking. Built for easy installation, this kit comes ready to fit compatible vehicles without modification.
Understand the Brake Components Before You Start
The front braking system uses a rotor, caliper, caliper bracket, inner and outer brake pads, slide pins, pad hardware, brake hose, and hydraulic caliper piston. When you press the brake pedal, the piston pushes the pads against the rotor to slow the car.
Do not treat the job as “pads only” until you inspect the surrounding parts. Look for uneven pad wear, cracked friction material, damaged pad clips, torn slide-pin boots, seized pins, brake fluid leaks, deep rotor grooves, heat spots, cracks, heavy rust, or rotor thickness below specification. A steering wheel shake during braking can point to rotor runout or thickness variation, but the rotor should be measured rather than judged by feel alone.
Toyota’s maintenance information calls for ongoing fluid checks and visual inspections, including brake pad and disc inspection as part of scheduled maintenance. Use that same mindset during this repair: inspect everything you expose, not just the old pads.
Safety Prep Before Lifting the Camry
Park on a flat, solid surface. Shift to Park, set the parking brake, and place wheel chocks behind the rear wheels. Keep children, pets, food, and drinks away from the work area.
Before lifting, crack the front wheel nuts loose while the tire is still on the ground. Do not fully remove them yet. Check your owner’s manual for the correct jacking point, then lift the front corner with a floor jack and place a jack stand under the approved support point. Lower the car gently onto the stand and give the vehicle a careful stability check before removing the wheel.
Warning: Never put any part of your body under a vehicle supported only by a jack. A jack lifts the vehicle; jack stands support it while you work.
Brake Dust Safety: Clean Without Blowing Dust Around
Brake dust can contain fine particles you should not breathe. The U.S. EPA brake and clutch repair guidance advises against using compressed air, dry rags, dry brushes, garden hoses, or ordinary wet/dry vacuums without HEPA filtration to clean brake dust.
Use a low-pressure wet-wipe method, an appropriate brake cleaner, or a professional brake-cleaning system. Wipe residue carefully and dispose of contaminated towels according to local rules. Do not track brake dust into the house on clothes or shoes.
Step-by-Step: Removing the Wheel and Caliper
- Remove the wheel. With the Camry safely supported, remove the loosened wheel nuts and take off the wheel.
- Turn the steering wheel for access. Turning the wheel slightly can make the caliper bolts easier to reach.
- Inspect before disassembly. Look at the pad thickness, rotor surface, brake hose, slide-pin boots, and any signs of fluid leakage.
- Remove the caliper slide-pin bolts. Hold the slide pin with a wrench if it spins while you loosen the bolt. Exact socket and wrench sizes vary by year.
- Lift the caliper off the bracket. If it resists, check that both slide bolts are free and avoid prying against the brake hose.
- Support the caliper. Hang it from the strut spring or suspension with a bungee cord or wire. Never let the caliper hang by the rubber brake hose.
Pro Tip: Take a quick photo before removing the old pads and clips. It gives you a reference for pad orientation, wear-indicator placement, and hardware position during reassembly.
[Products Worth Considering]
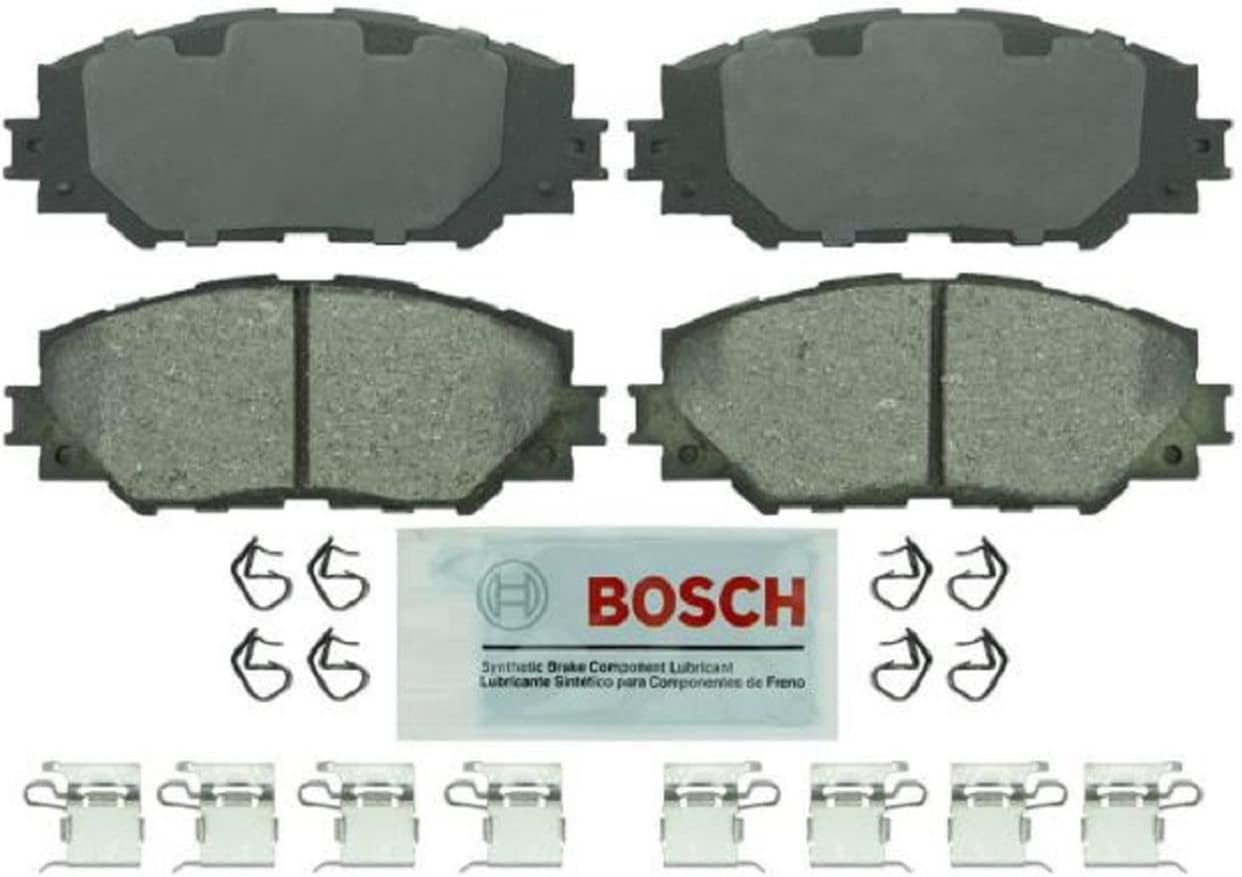
Bosch Blue ceramic front brake pads deliver dependable stopping power with platform-specific friction material designed for select Lexus, Pontiac, Scion, and Toyota vehicles. OE-style shims, slots, and chamfers help promote quiet braking, while the rust-inhibitive coating supports long-lasting performance and cleaner operation. The set includes hardware and synthetic lubricant for easier installation on one axle.

TOVASTY rear brake pads are designed for a wide range of Toyota and Lexus models, delivering dependable braking performance with a carbon ceramic formula. They help reduce brake dust, promote quieter operation, and support consistent stopping power with improved heat resistance for everyday driving confidence.

Bendix Premium Ceramic Front Brake Pads are engineered to match original equipment fit, form, and function for a straightforward replacement. Built with durable materials to help resist wear and corrosion, they support consistent braking performance and reduced brake fade for everyday driving. These pads are a dependable choice for compatible Pontiac, Scion, Toyota, and related vehicles.
Remove the Old Pads and Inspect the Rotor
Slide the old inner and outer pads out of the bracket. Remove the old pad hardware or abutment clips if your replacement kit includes new ones. Compare the old pads to the new pads before installation to confirm the shape, ears, wear indicator, and friction surface match.
Inspect the rotor carefully. Minor polishing is normal, but deep grooves, cracks, heavy rust on the braking surface, severe scoring, blue heat marks, or thickness below specification mean the rotor needs professional measurement and likely replacement or resurfacing. If the rotor is being replaced, follow the correct caliper bracket removal and torque procedure for your model year.
Brake pads should be replaced as a front axle set. If one front side is worn out, inspect and service the other front side too so braking remains even.
How to Safely Replace Your Brake Pads
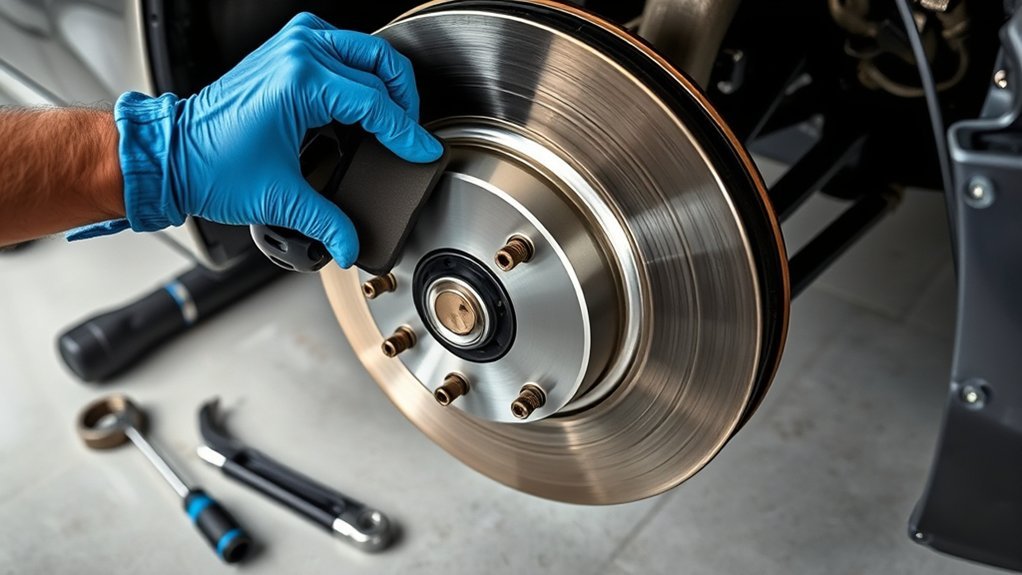
Clean and Prepare the Bracket
Clean the pad contact areas on the caliper bracket using a safe brake-cleaning method. Install the new abutment clips if your pad kit includes them. The pads should slide into the bracket without binding, but they should not be loose or rattly.
Check and Lubricate Slide Pins
Pull the slide pins one at a time if your service procedure allows it. They should move smoothly and have intact rubber boots. Wipe off old grease and apply the correct silicone-based brake lubricant to the pins, unless your service manual says otherwise. Do not use petroleum grease on rubber parts.
Compress the Caliper Piston
Open the brake fluid reservoir cap only if needed, and protect painted surfaces because brake fluid can damage paint. Place an old pad against the piston and use a C-clamp or brake piston tool to compress the piston slowly and evenly. Watch the fluid level in the reservoir so it does not overflow.
Warning: Do not press the brake pedal while the caliper is removed. The piston can push out of the caliper and create a fluid leak or a repair that requires bleeding and further service.
Apply Brake Lubricant Correctly
Apply a thin layer of high-temperature brake lubricant only where the pad backing plates contact the clips or caliper contact points. Keep lubricant off the rotor face and off the friction material. If any grease, oil, or fluid touches the pad friction surface or rotor, clean it before reassembly.
Reassemble Your Brakes: Key Checks to Perform
- Install the new pads. Seat the inner and outer pads fully in the bracket with the wear indicator in the correct location.
- Reinstall the caliper. Slide the caliper over the new pads without forcing it. If it will not fit, confirm the piston is fully compressed and the pads are seated correctly.
- Install and torque the slide-pin bolts. Thread bolts by hand first to avoid cross-threading. Tighten with a torque wrench to the specification for your exact Camry model year and fastener.
- Check the hose and boots. Make sure the brake hose is not twisted and the slide-pin boots are seated.
- Repeat on the other front wheel. Replace both front sides as a set.
- Reinstall the wheels. Hand-thread the wheel nuts, snug them in a crisscross pattern, lower the vehicle, then torque the wheel nuts to the owner’s manual specification.
Do not guess on torque values. Toyota publishes model-year owner information through Toyota Owners, and factory repair procedures through Toyota TIS. For older Camry service information, published Toyota repair manual pages show different torque values for different brake fasteners, which is why one generic number should not be used for every bolt.
Final Steps: Restore Brake Pressure and Test Safely
Before starting the engine or moving the car, slowly pump the brake pedal until it becomes firm. This seats the caliper pistons against the new pads. Check the brake fluid level and make sure the reservoir cap is secure.
Next, look around both front calipers for leaks, loose hardware, twisted hoses, or anything touching the rotor. If the pedal sinks to the floor, feels spongy, or does not firm up after several pumps, do not drive the vehicle.
Perform the first test at very low speed in a safe, open area. The brakes should stop the car smoothly without grinding, pulling, heavy vibration, or warning lights. Follow the brake pad manufacturer’s bedding or burnishing instructions. A typical bedding process uses several controlled moderate stops with cooling time between them, but the exact method can vary by pad material.
Note: A slight new-pad smell during bedding can be normal. Smoke, severe pulling, grinding, a sinking pedal, or a brake warning light is not normal. Stop driving and inspect the work.
Troubleshooting After Replacing Camry Front Brake Pads
| Symptom | Possible Cause | What to Do |
|---|---|---|
| Pedal feels soft | Pistons not seated, fluid issue, or air if the system was opened | Pump pedal again. If it does not firm up, do not drive. |
| Grinding noise | Pad installed wrong, hardware contact, damaged rotor, or severe wear | Stop and inspect immediately. |
| Car pulls while braking | Uneven pad movement, stuck slide pin, contaminated pad, or hydraulic issue | Recheck both sides and inspect slide pins and calipers. |
| Steering wheel shakes | Rotor runout, thickness variation, rust, or uneven pad transfer | Measure rotors and replace or resurface as needed. |
| Squeal after installation | Hardware issue, dry contact points, pad material, or poor bedding | Confirm clips, shims, lubrication points, and bedding procedure. |
[Products Worth Considering]

This brake caliper compression tool helps make disc brake pad replacement and caliper servicing faster, safer, and more controlled. Its universal ratcheting design supports multi-angle operation in tight wheel spaces, while the sturdy steel build and widened contact plate help reduce slipping and uneven force during maintenance. Two caliper hooks are included to simplify solo brake work and keep components organized.

This brake caliper compression tool makes brake pad replacement faster by retracting single, dual, or quad pistons with minimal effort. Built for compatibility across many cars, trucks, ATVs, UTVs, and SUVs, it delivers strong pressing power for efficient maintenance. The durable aluminum alloy and steel construction, along with organized EPE foam storage, help keep it protected and ready for repeated use.

Designed for Toyota Avalon models from 1995 to 1997, this front ceramic brake pads kit delivers dependable stopping power with a quiet, smooth braking feel. The ceramic construction helps reduce brake dust for cleaner wheels while supporting consistent performance and easier maintenance. Built to fit properly with compatible rotors, it offers a practical replacement solution for everyday driving.
Frequently Asked Questions
How much should a brake job cost on a Toyota Camry?
The cost depends on your model year, pad material, whether the rotors are reused, resurfaced, or replaced, and local labor rates. A pads-only DIY job is mainly the cost of parts and supplies, while a professional front brake job should include labor, pads, hardware, rotor inspection, and any rotor work. Ask for an itemized estimate before approving service.
Can I replace only one front brake pad or one side?
No. Replace front pads as an axle set, meaning both front wheels. Replacing only one side can create uneven braking, pulling, and uneven pad wear.
Do I need to replace the rotors when I replace Camry brake pads?
Not always. Rotors can sometimes be reused if they are smooth, above minimum thickness, and within runout limits. Replace or resurface them if they are too thin, cracked, deeply scored, badly rusted on the braking surface, heat-damaged, or causing vibration.
What torque should I use for Toyota Camry front caliper bolts?
Use the torque specification for your exact model year, engine, brake package, and fastener. Do not rely on a generic online number because slide-pin bolts, caliper bracket bolts, hose bolts, and wheel nuts can have different torque values.
Why is my brake pedal soft after changing pads?
The pedal may feel low at first if the caliper pistons have not been pumped back against the pads. Pump the pedal slowly until firm before moving the car. If the pedal stays soft, sinks, or the brake system was opened, do not drive until the cause is fixed.
Is the process different on a Camry Hybrid?
The basic front pad hardware is similar, but hybrid braking systems include electronic and regenerative braking controls. Keep the vehicle fully off, keep the key away from the car, do not press the brake pedal with the caliper removed, and verify hybrid-specific precautions in the factory repair procedure.
Sources
- Toyota Owners Manuals and Warranties — model-year owner manual lookup, lift point guidance, maintenance information, and vehicle-specific references.
- Toyota Technical Information System — factory repair procedures, repair manuals, service bulletins, wiring diagrams, and model-specific service data.
- Toyota 2025 Camry Warranty & Maintenance Guide — scheduled maintenance context, fluid checks, visual inspections, and brake pad/disc inspection intervals.
- U.S. EPA Brake and Clutch Repair Best Practices — brake dust precautions and safer cleaning practices for home mechanics.
- OSHA Brake and Clutch Work Practices — professional brake and clutch dust-control practices referenced by EPA guidance.
- NHTSA Recalls — vehicle recall lookup before safety-related service work.
Conclusion
Replacing the front brake pads on a Toyota Camry can save money and build confidence, but only if the job is done with careful safety habits. Support the car with jack stands, control brake dust, replace both front sides as a set, inspect the rotors and slide pins, use model-specific torque specs, and pump the pedal before the first test drive. If anything feels wrong, stop and get professional help before driving in traffic.



[…] مدل 1996-2001نحوه تعویض کیت ترمز تویوتا کمری 1992-2001 – 1A Autoراهنمای جایگزینی لنت ترمز جلو: تویوتا کمریچگونه لنت و دیسک ترمز جلوی تویوتا کمری مدل 1992-2000 را […]