You’ll protect your Camry by removing salt frequently, creating durable barriers, and fixing chips promptly. Wash the body and undercarriage every two weeks with a pH‑balanced de‑salt shampoo and use snow foam to encapsulate salt in wheel wells and seams. Apply wax or sealant every 3–4 months or opt for ceramic coating for longer protection. Install mud flaps and undercoating for lower panels, inspect for chips, and touch up early — keep going to learn specific products and steps.
Quick Winter Checklist: Protect Your Camry Paint Now
If you want to keep your Camry’s paint intact through winter, start with a clear, actionable checklist: wash every two weeks, focusing on the undercarriage to remove salt buildup that accelerates corrosion. Schedule a pre-season wax application to create a protective barrier; that wax improves rinse-off of dirt and grime and supports paint longevity. For stronger defense, add a ceramic coating—its hydrophobic layer repels salt and contaminants for months and reduces maintenance frequency. Install mud flaps or splash guards to shield lower panels from splash-induced abrasion and chemical exposure. Prioritize indoor parking whenever possible to minimize exposure to moisture and road salt, cutting rust initiation risk. Execute each step deliberately: set reminders for biweekly washes, book professional coating or apply quality products per manufacturer specs, and mount flaps with proper fasteners to avoid vibration damage. This winter preparation plan gives you technical control over corrosion vectors and preserves finish integrity, freeing you from constant reactive repairs.
Prep Your Camry Before the First Winter Salt Hit
You’ve already set up a winter routine; now take specific steps before the first salt hit to lock in protection. Start with a targeted inspection: touch up chips, assess lower panels, and install mud flaps to limit splash. Apply a quality wax or sealant—understand Camry wax benefits: a sacrificial barrier that slows salt corrosion and eases cleanup. If you want longer coverage, consider a ceramic coating for a hydrophobic, low-adhesion surface. Reapply wax/sealant every 3–4 months; ceramic lasts longer but isn’t permanent. Schedule biweekly washes during winter and prioritize the undercarriage (see next section for washing specifics). These winter preparation tips reduce corrosion risk and extend paint life while giving you freedom from constant worry.
| Action | Purpose | Frequency |
|---|---|---|
| Inspect chips | Prevent salt seepage | Pre-winter |
| Touch-up paint | Seal exposed metal | As needed |
| Wax/sealant | Protective barrier | Every 3–4 mo |
| Ceramic coating | Long protection | 6–12+ mo |
| Mud flaps | Reduce exposure | Install pre-winter |
Wash to Remove Salt From Camry Paint & Undercarriage
You should schedule frequent undercarriage rinses—at least every two weeks in winter—to flush trapped salt from suspension, brake lines, and seams. Use a salt-removing snow foam on the body and wheel wells, letting the chemical dwell per instructions before rinsing to break down corrosive residues. Finish with targeted wheel-well detailing using a pressure rinse and extender wand to reach hidden cavities without contacting the paint.
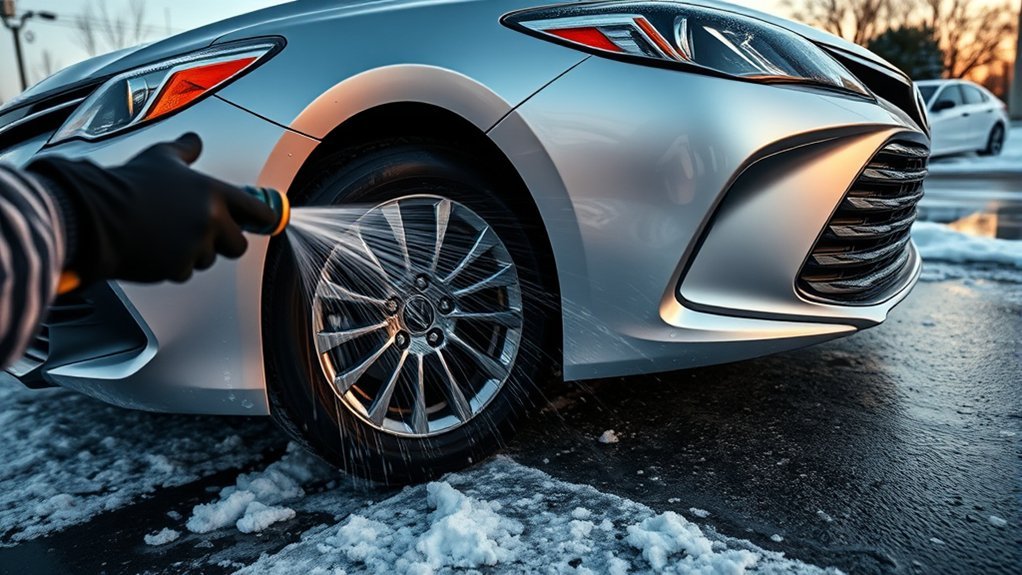
Frequent Undercarriage Rinses
A biweekly undercarriage rinse during winter will strip road salt from wheel wells, suspension parts, and exposed metal before it starts corroding components. You’ll schedule undercarriage maintenance as a non‑negotiable task: use high‑pressure water to target hidden zones where salt lodges—wheel arches, control arms, brake lines, and frame seams. After heavy snowfall or travel on treated roads, run a focused rinse to prevent salt migration into crevices that accelerate rust. Prioritize clean water and sufficient pressure; untreated residue can initiate corrosion within weeks. Integrate these rinses into routine service intervals to protect paint edges and extend lifespans of axles and brake components. This disciplined approach frees you from avoidable deterioration and costly repairs.
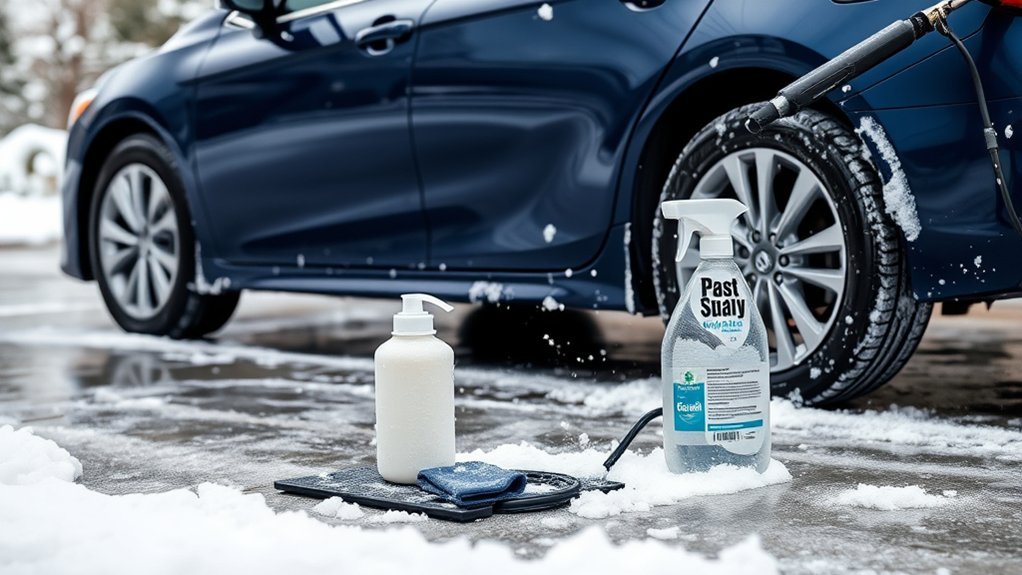
Salt-Removing Snow Foam
One effective step is to apply a pH‑balanced, salt‑removing snow foam every two weeks in winter to dissolve and lift road salt from your Camry’s paint and undercarriage. You’ll mix and apply a foam designed for salt foam effectiveness so it clings, encapsulates contaminants, and prevents salt bonding. Let the foam dwell to chemically break down chloride residues, then rinse thoroughly to flush dissolved salt from seams and crevices. Choose formulations with protective polymers to reinforce existing paint barriers and reduce micro-scratch risk during subsequent washing. Incorporate this into your winter maintenance tips regimen as a preventive measure: regular fortnightly foaming reduces corrosion risk, preserves clearcoat integrity, and keeps you free to drive without surrendering your vehicle’s long-term protection.
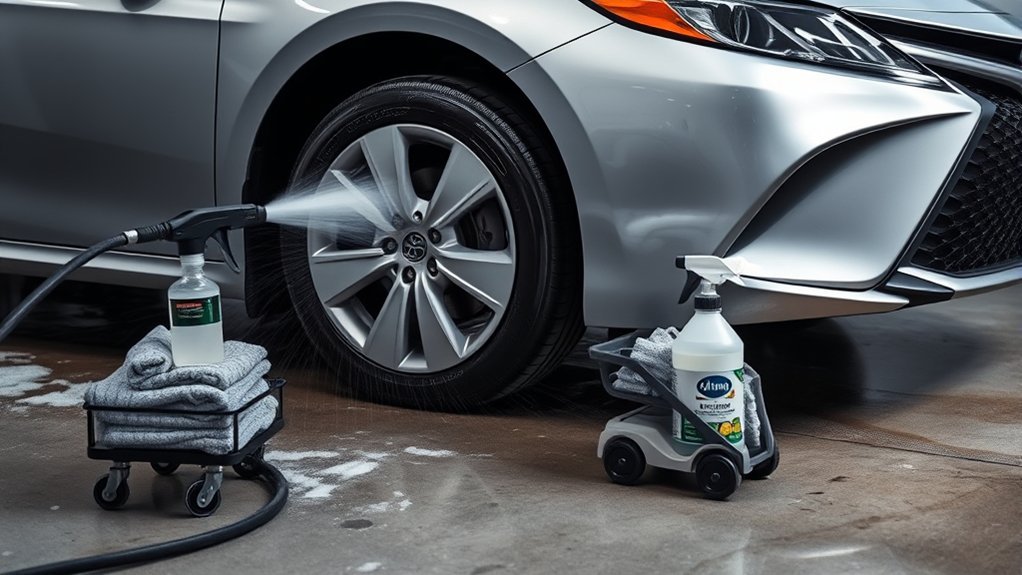
Wheel Well Detailing
Start by rinsing the wheel wells and undercarriage thoroughly every two weeks during winter to dislodge road salt before it bonds or corrodes metal. You’ll use a high-pressure nozzle or dedicated undercarriage wash to reach suspension mounts, brake lines, and inner fenders; this is essential wheel well maintenance. Apply a pH-balanced de-salt shampoo to dissolve residues without stripping paint or protective coatings, agitate with a soft brush where accessible, then rinse until runoff is clear. Inspect pockets and seams for early salt buildup or surface bubbling that indicates corrosion. After drying, apply a targeted wax or ceramic coating to create a hydrophobic barrier. These steps reduce salt-induced electrochemical attack and are practical, technical measures for effective rust prevention.
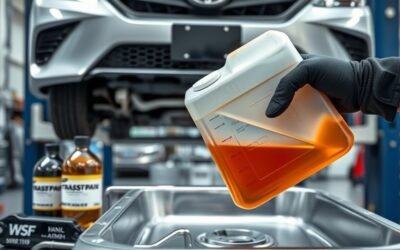
Choose the Right De‑Salt Shampoo and Snow Foam
Pick a pH‑balanced de‑salt shampoo so you’ll neutralize corrosive salt without stripping wax or ceramic coatings. Opt for rich snow foam that clings and encapsulates contaminants, improving chemical contact time before you rinse. Together, the right formula and foam thickness reduce rubbing and micro‑scratch risk while preserving your Camry’s finish.
pH‑Balanced Formulas
When you need to remove road salt and film without harming paint or sealants, choose a pH‑balanced de‑salt shampoo or snow foam formulated to dissolve chlorides while remaining neutral to automotive clearcoat chemistry; these products produce thick foam that encapsulates contaminants, include polymers for added barrier strength and slick lubrication, and let you rinse grit away with minimal agitation, reducing micro‑scratch risk and long‑term corrosion when used after heavy snowfall. You’ll get clear pH benefits and improved foam longevity that let you work confidently without stripping wax or sealant layers.
- Select shampoos labeled pH‑balanced and chloride‑targeting.
- Prefer formulas with high cling and polymer content.
- Use as a post‑snow treatment in routine washes.
- Rinse gently to remove encapsulated salt.
Foam Versus Rinse
1 clear choice you’ll make is whether to rely on thick snow foam that clings and encapsulates chloride crystals for gentle lift-and-rinse removal, or to use a focused high-pressure rinse and targeted shampooing to mechanically dislodge salt from seams and wheel wells. You’ll pick pH-balanced, polymer-enhanced de‑salt shampoo for protection and minimal abrasion. Foam advantages give dwell time to dissolve salts; rinse techniques clear hidden deposits. Use foam on broad panels, high-pressure rinse for wheel wells and undercarriage. Be consistent after storms to prevent corrosion.
| Method | Best Use | Effect |
|---|---|---|
| Snow foam | Broad surfaces | Encapsulation, dwell time |
| Targeted shampoo | Seams, crevices | Mechanical removal |
| High-pressure rinse | Undercarriage | Flushing hidden salt |
Wax, Sealant, or Ceramic: Which Protects Camry Paint Best?
Although each option shields your Camry from salt and grime, they differ markedly in longevity and application requirements. You’ll weigh wax benefits against sealant longevity and ceramic durability when choosing protection. Wax creates a sacrificial barrier that eases salt removal but needs reapplication every 3–4 months; it’s user-friendly and fits low-cost application techniques. Sealants form a tougher polymer layer, repelling water and contaminants for up to six months with moderate DIY skill. Ceramic coatings bond at a molecular level, delivering the longest-term hydrophobic protection—often a year or more—but demand precise surface prep and, preferably, professional application techniques for full effectiveness.
- Wax: quick, inexpensive, repeat every 3–4 months.
- Sealant: stronger, lasts ~6 months, good balance of durability and DIY.
- Ceramic: highest durability, months to years, requires exact prep.
- Choice: match desired maintenance cadence, budget, and freedom from frequent reapplication.
Pick the option that maximizes your autonomy over maintenance.
Underbody & Wheel‑Well Protection: DIY vs Professional
You’ll start by prepping the undercarriage—clean, dry, and mask adjacent components—then apply a DIY product like Fluid Film in controlled passes to cover seams and wheel‑well lips. Consider professional rustproofing for longer‑lasting inhibitors and targeted access to hidden cavities that DIY sprays can’t reach reliably. Finally, use wheel‑well spray techniques and mud flaps together: apply a protective spray to inner liners and lips, then mount splash guards to minimize salt impingement.
DIY Undercoating Steps
Prep the undercarriage thoroughly before you spray: remove salt and grime, let the metal dry, and mask off exhaust components and brake hardware so the undercoating bonds only to intended surfaces. You’ll gain clear undercoating benefits: a moisture barrier that limits corrosion and preserves your Camry’s structure. Work methodically, using appropriate application tools and controlled passes.
- Inspect seams, suspension mounts, and wheel wells; note areas needing thicker coverage.
- Use a pump sprayer or aerosol for even atomization; maintain 6–12 inches distance.
- Apply thin, overlapping coats; cure between passes to avoid runs and trapped moisture.
- Reapply annually in fall; record dates and coverage for future maintenance.
This DIY approach liberates you from high shop costs while delivering targeted protection.
Professional Rustproofing Benefits
Consider professional rustproofing when you want durable, extensive underbody and wheel‑well protection that’s difficult to replicate with DIY methods. You’ll get industry‑grade Rustproofing Techniques—Fluid Film and penetrating oils—applied to seams, brackets, and cavity interiors, creating a two‑year corrosion barrier professionals can’t easily match. Choose Professional vs. DIY for consistent coverage of hard‑to‑reach zones and for routine inspections that detect early corrosion before it spreads. Technicians use controlled spray parameters, specified dwell times, and corrosion inhibitors to guarantee adhesion and long‑term performance; you won’t rely on imperfect tools or inconsistent dilution. Dealers often back services with warranties, transferring risk away from you. If you want reliable, low‑maintenance protection and documented service intervals, go professional.
Wheel‑Well Spray Techniques
Spray wheel wells and underbody seams methodically, covering fender edges, suspension mounts, and cavity openings where salt and moisture collect. You’ll choose between straightforward DIY spray techniques and longer-lasting professional undercoating based on budget and autonomy. Use a pump sprayer with an oil-based product (Fluid Film or transmission fluid) and target hidden crevices; apply annually each fall. Inspect frequently for salt accumulation and reapply where coatings thin.
- Focus spray on wheel well inner lips, splash shields, and weld seams.
- Coat suspension mounts, control arms, and fasteners without oversaturating brakes.
- Consider professional undercoating for up to two years’ protection when you want lower maintenance.
- Document application areas and dates to maintain corrosion control.
Install Mudflaps and Protect Rocker Panels Step‑by‑Step
Start by gathering the right tools and components so you can mount mudflaps and apply rocker‑panel protection efficiently: high‑quality flexible mudflaps sized for your Camry, stainless fasteners or brackets, a drill with correct bits, cleaning solvent, adhesive or protective film for the rocker panels, a heat gun for film conforming, and safety gear.
Follow these steps: remove debris, test‑fit mudflaps, mark mounting points close to tires for ideal deflection, drill pilot holes, fasten with stainless hardware, then clean rocker panels thoroughly. Apply rocker panel coatings or adhesive film, use a heat gun to conform film, and squeegee to eliminate air. Inspect seals and fasteners; torque to spec.
| Task | Tool | Outcome |
|---|---|---|
| Test‑fit mudflaps | Template | Proper alignment |
| Drill & mount | Drill, bits | Secure attachment |
| Clean panels | Solvent, cloth | Adhesion ready |
| Apply film/coating | Heat gun, squeegee | Durable barrier |
Check periodically for wear; replace or recoat to maintain liberation from corrosive salt intrusion.
Spot Damage: How to Spot Early Salt Corrosion on Paint, Chrome, and Trim
Look along the car’s lower edges, wheel wells, and undercarriage at least once a month for pale blotches, tiny brown or orange specks, or bubbling paint—these are the earliest signs that road salt is attacking finish layers and trapping moisture. You’ll want to read these corrosion indicators quickly and act to preserve freedom from progressive decay. Inspect chrome and trim for cloudy, pitted surfaces where protective coatings have failed; wheels and brake components can show white, chalky deposits that signal ongoing salt attack.
- Check seams, joints, and mounting points for pinpoint rust and paint delamination.
- Run a magnet-free fingertip over trim edges to feel raised bubbles or grit under paint.
- Shine a flashlight into wheel wells and undercarriage cavities to reveal specks and chalking.
- Photograph and log locations to track spread and prioritize intervention.
Be methodical, document findings, and use precise observations to reclaim control before corrosion advances.
Touch‑Ups and Paint Repair: Stop Chips From Becoming Rust
Because even small chips let moisture and road salt reach bare metal, you should inspect vulnerable areas regularly and touch them up promptly to halt corrosion before it starts. You’ll adopt practical touch-up techniques: clean the chip, remove debris and salt with a mild solvent, apply primer if metal is exposed, then layer manufacturer-matched touch-up paint in thin coats. Let each coat cure before adding the next to avoid runs and guarantee adhesion.
After color builds, seal the repair with a high-quality clear coat to restore gloss and add an impermeable layer of paint protection. For extensive damage or embedded salt you can’t remove, use professional detailing and paint-repair services; they have tools and coatings that stop micro-corrosion and restore structural integrity. Inspect after winter and after road-salt exposure events, document repairs, and act fast—timely, correct touch-ups limit rust, preserve your Camry’s finish, and free you from escalating repair burdens.
Seasonal Maintenance Schedule and Cost vs. Benefit
When winter brings salt and moisture, set a firm maintenance rhythm: wash your Camry every two weeks, apply a quality wax or sealant before the season starts, and inspect paintwork regularly for chips that need immediate touch-up. You’ll preserve paint longevity and reduce long‑term expense. Prioritize actions that free you from reactive repairs: scheduled washes, proactive coatings, and prompt chip repair.
- Biweekly washes remove corrosive salt before it bonds to metal; consistent removal is cheaper than rust remediation.
- Apply wax/sealant pre‑season; it creates a sacrificial barrier and simplifies future cleaning.
- Consider professional ceramic coating for up to year‑long protection, lowering maintenance frequency and labor costs.
- Inspect and touch up chips immediately to stop rust propagation and protect resale value.
Use maintenance budgeting: allocate routine funds for washing and periodic coatings rather than deferring to costly repainting. This disciplined approach gives you control, preserves appearance, and maximizes your Camry’s functional and financial freedom.
Frequently Asked Questions
How Do You Protect Your Car From Road Salt?
You protect your car by washing biweekly, applying car wax or ceramic coating, inspecting and touching up chips, installing mud flaps, and having an undercoating applied to the undercarriage to block salt and prevent corrosion.
How to Stop Salt From Coming Through Paint?
You stop salt penetrating paint by rigorous paint maintenance and winter preparation: seal with wax or ceramic coating, promptly touch up chips, use pH-balanced de-salt washes, and install splash guards so corrosion can’t claim your freedom.
Does Road Salt Damage Car Paint?
Like a ticking clock, yes — road salt corrodes and dulls paint, so you’ll follow paint maintenance tips and winter car care: wash frequently, decontaminate undercarriage, apply wax or ceramic coating to halt corrosion and reclaim freedom.
Does Ceramic Coating Protect Against Road Salt?
Yes — ceramic coatings offer significant ceramic benefits against road salt: they form a durable, hydrophobic molecular barrier. You’ll get easier cleaning, less corrosion risk; maintenance tips include proper prep, periodic inspections, and gentle washes to preserve protection.
Conclusion
You can beat winter salt with timely prep, regular washes, and the right protective layer—wax, sealant, or ceramic—so chips and undercarriage corrosion never get a foothold. Investigate the theory that prevention costs more than repair: rigorous upkeep actually saves money and preserves resale value by stopping electrochemical corrosion early. Act on a simple schedule, use proper de‑salt products, and fix chips fast; doing so is the technically sound, cost‑effective choice.