You can diagnose a Tacoma wheel bearing by listening for a speed‑dependent humming or growling that changes pitch on turns and intensifies with load, feeling for steering vibration, and checking for play by rocking the wheel at 12 and 6 o’clock. Lift and spin wheels to detect roughness or grinding and inspect seals, grease leakage, and metal flakes. Use a stethoscope or phone recording to localize noise; follow the structured tests below to confirm and plan repair.
Quick Answer: How to Tell If Your Tacoma Has a Bad Wheel Bearing
Want a quick way to tell if your Tacoma has a bad wheel bearing? Start by listening for a humming or growling that rises with speed and shifts pitch when you turn left or right. Rock the wheel at 12 and 6 o’clock; any measurable play points to bearing wear even if noise is subtle. Drive briefly and engage 4WD — if the noise changes, you’ve narrowed the source toward the bearing instead of drivetrain components. Feel the steering wheel: persistent vibration suggests front-end bearing issues. Lift the wheel and rotate it manually; roughness, binding, or uneven rotation confirms the need for replacement. Visually inspect seals and lubricant: contamination or loss undermines bearing maintenance and accelerates failure. Prioritize replacement over temporary fixes; proper bearing service delivers real noise reduction and restores control. You’ll gain mechanical freedom by diagnosing precisely and acting decisively, preventing progressive damage and reclaiming safe, quiet driving.
What a Bad Tacoma Wheel Bearing Sounds Like
Noise from a failing Tacoma wheel bearing typically presents as a steady humming or groaning that grows louder with speed and shifts in pitch when you steer. You’ll notice wheel bearing characteristics such as consistent vibration through the steering wheel, a humming that doesn’t abate when you coast, and occasional grinding if wear is advanced. Listen for changes in noise frequency as you accelerate and turn; a rise in pitch when weight shifts to one side points to a specific corner. During diagnostic drives, vary speed and steering input to isolate which wheel follows the sound. If you feel roughness or play when you manually spin the wheel or cup the hub, that confirms internal bearing issues rather than tires or brakes. A grinding, increasing with load, indicates metal-on-metal contact and imminent failure. Use these targeted auditory and tactile cues to liberate yourself from guesswork and decide whether bearing replacement is required.
Safety and Prep Before You Start Diagnosing
Before you start turning wheels or lifting the Tacoma, secure the vehicle on a flat surface, set the parking brake, and chock the opposite wheels so nothing can roll while you work. You’ll follow clear preparation steps: collect tools, don safety gear, and plan your inspection sequence. Use jack stands—never rely on a jack alone—to give a stable platform. Wear safety glasses and gloves to protect from debris and sharp edges. Bring a torque wrench, socket set, and a soft mallet for controlled component handling. Note any noises or symptom details from a test drive; that record guides targeted checks and avoids wasted effort.
Secure the Tacoma on level ground, chock wheels, wear PPE, use jack stands, and organize tools before inspecting.
- Visualize the lift points and stand placement for stable access.
- Picture yourself with tools organized and PPE on, minimizing distractions.
- Imagine a concise log of observed sounds to steer diagnostics.
Stay methodical and unshackled: safety and preparation steps free you to diagnose efficiently and with confidence.
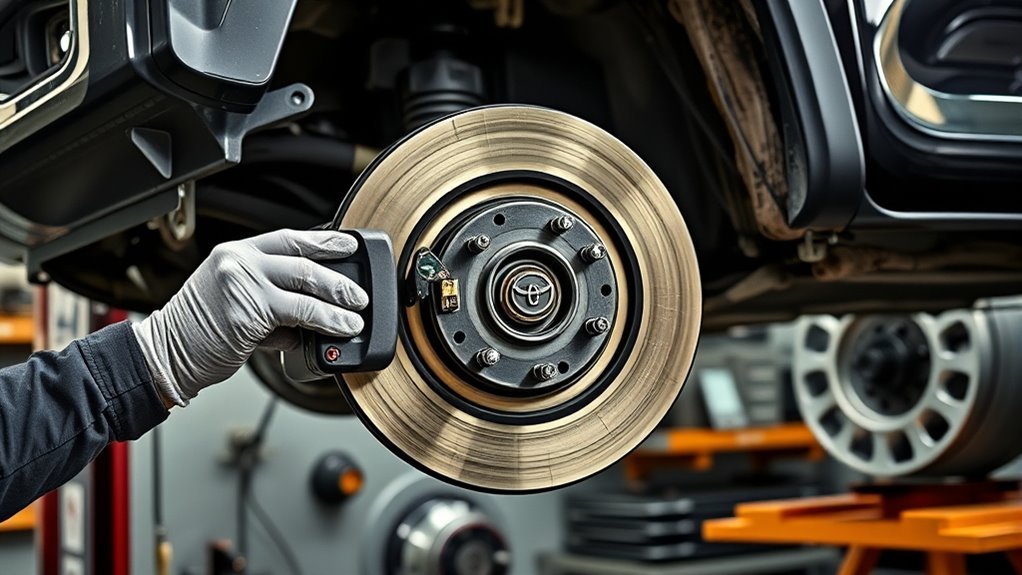
Visual Checks for Obvious Bearing Problems
With the vehicle lifted and secure, inspect the hub and seal for scoring, corrosion, or a torn seal lip that can admit contaminants. Check the bearing area and hub face for grease leakage or metal flakes—evidence of seal failure or internal wear. If you see grease loss, contamination, or rimmed metal, note the wheel for further testing or replacement.
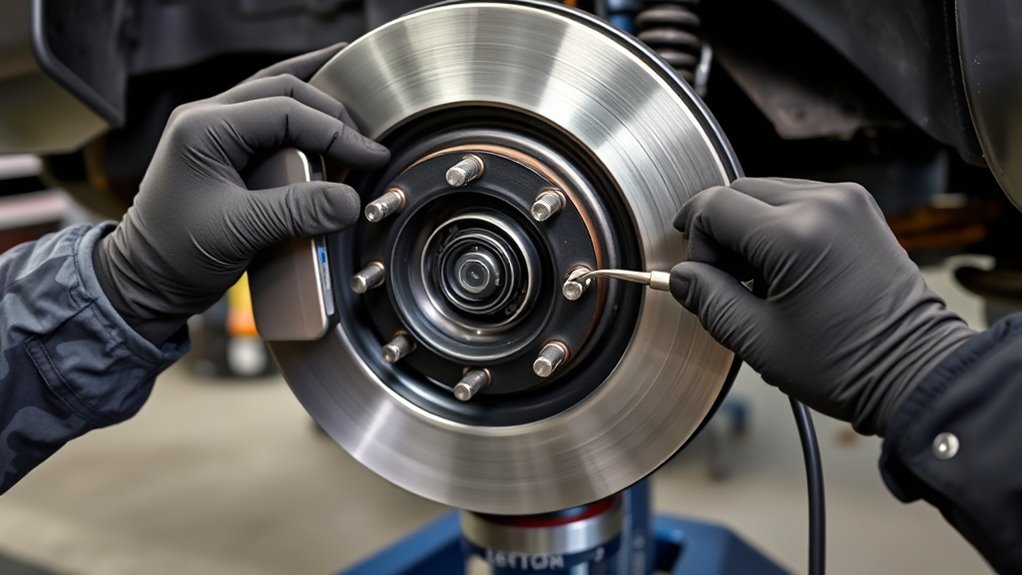
Inspect Hub And Seal
Start by visually inspecting the hub and seal for any signs of grease leakage, cracks, rust, or misalignment that could let contaminants reach the bearing. You’ll assess hub alignment and seal integrity immediately; a flush seal without gaps is critical. Rotate the hub by hand—note smooth motion or subtle binding that hints at internal wear.
- Look for hairline cracks, pitting, or corrosion on the hub surface that can disrupt bearing seating.
- Verify the seal sits concentric and flush; any offset breaks seal integrity and invites contamination.
- Observe rotor-to-hub fit and tactile rotation for roughness, which precedes audible failure.
Document defects, free the hub from dirt, and plan replacement if alignment or seal integrity is compromised.
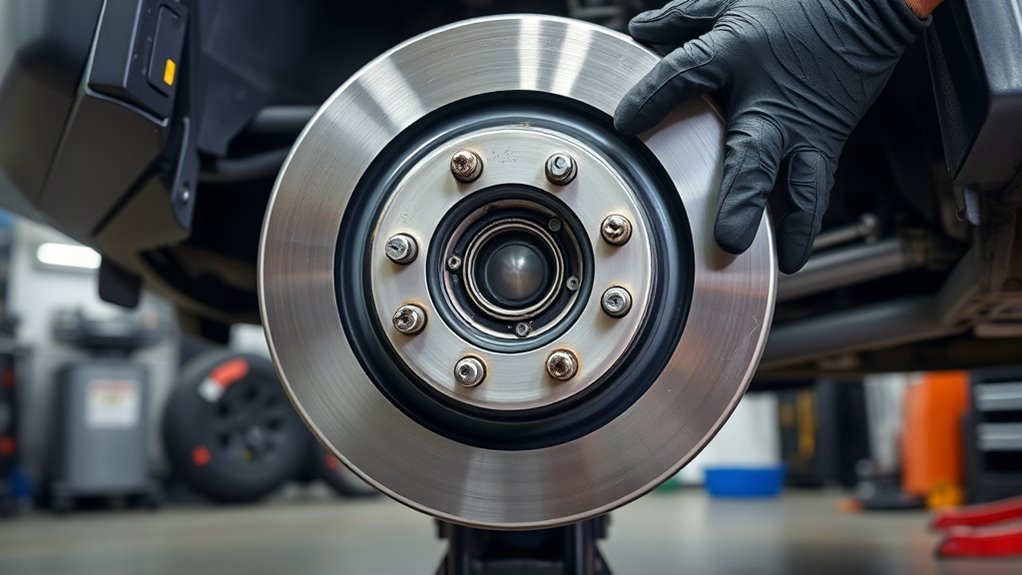
Check For Grease Leakage
If you see grease on the inside of the wheel, around the hub, or near the brake components, that usually means a seal has failed and the bearing’s lost proper lubrication. Perform a focused grease inspection: remove the wheel if needed, use a flashlight to illuminate the hub and brake area, and look for fresh grease trails, stains, or packing expelled from the bearing. Check seal integrity visually—cracks, missing material, or displaced seals let grease escape and contaminants enter. Note excessive dirt or debris buildup that indicates ongoing leakage. Any visible grease leakage is a diagnostic red flag: the bearing has lost protection and requires replacement to restore seal integrity and prevent catastrophic wheel-assembly failure. Document findings for repair.
Check Wheel Play: Where and How to Test

One quick, reliable check for wheel bearing play is to grasp the tire at 12 o’clock and 6 o’clock and rock it back and forth; any noticeable movement suggests bearing wear that needs further inspection. You’ll perform this test on each wheel to free yourself from guesswork. A passing result is minimal or no movement; significant play mandates a detailed bearing inspection and likely replacement.
Check procedure:
- Secure vehicle on level ground, chock opposite wheel, and use firm two-handed grips to rock the tire; note any axial movement.
- Repeat at both sides of the axle to compare feel and isolate the noisy side.
- If no play is felt, spin the wheel and listen for abnormal sounds; audible roughness can indicate early bearing failure even without detectable play.
Stay methodical, prioritize safety, and use these measurements to liberate your diagnosis from uncertainty.
Spin Both Wheels to Compare Feel
When you lift both front wheels and spin them, compare the feel and sound side‑by‑side to quickly isolate a bad bearing; you’ll notice roughness, grinding, or differing resistance on the worn side. Spin one wheel, then the other, maintaining identical hand placement and speed. Use a hand on the coil spring to conduct vibrations and amplify wheel noise; that tactile path makes small differences obvious. Focus on rotational resistance, intermittent rough spots, and any low‑ or high‑frequency pitch changes. Document which side shows increased drag, audible grinding, or fluctuating noise — that bearing is the likely failure point. Keep the steering centered, then turn slightly left and right while spinning to note pitch shifts; those shifts corroborate your bearing comparison. This method gives you an evidence‑based, liberating diagnostic: you’re not guessing, you’re measuring variance between sides to know precisely which bearing needs replacement.
Road Tests That Reveal Bearing Symptoms (Speed, Turns, Loading)
Because wheel bearings change their noise and feel under load and motion, a structured road test will reveal symptoms you can’t detect on the lift. You’ll perform controlled maneuvers while monitoring for humming or groaning that grows with speed — classic noise diagnostics cues. Note steering-wheel vibration and direction-specific pitch shifts; those are diagnostic fingerprints.
- Accelerate steadily on a smooth road: listen for a speed-correlated hum that rises with RPM and vehicle speed.
- Make slow left and right turns: a louder or higher-pitched noise on one turn points to the opposite-side bearing under load.
- Shift vehicle weight (weave gently or add passenger/load): increased noise or change in vibration pinpoints the loaded side.
Use vibration analysis through feel in the wheel and seat; a steady steering vibration during straight-line driving indicates front-end bearing involvement. Record observations, speeds, and turn directions so you can liberate the problem with targeted inspection and repair.
How to Tell Bearing Noise From Tires, CV Joints, or the Differential
You’ll separate likely bearing noise from tires, CV joints, or the differential by listening and feeling for distinct signatures. Tire noise is a steady hum or roar that scales with speed, CV joints give clicking or popping on turns, and differential or driveline issues often change or stay constant when 4WD is engaged. Confirm with road feel and a manual wheel-rock test—play and steering vibration point to a bearing, minimal play suggests tires, CVs, or the differential.
Tire Noise Clues
Although several components can produce a road hum, you’ll narrow it down by listening for a steady, speed-dependent growl that changes pitch when you turn — a hallmark of a failing wheel bearing. Focus on tire tread and noise patterns: tire issues usually give irregular, position-dependent sounds that don’t shift pitch with steering.
- Visualize worn or cupped tread producing rhythmic thumps or a rolling hum.
- Picture constant, speed-correlated growl that shifts when you steer — bearing territory.
- Imagine sound that varies when 4WD is engaged or when load shifts; if it disappears, suspect tires or drivetrain.
Feel for vibration in the wheel or floor and note whether the noise persists while coasting; persistence points to bearings, not tires.
CV Joint Indicators
Having ruled out tire-related patterns, focus on CV joint indicators to separate wheel bearing noise from drivetrain issues. You’ll use CV joint symptoms and diagnostic techniques to free yourself from guesswork. A steady humming or growling that rises with speed usually signals bearing wear, not a CV joint. If pitch shifts when you turn left or right, suspect the opposite-side bearing; CV joint noise is typically sharper during acceleration or specific turns. Engage 4WD: if the sound stays constant, leaning toward a bearing fault; if it varies with load and steering angle, consider CV joints. Feel the steering wheel—vibrations point to bearings, clunks or pops to CV joints. Manually rotate the wheel; roughness or binding indicates the bearing rather than a healthy CV joint.
Differential Sound Signs
How can you tell if a humming or growl comes from a wheel bearing, tires, CV joints, or the differential? You’ll isolate by listening, feeling, and changing drivetrain state. Wheel bearing faults: humming that rises with speed, pitch shifts when turning, roughness when you spin the wheel by hand. Tire noise: consistent tone, unaffected by turning. CV joint issues: noises tied to acceleration or steering angles. Differential noise: changes when you engage 4WD or shift load; a deeper, lower sound frequency than bearings.
- Imagine a high, steady hum that shifts on turns — wheel bearing.
- Picture an even, unchanging roar — tires.
- Hear a low, load-sensitive growl that alters with 4WD — differential noise.
Tools and Tricks: Spring‑Hand, Stethoscope, and Phone Recordings
One simple setup combines a spring‑hand tool, a mechanic’s stethoscope, and a smartphone to pinpoint wheel bearing noise quickly and accurately. Use spring hand techniques to press lightly against the hub while you spin the wheel; the tool amplifies vibration and gives tactile feedback so you can sense roughness or play. Pair that with stethoscope usage: place the probe on the hub, knuckle, and adjacent suspension points to localize continuous grinding versus intermittent clicks.
Record smartphone recordings while you drive at varied speeds and under load, capturing noise changes in straight, turning, and 4WD conditions. Lift both wheels on the same axle to run controlled comparisons—one wheel free, the other driven—to isolate which side carries the fault. Use noise comparison methods by matching recorded clips to on-vehicle stethoscope signals; if engaging 4WD alters the signature, broaden your inspection to drivetrain interfaces. Work methodically, trust tactile and audio data, and liberate yourself from guesswork.
Parts, DIY vs Shop, and What to Tell Your Mechanic
Start by listing the parts you’ll likely need and the tradeoffs between DIY and shop work: wheel bearings or hub assemblies (OEM vs aftermarket), axle nuts, seals, cotter pins or new castellated nuts, and the hydraulic or mechanical press required for bearing removal/install. Decide with a clear parts comparison: hub assemblies simplify DIY but cost more; bearings + races save money but need a press and skill. diy benefits include lower labor cost and control over parts, but shops give alignment, torque accuracy, and warranty.
- Visualize a worn bearing: humming changes pitch on turns, vibration in the wheel or steering.
- Imagine checking play: rock the wheel at 12/6 o’clock to confirm axial looseness.
- Picture the tools: press, torque wrench, breaker bar, stethoscope or phone recording.
When talking to your mechanic, report symptoms precisely—noise behavior with turns, steering vibration, and whether noise shifts with weight—and note mileage (~90k) and if you want both sides replaced.
Frequently Asked Questions
How Do You Test for Wheel Bearing Noise?
You lift and rock the wheel for wheel bearing inspection, spin while listening for growling for noise detection, drive slowly with 4WD engaged while weaving, feel steering vibrations, and compare both sides to confirm bearing wear.
What Can Mimic a Wheel Bearing Noise?
Tire wear, brake pad issues, differential noise, CV joints or suspension can mimic bearing failure; test truth by isolating components, varying speed and road surface, and you’ll free yourself to pinpoint the actual fault.
How Long Do Toyota Tacoma Wheel Bearings Last?
You’ll typically see a wheel bearing lifespan of about 70,000–90,000 miles; you’ll extend it by proactive Tacoma maintenance, inspections, proper lubrication, and avoiding heavy loads or harsh terrain to preserve performance and your vehicle’s freedom.
Conclusion
You’re closing in on the culprit: a failing Tacoma wheel bearing sounds like a rhythmic growl that changes with speed and load. Trust visual checks, wheel-play tests, and targeted road trials to isolate it from tires, CV joints, or the differential. Use a spring-hand, stethoscope, or phone recording to pinpoint the source. If play, roughness, or noise persist, replace the hub or see a shop—better to fix the whispering fault now than let it shout later.