You can change the cabin air filter on a Toyota Tundra in about 30 minutes with basic tools: empty the glove box, pinch the right-side retainer to drop it, press the two tabs and pull the old filter straight out, vacuum the housing, check seals, and slide the new filter in with the airflow arrow toward the cabin. Snap the cover and glove box back into place, verify fit and airflow, and keep debris out; continue for step‑by‑step tips and troubleshooting.
How to Prepare: Tools, Time and Difficulty (Tundra Cabin Air Filter)
Before you start, gather needle-nose pliers, a vacuum, basic hand tools, and a replacement cabin air filter, clear a clean workspace for the glove box contents, and plan about 30 minutes—this job is low difficulty and well within reach if you’ve got basic automotive experience. You’ll remove retainers with the pliers, vacuum debris, swap the old filter for the new one, and reassemble. Lay out tools and glove box items so nothing gets lost; tidy space speeds the job and keeps you in control.
Follow your vehicle’s maintenance schedule to know when to replace the filter; doing it regularly preserves airflow, reduces allergens, and supports HVAC efficiency—the core filter benefits. You’ll work confidently if you prepare: verify the correct filter size, keep a trash bag for waste, and wear gloves if you prefer. This procedural prep frees you from surprise delays and keeps the replacement straightforward, fast, and empowering.
Where the Tundra Cabin Air Filter Is : Access It Through the Glove Box
With the glove box emptied and tools ready, open the passenger-side glove box and locate the right-side retainer tab; pinch that tab to release it so the glove box drops down and gives you clear access. You’ll see the cabin air filter housing directly behind the glove box; it’s designed for straightforward replacement to keep your cabin free and breathable. Pinching the retainer is simple—do it with purpose, not force—and let the glove box hinge downward. Inspect the housing cover: it snaps or unlatches without tools on most Tundras. Remove the old filter, note its orientation, and slide the new one in the same way.
This access route makes filter maintenance tips practical and fast, empowering you to act rather than wait. Regular replacement delivers tangible air quality benefits—reduced dust, allergens, and stale odors—so you reclaim cleaner air in your vehicle and keep control of your environment.
How to Drop or Remove the Glove Box for Full Access
Open the glove box and remove all contents so nothing falls out when you work. Pinch the retainer tab on the right side to release it, then let the glove box drop for access. If needed, slide the box off its hinges after checking for any extra clips or fasteners.
Open And Empty Glove Box
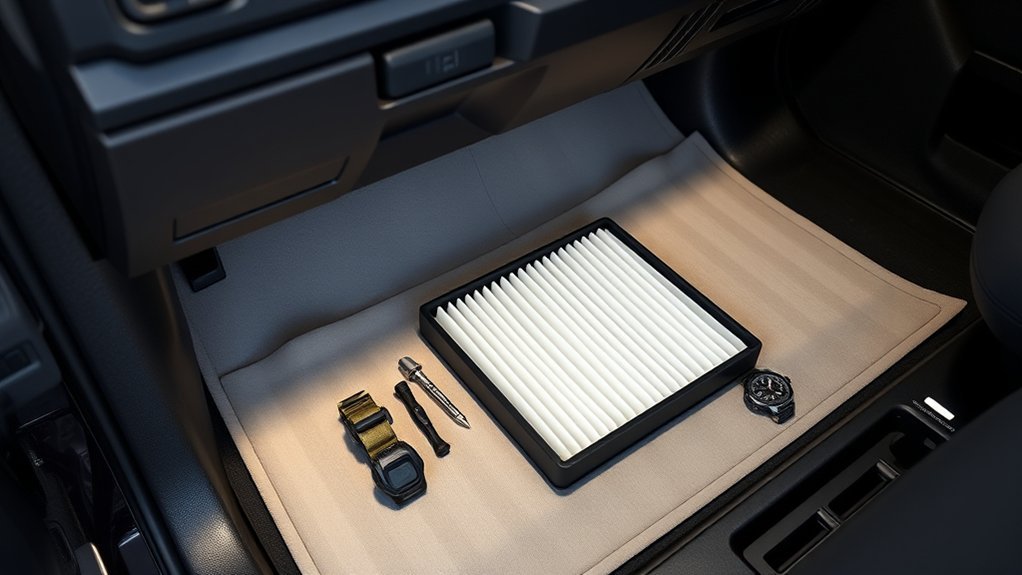
Start by swinging the passenger-side glove box open and emptying all contents so you have an unobstructed workspace. Clear everything—manuals, papers, tools—practice glove box organization now so future swaps feel free and fast. With the compartment empty, you’ll see the area where the cabin filter sits; this simple clearance lets you claim the air filter benefits immediately by enabling a clean, efficient replacement.
Stand or kneel to access the box comfortably. Inspect the right edge for the retainer mechanism but don’t manipulate it yet; you’re preparing the space. If you want, set contents in labeled containers to maintain order and speed reassembly. A tidy glove box reduces frustration and empowers you to proceed confidently to the next mechanical step.
Release Retainer Tab
Pinch the small plastic retainer tab on the right edge of the glove box using needle-nose pliers, then press the glove box inward so the tab clears its slot and the box drops down for better access. Open the glove box and remove all contents first so nothing falls or obstructs your work. Locate the retainer tab—it’s a compact plastic clip on the glove box right side that locks the door to its frame. Squeeze the tab firmly with pliers to disengage it, keep the glove box pressed inward, and let it hinge downward to expose the cabin air filter area. Check the lowered glove box and surrounding area for loose parts or debris. If you want full removal, you can then slide the glove box off its hinges.
Remove Or Slide Off
With the retainer tab released and the glove box hanging down, you can drop it completely or slide it off the hinges for full access. Remove all contents first so nothing snags. Pinch the right-side retainer tab firmly; if the door resists, confirm the tab’s fully disengaged before forcing it. Gently lower the glove box until it’s fully lowered to clear the air filter compartment. To slide off, pull the box straight away from the hinge mounts while supporting its weight.
- Empty glove box for safe glove box maintenance.
- Pinch retainer tab and let the door drop.
- If needed, slide glove box off hinges for full access.
- Check clearance, then proceed with filter replacement tips.
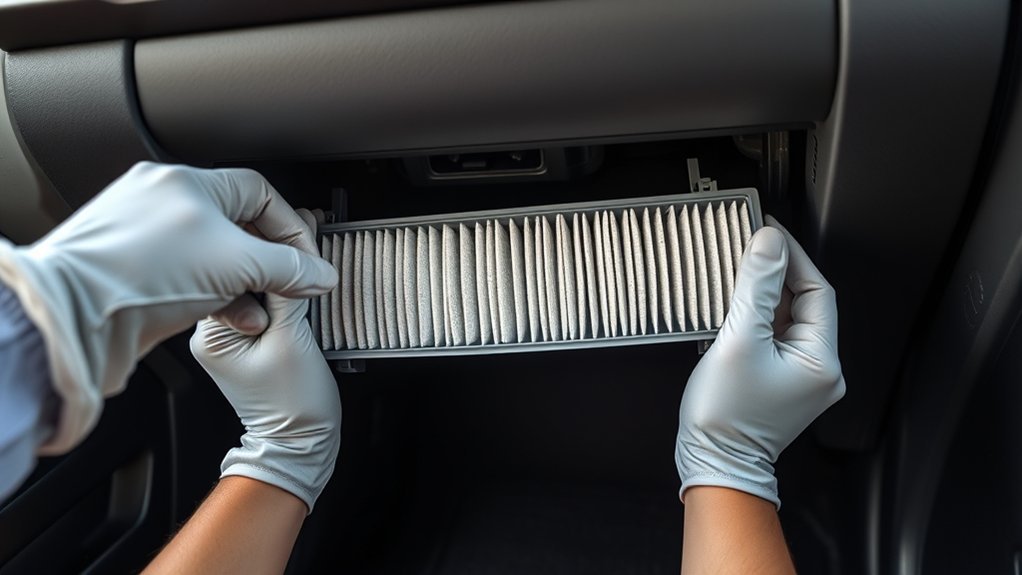
How to Remove the Old Cabin Air Filter Step‑By‑Step
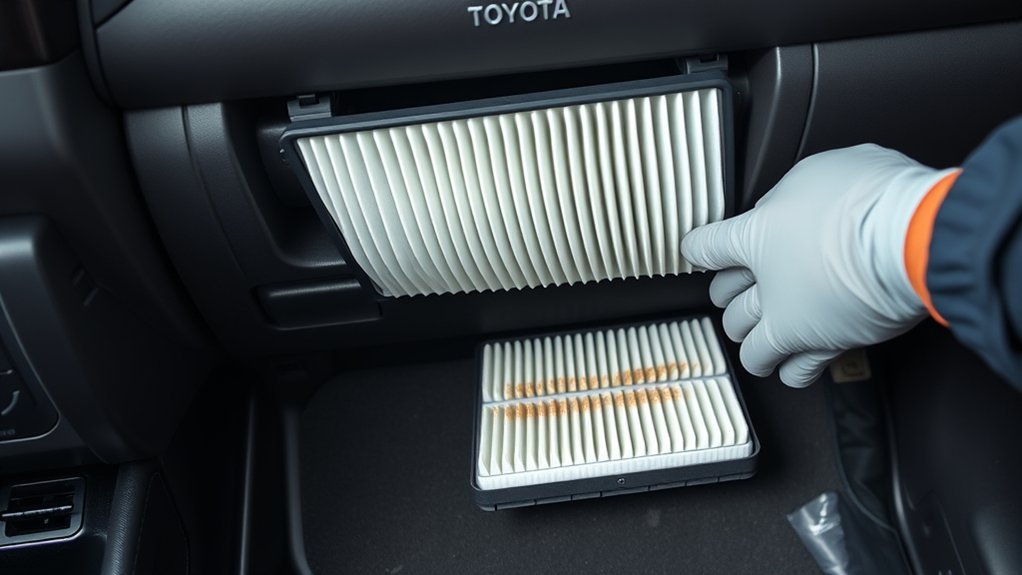
Locate the tabs on both sides of the cabin air filter cover and push them in to release the cover, then carefully pull the old filter straight out of its compartment without twisting or snagging nearby components. You’ll free the element with steady, even force. Inspect the removed filter for visible dirt and debris to judge replacement need. If the filter’s clogged, dispose of it responsibly to protect the environment. Don’t force or pry; protect surrounding clips and ducts. This is purposeful filter maintenance to reclaim control of cabin air quality.
| Step | Action |
|---|---|
| 1 | Find and press both cover tabs |
| 2 | Gently pull filter straight out |
| 3 | Hold filter level to avoid spilling debris |
| 4 | Visually inspect for dirt and damage |
| 5 | Bag and discard old filter properly |
Proceed only when the area is secure and you’re prepared to continue with replacement.
Clean and Inspect the Filter Compartment (Vacuum Debris, Check Seals)
With the old filter out, vacuum the compartment thoroughly, using a narrow nozzle to reach tight corners and remove leaves or large particles. Check the rubber seals and surrounding plastic for cracks, deformation, or missing sections that could let unfiltered air bypass the new filter. If you find damage or stubborn debris, clean or replace the affected parts before installing the replacement filter.
Vacuum Out Debris
Grab a shop vacuum and remove any loose debris from the filter housing, working carefully into corners and seams so dust and leaves won’t be trapped under the new filter. You’re doing essential filter maintenance that preserves airflow and improves cabin air quality. Use a narrow nozzle to reach crevices, sweep stubborn dirt into view, then vacuum. Check for damp spots or strange odors while you clean; note them for deeper inspection later.
- Use a shop vacuum with crevice tool to clear loose debris.
- Target corners, seams, and the filter seat for full suction.
- Remove visible dust buildup before installing the replacement.
- Repeat vacuuming until no debris dislodges and airflow paths are clear.
Inspect Seals And Surroundings
Now that the housing is free of loose debris, inspect the rubber seals and surrounding compartment for cracks, tears, or compressed areas that could let unfiltered air bypass the cabin filter. You’ll check seals for pliability and full contact; replace any that show damage or hardening to protect air quality. Vacuum remaining dirt, leaves, and grit from corners and drain channels to prevent moisture traps and mold. Look carefully for signs of water intrusion or dampness—dry and treat before installing a new filter. Keep the surrounding area clear so the filter can seat properly. This routine filter maintenance extends filter lifespan, restores peak airflow, and frees you from recurring cabin contamination, improving the vehicle’s breathing and your sense of control.
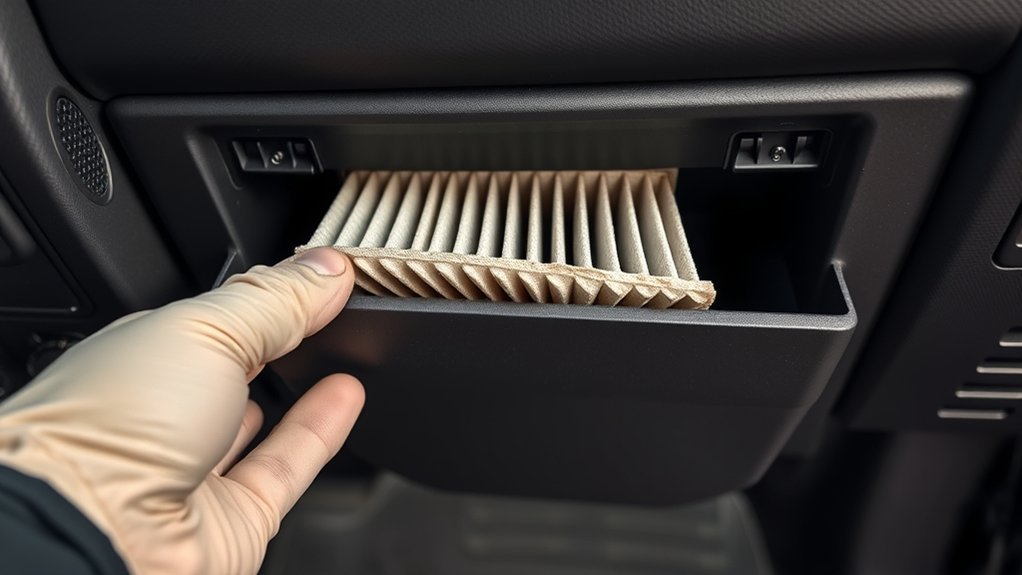
How to Install the New Tundra Cabin Air Filter (Airflow Direction Tips)
Before sliding the replacement in, check the filter’s arrows so you install it with the correct airflow direction; the arrows should point toward the cabin (away from the engine). You’re doing essential filter maintenance that preserves air quality and HVAC performance. Align the filter so it seats flush; any gap lets unfiltered air through.
Before inserting, confirm the filter arrows point toward the cabin and seat the filter flush to prevent leaks.
- Verify arrow direction on the filter and confirm it points to the cabin.
- Hold the filter squarely and slide it straight into the compartment until it’s snug.
- Press the air filter cover tabs into position and push until the cover snaps securely.
- Inspect the installed filter and cover for gaps or misalignment; adjust until sealed.
Work deliberately and don’t rush—proper orientation frees you from recurring issues and protects occupants. Correct installation keeps airflow ideal and sustains cabin cleanliness. If you feel resistance, pull back and realign; force can deform the filter and compromise effectiveness.
How to Reassemble the Glove Box and Reinstall the Retainer
After the filter and cover are seated, return the glove box to its mounting: align the hinges with their slots, push the box upward until you hear the click that confirms it’s locked, then snap the retainer cylinder into the bottom mounting by pushing it firmly until it seats. With the glove box engaged, confirm hinge alignment visually and by feel; the fit should be seamless. Perform the retainer installation next — press the cylinder into its pocket until it snaps, ensuring no gap remains. Secure any contents so nothing shifts when you close the box; loose items can block proper closure. Close and open the glove box deliberately to verify smooth movement and that the retainer holds under mild resistance. If the box moves or rattles, recheck hinge seating and retainer engagement. This concise reassembly restores order and autonomy to your cabin: you’ve completed glove box reinstallation and retainer installation, restoring functionality and minimizing future interruptions while driving.
Troubleshooting: How to Tell the Filter Is Installed Right
When you finish installing the new cabin air filter, verify it’s oriented with the airflow arrow pointing toward the rear of the truck and that the cover sits flush with no visible gaps or misalignment. Then perform concise checks to confirm freedom from restrictions and confirm your control over the cabin environment.
- Inspect visually: confirm the filter indicators (arrow, seals) match the housing and that no dust escapes around edges.
- Fit test: press the cover; it should seat evenly with no wiggle. Misalignment is a common cause of airflow issues.
- Functional test: run the ventilation at multiple speeds; listen for unusual noises and note any reduced airflow or strange odors.
- Troubleshoot: if you detect resistance, remove and reseat the filter, clear debris, and repeat tests until airflow is smooth.
These steps free you from guesswork and restore reliable ventilation—act decisively if any check fails.
Frequently Asked Questions
How Often Should I Change the Cabin Air Filter on My Toyota Tundra?
You should change the cabin air filter every 15,000–30,000 miles, but check sooner in dusty areas. Track filter lifespan, inspect regularly, and follow maintenance tips so you’re empowered to maintain fresh, clean cabin air and control your ride.
Conclusion
Changing the Tundra’s cabin air filter is quick and straightforward: you’ll drop the glove box, pull the old filter, clean the compartment, and insert the new filter with the airflow arrow pointing correctly. It’s routine work—but the payoff is immediate: cleaner air and quieter vents versus the sneezes and smells you had before. Follow the steps, check the seals, and reassemble the glove box; if airflow feels wrong, flip the filter and check the fit.