
You can quickly reset and recalibrate your Land Cruiser compass by parking on level ground, pressing and holding Set for 2 seconds, using E/M to select the zone from your owner’s manual, then holding Set until the display flashes. Drive slow circles or a figure‑eight until headings stabilize, make fine N/E adjustments if needed, and recheck zone settings. Recalibrate after major moves or modifications; persistent errors mean contact your dealer for module diagnosis and replacement guidance if needed. More specifics follow.
Quick Reset: Step‑by‑Step Compass Calibration

Start by stopping the Land Cruiser, shifting to Park, and pressing and holding the compass Set button for about two seconds to enter configuration mode. You’ll then use compass adjustment techniques methodically: press E/M repeatedly until the zone matches your location per the owner’s manual. If you can’t verify the zone, contact your dealer for precise confirmation; don’t guess. After selecting the correct zone, press and hold Set until the display flashes, which signals completion of the calibration cycle. Note that periodic recalibration is required after major relocations or vehicle modifications; schedule it proactively. These vehicle orientation strategies keep navigation reliable and free your movements from magnetic error. Execute each step deliberately, confirm the flashing indicator, and resume operation only when calibration is stable. This concise procedure minimizes downtime and preserves accuracy, giving you control and the practical autonomy to navigate without magnetic uncertainty.
[Products Worth Considering]

Custom-fit floor mats and cargo liner designed to provide edge-to-edge protection for the Toyota Land Cruiser Prado. Made from durable TPE material, they offer all-weather defense against rain, slush, snow, mud, and everyday dirt while remaining easy to install, clean, and maintain. The odorless, non-slip design helps keep your interior safer, cleaner, and more comfortable in every season.

These custom floor mats are designed to fit the Toyota Land Cruiser GX550 with a 5-seat layout for a precise, secure install. Made from durable TPE, they help shield your interior from spills, mud, snow, dirt, sand, pet hair, and everyday debris while making cleanup quick and easy.

Keep your Toyota navigation system current with this SD card map update designed for select factory-installed GPS units. It provides updated coverage for the USA and Canada, including roads, points of interest, and key travel locations for smoother trip planning. Easy plug-and-play installation helps restore accurate guidance without complicated setup.
Find Your Compass Zone (Map, Common Zones)
When calibrating your Land Cruiser’s compass, consult the zone map in the owner’s manual (typically page 344) to identify the numeric zone that matches your geographic location; for example, Southern California is zone 5. You’ll perform zone identification as the first controlled step: confirm your latitude/region on the map, note the numeric code, and record it for the calibration routine. Calibration importance is simple — the wrong zone yields persistent directional error.
- Use the manual’s map to match your current region and copy the zone number precisely.
- If the map is ambiguous, contact your dealer to authenticate the correct zone before proceeding.
- Remember: zones are geographic; selecting the mapped zone guarantees consistent, liberated navigation control.
This is a technical, methodical task: verify documentation, confirm the numeric zone, and prepare the vehicle’s settings. Accurate zone identification minimizes error and frees you from repeated correction.
Point North/East: Detailed Calibration Walkthrough
Begin by parking on a level, unobstructed surface and orient the vehicle so its nose points precisely to true north; then use the N screw to rotate the compass card until the indicator reads N. You’ll verify north alignment visually and with a reliable reference (GPS or map). Once set, turn the vehicle 90 degrees to face true east and use the E knob for east adjustment, rotating the card until the indicator reads E. Repeat the north alignment and east adjustment sequence at least twice more to confirm repeatability; each pass reduces residual error. If readings diverge, make incremental micro-adjustments and recheck both headings. Recalibrate whenever you relocate long distances or after heavy vehicle modifications; seasonal magnetic variations also justify checks. Keep the owner’s manual and zone data at hand to guarantee you’re applying correct regional offsets. Methodically documenting each adjustment gives you control and freedom from uncertain navigation.
Drive Patterns to Recalibrate Compass

When recalibrating the Land Cruiser compass, you’ll use two drive patterns: a figure-eight maneuver and steady circular drives. Perform the figure-eight slowly and smoothly to expose the sensor to changing headings, then run continuous circles for about five minutes to stabilize readings. Stop and put the vehicle in Park before any manual reset, and repeat the patterns after relocating or exposure to strong magnetic fields.
Figure-Eight Maneuver
Perform a steady figure-eight driving pattern for about 5–10 minutes to allow the Land Cruiser’s compass to sample headings and recalibrate its heading solution. You’ll exploit figure eight benefits: consistent, varied headings and balanced turns that let the sensor resolve bias. Choose an open, interference-free area and maintain smooth speed; sudden stops or tight turns reduce maneuver precision and prolong calibration.
- Confirm no nearby metal structures or vehicles that could skew readings.
- Execute continuous, even loops for the full duration, keeping steering inputs smooth.
- After completion, verify the compass against a known bearing and repeat if errors persist.
You’ll regain directional freedom by methodically restoring accurate heading data through disciplined practice.
Circular Calibration Drives
Drive steady circles at 5–10 mph in a clear, open area to let the Land Cruiser’s compass sample headings continuously and realign with magnetic north. You’ll perform controlled circular patterns, maintaining constant speed and smooth steering to minimize transient magnetic disturbances. Alternate clockwise and counterclockwise laps, or combine with a figure-eight maneuver, to expose the sensor to diverse headings and pitch angles. Complete multiple revolutions until heading readings stabilize. Afterward, verify accuracy against a reliable reference, such as a smartphone compass, and repeat if discrepancies exceed acceptable limits. Schedule recalibration after major location changes or sensor repairs to preserve navigation integrity. These procedures yield measurable calibration benefits: consistent headings, reduced drift, and restored directional autonomy.
Compass Errors: Stuck N, Drifting, and Blank Displays

If your compass remains stuck on N, drifts gradually away from true heading, or shows a blank display, you’ll need to diagnose each symptom methodically. Start by checking power and connections for a blank screen, perform a reset and figure‑eight recalibration for drift, and try a reset/recalibration or zone check if it stays stuck on north. Consult the owner’s manual for zone settings and specific reset procedures before replacing components.
[Products Worth Considering]

This steering clock spring is designed to restore reliable steering wheel controls across a wide range of Toyota models. It supports audio, cruise control, and other multifunction commands while matching OEM part numbers for confident replacement fitment. Built for dependable signal transfer and straightforward installation, it is an effective solution for repairing steering column control issues.

The REDTIGER F9 dash cam captures road trips and daily driving in sharp front 4K and rear 1080P video, helping provide clear evidence in the event of an incident. Built with 5.8GHz WiFi, GPS tracking, wide-angle coverage, loop recording, G-sensor protection, and parking mode, it offers reliable all-around monitoring and easy smartphone access through the app.
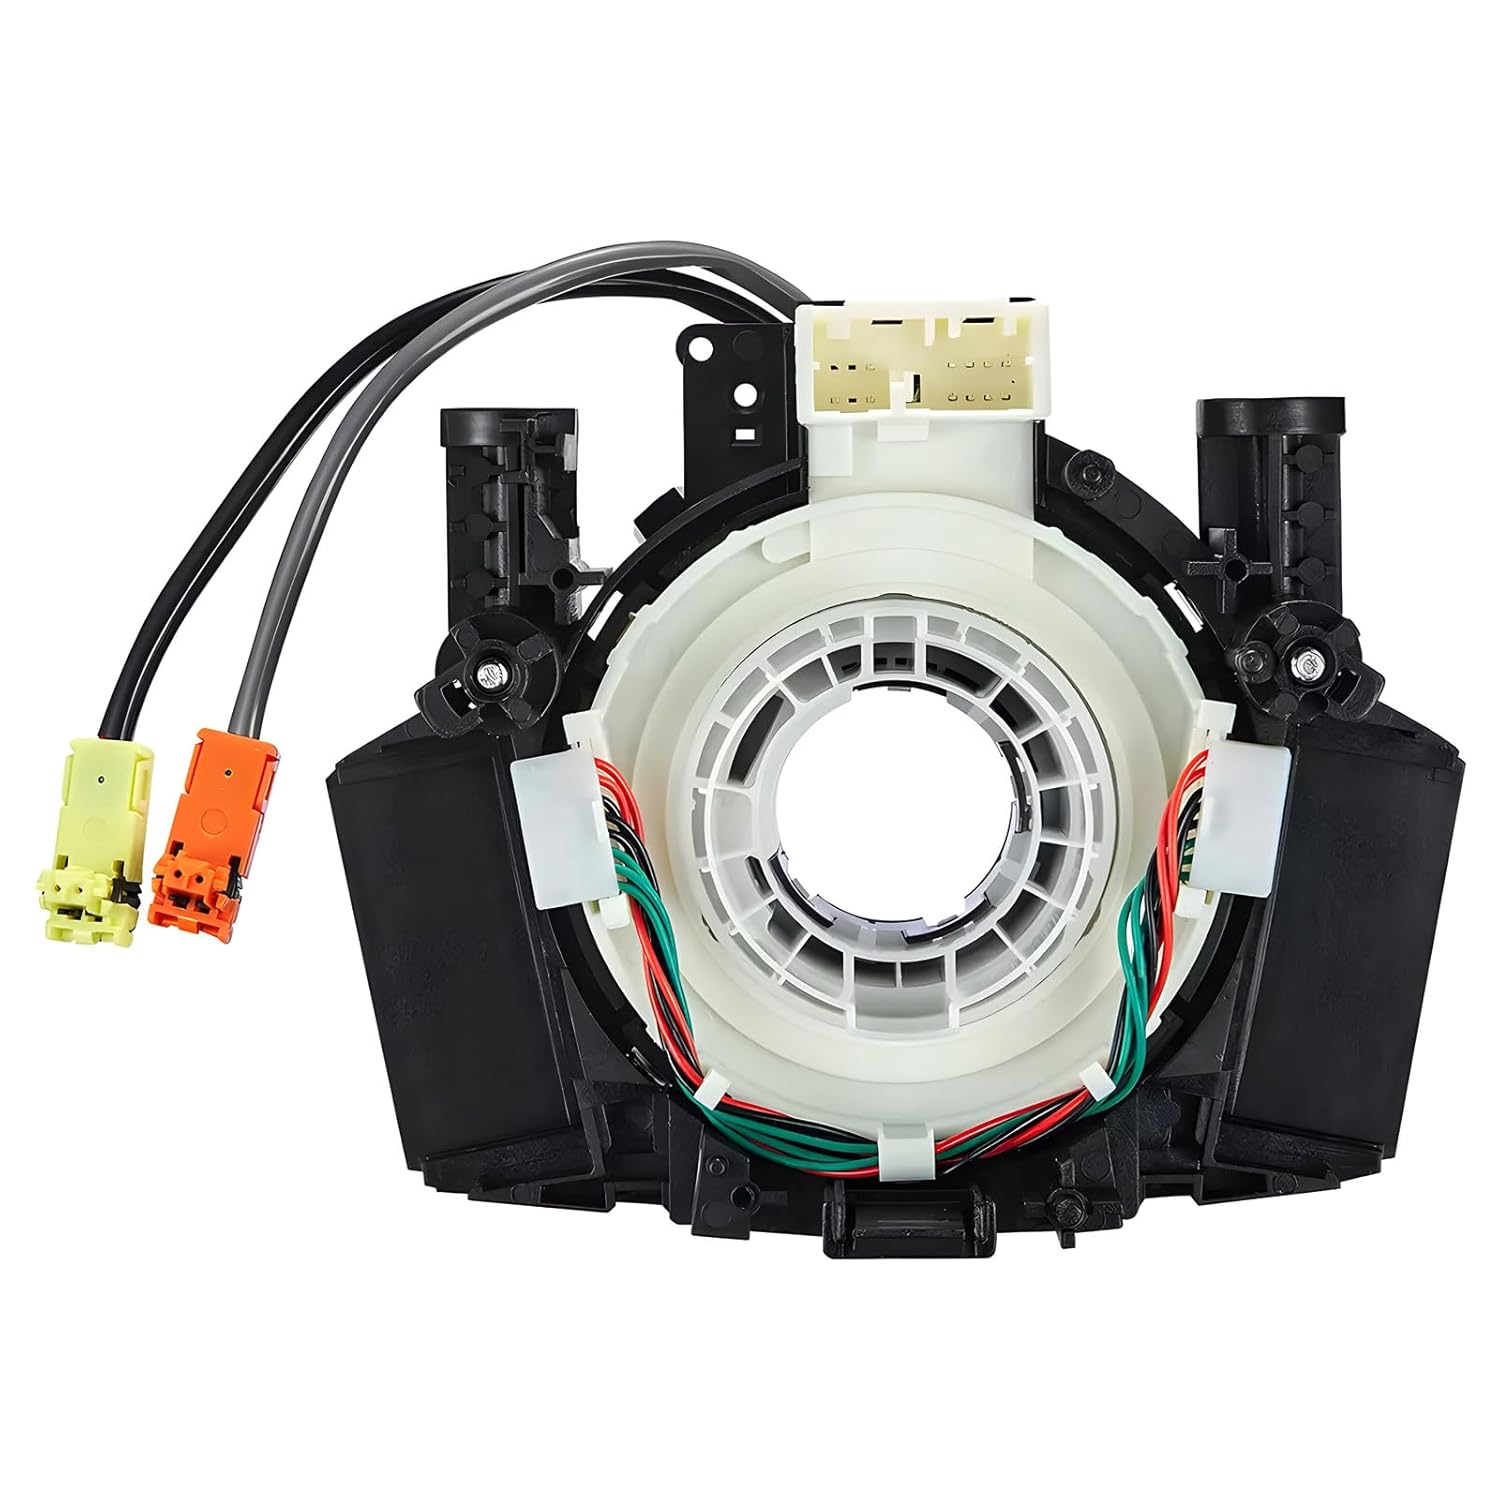
This steering clock spring assembly is an OEM-style replacement designed to restore steering wheel controls and related electronic functions in compatible Nissan vehicles. It supports audio, cruise control, and multi-function button operation while matching multiple factory part numbers for a reliable fit. Built for direct installation with vehicle-specific connectors, it helps return steering column electronics to proper working order.
Stuck On North
Having trouble with the compass stuck on N, drifting, or showing a blank readout? You can reclaim reliable direction with focused compass maintenance and sensor troubleshooting. Begin with simple resets: drive slow circles or a figure-eight to reset the sensor. If that fails, position the vehicle due north and adjust the N screw, then repeat facing east and tweak the E knob for precise calibration. Check your zone setting in the owner’s manual — wrong zone yields consistent errors (Southern California = zone 5). If the display remains blank or permanently reads north after these steps, consult a dealer for diagnostics and repair. You deserve navigation freedom; methodically follow these steps to restore accurate, liberated travel.
- Drive circles or a figure-eight to reset
- Adjust N and E screws for precision
- Verify zone settings, then seek dealer help
Gradual Compass Drift
Once you’ve tried resets and screw adjustments for a stuck-N readout, watch for gradual compass drift—small, persistent deviations that creep in over days or weeks as magnetic interference or vehicle changes alter the sensor’s reference. You should monitor headings regularly and log deviations after routine drives. Recalibrate promptly when you detect consistent offset: perform figure-eight or circular maneuvers per the manual to realign the sensor. If drift persists, execute the documented reset sequence using the specified buttons, then repeat dynamic calibration. Include compass maintenance in your service routine, especially after modifications or environmental changes. By staying methodical and proactive, you reclaim directional reliability and reduce reliance on external aids, restoring navigational freedom.
Blank Or No Display
A blank compass display or persistent errors like a stuck “N” mean the system has lost valid heading data and needs immediate troubleshooting; start by confirming power and zone settings, then follow the reset and dynamic-calibration procedures. You’ll act decisively: verify ignition power, check the display for signs of backlight or fault, and confirm the zone matches your region per the owner’s manual to avoid misreading. If errors persist, perform a reset and dynamic recalibration.
- Stop, place the vehicle in Park, press and hold Set for two seconds, then use E/M until the correct zone appears.
- Drive slow circles or a figure-eight to re-establish heading references.
- Schedule compass maintenance after any vehicle modification or persistent faults.
This is practical display troubleshooting for liberation-minded drivers.
Why Compasses Drift and How Long Calibration Takes
Because your vehicle and environment introduce local magnetic disturbances, a compass will gradually drift from accurate bearing unless you recalibrate it, and that drift can come from several predictable sources: nearby metal structures or parts of the Land Cruiser, onboard electronics and wiring, temperature- and humidity‑driven sensor shifts, and regional variations in the Earth’s magnetic field (declination and local anomalies). You’ll see magnetic interference when metallic cargo, aftermarket racks, or even audio wiring alter the local field. Environmental factors such as thermal expansion, moisture ingress, and seasonal declination shifts also change sensor response.
You should recalibrate after significant events: installing hardware, major repairs, towing, or relocating long distances. Calibration is procedural and brief: you drive prescribed patterns or perform rotations so the sensor samples the true vector field. Typical calibrations take only a few minutes; follow the manufacturer’s sequence and confirm stability by comparing pre- and post-calibration headings. Regular, short recalibrations keep autonomy intact and navigation reliable.
When to Contact a Dealer or Replace the Module (Symptoms & Cost)
After you’ve ruled out common calibration issues—correct zone setting, proper calibration maneuvers, and absence of nearby magnetic disturbances—you should consider dealer diagnostics when the compass keeps showing a single heading, behaves erratically, or deviates markedly from known bearings. You’ll want a clear symptoms checklist before engaging service: consistent single-direction display, large bearing offsets after calibration, and failure to respond to reset procedures. If those items persist, seek dealer diagnostics; technicians can isolate sensor faults, wiring issues, or software anomalies that mimic module malfunction.
- Symptoms checklist: single heading, erratic behavior, persistent deviation
- Dealer diagnostics: professional isolation of sensor/module versus vehicle interference
- Replacement options: OEM module replacement or calibrated aftermarket unit, cost typically $200–$500 plus labor
You’ll preserve freedom of movement by making an informed call: avoid wasted time on repeated calibrations and choose replacement options aligned with reliability and long-term autonomy.
Tips to Prevent Future Drift and Keep Accuracy
When you want to keep your Land Cruiser’s compass reliable, recalibrate regularly—especially after long moves, off-road trips, or any time you’ve installed metal or electronics near the dash—and perform a brief figure-eight drive to let the sensor adapt to local magnetic fields. You’ll remove sources of interference, confirm zone settings from the owner’s manual, and run routine checks to detect drift early. Follow a method: remove nearby metal/electronics, set correct zone, perform figure-eight calibration, then verify headings.
| Action | Purpose |
|---|---|
| Remove metal/electronics | Minimize magnetic interference |
| Verify zone setting | Guarantee correct baseline heading |
| Figure-eight drive | Allow sensor to map local field |
| Routine checks | Early drift prevention & accuracy maintenance |
Treat calibration as liberation: regular, disciplined steps free you from navigational doubt. If you note persistent errors after these measures, escalate to dealer diagnostics. Prioritize scheduled recalibration and verification to sustain reliable directional control.
Frequently Asked Questions
How Do I Reset My Compass?
You reset your compass by stopping, placing the vehicle in Park, holding Set two seconds, selecting your zone with E/M, then holding Set until it flashes; this compass calibration aids reliable off road navigation and restores directional freedom.
Conclusion
You’ve now got the exact steps to reset and calibrate your Land Cruiser’s compass; follow them methodically and it’ll behave like a laser-guided instrument. Start by confirming your compass zone, perform the point‑north/east procedures or drive the prescribed patterns, and monitor for common errors (stuck N, drift, blank display). Expect recalibration to take minutes to an hour. If symptoms persist, contact a dealer for module diagnostics or replacement to restore reliable navigation.
[Products Worth Considering]
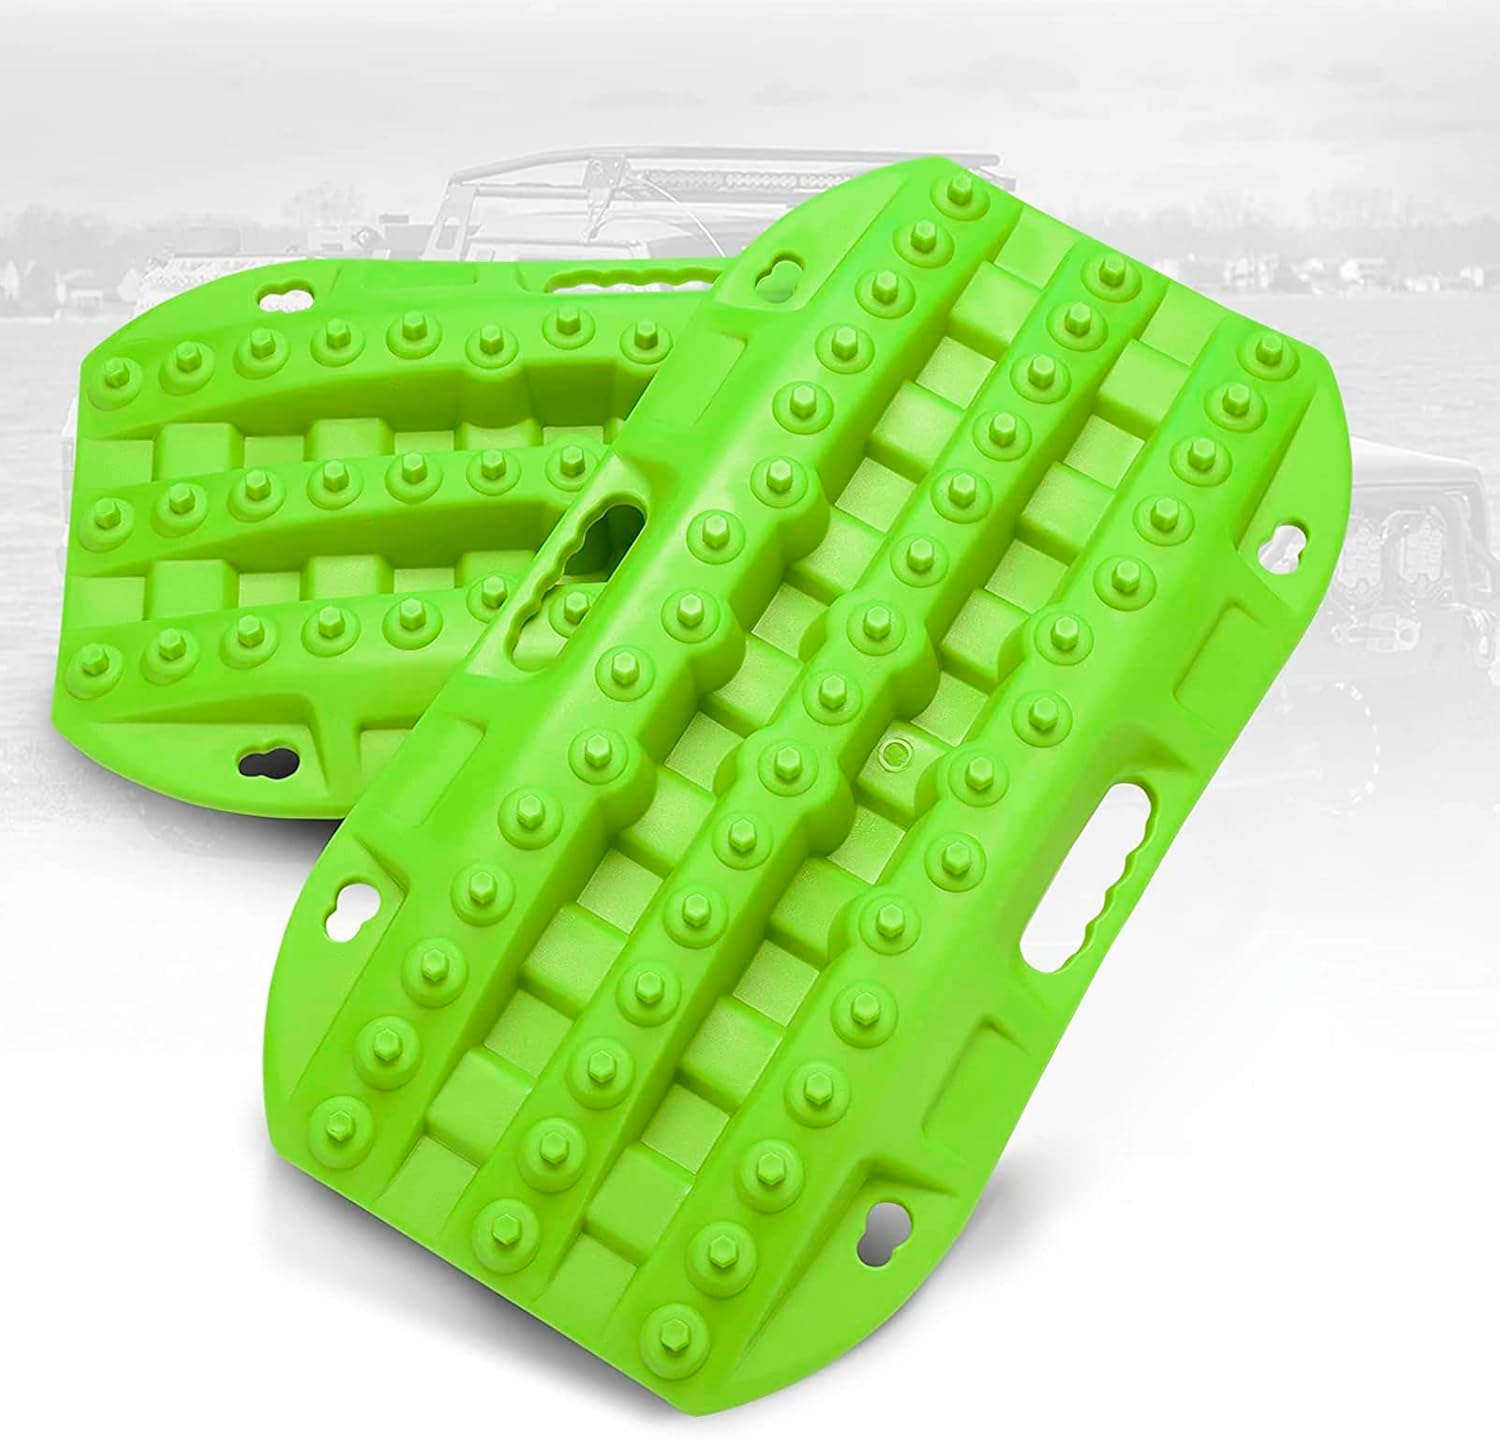
These short recovery traction boards are designed to help ATVs, UTVs, and other off-road vehicles regain grip in mud, sand, and snow. Built with strengthened teeth and a durable polypropylene construction, they provide reliable traction, easy handling, and year-round performance in tough conditions. Their nested, space-saving design and integrated shovels make them practical for carrying and using on remote adventures.

The VIOFO A229 Plus delivers sharp 2K front and rear recording with dual Sony STARVIS 2 sensors for improved night clarity, reduced noise, and better motion handling. HDR support helps preserve license plate detail and balanced exposure in challenging light, while voice control, quad-mode GPS, and fast 5GHz Wi-Fi make daily use simple. With multiple parking modes and a user-friendly interface, it is built to protect your vehicle on the road and while parked.

This Toyota navigation SD card provides updated North America maps and points of interest for compatible factory navigation systems. It is preloaded with recent road and location data to help drivers find destinations, services, and routes more easily across the U.S. and Canada. Designed for select Toyota models, it offers a simple plug-and-play replacement for the original navigation card.