
Start by checking the coolant reservoir level and engine temperature; low coolant or air in the loop is the most common cause. With the engine warm, feel both heater‑core inlet/outlet hoses—equal heat means flow is ok, a cold hose suggests restriction, thermostat or pump failure. Cycle the HVAC to test the blend‑door actuator and scan for HVAC codes; smell or damp carpet points to a leaking core. Follow these steps to isolate the failed subsystem and learn repair options.
Quick Coolant Checklist for RAV4 Heater

Before you plunge into complex repairs, check the coolant system and blend door operation methodically: confirm the reservoir’s level and fill to spec, start the engine and feel both heater core inlet/outlet pipes—both should be equally hot to show proper flow—and with the ignition in accessory mode test the blend door motor by cycling the temperature from hot to cold while observing the gear movement; any low coolant, temperature imbalance between pipes, or lack of blend door response pinpoints where to focus repairs. You’ll begin with reservoir maintenance: verify fluid level against markings, inspect for contamination, and top with the correct coolant types recommended for your RAV4. Low level often means trapped air or a leak; don’t run the system until pressure-tested. Use accessory mode to avoid engine heat masking faults when you cycle temp controls and watch blend door actuation. Log any asymmetry, sluggish gear travel, or persistent low reservoir level—these diagnostics free you to prioritize repair steps and reclaim reliable cabin heating.
Feel the Heater‑Core Pipes to Check Flow and Heat
Feel both heater‑core inlet and outlet pipes with the ignition in accessory mode—both should feel equally hot if coolant is flowing properly; a noticeably cooler pipe indicates a restriction, air pocket, low coolant, or thermostat problem that needs further testing. You’ll place your hands on the two rubber hoses where they enter the firewall; compare pipe temperature quickly and safely. Equal warmth means the heater core is receiving flow and transferring heat; a cold or lukewarm return hose signals poor circulation through the heater core itself.
Don’t guess—document what you feel. If one pipe is cooler, free yourself from dependence on vague symptoms and inspect coolant level, hose collapse, or debris in the heater core. Regularly checking pipe temperature gives you empirical evidence to demand repairs or to pursue DIY fixes. This direct diagnostic step isolates the heater core from other cabin‑heat components without moving into thermostat or pump tests.
Test the Thermostat and Water Pump for Cabin Heat
If one heater‑core hose felt noticeably cooler, the fault often lies upstream with the thermostat or water pump, so next you’ll verify those components. You’ll perform thermostat testing by warming the engine from cold and watching temperature rise and hose temperatures; a stuck closed thermostat keeps the heater cold and risks overheating. Simultaneously inspect the water pump for circulation: feel for coolant flow at heater hoses, listen for bearing noise, and check for external leaks or wobble.
| Task | What to look for |
|---|---|
| Thermostat testing | Hoses stay cool; engine overheats |
| Thermostat response | Opens at spec temp; smoother temp rise |
| Water pump inspection | Pulley play, noise, leaks |
| Flow check | Strong pulsation in return hose |
| Action | Replace faulty part; recheck system |
You’ll prioritize replacement if tests fail—both parts are critical to cabin heat and engine freedom from damage.
Heater‑Core Leaks, Clogs, and How to Spot Them
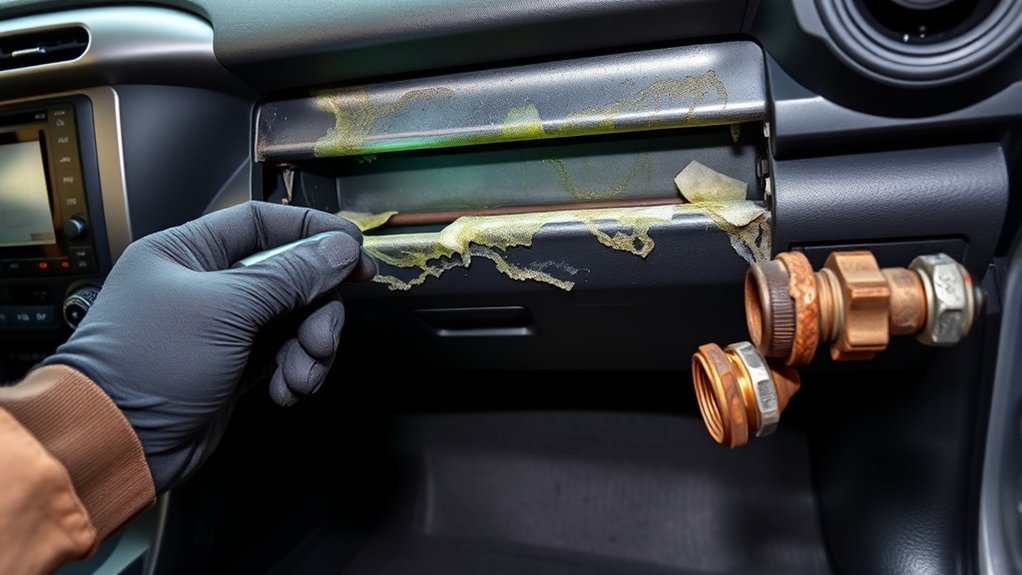
Noticing weak heat, a sweet antifreeze smell, or damp carpet on the passenger side usually points to a failing heater core. You’ll diagnose by combining sensory checks with pressure and flow tests: inspect for wetness under the glovebox, trace the sweet odor, and perform leak detection with a cooling-system pressure tester. A leaking heater core reduces coolant level, risks engine overheating, and compromises your freedom to travel—address it fast.
Clogs present as weak airflow and inconsistent temperature output. You’ll verify by checking inlet/outlet hose temperature difference and inspecting hoses for blockages. If flow is restricted, use proper flush systems to clear debris; persistent restriction or visible corrosion means replacement. Maintain coolant levels and follow coolant maintenance schedules to prevent scale and electrochemical damage. Keep records, flush systems per interval, and replace compromised heater core promptly to restore reliable cabin heat and retain control over your vehicle’s performance.
Test the Blend‑Door Motor (Access, Signals, Expected Movement)
When you set the RAV4 to accessory and sweep the temperature control from hot to cold, watch the blend‑door motor gear and actuator arm for smooth, responsive movement; the motor should rotate and the arm should travel through its full range without stalling or hesitating. Access the actuator behind the glovebox or lower dash panel, secure a visual on the gear, and perform actuator testing by commanding full‑range temperature changes. Listen for grinding, skipping, or dead‑spots that indicate poor motor calibration or stripped splines. With the system set to heat, verify both heater‑core pipes feel equally hot—if one pipe stays cool or airflow remains only warm or only cool, the blend door may be stuck or linkage failed. If movement is intermittent, measure voltage at the motor during operation to confirm signals are present; consistent voltage with no movement implicates mechanical binding. Replace or recalibrate the motor/actuator assembly to restore predictable airflow and reclaim control of your cabin climate.
Check HVAC Controls & Electricals (2019–2022 RAV4)
Having verified blend‑door movement, move to the HVAC controls and electricals to isolate whether unresponsive temperature changes stem from the panel, wiring, or control modules. Put the vehicle in accessory mode so you can perform HVAC diagnostics without the engine running. Cycle temperature from hot to cold and watch for consistent actuator response; inconsistent response after confirmed actuator movement points to control or wiring faults. Inspect the control panel for stuck buttons, corrosion, or visible damage. Probe connectors and harnesses for continuity and secure seating; repair or replace frayed wires or loose pins. Use a scan tool to read HVAC control module codes and live data to pinpoint failures.
With blend door movement confirmed, test controls, inspect wiring and connectors, and scan the HVAC module for codes.
- Confirm accessory mode operation and actuator response.
- Visually and electrically inspect panel, connectors, and harnesses.
- Pull diagnostic codes from the HVAC control module for targeted electrical troubleshooting.
You’ll regain control of the cabin climate by systematically isolating electrical faults and acting decisively.
DIY Fixes to Try at Home : And When to Call a Shop
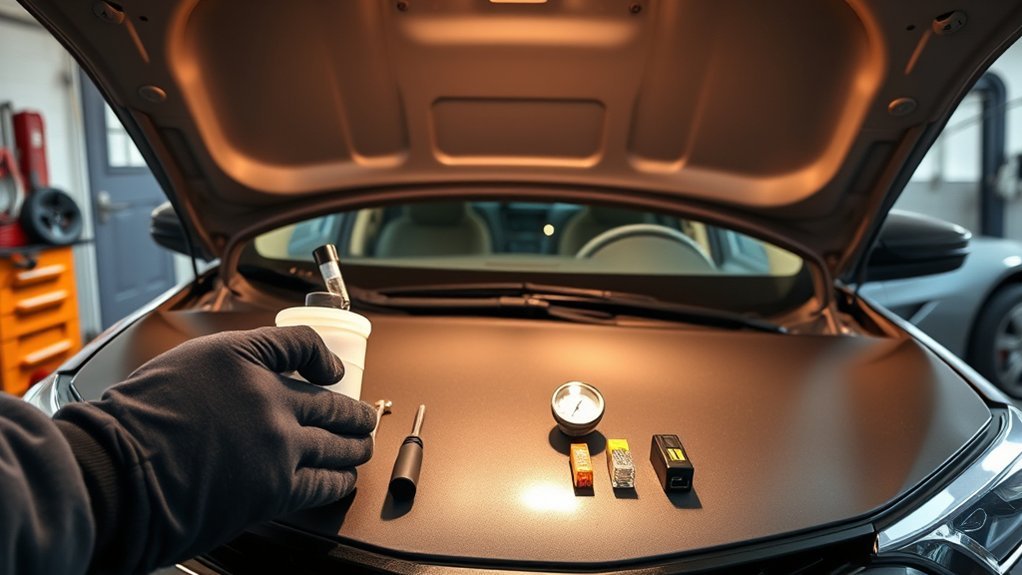
Start with the simple checks you can do safely at home and move to more involved tests only if those don’t solve the problem. First check coolant reservoir level; top it to the specified mark if low, then run the engine to normal temp. Feel both heater core pipes—if they’re equally hot, coolant circulation is likely fine. If one pipe is cold, suspect a clogged heater core or trapped air; perform a proper bleed or consider flushing the core.
Next, test the blend door motor in accessory mode: cycle temperature from cold to hot and watch or listen for motion. Inconsistent temperatures or unresponsive controls indicate a blend door fault—look for broken linkages, failed actuators, or electrical faults.
Do these steps to regain control and autonomy. Call a shop when you hit resistance: persistent coolant leaks, clogged core requiring removal, or faulty actuators needing replacement. For complex repairs, professional tools and diagnostics will save time and protect your freedom.
Model‑Specific Notes: Hybrid Vs Gas RAV4 (2019–2022)
After you’ve run the basic home checks, note that 2019–2022 RAV4 hybrids and gas models heat the cabin in fundamentally different ways, so your diagnostics should change accordingly. You’ll shift from engine-focused checks to electrical and coolant subsystem tests depending on drivetrain. Hybrid heating can produce warmth with the engine off; gas heating needs sufficient engine temp and coolant flow. Inspect heater core, blend doors, coolant level, and control actuators specific to each layout.
- Check coolant flow and thermostat operation first on gas heating models—low flow mimics a failed heater core.
- On hybrid heating systems, scan for electric heater faults, HV subsystem interlocks, and resistive heater elements; verify HVAC module communication.
- For both, test blend door motors and mode doors mechanically and via codes; inconsistent door movement equals uneven or no heat.
Target diagnostics to liberate you from guesswork—replace only the failed component after pinpointing the subsystem.
Frequently Asked Questions
Can Low Cabin Air Filter Cause Weak Heat Output?
Yes — a clogged cabin air filter can reduce cabin temperature and cause weak heat output. You’ll check filter maintenance, replace a restricted filter, and restore airflow so the heating system can liberate consistent, effective warmth.
Can Clogged Heater Hoses Mimic a Heater Core Leak?
Yes — clogged heater hoses can mimic a heater core leak by restricting coolant flow and causing poor heat, visible wetness, or pressure anomalies. Prioritize heater hose maintenance, inspect for blockages, collapse, and replace to restore performance.
Will Low Battery Voltage Affect Heater Blower Operation?
About 30% of electrical issues stem from weak batteries, and yes: if voltage’s low you’ll lose blower motor power. You’ll want battery maintenance, check voltage under load, inspect connections, and test the blower motor circuit.
Can Using the Wrong Coolant Type Damage the Heater System?
Yes — using the wrong coolant can corrode seals, clog passages, and reduce heat transfer, so check coolant compatibility and follow heater system maintenance schedules; you’ll prevent damage, reclaim control, and extend system reliability.
Are There Recalls Related to RAV4 Heater Components?
Yes — you should check NHTSA and manufacturer bulletins; some recalls covered heater core issues and thermostat problems. You’ll want VIN-specific lookup to confirm repairs, remedies, and authorized free service to reclaim control over safety.
Conclusion
You’ve checked coolant, pipes, thermostat, pump, heater core, blend door, and controls — and coincidentally the one part you didn’t suspect (blend‑door motor) often causes the same symptoms as a clogged core. Trust diagnostic signs: unequal pipe temps, no airflow change, or actuator noise. If pipes flow and thermostat and pump test good, replace or recalibrate the actuator; if you spot leaks or heavy clogging, call a shop. Act fast to avoid cabin and engine damage.