
Checking the oil in a Toyota 4Runner is simple, but the details matter. Park on level ground, use the dipstick correctly, and read the level only after the oil has had time to drain back into the pan. For most 2010–2024 4Runners with the 4.0L 1GR-FE V6, Toyota lists 6.6 quarts with a filter change as a reference refill amount, but the dipstick—not the bottle count—is the final judge.
Quick Answer
To check Toyota 4Runner oil, warm the engine, turn it off, park on level ground, and wait more than 5 minutes. Pull the dipstick, wipe it clean, reinsert it fully, then pull it again. The oil should sit between the low and full marks, never below low or above the upper mark.
Key Takeaways
- Use Toyota’s official method: warm engine, engine off, level ground, and wait more than 5 minutes before reading the dipstick.
- The normal range is between the low and upper marks. Below low can damage the engine; above full can cause overfill problems.
- For 2010–2024 4Runner 4.0L V6 models, the reference oil refill is 6.6 qt with filter and 6.0 qt without filter.
- Use SAE 0W-20 oil that meets Toyota’s required grade, unless your owner’s manual for your exact year says otherwise.
- If the oil pressure warning light comes on, stop driving as soon as it is safe and diagnose the problem before continuing.
At a Glance
| Time Required | 5–10 minutes |
| Difficulty | Easy |
| Tools Needed | Lint-free rag or paper towel, gloves, funnel if adding oil |
| Cost | Free to check; oil cost only if topping off |
Check Toyota 4Runner Oil Step by Step
Follow this repeatable process whenever you check the 4Runner’s engine oil. Toyota’s owner’s manual procedure says to check the oil with the engine at operating temperature, then turned off, after waiting more than 5 minutes for oil to drain back into the bottom of the engine.
- Park on level ground. A sloped driveway can make the dipstick read low or high.
- Warm the engine, then shut it off. Let the oil circulate, then turn the engine off before checking.
- Wait more than 5 minutes. This gives oil time to drain back into the oil pan.
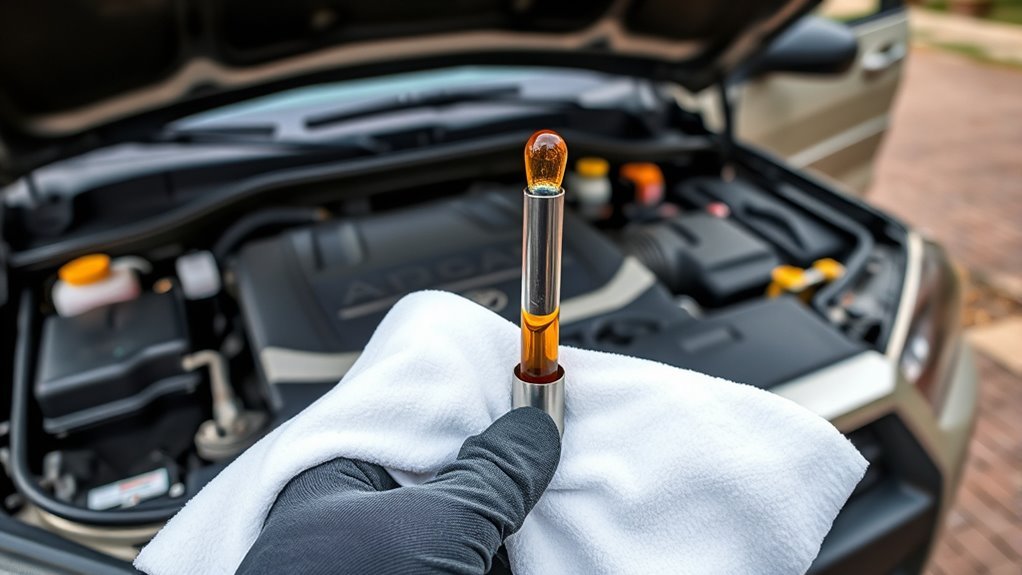
- Open the hood and locate the dipstick. On 2010–2024 4Runner models, the engine oil level dipstick sits in the engine compartment near the engine oil filler cap.
- Pull the dipstick and wipe it clean. Use a lint-free rag so you do not leave debris on the blade.
- Reinsert the dipstick fully. Push it all the way back into the tube so the reading is accurate.
- Pull it out again and read both sides. Use the lower, cleaner oil line if one side is smeared.
- Add oil only if needed. Add small amounts, wait a moment, and recheck. Do not fill above the upper mark.
Warning: Never keep driving with a low oil pressure warning, heavy ticking, knocking, or a dipstick that shows no oil. Stop safely, turn the engine off, and inspect the oil level before restarting.
Best Time to Check: Cold vs. Warm
The official Toyota procedure is to warm the engine, turn it off, then wait more than 5 minutes before reading the dipstick. That is the best method to use when you want to match the owner’s manual.
A cold check first thing in the morning can still be useful for tracking trends, because the oil has fully settled. However, use one method consistently. Mixing cold checks, hot checks, and checks done right after shutdown can make the level look like it is changing when it is really just measurement variation.
| Condition | What It Tells You | Best Use |
|---|---|---|
| Warm engine, off, waited 5+ minutes | Matches Toyota’s recommended checking method | Primary oil-level check |
| Cold engine, before first start | Oil is fully settled and easy to compare over time | Trend tracking between services |
| Immediately after shutdown | Oil may still be draining through the engine | Avoid for final reading |
Note: For the cleanest comparison, check the oil under the same conditions each time: same parking spot, same wait time, and same dipstick-reading method.
Prepare the Dipstick: Wipe, Wait, Reinsert
A clear dipstick reading starts before you look at the marks. Pulling the dipstick and reading it immediately can show oil dragged up the tube, not the real oil level. Instead, wipe the blade clean, reinsert it fully, then pull it again for the reading.
Hold a rag under the dipstick tip as you remove it so oil does not drip into the engine bay. Keep dirt, sand, and shop debris away from the dipstick. Anything on the blade can be carried back into the dipstick tube.
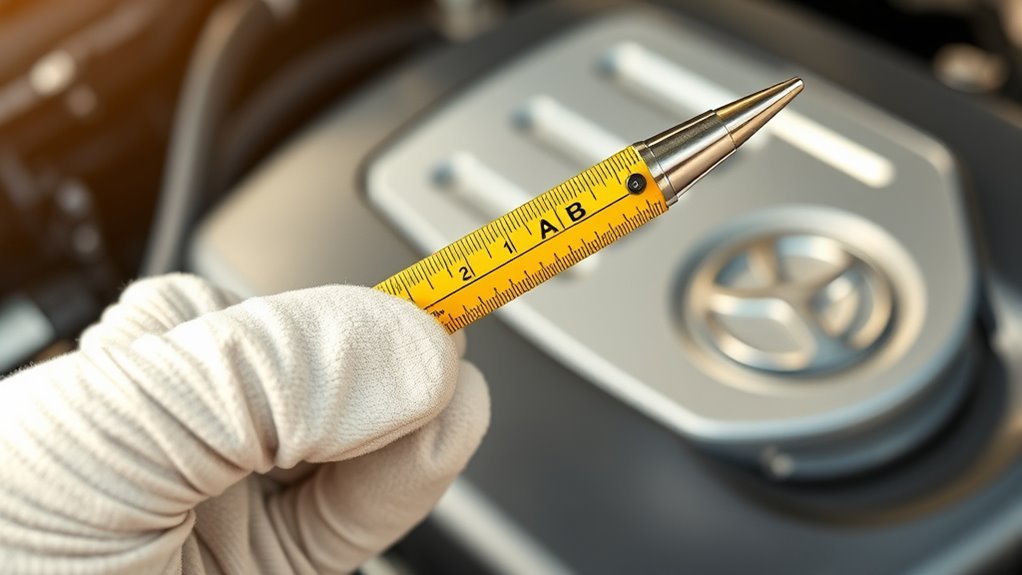
Pro Tip: If fresh oil is hard to see on the dipstick, tilt the blade toward the light and check both sides. The true level is usually the lowest continuous wet line, not a random smear higher up the stick.
Read the Dipstick: Low, Normal, and Excessive Explained
The 4Runner dipstick shows a safe operating range. On many Toyota diagrams, the zones are described as low, normal, and excessive. Your goal is simple: keep the oil in the normal range.
- Below low: Add the correct oil before driving far. If the dipstick is dry, do not run the engine until the level is corrected and leaks are checked.
- Within normal: The oil level is acceptable. No top-off is needed unless you are tracking a downward trend.
- Above the upper mark: The engine may be overfilled. Too much oil can foam, increase crankcase pressure, and cause drivability or seal problems.
The dipstick is the final check. Oil capacity numbers are reference amounts for service, but the correct level is the one shown on the dipstick after the proper wait time.
Fix Common Dipstick Problems: Creep, Smudge, and Splash
Dipstick readings can look messy, especially right after an oil change or when the oil is fresh and clear. Before adding more oil, make sure the reading itself is trustworthy.
Prevent Dipstick Tube Creep
Oil can cling inside the dipstick tube and smear higher on the blade than the real level. To reduce this, wait more than 5 minutes after shutdown, wipe the dipstick clean, reinsert it fully, and read it again.
| Step | Action | Why It Helps |
|---|---|---|
| 1 | Wait more than 5 minutes after shutdown | Lets oil drain back to the pan |
| 2 | Wipe the dipstick clean | Removes old smear from the blade |
| 3 | Reinsert fully | Seats the stick at the correct depth |
| 4 | Read both sides | Confirms the lowest clean oil line |
Improve Level Visibility
Fresh 0W-20 oil can be almost transparent. If you cannot see the line, wipe the dipstick and check again under bright light. Hold the dipstick horizontally and look for the wet edge across the metal. Do not guess based on one thin streak.
If the reading is still unclear, repeat the check after the engine has sat longer. Consistency matters more than speed.
How Much Oil to Add to a 4Runner
If you are only topping off, do not pour in the full oil-change capacity. Add oil slowly in small amounts, then recheck the dipstick. A good rule is to add about 1/4 quart at a time when the level is near the low mark, or 1/2 quart only when it is clearly low.
For 2010–2024 Toyota 4Runner models with the 4.0L 1GR-FE V6, Toyota lists these engine oil refill reference quantities in the owner’s manual:
| Model/Engine | With Filter | Without Filter | Recommended Oil |
|---|---|---|---|
| 2010–2024 4Runner 4.0L V6 1GR-FE | 6.6 qt. (6.2 L) | 6.0 qt. (5.7 L) | SAE 0W-20, ILSAC GF-6A |
| 2025+ 4Runner 2.4L turbo models | Different capacity | Check exact owner’s manual | Check exact owner’s manual |
These are reference quantities for an oil change, not a top-off target. After adding oil, wait a minute, wipe and recheck the dipstick, and stop once the level is in the normal range.
Warning: Do not overfill to “be safe.” A level above the upper mark is not better protection; it can create new problems. If you overfill by a noticeable amount, drain or extract the excess oil before driving normally.
What Oil Type Does a 4Runner Use?
For the 2010–2024 4Runner 4.0L V6, Toyota recommends SAE 0W-20 engine oil meeting ILSAC GF-6A. Toyota notes that SAE 5W-20 may be used if 0W-20 is not available, but it should be replaced with SAE 0W-20 at the next oil change.
Always confirm the oil grade for your exact model year in the owner’s manual, especially if you own a 2025 or newer 4Runner. The 2025 redesign uses a different engine family, so older 4.0L V6 oil capacities should not be applied automatically.
How Often to Check 4Runner Oil
Check the engine oil at least once a month, before long trips, after an oil change, and before towing or off-road driving. If your 4Runner has high mileage, visible leaks, oil smell, blue smoke, or unexplained engine noise, check more often until the cause is found.
Keep a simple note with the date, mileage, oil level, and any oil added. A slow drop over thousands of miles may be normal for some engines, but a sudden drop needs attention.
Troubleshoot Low or Noisy Oil Readings
If the dipstick repeatedly shows low oil, do not just keep topping off without looking for the reason. Low oil can come from leaks, burning oil, an incorrect oil-change fill, or a loose drain plug or filter.
Confirm Dipstick Accuracy
Before diagnosing a mechanical problem, confirm the reading:
- Park on level ground.
- Warm the engine and shut it off.
- Wait more than 5 minutes.
- Wipe, reinsert fully, and pull the dipstick again.
- Read both sides and use the lowest clean continuous oil line.
Address Low Oil Causes
If the level is truly low, inspect the common leak points first: oil filter housing, drain plug, valve cover gaskets, timing cover area, oil pan, and the ground where the vehicle parks. Look for wet oil, burnt-oil smell, or fresh drips.
If there are no external leaks, monitor oil use by mileage. If the level keeps dropping, have a qualified mechanic check for internal oil consumption, PCV system issues, or other engine problems.
Diagnose Valve Train Noise
Ticking or tapping can happen for reasons unrelated to oil, but low oil level or low oil pressure can make valve-train noise worse. If the oil is below the safe range, correct the level and recheck the sound. If noise continues with the oil level correct, inspect oil pressure, lifters, cam components, and oil passages.
Do not ignore knocking, heavy tapping, or a low oil pressure warning. Those signs can point to a lubrication problem that can damage the engine quickly.
What to Do If the Oil Light Comes On
If the oil light or low oil pressure warning appears, treat it as urgent. The warning is not the same as a maintenance reminder.
- Pull over safely. Avoid hard acceleration and stop as soon as it is safe.
- Turn the engine off. Do not let the engine idle while you investigate.
- Check the dipstick. If the level is low, add the correct oil until it reaches the normal range.
- Look for leaks. Check under the vehicle and around the filter and drain plug.
- Do not keep driving if the warning stays on. If the oil level is correct but the warning remains, have the vehicle towed or professionally diagnosed.
Used Oil and Filter Disposal
If you are checking oil during an oil change, collect used oil in a clean, sealed container and recycle it at an approved collection site. Do not pour used oil into household trash, onto the ground, into a storm drain, or down a sink. Used oil filters should also be drained and recycled where accepted.
Frequently Asked Questions
Should I check 4Runner oil hot or cold?
Use Toyota’s official method for the most accurate service reading: warm the engine, turn it off, park level, and wait more than 5 minutes. A cold morning check is useful for tracking trends, but do not mix methods when comparing readings.
How much oil does a 2010–2024 Toyota 4Runner take?
For the 4.0L 1GR-FE V6, Toyota lists 6.6 quarts with the filter and 6.0 quarts without the filter as reference drain-and-refill quantities. Always confirm the final level with the dipstick after waiting more than 5 minutes.
What oil does a Toyota 4Runner use?
Most 2010–2024 4Runner 4.0L V6 models use SAE 0W-20 engine oil meeting ILSAC GF-6A. If SAE 0W-20 is unavailable, Toyota allows SAE 5W-20 temporarily, but it should be replaced with SAE 0W-20 at the next oil change. Check your owner’s manual for your exact year.
What should I do if the oil light comes on in a 4Runner?
Pull over safely, turn the engine off, and check the oil level. Add the correct oil if the level is low. If the warning remains with the oil level correct, do not keep driving; have the lubrication system inspected.
Can I add oil without changing it?
Yes. If the oil level is low but the oil is not due for service, add the correct oil in small amounts and recheck the dipstick. Topping off does not replace regular oil and filter changes.
Conclusion
To check your Toyota 4Runner’s oil correctly, warm the engine, shut it off, wait more than 5 minutes, then wipe, reinsert, and reread the dipstick. Keep the level in the normal range, use the correct oil, and avoid guessing from a smeared dipstick. If the level keeps dropping, the oil light comes on, or the engine becomes noisy, stop treating it as routine maintenance and inspect for leaks, consumption, or low oil pressure before driving farther.
Sources
- Toyota Owners: 2024 4Runner Manuals and Warranties — official owner’s manual source for 2024 4Runner maintenance procedures and specifications.
- Toyota Owners: 2025 4Runner Manuals and Warranties — official owner’s manual source for newer 6th-generation 4Runner models with different engine specifications.
- American Petroleum Institute: Latest Oil Categories — background on current API and ILSAC engine oil standards.
- U.S. Environmental Protection Agency: Managing, Reusing, and Recycling Used Oil — guidance for proper used motor oil and filter recycling.