The Toyota Supra’s differential and final drive decide how engine torque becomes rear-wheel motion. In a JZA80/MKIV Supra, the carrier size, ring-and-pinion ratio, axle code, flange, driveshaft, and LSD type all matter. This guide explains what each part does, how the common factory ratios compare, and what to check before changing gears or swapping differentials.
Quick Answer
The Supra differential lets the rear wheels rotate at different speeds while the final-drive ratio sets how many driveshaft revolutions turn the wheels once. A higher numerical ratio, such as 3.769 or 4.272, gives stronger acceleration and higher cruising RPM. A lower ratio, such as 3.133 or 3.266, favors relaxed highway speed and longer gearing.
Key Takeaways
- The differential is the rear axle assembly that allows left and right wheel-speed difference; the final drive is the gear ratio inside it.
- JZA80 axle codes use a format such as A02D or B07D: the first letter identifies carrier size, the middle numbers identify ratio, and the last letter identifies open/LSD type.
- A 220mm B-series “big diff” is stronger and better for high-torque builds, while a 200mm A-series diff is lighter and common on many NA, automatic, and some JDM cars.
- Changing from a lower ratio to a higher numerical ratio improves response but raises cruise RPM, noise, fuel use, and shift frequency.
- Before buying parts, verify the axle code, ring-gear size, companion flange, driveshaft, output shafts, transmission, and market-specific fitment.
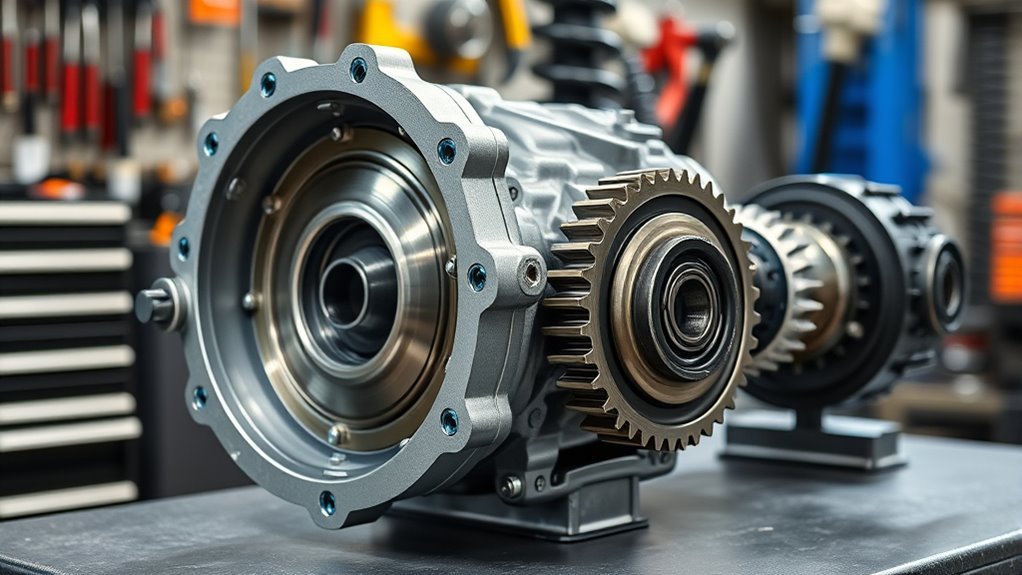
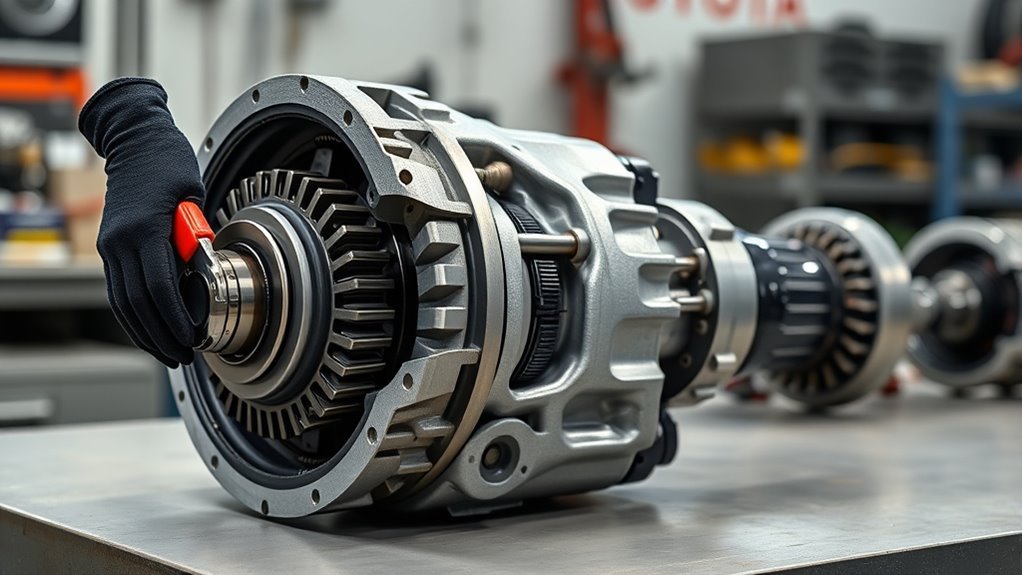
What the Supra Differential and Final Drive Do
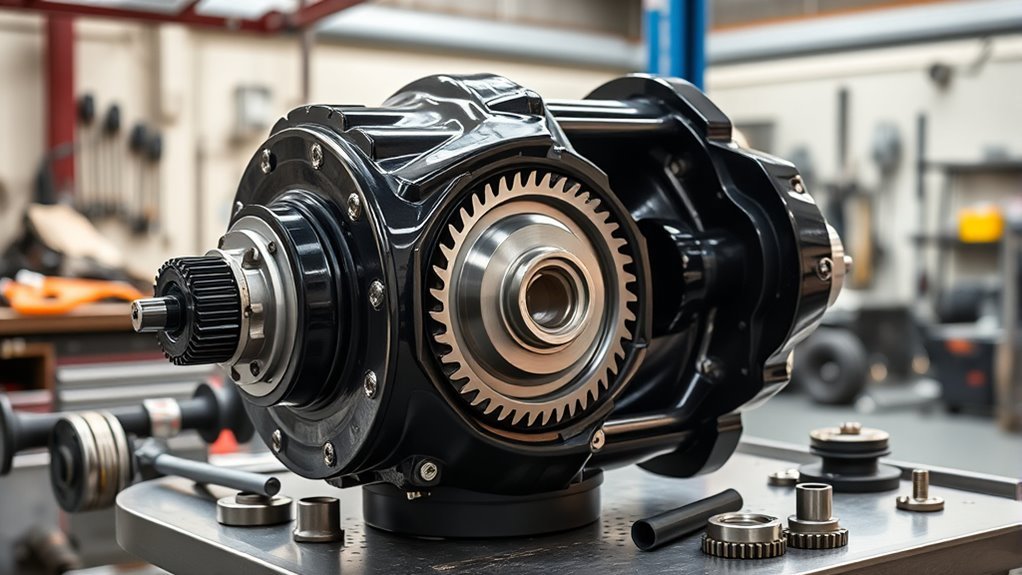
The driveshaft sends torque from the transmission to the rear differential. Inside the differential, the ring gear, pinion gear, carrier, spider gears, side gears, and LSD mechanism work together to turn that driveshaft torque ninety degrees and send it to the axle shafts.
The important distinction is simple: the differential lets the left and right rear wheels rotate at different speeds, while the final drive is the gear ratio created by the ring-and-pinion set. The outside rear wheel must travel farther than the inside wheel in a corner, so it needs to rotate faster. Without that speed difference, the tires would scrub and the car would bind during turns.
An open differential is smooth and predictable, but if one rear tire loses grip, it can spin that tire instead of pushing the car forward. A limited-slip differential, or LSD, reduces that one-wheel-spin behavior by biasing torque across both rear wheels. That is why LSD type matters for launches, corner exits, drifting, track braking stability, and daily drivability.
Factory JZA80 ratio and carrier information is commonly decoded from the axle code on the door tag or under-hood identification plate. Specialist Supra differential references list A-series units as 200mm “small diffs” and B-series units as 220mm “big diffs,” with codes such as A02D, B03B, and B07D identifying ratio and LSD configuration.
Ring & Pinion: Acceleration, Top Speed, and RPM Effects
The ring-and-pinion ratio controls the relationship between driveshaft speed and wheel speed. A 3.769 final drive means the driveshaft turns about 3.769 times for one turn of the ring gear. A 4.272 ratio is even shorter; a 3.133 ratio is taller.
Higher numerical ratios multiply torque harder at the wheels, so the car feels sharper at low speed and pulls through each gear more quickly. The tradeoff is that the engine spins faster at the same road speed. That can mean more noise, more fuel use, more frequent shifts, and a lower theoretical top speed if the car is gear-limited instead of power-limited.
Use this quick rule before changing gears:
- New cruising RPM = current RPM × new ratio ÷ old ratio.
- New theoretical top speed in the same gear = current top speed × old ratio ÷ new ratio.
For example, moving from a 3.133 to a 3.769 ratio raises cruising RPM by about 20%. Moving from a 3.133 to a 4.272 ratio raises cruising RPM by about 36%. That is a major change, not a small tweak.
| Ratio | Typical JZA80 Context | Driving Effect |
|---|---|---|
| 3.133 | Common US-spec 6-speed turbo code B07D | Tall gearing, lower highway RPM, strong top-speed potential |
| 3.266 | Common JDM and some Euro 6-speed turbo codes B03B/B03D/A03B | Balanced 6-speed gearing with quicker response than 3.133 |
| 3.538 | Seen in some Euro/GCC automatic or NA applications | Shorter gearing, stronger acceleration, higher cruise RPM |
| 3.769 | Common A02 automatic and some JDM SZ-R/RZ automatic applications | Very responsive street gearing, noticeably busier at speed |
| 4.083 / 4.272 | Common NA 5-speed/automatic small-diff applications by year and market | Strong launch feel, short gears, least relaxed highway cruising |
Warning: Do not buy a ring-and-pinion or complete differential by ratio alone. The JZA80 uses different carrier sizes, flanges, output arrangements, and driveshaft combinations. A correct ratio in the wrong housing can still become an expensive fitment problem.
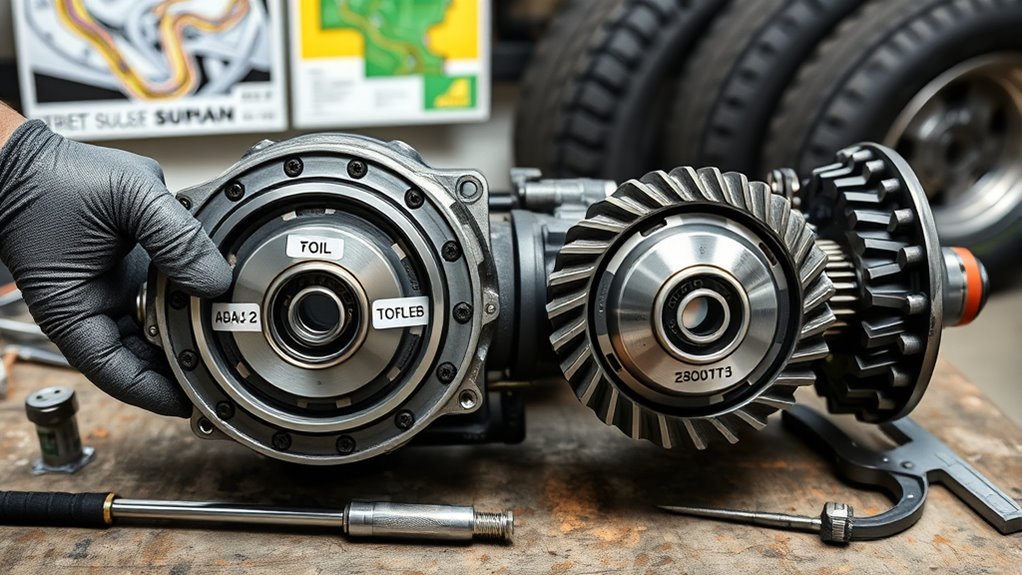
Decode Your Axle Code: Factory Ratio & LSD
The axle code is the fastest way to identify the factory-style differential setup. On a MKIV Supra, it is usually a four-character code such as A02D, A05B, B03B, or B07D. You may find it on the door tag or under the hood, depending on market and year.
The common enthusiast decoding format is:
- First character: A = 200mm small differential; B = 220mm big differential.
- Middle two numbers: the ring-and-pinion ratio index.
- Last character: open or LSD type.
Axle Code Breakdown
Here is the practical decode chart used for many JZA80 differential references:
| Code Part | Meaning | Example |
|---|---|---|
| A | 200mm small diff | A02D |
| B | 220mm big diff | B07D |
| 01 | 4.083 ratio | A01B |
| 02 | 3.769 ratio | A02D |
| 03 | 3.266 ratio | B03B or A03B |
| 04 | 3.538 ratio | B04D |
| 05 | 4.272 ratio | A05B |
| 07 | 3.133 ratio | B07D |
For the final character, common references list A as open differential, B as 1-way LSD, C as 1.5-way LSD, and D as 2-way LSD. In practice, verify the actual unit because previous owners may have swapped the center, changed the gearset, or installed an aftermarket LSD.
Pro Tip: Photograph the axle code, companion flange, rear cover, and output shaft areas before shopping. Sellers often list “Supra diff” too broadly, but those details help confirm whether the unit matches your driveshaft and axle setup.
LSD And Carrier Types
The carrier and LSD type affect both fitment and feel. A 200mm A-series carrier is smaller and lighter. A 220mm B-series carrier uses a larger ring gear and is generally preferred for high-torque turbo builds. The LSD center then determines how the rear end behaves when one wheel tries to spin faster than the other.
Open diffs are smooth for normal use but weak for traction. Torsen-style helical LSDs are quiet and street-friendly, but they need some tire load to bias torque effectively. Clutch-type LSDs can lock more aggressively and are tunable, but they need the correct oil, break-in, preload checks, and periodic service. That is why a drift, drag, road-course, and daily-driver Supra may each need a different differential setup.
Supra Big Vs Small Diffs (B-Series 220MM Vs A-Series 200MM)
The JZA80’s two common differential families are the A-series 200mm small diff and the B-series 220mm big diff. The larger 220mm unit has more ring-gear diameter and is the safer starting point for heavy torque, sticky tires, drag launches, and hard track use. The 200mm unit saves weight and is common in many naturally aspirated, automatic, and some JDM configurations.
Big Diff Benefits
The B-series 220mm big diff is popular because it offers extra strength where the drivetrain sees the most shock load. In high-power Supras, that matters more than a small weight saving.
- Higher torque capacity: the larger ring gear and beefier housing are better suited to high-power turbo builds.
- Better match for 6-speed turbo use: many desirable 6-speed turbo applications use B-series codes such as B03B, B03D, or B07D.
- Stronger long-term upgrade path: more serious drag, roll-race, and track builds usually start with the larger carrier.
- More confidence on sticky tires: tire grip increases drivetrain shock, and the larger unit gives more margin.
Small Diff Tradeoffs
The A-series 200mm small diff is not automatically bad. It is lighter, widely available in some markets, and can be a smart choice for moderate-power street cars. The problem appears when power, tire grip, clutch bite, or launch abuse rises beyond what the smaller gearset should handle.
| Attribute | B-Series Big Diff | A-Series Small Diff |
|---|---|---|
| Ring Gear Size | 220mm | 200mm |
| Strength | Higher | Moderate |
| Weight | Heavier | Lighter |
| Best Use | High-power turbo, drag, track, sticky tires | NA, mild turbo, street, lighter builds |
| Fitment Risk | Must match flange and shafts | Must match flange and shafts |
Common Factory Ratios by Market (JDM, US, EU) and Real-World Impact
Factory JZA80 ratios vary by market, year, trim, engine, and transmission. Avoid broad claims like “all US cars use 3.13” or “all Euro cars use 3.54.” The safer approach is to verify the axle code on the specific car or differential.
- US-spec 6-speed turbo: commonly listed as B07D with a 3.133 ratio and LSD.
- US-spec naturally aspirated cars: often use A-series small diffs with 4.272 or 4.083 ratios depending on year and equipment.
- US-spec turbo automatic: commonly associated with A02D 3.769 LSD in many references.
- JDM RZ 6-speed: early V160 cars are commonly listed as B03B 3.266 LSD; later RZ/RZ-S V161 listings often show A03B 3.266 LSD.
- JDM SZ/SZ-R and automatic models: many use A-series ratios such as 4.083 or 3.769 depending on trim and transmission.
- Euro/GCC/general-market cars: listings vary widely, including 3.266 and 3.538 examples, so axle-code verification is essential.
The real-world impact is easy to feel. A 3.133 six-speed turbo car is calmer at highway speed and holds gears longer. A 3.769 or 4.272 car feels more eager around town but runs higher RPM on the motorway. The best ratio depends on tire diameter, gearbox, turbo response, use case, and how much highway driving you do.
A final-drive swap changes every gear at once. Before choosing a ratio, calculate cruising RPM and speed-in-gear with your actual tire size and transmission ratios.
LSDs Explained: How Open, 1-Way, 1.5-Way, and 2-Way Diffs Feel
Different LSD types change how the car reacts on throttle, off throttle, and under braking. This matters because a differential that feels excellent for drifting may feel noisy, twitchy, or tiring on the street.
- Open differential: smooth and cheap, but the tire with less grip can spin easily. Best for basic daily use, not performance traction.
- Helical/Torsen-style LSD: quiet, progressive, and street-friendly. It biases torque when both tires have some load, but it may be less effective if one wheel is unloaded.
- 1-way clutch LSD: locks mainly under acceleration. Good for traction on corner exit while staying calmer during braking and turn-in.
- 1.5-way clutch LSD: locks under acceleration and partially under deceleration. This is a popular road-course and fast-road compromise because it adds braking stability without being as aggressive as a full 2-way.
- 2-way clutch LSD: locks under acceleration and deceleration. It is predictable for drifting and some competition use, but it can add noise, understeer, tire wear, and low-speed chatter.
Aftermarket manufacturers such as KAAZ list separate 1.5-way and 2-way Supra applications for 200mm and 220mm ring-gear sizes, which reinforces the main fitment rule: match the LSD to the carrier, transmission, and intended use.
Swaps & Upgrades for JZA80: Crown & Pinion, Carriers, and Flanges
Swapping a JZA80 crown-and-pinion, complete carrier, LSD center, or input flange can transform the car, but the job is not just “bolt in any Supra diff.” The ring-gear size, carrier, companion flange, output shafts, driveshaft length, rear mounts, and ABS/speed-signal setup all need to work together.
- Confirm the current axle code. Start with the code on the chassis, then confirm what is actually installed.
- Verify ring-gear size. A 200mm gearset will not fit a 220mm carrier, and a 220mm gearset will not fit a 200mm carrier.
- Check the companion flange. “Big flange” and “small flange” refer to the input flange that connects to the driveshaft.
- Match the output side. Axle shafts and side flanges can vary by model and market.
- Choose the LSD for the use case. A quiet street car, drift car, drag car, and road-course car do not need the same lock behavior.
- Budget for setup work. Ring-and-pinion installation requires correct backlash, contact pattern, bearing preload, and new seals/bearings where needed.
Note: A complete used differential can still be a gamble. Many MKIV Supras are decades old and have had ratio swaps, LSD swaps, drag launches, or rebuilds. Inspect oil condition, backlash, bearing noise, mount condition, and flange play before installation.
Tradeoffs of Changing Ratios: Noise, Gearing, Driveshafts, and Cost
A shorter final drive can make the car feel more alive, especially with a large turbo or a gearbox that feels lazy at low speed. But every benefit has a cost.
| Change | Benefit | Tradeoff |
|---|---|---|
| Higher numerical ratio | Quicker acceleration and better low-speed response | Higher RPM, more noise, more shifting |
| Lower numerical ratio | Lower cruise RPM and longer gears | Softer launch and less punch in each gear |
| Clutch LSD upgrade | More lock and traction under load | Chatter, maintenance, oil sensitivity |
| Big-diff conversion | More strength for power and grip | Cost, sourcing, flange and driveshaft issues |
Cost also varies by region. Some JDM A-series units are easier to find than B-series 220mm assemblies. Rare ratios and clean 6-speed turbo LSD units can command high prices. For that reason, calculate the goal first, then buy the parts, not the other way around.
Choosing the Right Ratio for Your Build: Street, Track, or Mixed Use
The right ratio depends on how the car is driven. A street car usually benefits from response and easy acceleration. A standing-mile or long-straight track car may need taller gearing. A road-course car needs the ratio to place each corner exit in the useful part of the powerband without forcing an awkward extra shift.
- Street build: consider 3.538, 3.769, or 4.083/4.272 only if highway comfort is not the top priority. These ratios wake the car up but raise RPM.
- High-power turbo build: a 3.133 or 3.266 can help traction and keep gears usable when the engine makes big torque.
- Track build: match the ratio to tire diameter, redline, transmission, and track layout. The “best” ratio is the one that avoids bad shift points.
- Drag build: choose the ratio around tire height, trap speed, transmission, powerband, and whether the car must finish in a specific gear.
- Mixed-use build: 3.266 is often a strong compromise for 6-speed cars because it improves response without becoming as busy as a 3.769 or 4.272.
Maintenance and Setup Tips Before You Change Anything
Before blaming the final-drive ratio for poor traction or noise, inspect the existing differential. Old mounts, wrong fluid, worn bearings, worn clutch plates, backlash problems, and bad tires can all mimic the need for a ratio or LSD upgrade.
- Check fluid type: open, helical, and clutch-type LSDs may need different oil or friction modifiers.
- Listen for bearing noise: a whine that changes with throttle load can point to ring-and-pinion or bearing problems.
- Inspect mounts and bushings: clunks are often mount-related, not always gear-related.
- Confirm backlash and contact pattern: a ring-and-pinion swap should be set up by someone with differential experience.
- Recheck after break-in: fresh gears and clutch LSDs may need a fluid change and inspection after initial use.
Frequently Asked Questions
Are final drive and differential the same?
No. The differential is the rear axle assembly that allows the left and right wheels to rotate at different speeds. The final drive is the ring-and-pinion ratio inside that assembly. People often use the terms together because changing the differential or gearset changes how the car accelerates and cruises.
Does the GR Supra have a limited-slip differential?
Many A90/GR Supra 3.0 models use an active limited-slip rear differential, while 2.0 availability can depend on model year and market. If you are shopping for parts or a used car, verify the VIN, trim, and differential part listing instead of assuming every GR Supra has the same rear end.
Is a higher final-drive ratio better?
A higher numerical final-drive ratio is better for acceleration, but not automatically better overall. It raises cruising RPM, increases noise, shortens each gear, and can reduce theoretical top speed. For a highway or high-power Supra, a lower ratio may be easier to drive and better for traction.
Where do I find the MKIV Supra axle code?
Look for the vehicle identification plate or sticker, commonly on the door tag or under the hood depending on market. The axle code is usually a four-character code such as A02D, A05B, B03B, or B07D. Because many cars have been modified, also inspect the actual differential before ordering parts.
Can I swap a small diff for a big diff in a JZA80 Supra?
Yes, but it is not always a simple one-part swap. You must match the carrier, mounts, input flange, driveshaft, output flanges, axles, and sometimes related hardware. A complete matched conversion is safer than mixing random used parts.
Conclusion
The Supra differential is not just a rear-end housing; it is one of the biggest tuning levers in the whole drivetrain. The differential controls how torque reaches each rear wheel, the LSD controls how the car behaves when grip changes, and the final-drive ratio changes the feel of every gear.
For a relaxed 6-speed highway car, a 3.133 or 3.266 setup can make sense. For a sharper street car, 3.538, 3.769, or 4.083/4.272 ratios can feel more urgent. For a serious high-power build, the 220mm B-series carrier is usually the stronger foundation. Whatever you choose, decode the axle code, confirm the real hardware, calculate RPM changes, and match the differential to the way the car is actually driven.
Sources
- Grannas Racing — Toyota Supra MKIV (JZA80) Differential Info — axle-code decoding, common JZA80 ratios, A-series and B-series carrier references.
- Toyota Supra JZA80 Repair Manual — Rear Differential Section — factory-style rear differential service and inspection reference.
- KAAZ USA — Supra JZA80 6-Speed 220mm 1.5-Way LSD — aftermarket LSD type, 220mm ring-gear application, and clutch LSD behavior.
- KAAZ USA — Supra JZA80 200mm 2-Way LSD — 200mm ring-gear LSD application and competition differential reference.
- Toyota UK — GR Supra Technical Specifications — current GR Supra specification reference.
- Toyota Parts — GR Supra Differential 41110-WAA07 — GR Supra differential fitment example showing limited-slip availability varies by model/trim.