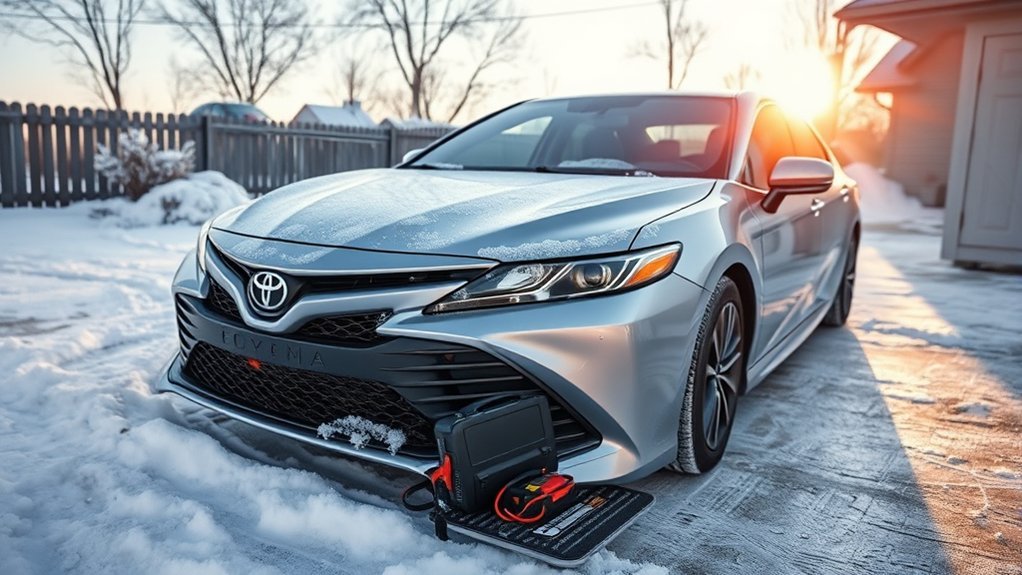
If your Toyota Camry’s power windows aren’t working, start by checking fuses 42, 43, 61, and 52 for integrity. Listen for a relay click when you operate the switches; silence means further issues exist. Remove the door panel to inspect wiring for brittleness or breaks. Test the window motor using a 12V battery; if it fails to respond, consider replacement. Understanding these steps helps you pinpoint the problem, and you can explore more detailed solutions ahead.
Understanding the Power Window System in Your Camry
Understanding the power window system in your 2002 Toyota Camry is essential for troubleshooting any issues. This system operates through four fuses and a relay function, each playing a critical role in window operation. The fuse box, located behind the door panel, contains specific fuses for each window: front left (61), front right (43), rear left (42), and rear right (52). If a window isn’t working, check these fuses first.
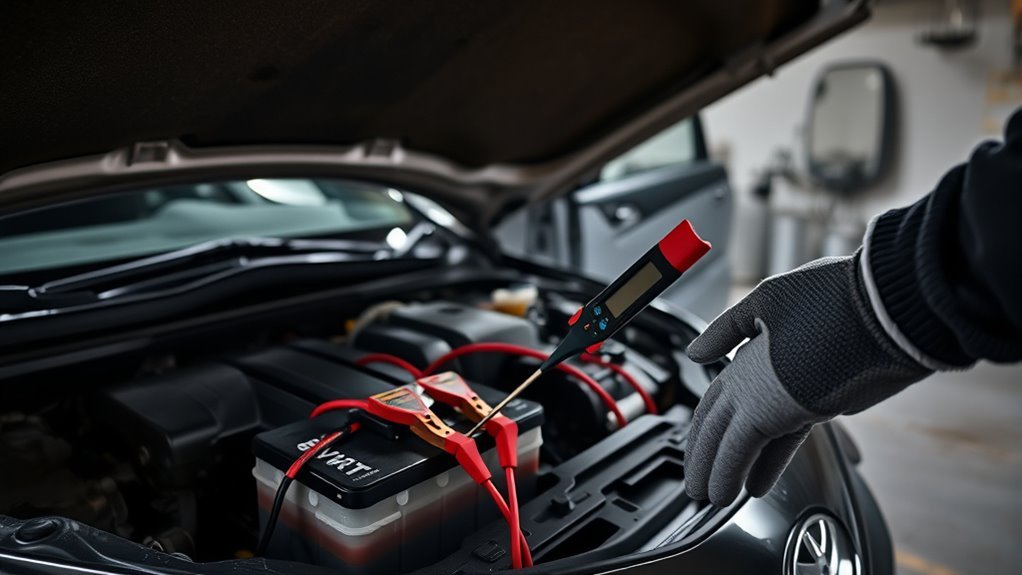
The relay, situated at the back of the fuse board, clicks when you operate the window switch, signaling the system to function. Weakening wires, often due to frequent door openings, or brittle wiring within rubber casing can lead to breakage, causing window malfunctions. If you suspect problems with the motor, you can test it using a 12V battery and jumper cables to verify it raises and lowers the window correctly.
Quick Steps to Troubleshoot Your Power Windows
If your power windows aren’t functioning, a systematic approach can help you identify the issue quickly. Start by checking the fuse location for the power windows: inspect fuses 42 (rear left), 43 (front right), 61 (front left), and 52 (rear right) to verify none are blown. If they’re intact, listen for the relay on the back of the fuse board; it should click when you operate the window switches.
Next, test the window motor. Disconnect it and use a 12V battery with jumper cables to check if it operates in both directions. Finally, examine the wiring within the rubber casing for brittleness or breaks. Frequent door openings can weaken connections, impacting window safety. By following these steps, you’ll be well on your way to troubleshooting the issue effectively.
How to Take Off the Door Panel for Wiring Checks
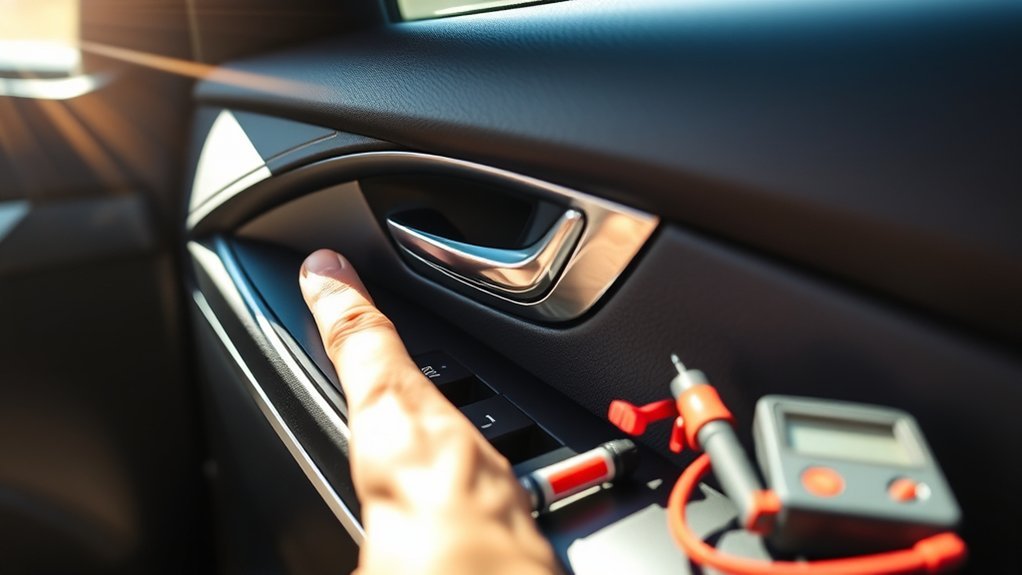
Before you proceed with wiring checks, it’s essential to remove the door panel of your 2002 Toyota Camry carefully. Start by locating and unscrewing the two bottom screws securing the panel. Don’t forget to check for additional screws in the middle section and near the door handle that also need removal.
Next, use proper trim tool techniques to carefully pry the panel away from the door, as it’s held by snaps along the edges. Be mindful of the wires connected to the door lock mechanism to avoid damage during the removal process.
Once the panel is off, you can access the wiring for further inspection of the power window system. Here’s a quick reference table to help streamline your door panel removal:
| Step | Action | Notes |
|---|---|---|
| Locate Screws | Unscrew bottom screws | Check middle and handle |
| Pry Panel | Use trim tool | Be gentle to avoid breaks |
| Disconnect Wires | Carefully detach connections | Prevent damage |
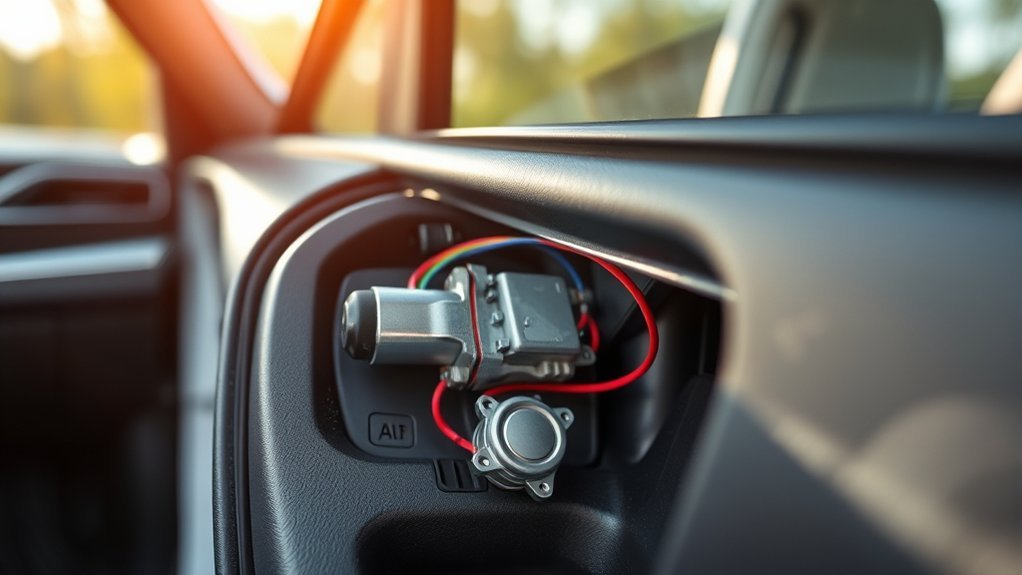
Testing the Window Motor With a 12V Battery

With the door panel removed, you can now access the window motor for testing. Begin by unplugging the motor from its connector to expose the terminals. Grab some jumper cables and connect the motor directly to a 12V battery, confirming correct polarity to determine the window movement direction. If the motor operates and the window moves up or down, it’s functioning correctly. However, if it doesn’t respond, the motor may be faulty and could require replacement.
Before proceeding, always verify the vehicle’s power is off to avoid electrical hazards. Refer to your wiring diagram if you suspect issues in the connections, as proper wiring is essential for motor functionality. Testing the motor this way provides a clear indication of whether you need a motor replacement or further inspection of the wiring.
Identifying and Repairing Common Wiring Issues in Power Windows
While troubleshooting power window issues, identifying and repairing common wiring problems is essential for restoring functionality. Frequent door openings can weaken the wiring harness, leading to breaks. To diagnose these issues, follow these steps:
Troubleshooting power window issues requires careful inspection of wiring, as frequent door openings can lead to critical breaks.
- Remove the Door Panel: Unscrew bolts at the bottom, middle, and near the handle, and detach snap fittings to access the wiring.
- Inspect Wiring Condition: Look for brittle wires within rubber casings, as they may cause electrical connection issues.
- Check for Bends: Natural bending in the wiring can indicate potential break points, requiring further inspection.
- Evaluate Electrical Connectors: Verify all electrical connectors are secure and free from corrosion; a faulty connection can mimic a switch failure.
Frequently Asked Questions
Why Is My Toyota Camry Window Not Working?
Your Toyota Camry window might not work due to window motor failure or a faulty switch. Check the fuse, test the motor with a 12V battery, and inspect the wiring for any damage.
Conclusion
In the grand scheme of things, a power window malfunction is merely a hiccup in your Camry’s otherwise smooth ride. By following these troubleshooting steps and checking the wiring, you can restore that seamless operation with ease. If you encounter persistent issues, it might be time to consult a professional. Remember, a little patience and a few tools can go a long way in bringing back the joy of your power windows. Happy driving!