On your Toyota Tundra the EVAP system traps fuel vapors and the O2 sensors tune fuel trim and monitor catalyst efficiency; failures set codes (P0455/P0442 etc.), illuminate the MIL, and cause failed smog checks. Start by verifying gas cap seal, EVAP hoses, purge/vent valve actuation and canister integrity, then scan live O2 voltages (upstream 0.1–0.9V oscillation, downstream ~0.5V steady). Follow the specified drive cycle and diagnostics to resolve readiness and emissions faults and learn targeted repair steps.
What EVAP and O2 Sensors Do on a Toyota Tundra
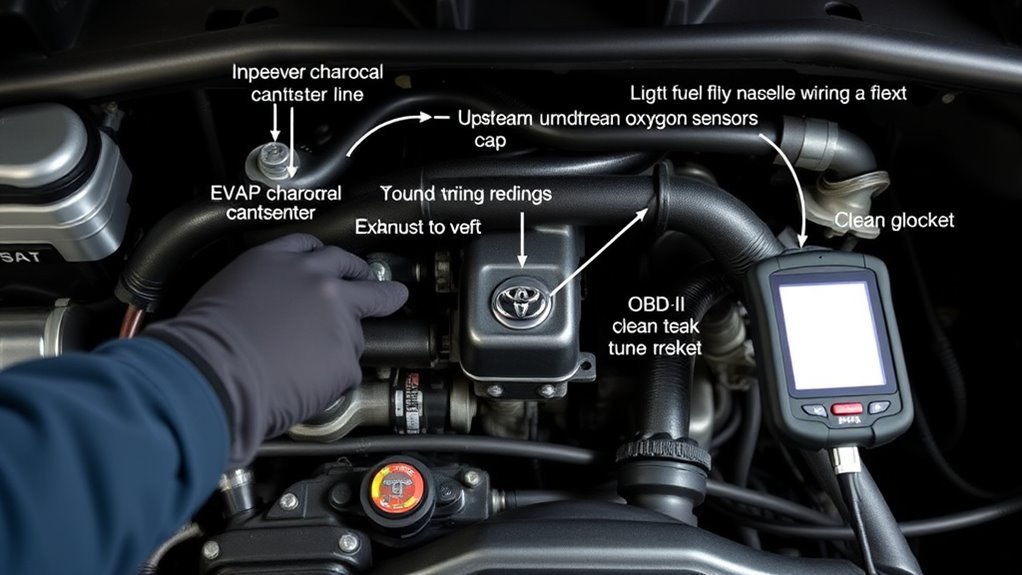
Two core sensor systems control your Tundra’s emissions: the EVAP system traps and stores fuel vapors from the tank to prevent atmospheric release, while oxygen (O2) sensors measure exhaust O2 content so the engine control unit can adjust fuel trim for ideal combustion. You’ll diagnose EVAP functionality by checking for leaks, purge/vent valve operation, and charcoal canister integrity; failures typically set specific trouble codes and illuminate the MIL, impairing exemption from emissions tests. You’ll monitor multiple O2 sensors—upstream for air-fuel feedback and downstream for catalyst efficiency—to verify closed-loop control and converter performance. You should replace aged NTK or equivalent O2 sensors on schedule, since degraded sensors skew fuel trim and reduce efficiency. Approach inspection with liberation in mind: accurate, timely repairs free you from false failures and regulatory hold. Prioritize targeted tests—smoke for EVAP, voltage/waveform capture for O2 sensors—and document results to restore compliant, efficient operation.
Why Readiness Monitors Matter for Smog and Registration
When your Tundra’s readiness monitors aren’t set, the vehicle can fail a smog check or get flagged during registration because the test equipment can’t verify that the EVAP, O2 sensors, catalyst and other emissions controls have completed their self-tests. You need monitor importance framed as legal and functional: incomplete monitors signal unknown emissions behavior and block emissions compliance verification. That can stop registration, trigger fines, or void refunds.
| Task | Effect |
|---|---|
| EVAP monitor unset | Smog fail / flagged |
| O2 monitor unset | Inconclusive catalyst test |
| Drive cycle incomplete | Monitors won’t set |
| New parts only | Diagnostics still required |
| Failed set | Registration denied |
You’ll follow prescribed drive cycles, run diagnostic checks, and validate each monitor to regain freedom from bureaucratic hold. Treat readiness as preventive maintenance; it’s technical, precise, and central to maintaining lawful, low-emission operation and avoiding extra inspections or costs.
Common Symptoms of EVAP or O2 Failures on a Tundra
A persistent check engine light and measurable drivability losses are the two most common signs you’ll see when a Tundra’s EVAP or O2 systems are failing. You’ll detect reduced fuel economy, rough idle, hesitation on acceleration, or intermittent stalling when an O2 sensor drifts or fails. EVAP faults often stem from leaks or venting problems that let fuel vapor escape, triggering codes and preventing emission monitors from completing.
- Check engine light with P0455/P0442-style EVAP codes or O2-related codes.
- Poor fuel efficiency and rich/lean conditions indicated by fluctuating short/long term fuel trims.
- Failed or incomplete emissions testing due to EVAP monitor not setting or erratic O2 readings.
- Driveability issues: rough idle, hesitation, or stalls; live data shows inconsistent O2 voltages or incorrect temp readings.
You’ll use focused diagnostics and live scans to liberate the system from false readings and restore proper emissions function.
Pretest Checklist: Gas Cap, Hoses, Sensors, and Scan Tool
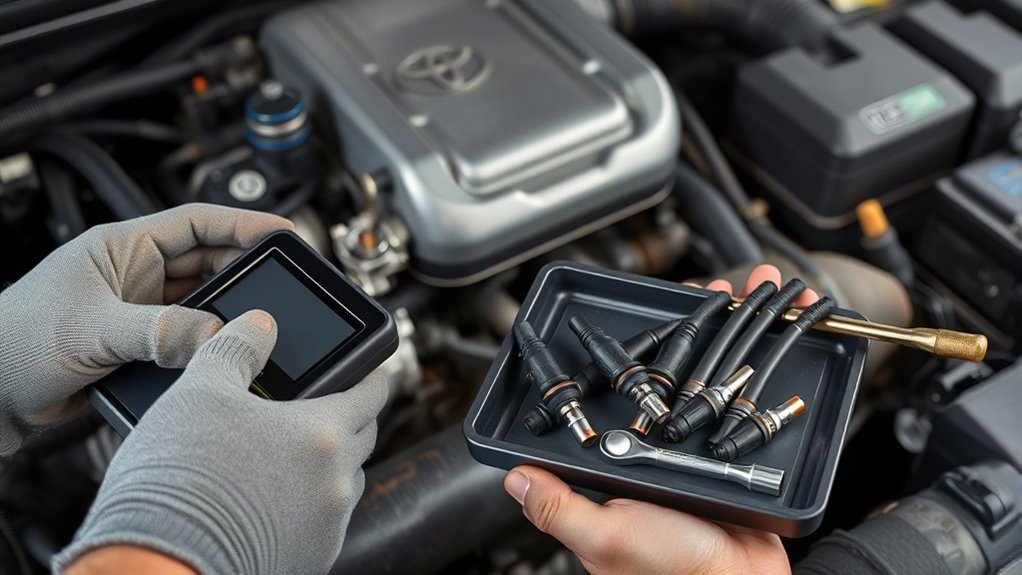
Start with the basics: confirm the gas cap seals firmly and shows no cracks, then perform a systematic visual and pressure check of all EVAP hoses and fittings for leaks or deterioration. You’ll verify the gas cap and hose inspection first, because a simple cap or cracked hose often masks deeper faults. Next, check upstream and downstream O2 sensors for proper voltage swings and heater function with a digital meter or scan tool. Use the scan tool to read pending and stored codes, plus monitor readiness status; don’t proceed if monitors show incomplete readiness. Maintain fuel between 1/4 and 3/4 tank when you run follow-up checks.
| Item | Action |
|---|---|
| Gas cap | Inspect seal, threads, and torque feel |
| Hoses | Hose inspection: crush, cracks, clamp integrity |
| Sensors/Scan | Verify O2 waveforms, heater draws, readiness |
You’ll document findings, replace faulty parts, and re-run checks to restore emissions freedom and compliance.
Drive Cycle for 2000–2004 V8 Tundra (Step‑by‑Step)
Begin with a warm engine and fuel level set between 1/4 and 3/4 tank; this guarantees the Tundra’s onboard monitors can complete their required checks. You’ll follow a strict, repeatable pattern to reset EVAP and O2 readiness — it’s practical liberation from failed inspections when done precisely. Remember drive cycle tips and the monitor importance: consistency beats guessing.
Start with a warm engine and 1/4–3/4 tank, then follow a precise drive cycle to reset EVAP and O2 readiness.
- Idle 5 minutes with engine warm, then accelerate to 55 mph; maintain for at least 10 minutes to stabilize sensors and catalyst conditions.
- Reduce to 30 mph and hold for 5 minutes to exercise partial-load responses and EVAP routines.
- Come to a complete stop; idle 5 minutes to allow idle diagnostics and closed-loop checks to occur.
- Drive varied speeds between 25–55 mph for 30 minutes total, including stops and accelerations; repeat the full cycle 2–3 times to maximize readiness flag set.
Execute this sequence precisely; it’s diagnostic discipline that frees you from uncertain test outcomes.
Using a Live‑Data Scan Tool: PIDs, Temps, and Readiness Flags
Use your live-data scan tool to watch key PIDs — O2 sensor voltages, long‑ and short‑term fuel trims, and EVAP status — so you can spot deviations from expected ranges in real time. Verify coolant temperature with the scan tool to confirm the engine reaches and reports the target temperature needed to complete the drive cycle. Finally, check readiness flags after completing the prescribed drive cycle steps to ascertain the EVAP and O2 monitors have set and the vehicle is ready for inspection.
Live Data PIDs
One key step is connecting a live‑data scan tool to read PIDs for O2 sensors, coolant and evaporative system temperatures, and readiness flags so you can diagnose monitor status in real time. You’ll use PID Monitoring and Sensor Diagnostics to liberate faulty assumptions and quickly pinpoint failures. Focus on voltages, temperature deltas, and flag changes to free the vehicle from hidden faults.
- Verify O2 sensor voltages oscillate within expected ranges and switch frequency to confirm proper combustion feedback.
- Compare coolant PID to expected operating range to validate temperature sensor behavior without relying on guesswork.
- Watch EVAP temperature drop during cool down to assess purge and leak detection readiness.
- Inspect readiness flags to determine which monitors are complete and which require attention.
Coolant And Flags
When you hook a live‑data scan tool to the Tundra, monitor the coolant temperature PID and the emissions readiness flags simultaneously so you can correlate thermal behavior with monitor completion in real time. You’ll use coolant monitoring to confirm the engine reaches and maintains target temperature, then observe the required temperature drop the EVAP test needs. Watch PIDs for steady coolant duration, heater activity, and cooling cycles; unstable readings delay readiness. For flag interpretation, read the EVAP and O2 readiness flags after each drive cycle to track progress toward “ready” status. If flags remain incomplete, isolate causes: thermostat, sensor, or driving profile. This diagnostic approach frees you from guesswork and restores control over emissions troubleshooting.
EVAP Trouble Spots: Purge Valve, Canister, Pump, and Vacuum Lines
You’ll first check the purge valve for proper actuation and leakage, since a stuck or electrically failed valve prevents commanded purging and will set readiness monitors off. Then inspect all vacuum lines for cracks, loose fittings, or soft spots that cause slow leaks and intermittent EVAP faults. Prioritize these two items in diagnostics because they’re the most common and cost-effective to test or replace.
Purge Valve Failures
Although the purge valve sits small and out of sight, it directly controls vapor flow from the canister to the intake and will trigger a check engine light and poor drivability when it fails. You’ll want focused purge valve maintenance and emissions troubleshooting to restore control and reclaim freedom from limp performance. Use a scan tool first to read EVAP codes and readiness flags.
- Detect: rough idle, hard starts, reduced fuel economy—document symptom conditions precisely.
- Test: apply power/ground to the valve and verify open/close response, and measure resistance.
- Inspect: check canister condition and electrical connectors for corrosion; blockages can mask valve faults.
- Replace: if nonresponsive or out of spec, swap the valve and re-run readiness tests to confirm system liberation.
Vacuum Line Leaks
Purge valve faults often trace back to small breaches in the vacuum plumbing, so start checking vacuum lines next for EVAP trouble spots. You’ll inspect hoses for cracks, loose fittings, and hardening that compromise vacuum integrity and disrupt purge valve operation and canister venting. Use a smoke machine or pressure tester for definitive leak detection; even hairline leaks can prevent the EVAP pump from completing self-tests and set readiness faults. Replace brittle hoses, confirm clamps seat properly, and verify canister and pump seals. Restoring reliable vacuum paths frees the system to function and clears false faulting. Below is a quick diagnostic checklist.
| Item | Action |
|---|---|
| Hoses | Inspect/replace |
| Clamps | Tighten/replace |
| Canister | Verify seal |
| Pump | Test pressure |
| Purge valve | Functional check |
O2 Sensor Checks: Upstream vs Downstream and Expected Voltages
When diagnosing Tundra emissions, start by comparing upstream and downstream O2 sensor voltages to pinpoint where the system is failing; upstream sensors (pre-cat) should swing rapidly between about 0.1V and 0.9V as they monitor air-fuel ratio, while downstream sensors (post-cat) should sit near ~0.5V with minimal fluctuation if the catalytic converter is functioning. You’ll use the upstream sensor functions and downstream sensor roles as diagnostic anchors. Probe sensors with a scan tool or multimeter, watching response speed and amplitude.
- Confirm upstream sensors oscillate 0.1–0.9V rapidly; slow or fixed readings indicate sensor or fueling issues.
- Verify downstream sensors stabilize near 0.5V; large swings imply catalytic inefficiency.
- Compare phase and frequency: upstream rapid switching vs downstream steady trace confirms converter effectiveness.
- Record live data under varied loads; use consistent test conditions to liberate accurate conclusions and guide corrective action.
Estimated Repair Costs for Common Emission Parts
Cost estimates for common emissions components help you budget repairs and prioritize diagnostics; for a 2025 Toyota Tundra expect roughly $455 for a vapor canister assembly (down from a $517 MSRP for the 22‑gallon tank), about $209 for a front O2 sensor and $197 for a rear O2 sensor (left, 32‑gallon tank), $213 for a leak detection pump, $102 for a vacuum switch, and individual vapor hoses in the $20–$34 range depending on specification. Use this repair cost analysis to triage failures: replace high‑impact items first to restore compliance and drivability. Assess emissions component lifespan against mileage, driving profile, and fault frequency; sensors and pumps typically fail from contamination or thermal cycling, hoses from cracking. You’ll want to log part costs versus expected service life to decide between OEM and aftermarket sources. Prioritize repairs that relieve multiple codes or prevent catalytic damage. Maintain clear records so you can free yourself from repeated diagnostics and pursue targeted replacement strategies with confidence.
When to Get Shop Help and How Dyno Completion Works
If monitors won’t reset after several proper drive cycles, you should take the Tundra to a shop that has a dynamometer and advanced diagnostic tools; they can reproduce the exact load, speed, and temperature conditions needed to complete the drive cycle and observe EVAP and O2 sensor behavior in real time. You’ll get focused emission diagnostics and targeted testing that standard OBD checks can’t provide. Technicians use controlled runs to provoke faults, confirm sensor responses, and validate repairs.
If monitors won’t set, take the Tundra to a dyno-equipped shop for precise, real-time emission diagnostics and targeted testing.
- Use the dyno to replicate highway and city loads precisely, ensuring monitors see required conditions.
- Run monitored sequences while logging O2 sensor voltages, EVAP purge/vent activity, and fuel trims.
- Apply advanced scan tools to detect intermittent faults, clogged lines, or faulty valves impacting readiness.
- After corrective actions, complete dyno drive cycles to force monitor set and document dynamometer benefits for inspection.
You’ll leave with objective data and liberation from vague failure causes.
Frequently Asked Questions
Does an O2 Sensor Affect the Evap System?
Yes — an O2 sensor malfunction can disrupt EVAP system interaction by skewing fuel-air control and diagnostics; you’ll trace lean/rich conditions, failed readiness monitors, and false leak indications to regain emissions compliance and automotive freedom.
How Much Does It Cost to Replace the Oxygen Sensor on a Toyota Tundra?
You’ll pay about $159–$237 for a replacement oxygen sensor; costs vary by Oxygen Sensor Types and Replacement Frequency. You’ll choose OEM for reliability, you’ll schedule timely swaps, and you’ll reclaim efficiency and emissions control.
What Is the Most Common Problem With Toyota Tundra?
The most common problem you’ll face is Tundra reliability issues with aging emission components; expect common repairs like failed EVAP hoses/canisters and oxygen sensors, so you’ll diagnose vacuum leaks, sensor codes, and readiness monitor failures.
Conclusion
You’re the steward of your Tundra’s breath and balance; EVAP and O2 sensors are its lungs and nerves. When monitors fail, think surgical: inspect gas cap, hoses, purge valve, canister and sensor wiring with a scan tool, then follow the drive cycle to coax readiness. Treat symptoms diagnostically, replace parts priced by wear and codes, and bring it to a shop when fixes or dyno completion exceed your tools—restore the system, restore the truck’s pulse.