Replacing a Toyota Camry headlight bulb is usually a simple DIY job on models with replaceable halogen bulbs, but the exact bulb size and access method depend on your Camry’s model year, trim, and headlight assembly. Before buying a bulb, confirm whether your car uses a replaceable halogen bulb or a factory LED headlight assembly, then follow the steps below to remove, install, and test the bulb safely.
Quick Answer
To replace a Toyota Camry headlight bulb, turn off the car, open the hood, locate the correct low-beam or high-beam socket behind the headlight housing, turn the bulb base counterclockwise, release the connector tab, install the matching new bulb without touching the glass, lock it back in, and test the lights.
Key Takeaways
- Always verify the bulb size by model year, trim, owner’s manual, VIN-based parts lookup, or the marking on the old bulb.
- Many older Camrys use replaceable halogen bulbs, but newer trims may use LED headlight assemblies that are not serviced like a standard bulb.
- Handle halogen bulbs with gloves or a clean towel; skin oils on the glass can shorten bulb life.
- After installation, test low beams, high beams, turn signals, parking lights, and beam aim before driving at night.
At a Glance
| Time Required | 10–30 minutes per side on most halogen models |
| Difficulty | Easy to moderate, depending on engine-bay access |
| Tools Needed | Gloves, clean towel, flashlight, and sometimes a flathead screwdriver or small socket set |
| Cost | Usually the cost of the replacement bulb; LED assembly replacement can cost much more |
Before You Buy a Toyota Camry Headlight Bulb
Do not buy a bulb by guessing. Toyota Camry headlight bulbs vary by model year, trim, market, and whether the car has halogen, HID, or LED lighting. Start with your Toyota owner’s manual, then confirm with a VIN-based Toyota parts lookup or a reputable bulb finder.
You can also check the old bulb after removing it. Most halogen bulbs have the bulb type printed on the base, such as H11, 9005, 9006, or another code. If the code on the old bulb, owner’s manual, and parts lookup do not match, stop and verify before installing anything.
Note: If your Camry has a sealed factory LED headlight assembly, there may not be a simple replaceable low-beam or high-beam bulb. In that case, the correct repair may involve replacing or servicing the headlight assembly, not installing a plug-in bulb.
Tools and Safety Precautions
Before working on the headlights, park on a level surface, set the parking brake, turn the headlights off, and remove the key or keep the smart key away from the vehicle. Let the bulbs and headlight housing cool before touching anything behind the assembly.
- Replacement bulb that matches your exact Camry year, trim, and bulb position
- Nitrile gloves or clean mechanic’s gloves
- Clean lint-free towel or shop towel
- Flashlight
- Small screwdriver or socket set if an air duct, cover, or fastener blocks access
- Isopropyl alcohol and a clean cloth if the glass is accidentally touched
Warning: Never force a connector, twist the wrong plastic part, or install a bulb that does not match the socket. A loose, incorrect, or overheated bulb can damage the headlight housing or create poor visibility.
How to Open the Hood of Your Toyota Camry
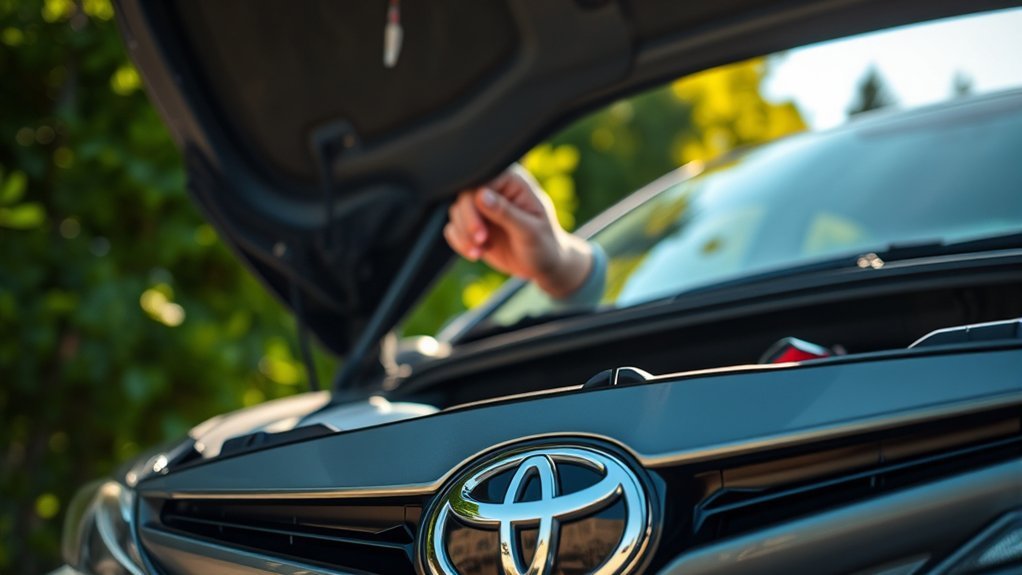
To open the hood, sit in the driver’s seat and pull the hood release lever below the dashboard. Move to the front of the car, slide your hand under the front edge of the hood, and release the secondary safety latch near the center of the grille.
Lift the hood fully. If your Camry uses a hood prop rod, place the rod securely in its marked slot before reaching into the engine bay. Check that the hood is stable before you begin working behind the headlight assembly.
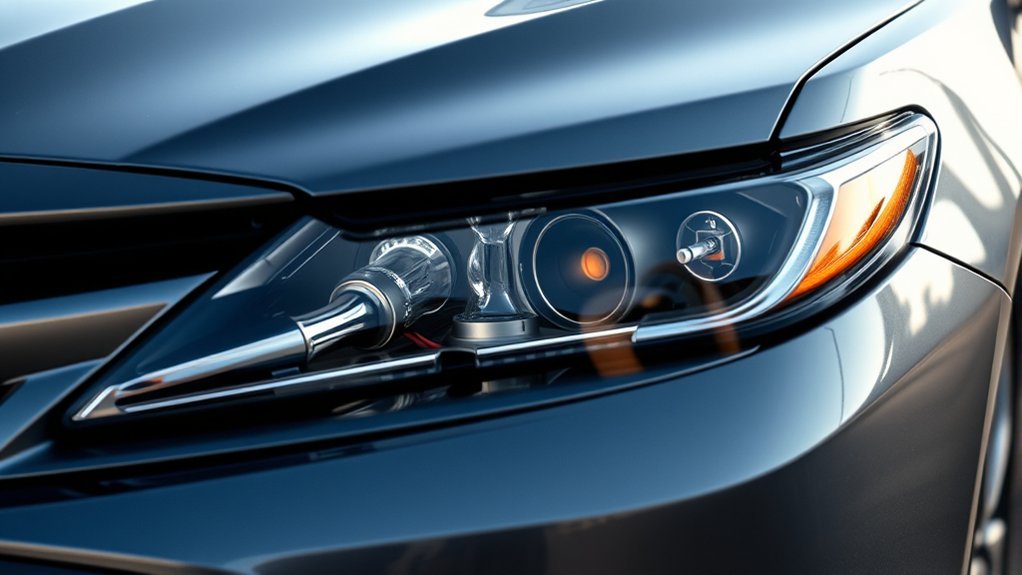
Where to Find the Low-Beam Bulb
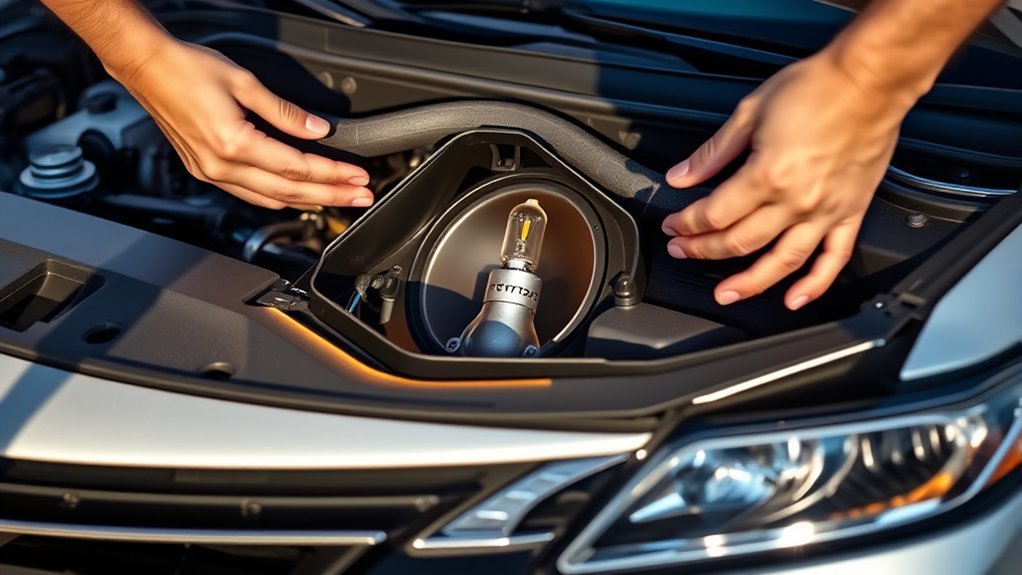
The low-beam bulb sits behind the headlight housing, usually toward the outer or lower portion of the assembly depending on the Camry generation. Open the hood and look behind the headlight lens for the bulb socket and wiring connector.
On many halogen Camry models, the low beam and high beam are separate bulbs. The low beam is the standard nighttime driving light, while the high beam is the brighter long-distance light. If you are unsure which socket is which, turn the lights on briefly, identify the failed lamp from the front, then turn the lights back off and let the area cool.
Steps to Remove the Low-Beam Bulb
- Make sure the headlights are off and the bulb is cool.
- Reach behind the low-beam headlight housing and locate the bulb base or socket.
- Turn the bulb base counterclockwise until it releases from the housing.
- Pull the bulb straight out without scraping the glass against the housing.
- Press the connector lock tab and pull the wiring connector straight off the old bulb.
- Compare the old bulb and new bulb to confirm the base, tabs, and connector match exactly.
Pro Tip: Replace halogen headlight bulbs in pairs when possible. If one side has burned out, the other side may be close behind, and a fresh pair gives more even brightness and color.
How to Install the Low-Beam Bulb
Put on gloves before handling the new bulb. Hold it by the plastic base, not by the glass. If you accidentally touch the glass on a halogen bulb, clean it with isopropyl alcohol and let it dry before installation.
- Push the wiring connector onto the new bulb until the lock tab clicks.
- Line up the tabs on the bulb base with the slots in the headlight housing.
- Insert the bulb straight into the housing without forcing it.
- Turn the bulb base clockwise until it locks firmly in place.
- Gently wiggle the connector to confirm it is secure.
- Turn on the low beams to confirm the new bulb works, then turn them off before continuing.
How to Locate the High-Beam Bulb
The high-beam bulb is usually near the low-beam bulb in the same headlight assembly, but its exact location changes by year and trim. Some Camrys also use the high-beam bulb as part of the daytime running light system, so confirm the correct socket before removing it.
| Bulb / Light Type | What It Does | DIY Note |
|---|---|---|
| Low beam | Normal nighttime road lighting | Often replaceable on halogen models |
| High beam | Long-distance bright lighting | May share function with daytime running lights |
| Factory LED assembly | Integrated LED lighting system | Usually not replaced like a standard halogen bulb |
Steps to Remove the High-Beam Bulb
The high-beam removal process is similar to the low beam on many halogen Camrys. Work slowly because the high-beam socket can be close to the radiator support, battery, fuse box, or washer fluid neck.
- Turn off the headlights and let the bulb cool.
- Locate the high-beam bulb socket behind the headlight housing.
- Turn the bulb base counterclockwise to unlock it.
- Pull the bulb straight out of the headlight assembly.
- Press the connector release tab and separate the bulb from the wiring connector.
- Inspect the connector for melting, corrosion, looseness, or broken tabs before installing the new bulb.
How to Install the High-Beam Bulb
Confirm the replacement high-beam bulb matches the old bulb’s base and connector. Do not assume the high beam uses the same bulb type as the low beam.
- Connect the wiring plug to the new high-beam bulb until it clicks.
- Line up the bulb tabs with the headlight housing slots.
- Insert the bulb straight into the socket opening.
- Turn the bulb base clockwise until it locks.
- Test the high beams from inside the car.
- Check that the high-beam indicator appears on the dashboard when the high beams are on.
What If Access Is Too Tight?
Some Camry engine bays have tight clearance behind one headlight. If you cannot fit your hand behind the housing, look for removable covers, intake duct pieces, or fasteners that can be safely moved for access. Take a photo before removing anything so you can reinstall it correctly.
Do not pull hard on wiring or pry against the headlight housing. If the battery, fuse box, bumper cover, or headlight assembly must be removed, the job becomes more advanced. At that point, use the factory repair manual or have a Toyota dealer or qualified technician handle it.
Avoid These Common Mistakes When Replacing Bulbs
- Buying the wrong bulb: Always verify the bulb by year, trim, and position.
- Touching halogen glass: Oils from your skin can create hot spots and shorten bulb life.
- Forcing the socket: If the bulb will not lock, remove it and realign the tabs.
- Leaving the connector loose: A loose connector can cause flickering or heat damage.
- Skipping the test: Test both beams before closing the hood.
- Ignoring beam aim: A poorly seated bulb can scatter light and glare at other drivers.
Warning: Be careful with drop-in LED or HID bulbs in headlight housings designed for halogen bulbs. They can create glare, poor beam patterns, and compliance problems. For road use, stick with the correct OEM-style bulb or a properly certified headlight assembly.
How to Test the Headlights After Installation
After installing the new bulb, test every front-lighting function before driving:
- Turn on the parking lights.
- Turn on the low beams.
- Turn on the high beams.
- Check left and right turn signals.
- Check hazard lights.
- Walk around the front of the car and compare brightness on both sides.
If the new bulb does not work, switch the headlights off and recheck the connector, bulb seating, and bulb type. If both bulbs are out, inspect the fuse, relay, switch, or wiring before assuming both new bulbs are defective.
How to Check Headlight Aim After Replacing a Bulb
A bulb that is not seated fully can make the beam pattern look crooked or dim. Park on level ground facing a wall or garage door about 25 feet away. Turn on the low beams and compare both beam patterns. They should look even and stable, not scattered or pointed sharply upward.
If one side looks much higher, dimmer, or messier than the other, turn the lights off and reseat the bulb. If the beam still looks wrong, have the headlight aim checked professionally.
How to Close the Hood After the Replacement
Before closing the hood, remove all tools, old bulbs, packaging, and towels from the engine bay. Confirm that any covers, ducts, or fasteners you moved are back in place.
- Lower the hood until it is about halfway down.
- Make sure nothing blocks the latch area.
- Let the hood drop firmly from a short height or press it down according to your owner’s manual.
- Listen for the latch to click.
- Gently lift the front edge to confirm the hood is fully latched.
Troubleshooting After Replacing a Camry Headlight Bulb
| Problem | Likely Cause | What to Check |
|---|---|---|
| New bulb does not turn on | Loose connector, wrong bulb, blown fuse, or bad bulb | Connector click, bulb type, fuse box, and old bulb comparison |
| Bulb flickers | Loose connector or damaged wiring | Connector pins, harness, corrosion, and socket heat damage |
| Beam looks scattered | Bulb not seated or wrong bulb type | Bulb tab alignment and beam pattern on a wall |
| Both headlights are out | Fuse, relay, switch, or wiring issue | Owner’s manual fuse chart and professional diagnosis if needed |
| Moisture inside lens | Bad seal, loose cap, cracked housing, or vent issue | Dust cap, housing seal, lens cracks, and vent openings |
Frequently Asked Questions
What type of headlight bulb does my Toyota Camry use?
It depends on your Camry’s model year, trim, and headlight assembly. Check your owner’s manual, the old bulb’s printed code, a VIN-based Toyota parts lookup, or a reputable bulb finder before buying a replacement. Do not assume every Camry uses the same low-beam or high-beam bulb.
How often should I replace my headlight bulbs?
There is no universal time interval for every Camry bulb. Replace a bulb when it burns out, becomes noticeably dim, changes color, flickers, or no longer matches the other side. For halogen headlights, replacing both sides as a pair helps keep brightness and color even.
Can I replace Toyota Camry headlight bulbs without professional help?
Yes, many Camry models with replaceable halogen bulbs can be handled at home with basic tools. If your car has a sealed LED assembly, damaged wiring, melted connectors, heavy moisture, or blocked access that requires bumper removal, professional service is the safer choice.
Are LED bulbs compatible with my Toyota Camry?
Factory LED headlights are different from plug-in LED replacement bulbs. If your Camry came with halogen headlight housings, installing drop-in LED or HID bulbs may cause glare, poor beam focus, and legal compliance issues. Use the correct OEM-style bulb or a properly certified headlight assembly.
What tools do I need for headlight bulb replacement?
For many halogen Camrys, you only need the correct bulb, gloves, a clean towel, and a flashlight. A screwdriver or small socket set may help if an air duct, cover, or fastener blocks access behind the headlight housing.
Why does my new headlight bulb keep burning out?
Common causes include touching the halogen glass during installation, using a poor-quality or incorrect bulb, loose connectors, vibration, moisture inside the housing, or voltage problems. Inspect the socket and connector if bulbs fail repeatedly.
Conclusion
Replacing a Toyota Camry headlight bulb is manageable when your car has replaceable halogen bulbs and you confirm the correct bulb first. Work with the headlights off, let the housing cool, handle the new bulb carefully, lock the socket fully, and test both beams before closing the hood. If your Camry uses LED assemblies or has wiring, moisture, or access problems, get the repair checked by a qualified technician.
Sources
- Toyota Owners Manuals and Warranties — official owner’s manual lookup by Toyota vehicle and year.
- Toyota Genuine Camry Parts and Accessories — official Toyota parts lookup starting point for Camry parts.
- Sylvania Automotive Bulb Replacement Guide — bulb lookup guidance and owner’s manual reminder.
- Sylvania Halogen Bulb Handling Guidance — supports using gloves or a clean towel and avoiding the glass.
- NHTSA Interpretation on LED Headlights — explains LED light-source compliance for replaceable-bulb and integral-beam headlamps.
- 49 CFR 571.108, FMVSS No. 108 — federal lamp, reflective device, and associated equipment requirements.