You should use the correct radiator and engine cap PSI on your Toyota Camry—typically 14.5–16 PSI—because cap pressure controls boiling point, vent thresholds, and coolant flow to the overflow. A lower 13 PSI cap drops boiling temperature and raises overheating risk; a higher cap increases system stress. Test caps with a pressure tester and prefer OEM parts for consistent spring tension and seal geometry. Keep going to see test steps, sourcing tips, and pressure trade-offs.
Quick Answer: Camry Radiator Cap Pressure
Most Toyota Camrys use a radiator cap rated between 13 and 16 PSI, depending on model year and engine. You should match that rating to Toyota’s spec: a 16 PSI cap raises coolant boiling point to about 257°F, improving thermal margin; a 13 PSI cap lowers that margin and can increase overheating risk under heavy load. You’ll select coolant types per manual, but cap pressure remains a distinct spec that directly affects boiling point and system pressure. You must test caps for pressure retention during routine cap maintenance — a leaking cap dumps pressure, permits early boiling, and lets coolant escape. Replace caps that fail to hold rating rather than guessing compatibility. By keeping cap pressure correct and verifying integrity, you free yourself from avoidable overheating and maintain system integrity. This concise, technical approach gives you the control you want over cooling performance and engine longevity.
What Radiator and Engine Caps Do (And Why Pressure Matters)
You already know that cap pressure affects boiling point and overheating risk; now let’s look at what the radiator and engine caps actually do and why their specific pressure ratings matter. You rely on these caps to seal the cooling system, maintain system pressure, and manage coolant flow to the overflow reservoir. At specified ratings (radiator ~16 PSI, engine ~14.5 PSI) the caps elevate the coolant boiling point, improving coolant efficiency and enabling consistent heat transfer under load.
A lower-pressure cap (for example 13 PSI) reduces boiling-point elevation, encourages vapor formation, and undermines overheating prevention. Caps also prevent coolant loss and air entry; either failure degrades thermal control and can cause hot spots or head-gasket stress. Regular pressure testing verifies seals and spring function, ensuring the system holds design pressure. Maintain specified caps to protect engine longevity, preserve coolant efficiency, and keep your vehicle free to operate without the constraint of avoidable overheating.
Camry Cap Locations and Factory PSI
On your Camry the primary radiator cap sits on the radiator (if equipped) and is factory-rated at 16 PSI, while the auxiliary engine cap is mounted on the engine and is rated at 14.5 PSI. You should match these factory pressure ratings when replacing caps, since using a lower PSI (e.g., 13 PSI) can reduce boiling point and risk overheating. Confirm cap locations and compatibility for your model year—some 1994+ Camrys may not have a traditional radiator cap—and consult Toyota parts or service manuals.
Radiator And Engine Caps
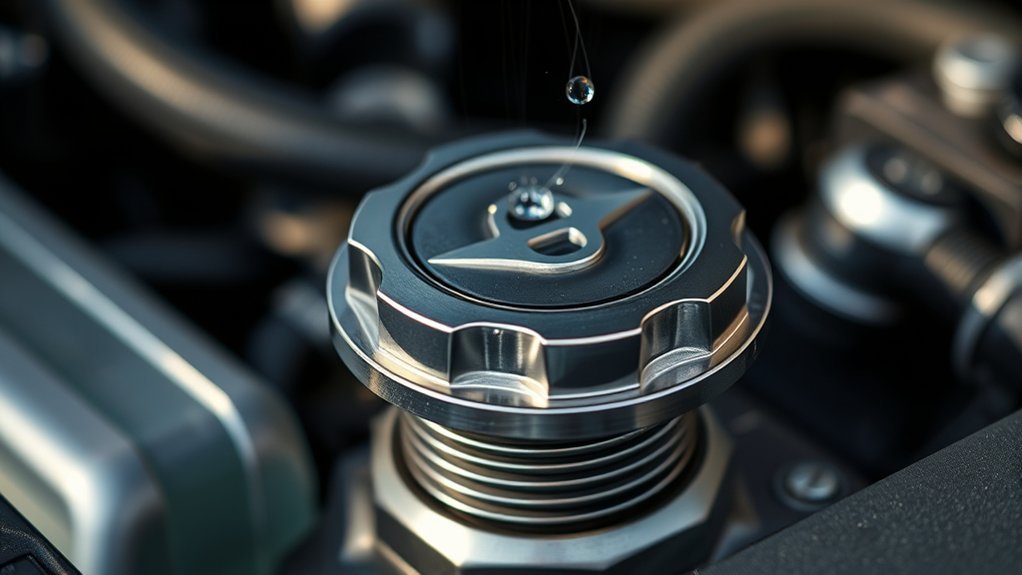
Although Camry cooling systems vary by year, the factory specifies a 16 PSI radiator cap and a 14.5 PSI engine (overflow) cap for models that use both, and you should use replacements that match those pressures to maintain correct boiling point and system integrity. You’ll find the radiator cap on early models (92–93) and often absent on 94+ models where the overflow/engine cap handles pressure. Use Toyota parts references or service manuals to confirm fitment. Caps prevent coolant loss and air ingress; mismatched lower-PSI caps risk overheating and reduced performance. For cap maintenance, inspect seals and valves for corrosion or deformation; replace at first sign of wear. Keep straightforward troubleshooting tips: pressure-test caps, verify tank neck condition, and follow OEM specs to protect the system.
Factory Pressure Ratings
When verifying Camry cap locations and factory PSI, note that Toyota specifies a 16 PSI radiator cap and a 14.5 PSI engine/overflow cap for Gen 3 V6 models, with 1992–1993 cars typically having a dedicated radiator cap while 1994+ models usually rely on the overflow/engine cap to hold system pressure. You should confirm the cap rating before replacement: a drop to 13 PSI on some replacement engine caps changes boiling point and cooling margin. Test caps for pressure retention routinely; a failed cap causes coolant loss, overheating, and potential engine damage. Prefer OEM parts to minimize pressure variations and avoid aftermarket risks that compromise seal integrity or spring tension. Maintain records of cap tests and replacements to preserve reliability and autonomy.
Cap Location Differences
Having covered factory pressure specs, you should next locate which cap actually holds pressure on your Gen 3 Camry: 1992–1993 cars typically have a radiator-mounted cap rated around 16 PSI, while 1994+ models usually rely on an engine/overflow cap (commonly 14.5 PSI) to seal the system.
- Inspect visually: radiator cap sits on the radiator neck; later models show a sealed radiator and a pressurized engine/overflow cap—note cap types and stamped PSI.
- Verify spec: match replacement to factory pressure (commonly 16 PSI radiator, ~13–14.5 PSI engine cap) to retain boiling-point elevation and prevent coolant loss.
- Installation tips: install clean, undamaged caps, torque or hand-seat per spec, and pressure-test the system after fitting to guarantee integrity and liberation from overheating risk.
How Cap Pressure Raises Coolant Boiling Point
Because pressurizing the cooling system raises the coolant’s saturation temperature, a 15 psi radiator cap boosts a 50/50 antifreeze/water mixture’s boiling point from about 223°F to roughly 257°F, keeping the fluid liquid at higher engine temperatures. You rely on coolant chemistry and pressure dynamics: each psi raises water’s boiling point by ≈3°F, so added cap pressure shifts phase equilibrium and prevents vapor formation in hot zones. That liquid state preserves convective heat transfer, avoids vapor locks, and maintains predictable flow through passages and the radiator. If you increase cap pressure, the saturation curve moves higher, letting the engine run hotter without boiling; decreasing pressure lowers the margin. Correct cap selection thus stabilizes operating temperature, protects head gaskets, and sustains thermal efficiency. You should treat the cap as a calibrated control element in the cooling circuit—its pressure rating directly governs boiling behavior and system resilience under load.
Risks of the Wrong Cap PSI for Your Camry (13 Vs 14.5 Vs 16+)
The radiator cap’s pressure rating directly sets the coolant’s boiling margin, so swapping to a 13 psi or 16+ psi cap from the factory 14.5 psi changes how your Camry handles heat and vapor formation. You’ll alter system equilibrium: lower pressure reduces boiling temperature and promotes venting; higher pressure raises boiling point and resists vapor entry. Cap compatibility matters — mismatched caps change vent thresholds and cooling efficiency, increasing overheating risks or masking problems.
Changing your Camry’s radiator cap (13, 14.5, 16+ psi) shifts boiling margin, venting, and system stress—restore the stock cap.
- 13 psi: lowers boiling point, increases coolant venting at lower temps, raises overheating risks under load.
- 14.5 psi (factory): balances boiling margin and venting; preserves designed thermal safety and cap compatibility.
- 16+ psi: raises boiling point, reduces coolant loss and air ingestion, but increases peak system pressure and stress on hoses/seals.
You should monitor engine temperature after any cap change and restore the specified cap to maintain liberation from preventable failure.
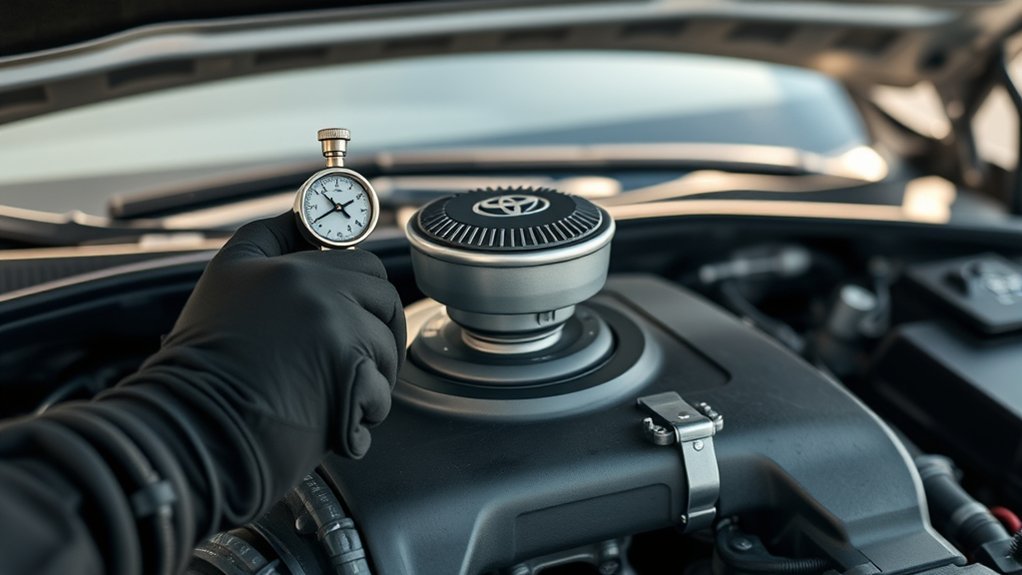
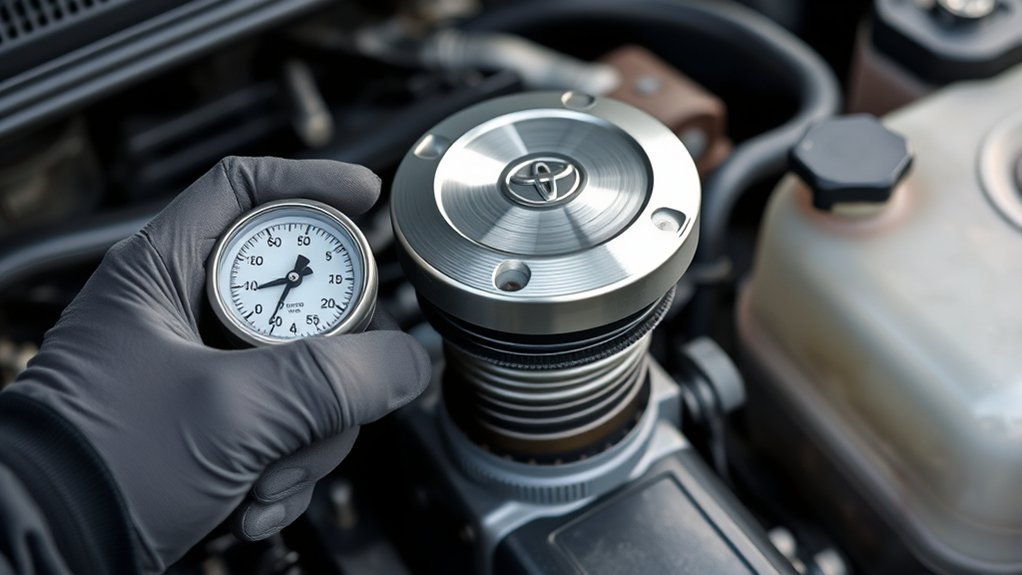
How to Test a Cap and Verify Rated Pressure
You’ll use a Snap-On radiator cap pressure tester to pump the cap to its rated PSI and watch the gauge for steady retention. Listen for any hissing or audible pressure loss and note the exact pressure at which the cap releases or fails to hold. Record the measured value versus the stamped rating to classify the cap as pass, marginal, or failed.
Cap Pressure Testing
Start by mounting a Snap-On radiator cap pressure tester to the cap seal, then pump until the tester reads the cap’s rated pressure and watch the gauge for retention. You’ll confirm seal integrity and follow radiator maintenance tips to free yourself from unexpected failures. Test method:
- Pump to rated pressure, hold steady and monitor for drops.
- Listen for audible leaks; a steady drop or hiss signals cap replacement signs.
- Compare held pressure to spec; >10% deviation indicates failure.
You act precisely: secure the tester, avoid fluid loss, and note ambient temperature. Regular cap pressure testing prevents overheating and empowers you to maintain system autonomy. Replace caps that fail retention or exceed tolerance to protect cooling performance.
Interpreting Test Results
After you’ve secured the Snap-On tester and confirmed a steady pump to the cap’s rated pressure, interpret the gauge by comparing the held reading and any observed leak signs against the cap’s specification. You document pressure retention over a fixed interval (30–60 seconds). If the gauge drops or you hear hissing, flag leakage detection and reject the cap. Record measured versus rated pressure to quantify deviation. Regular testing prevents overheating and empowers you to act before coolant boiling or engine damage occurs. Use the table below to log results and support liberated decision-making — replace values with your measurements and note pass/fail.
| Parameter | Result |
|---|---|
| Rated pressure | |
| Held pressure | |
| Pressure retention (30s) | |
| Audible leakage | |
| Pass/Fail |
Where to Get the Right Cap: OEM, Salvage, and Aftermarket Tips
When sourcing a radiator cap for your Camry, prioritize OEM parts from the Toyota parts counter because they guarantee the correct pressure rating and fitment for your model year; salvage yards can be a cost-effective alternative if you verify the cap’s stamped pressure and condition, while aftermarket options require extra scrutiny since some units won’t hold pressure reliably and can cause leaks or overheating.
- OEM benefits: Buy new OEM to confirm spec compliance, correct seal geometry, and consistent spring tension for reliable system pressure control.
- Salvage advantages: Inspect stamped pressure rating and rubber components; compatible caps from 94+ models may fit differently than 92–93—confirm year-specific fitment before installing.
- Aftermarket risks: Avoid low-cost caps without documented pressure tests; inconsistent valve seats or springs can lead to boiling, coolant loss, and head gasket stress.
Use community insights (forums, ToyotaNation) to validate sellers and part numbers, and choose parts that restore your Camry’s thermal integrity and freedom to drive confidently.
Frequently Asked Questions
What Is the Normal Pressure for a Radiator Cap?
The normal radiator cap pressure is typically 13–16 PSI. You’ll maintain proper cooling system function and coolant flow; choose the specified cap to prevent boiling or venting, and keep your engine reliably liberated from overheating.
Which Is Better, 0.9 or 1.1 Radiator Cap Toyota?
Choose 1.1 for improved coolant system efficiency—higher boiling point, better performance; but don’t upgrade blindly. Inspect hoses and seals, because radiator cap types must match system condition to avoid stressing older components. You’ll stay safer.
What’s the Difference in Pressure Settings for a Radiator Cap?
Radiator cap pressure settings differ by rating (commonly 13–18 PSI); you’ll choose radiator cap types matching manufacturer spec because higher pressure raises boiling point, preserving coolant system efficiency and preventing overheating while empowering reliable vehicle performance.
Is a Higher Psi Radiator Cap Better?
Yes — but cautiously: higher PSI can boost cooling efficiency and cap performance, yet it risks stressing seals and hoses; you’ll want to match manufacturer specs, monitor temps, and choose balance over brute pressure for liberation.
Conclusion
You’ve learned the Camry’s radiator cap controls system pressure, raises boiling point, and must match factory PSI; you know cap locations, how to test pressure, and where to source the correct cap. Choose the correct PSI, avoid under‑ or over‑pressurizing, and replace worn caps promptly. Match OEM specs, verify with a tester, and install securely—preserve cooling efficiency, prevent overheating, and protect seals and hoses.