Your Camry’s CV axle, also called a front drive shaft or half shaft, carries torque from the transaxle to the drive wheels while still letting the suspension move and the wheels steer. On most 2WD Camrys, that means the front CV axles drive the car; newer Camry models may also have available Electronic On-Demand AWD with additional rear drive components. A worn joint, torn boot, or leaking grease can turn into clicking, vibration, clunking, or a car that will not move under its own power.
Quick Answer
A Toyota Camry CV axle usually needs inspection when you hear clicking during turns, feel vibration under acceleration, see grease around a wheel well, or find a torn CV boot. If the boot is torn but the joint is quiet, a boot repair may work; if it clicks, binds, or vibrates, replace the axle assembly.
Key Takeaways
- A sharp clicking sound during slow turns usually points to an outer CV joint problem.
- A shudder or vibration under acceleration often points to an inner CV joint, but tires, mounts, wheel bearings, and suspension parts can mimic the same feeling.
- A torn boot is urgent because CV boots keep grease in and dirt, water, and road grit out of the joint.
- Use the exact Toyota service information for your Camry’s model year before loosening suspension fasteners or torquing the axle nut.
At a Glance
| Time Required | Inspection: 15–30 minutes. Replacement: often 1–3+ hours depending on model year, rust, tools, and experience. |
| Difficulty | Intermediate to advanced DIY; safer for a professional if you lack lifting, suspension, or torque-wrench experience. |
| Tools Needed | Floor jack, jack stands, wheel chocks, socket set, axle-nut socket, breaker bar, torque wrench, pry bar, drain pan, and model-specific service information. |
| Cost | Varies by year, FWD/AWD layout, part quality, shop rate, seals, fluids, and whether the repair is boot-only or a full axle replacement. |
Signs of a Failing CV Axle: Quick Inspection for Camry Owners
Noticing odd noises or vibration? Start with a simple symptom check before you buy parts. A Camry CV axle can fail at the outer joint, inner joint, shaft, boot, clamp, or axle seal, and each problem leaves slightly different clues.
| Symptom | Likely Area | What to Check |
|---|---|---|
| Clicking or popping during slow, sharp turns | Outer CV joint | Listen in a parking lot while turning left and right; inspect the outer boot for grease loss. |
| Vibration or shudder under acceleration | Inner CV joint or shaft imbalance | Note whether the vibration appears only under load and fades when coasting. |
| Grease splatter inside the wheel or around the suspension | Torn boot or loose clamp | Use a flashlight to check the boot ribs, clamps, wheel hub area, and inner joint area. |
| Clunk when shifting from reverse to drive or when taking off | CV joint, engine mount, or suspension play | Do not assume the axle is the only cause; inspect mounts, ball joints, and control-arm bushings. |
| Pulling, uneven tire wear, or steering shake | May not be the axle | Check tire balance, wheel damage, alignment, brakes, tie rods, and wheel bearings too. |
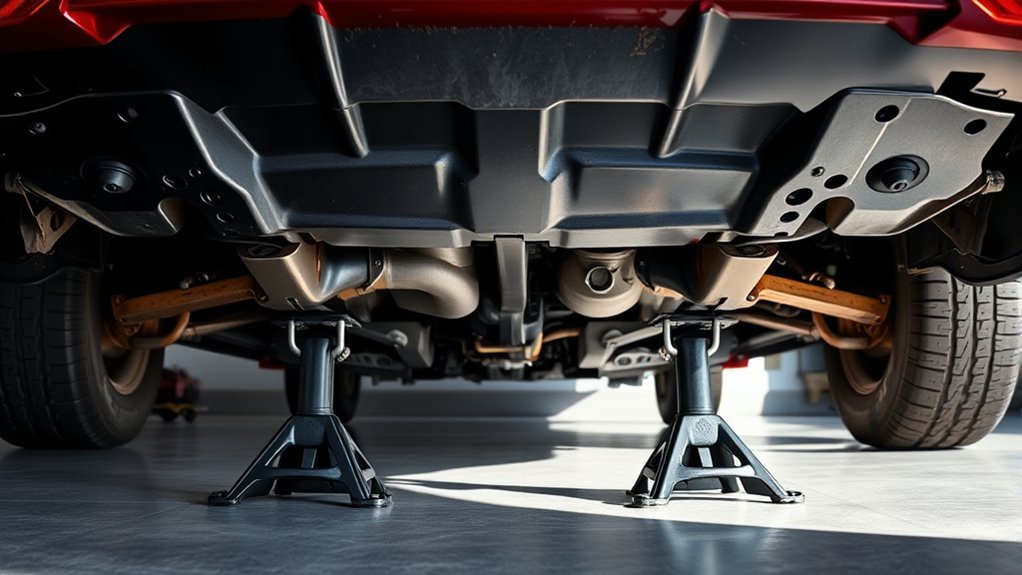
Warning: Never crawl under a Camry supported only by a jack. Work on a solid, level surface, chock the wheels, use the correct jack points, and support the car with rated jack stands before inspecting the axle by hand.
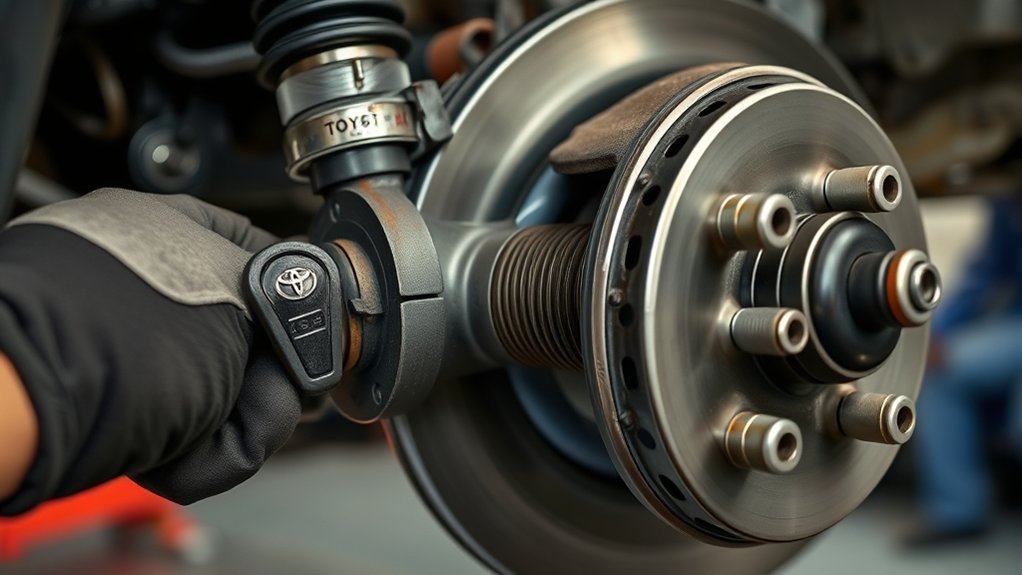
For a quick visual check, park on level ground, set the parking brake, and look behind the front wheels. Healthy CV boots should be flexible, fully clamped, and free of cracks, splits, and thrown grease. A light film of road grime is normal; wet grease trails, torn rubber, or grease sprayed in a circular pattern around the wheel well are not.
Inner vs. Outer CV Joint Symptoms
A Camry CV axle has an inner joint near the transaxle, a shaft in the middle, and an outer joint near the wheel hub. A constant velocity joint keeps rotational speed smooth while the axle works at an angle, and many inboard joints also allow plunge movement as the suspension travels.
- Outer CV joint trouble: usually shows up as clicking, snapping, or popping during tight turns, especially at low speed.
- Inner CV joint trouble: more often causes vibration, shudder, or a wobble during acceleration.
- Boot or clamp trouble: may show grease leakage before you hear noise. Catching this early can save the joint.
- Axle seal trouble: can leave transmission fluid near the inner axle area. That is different from thick CV grease and should be repaired before fluid loss becomes serious.
Note: A vibration is not automatically a CV axle. Tires, bent wheels, engine mounts, wheel bearings, brake rotors, tie rods, ball joints, and alignment problems can feel similar. Diagnose before replacing parts.
Should You DIY? Deciding Between Home Repair and a Pro
Thinking about tackling a CV axle replacement yourself? Start with an honest look at your tools, workspace, and experience. This job can involve high torque, suspension separation, axle seals, stuck splines, and a vehicle lifted high enough to work safely. If you are not comfortable with that, a professional repair is the safer choice.
DIY may make sense if you already own a strong jack, jack stands, a calibrated torque wrench, an axle-nut socket, and the correct Toyota service information for your exact year and trim. It can also make sense if the axle is easy to access and the vehicle is not badly rusted.
A shop makes more sense if you need fast turnaround, warranty coverage, accurate diagnosis, or help with rusted fasteners, leaking seals, ABS sensor issues, or AWD components. A good shop should confirm the symptom, inspect both sides, check related suspension parts, and explain whether you need a boot, a seal, one axle, or both axles.
Pro Tip: Ask for the old axle or photos of the torn boot, grease leak, or loose joint. That helps confirm the repair was based on evidence, not guesswork.
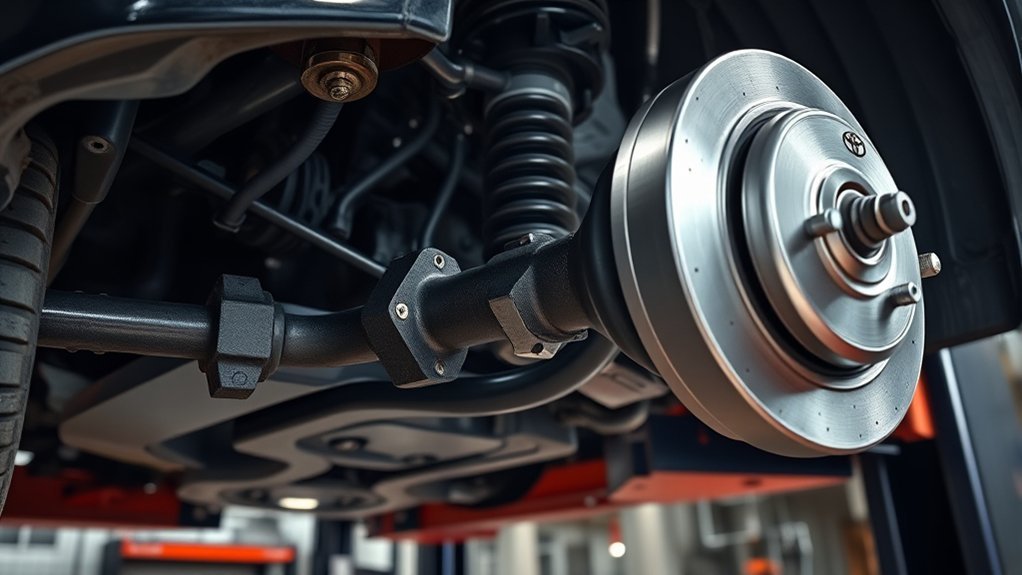
CV Axle Parts: What’s Inside and How They Let Your Wheels Move
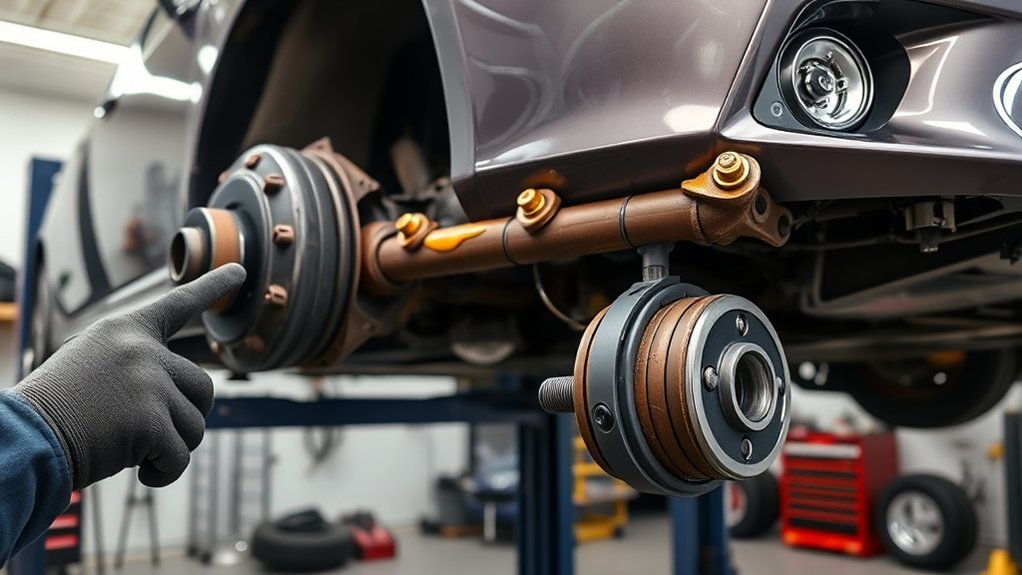
A CV axle is made up of three primary sections: the inner joint, the shaft, and the outer joint. Together, they transmit torque while allowing the suspension and steering to move through changing angles. Toyota’s genuine parts catalog lists Camry front drive shaft assemblies for this front driveline role, and Toyota’s current Camry lineup includes front-wheel drive and available Electronic On-Demand AWD depending on configuration.
- Inner joint: connects near the transaxle and helps absorb suspension movement. Many inner joints plunge in and out slightly as the suspension moves.
- Shaft: links the inner and outer joints. It must stay straight and balanced to avoid vibration.
- Outer joint: connects near the wheel hub and works through steering angle. This is the joint most associated with clicking during turns.
- Boots and clamps: seal the grease inside the joint and block dirt, water, and grit. Driveshaft boots are a key sealing part of the driveline, not just a dust cover.
- C-clip, axle nut, and seals: help retain the axle and prevent leaks. These small parts matter during installation.
Understanding these parts helps you make a better repair decision. A dry, clicking joint usually needs an axle assembly. A boot that just started leaking, with no noise and no joint play, may be repairable if the joint is cleaned and packed correctly with the right CV grease.
Why CV Boots and Joints Fail Including How Mods Speed Wear
CV boots are often the first failure point because they flex constantly while holding grease inside the joint. Once a boot cracks, tears, or loses a clamp, grease can sling out and road grit can enter. That contamination wears the bearings and races inside the joint and can turn a small boot problem into a full axle replacement.
Common causes include age, heat, road salt, oil contamination, impact damage, poor-quality replacement boots, loose clamps, and normal rubber hardening. Driving style matters too. Hard launches, pothole impacts, and aggressive cornering add load to the driveline.
Suspension or wheel modifications can speed up wear when they change CV operating angles. Lowering, lifting, wide wheels, offset changes, or altered control arms may push the joint beyond the angle and travel it was designed to handle. That extra angle makes the boot flex harder and can add heat and load to the joint.
A torn CV boot is not a cosmetic problem. It is the seal that keeps the joint lubricated and protected from dirt, water, and road grit.
Boot Repair vs. Full CV Axle Replacement
The best repair depends on how early you catch the problem.
| Condition | Best Repair | Why |
|---|---|---|
| Boot has a small fresh tear, but no clicking, vibration, play, or dirt inside | Boot replacement may be enough | The joint may still be healthy if cleaned, inspected, packed with proper grease, and sealed. |
| Boot is torn and grease has been missing for a while | Usually replace the axle assembly | Contamination likely reached the bearing surfaces. |
| Clicking, binding, roughness, or vibration is already present | Replace the axle assembly | Noise or vibration means the joint is probably worn, not just unsealed. |
| Axle seal is leaking transmission fluid | Replace the seal and inspect the axle surface | A new axle can still leak if the seal is damaged or installed incorrectly. |
Split boots can look tempting because they avoid full axle removal, but they are usually a short-term compromise. For long-term reliability, use a complete boot kit or a quality axle assembly that matches your Camry’s year, engine, and driveline.
CV Axle Replacement Options for Camry + Basic Installation Tips
After you have checked the boots and confirmed the diagnosis, choose the replacement path carefully. Genuine Toyota front drive shaft assemblies are built for exact fitment and come through Toyota’s parts channel. Aftermarket axles can cost less, but quality varies in boot material, joint machining, grease, balance, and warranty support. Remanufactured axles can be a good middle ground if the rebuilder is reputable.
Before installation, verify the side, engine, transmission, ABS compatibility, spline count, length, and FWD/AWD layout. A part that looks close can still cause vibration, seal leaks, or installation problems if it does not match the exact vehicle.
Basic Installation Flow
- Park on a level surface, chock the wheels, loosen the axle nut with the vehicle safely restrained, and follow the Toyota floor-jack guidance for safe lifting.
- Raise and support the Camry with jack stands at the correct points. Remove the wheel.
- Remove only the suspension and brake components required for your model-year procedure. Do not stretch the brake hose or damage the ABS wiring.
- Free the axle from the hub and transaxle. Use a drain pan if fluid may escape.
- Inspect the axle seal, hub splines, wheel bearing area, ball joint, tie rod, and control-arm bushings while access is open.
- Lightly lubricate the retaining clip if the service procedure calls for it, align the splines carefully, and seat the inner joint fully.
- Install a new axle nut or retaining hardware if Toyota specifies one-time-use hardware for your model.
- Torque all fasteners to the exact specification for your Camry’s year, engine, and driveline. Do not reuse a random online axle-nut value.
- Check for fluid leaks, boot twisting, loose clamps, and clearance issues before lowering the car.
- Road-test gently, listen for noise, and recheck for grease or fluid leaks afterward.
Warning: Stop driving and arrange repair if the axle clunks heavily, binds, separates, causes severe vibration, or the vehicle loses drive. A failed CV axle can leave you stranded and may damage nearby parts.
FWD, AWD, and Recall Notes for Camry Owners
Do not treat every Camry axle job the same. A front-wheel-drive Camry uses front CV axles to move the car. Newer Camrys can also be equipped with Electronic On-Demand AWD, which adds rear-drive hardware and changes the inspection picture. Always identify your year, trim, engine, and driveline before ordering parts.
Before spending money, it is also smart to check for open recalls by VIN. The NHTSA recall lookup can show unrepaired safety recalls for a specific vehicle, and Toyota also provides owner recall tools. Most CV axle wear is maintenance-related rather than recall-related, but checking takes only a few minutes.
Frequently Asked Questions
Do front CV axles turn in 2WD?
Yes, on a 2WD Toyota Camry, the front CV axles turn under engine or hybrid-system power because the Camry is front-wheel drive. On AWD Camrys, the front axles still drive the front wheels, and the AWD system can send torque to the rear when needed.
How does the CV axle affect the transmission?
The CV axle connects to the transaxle and carries torque to the wheel hub. A worn or loose joint can create vibration and shock loads that make the drivetrain feel harsh. A bad axle seal can also leak transmission fluid, so seal condition matters during axle work.
Can I drive with a torn CV boot?
You may be able to drive a short distance if there is no noise, vibration, or binding, but you should repair it soon. Once grease leaves the boot and dirt enters the joint, wear speeds up and the repair can change from a boot job to a full axle replacement.
Should I replace one CV axle or both?
Replace the failed side if the other axle has intact boots, no play, no grease leaks, and no noise. Consider both sides if the Camry is high-mileage, both boots are cracked, both axles vibrate or click, or labor overlap makes paired replacement economical.
Can a bad CV axle sound like a wheel bearing?
Yes. CV axle noise, wheel-bearing growl, tire noise, and brake noise can overlap. A CV joint often clicks during turns or shudders under load, while a wheel bearing often growls with road speed and may change tone when the vehicle weight shifts side to side.
Conclusion
A Camry CV axle is a simple-looking part with a serious job: it sends power to the wheels while the suspension and steering keep moving. The early warning signs are usually clicking in turns, vibration under acceleration, torn boots, grease splatter, or clunks. Catch a boot leak early and you may save the joint; ignore clicking or vibration and a full axle replacement becomes much more likely. If you inspect or replace it yourself, use safe lifting practices and the exact Toyota service specifications for your model year. If you are unsure, have a qualified technician diagnose it before the axle leaves you stranded.
Sources
- Toyota 2026 Camry official page — supports current Camry FWD and available Electronic On-Demand AWD context.
- Toyota Genuine Front Drive Shaft Assembly — supports Toyota front drive shaft / axle fitment and parts terminology.
- GKN Automotive Constant Velocity Joints — supports CV joint function and inboard joint movement.
- GKN Automotive Driveshaft Boots — supports boot sealing, lubricant retention, and contaminant protection.
- Toyota Owner’s Manual: Positioning a Floor Jack — supports safe lifting guidance.
- NHTSA Recalls — supports VIN-based recall-check guidance.