Gather microfiber cloths, a vacuum with attachments, a soft brush, pH‑balanced leather cleaner and a conditioner. Vacuum seats and seams first, test any cleaner on a hidden spot, then apply cleaner to a cloth and work panels with circular motions, using a toothbrush for perforations and seams. Wipe residue, let air dry, then apply thin even layers of conditioner and buff. Follow with regular biweekly vacuuming and monthly conditioning — keep going to learn targeted stain fixes and perforation care.
Gather: Products, Tools, and Safety Tips
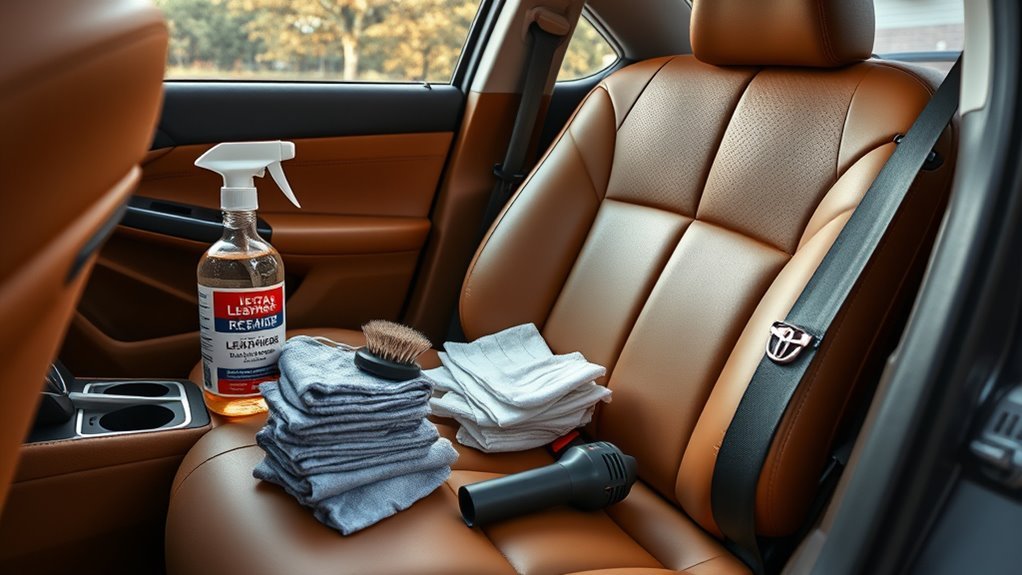
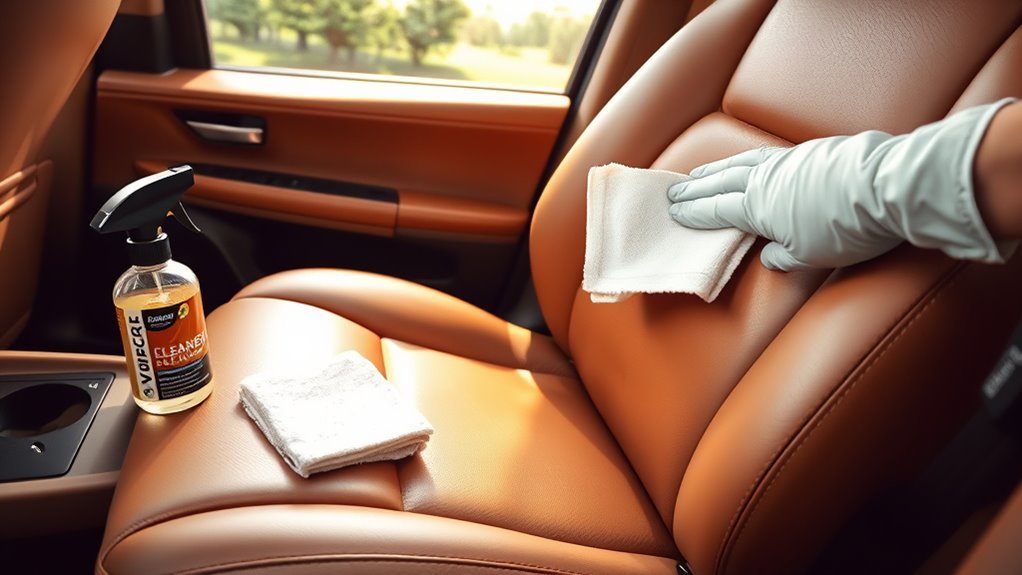
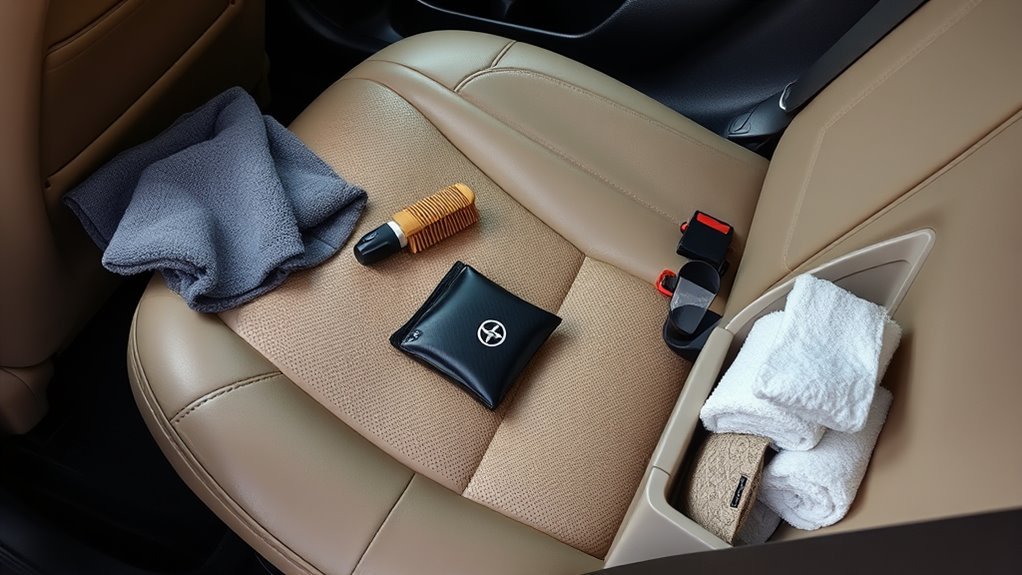
Before you start, gather the right products and tools so you don’t interrupt the job: collect microfiber or other soft cloths, a vacuum with crevice and brush attachments, and a quality leather cleaner and conditioner such as Chemical Guys. Choose product recommendations that suit automotive leather and list them before you begin so you stay focused. Put on gloves and keep ventilation open; these safety precautions protect your skin and reduce inhalation of fumes. Read and follow the leather cleaner’s directions for dilution, dwell time, and application method to avoid damage. Arrange cloths by function—one for applying cleaner, one for wiping, one for buffing—and keep the vacuum handy to remove crumbs and grit before any liquid touches the seats. This prep streamlines the job, preserves the leather, and gives you the freedom to work efficiently without backtracking or risking harm to yourself or the upholstery.
Quick Clean: Fast Steps to Clean Camry Leather Seats
Start by vacuuming every seat surface and crevice to remove loose dirt and crumbs; use the brush and crevice attachments so you don’t grind grit into the leather when you wipe it. You’ll move efficiently if you work in sections and stick to a tight routine that respects different leather types and sensible cleaning frequency.
- Apply a leather cleaner to a microfiber towel in three lines; wipe one panel at a time for even coverage.
- Use a soft toothbrush with warm water to agitate seams, stitching, and hard-to-reach spots without abrading.
- Lightly re-wipe with a damp microfiber to remove residue, keeping motions gentle and consistent.
- Apply a thin layer of conditioner, spread evenly, and let it absorb to a non-sticky finish.
- Buff with a clean microfiber to restore nap and prevent buildup.
You’ll free your interior from grime fast, maintain durability, and reclaim control over your Camry’s cabin with disciplined, liberating care.
Pick & Patch‑Test the Right Cleaner for Camry Leather
Before you clean, test any cleaner on a hidden spot of the seat to confirm it won’t discolor or damage the leather. Match the cleaner to your Camry’s leather type—use a pH‑balanced automotive leather formula—and apply it with a microfiber cloth, watching the spot for 5–10 minutes. If you see residue, tackiness, or color change, stop and try a different product.
Test On Hidden Area
Why test on a hidden area first? You protect your freedom to restore seats without risking irreversible damage. Before full cleaning, do a quick patch test so your leather protection plan stays effective and your cleaning frequency choices won’t backfire.
- Pick a small, inconspicuous spot (under seat or seam).
- Apply a tiny amount with a microfiber cloth—don’t soak.
- Let it sit a few minutes to reveal color change or finish disruption.
- Gently wipe away and inspect under good light for any adverse reaction.
- If unaffected, proceed; if not, stop and choose a milder product.
This disciplined, practical step keeps your Camry leather resilient and gives you control over results.
Match Leather Type
Although Camry leather can look uniform, you need to identify its exact type—factory aniline, semi-aniline, pigmented (protected), or synthetic—because each responds differently to cleaners and conditioners; check your owner’s manual, inspect the surface finish (smooth, matte, or coated), and, if uncertain, compare a tiny hidden patch with a manufacturer or dealer reference before proceeding. Once you’ve identified the leather type, choose automotive-specific care products matched to it: gentle pH-balanced cleaners for aniline, mild cleaners that preserve dye for semi-aniline, and pigmented-safe cleaners for protected surfaces. Always patch-test any cleaner on an inconspicuous spot. Avoid ammonia or harsh chemicals that strip oils. Regular conditioning with the correct product maintains suppleness and extends seat life, freeing you from premature wear.
Check For Residue
Now that you’ve identified your Camry’s leather type and picked an appropriate product, you need to verify the cleaner won’t leave residue that can attract dirt or dull the finish. Test on a hidden patch first to confirm cleaner compatibility and preserve the seat’s integrity. Use a microfiber cloth, apply a small amount, then wipe and inspect.
- Choose a discreet area (under seat edge or seam).
- Apply cleaner sparingly with a clean microfiber cloth.
- Wipe dry and feel for tackiness or film indicating residue buildup.
- If you detect residue, stop and switch to a leather-specific formula.
- Note manufacturer guidance and retest if leather type differs.
Routine patch-testing frees you from guesswork and prevents long-term dulling or dirt attraction.
Vacuuming Camry Leather Seats: Remove Crumbs & Debris
Recline the Camry seats and use a vacuum with crevice and brush attachments to get into seams, corners, and perforated areas where crumbs hide; work methodically across each panel, paying special attention to perforations and seat edges, and finish by running a soft toothbrush along tight seams to dislodge any stubborn debris. You’ll want to adopt leather seat maintenance as a disciplined habit—vacuum at least every two weeks to prevent buildup that chips away at appearance and freedom from mess. Use the crevice tool for seams, the brush for smooth surfaces, and short, overlapping passes so you don’t miss pockets of debris. For perforated leather, hold the nozzle slightly above the surface and sweep slowly to coax crumbs out without pulling leather fibers. Finish by inspecting edges and under cushions you can access; the toothbrush will free trapped bits without abrasion. These vacuuming techniques keep seats clean, extend material life, and let you reclaim your interior with minimal effort.
Step‑By‑Step Cleaning: Headrests, Seams, and Perforation Care
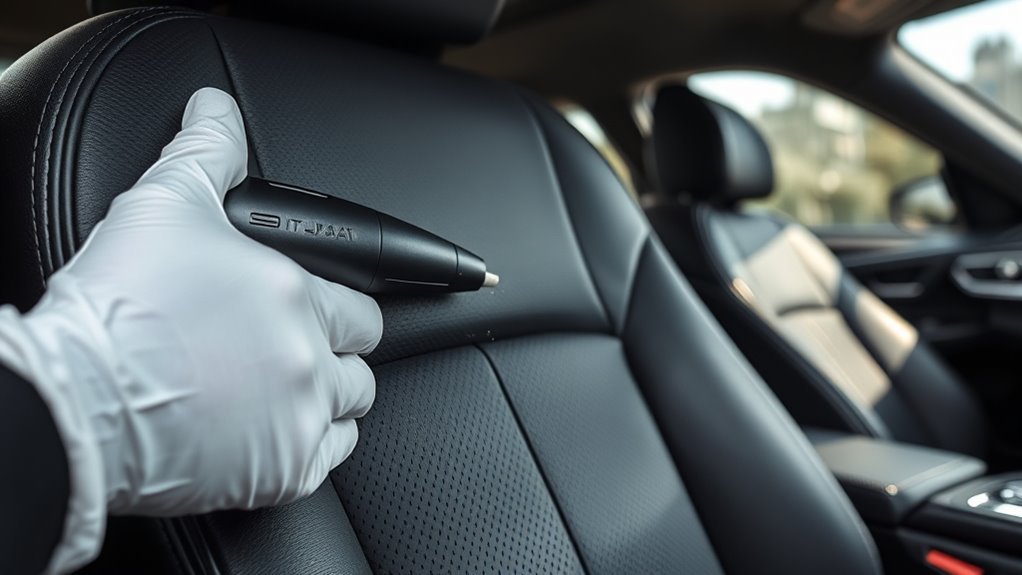
Start by removing the headrests to access seams and crevices more easily—release the locking tabs and lift straight up to avoid damaging the posts. Use a soft toothbrush dipped in warm water to scrub seams and crumbs, then dab perforated leather with a microfiber cloth and a specialized cleaner without saturating the holes. Finish by conditioning the leather every two weeks to a month to keep it supple and prevent cracking.
Headrest Removal Tips
- You’ll free the headrest quickly by finding the release buttons or clips at the base; press them and pull upward gently to detach, respecting different headrest types and your seat’s build.
- Vacuum the removed headrest thoroughly to remove dust trapped in seams and perforations.
- Wipe with a microfiber cloth dampened in leather cleaner, following the manufacturer’s instructions.
- Use a soft toothbrush to loosen stubborn dirt in seams without abrading the leather.
- Apply leather conditioner after cleaning to prevent drying and keep suppleness.
- Reinstall by aligning posts and pressing down until the release clicks, testing stability.
Establish a practical cleaning frequency based on use; heavy drivers clean more often. This process liberates you from grime efficiently.
Perforation Cleaning Care
With the headrests removed and seams prepped, move on to cleaning the perforations by vacuuming thoroughly to lift loose grit from the surface and holes; this prevents debris from being worked further into the leather. Next, use a soft toothbrush with warm, soapy water to agitate seams and perforations gently—don’t saturate. Apply a specialized leather cleaner to a microfiber cloth and wipe evenly, then follow with a suitable conditioner to maintain softness and guarantee leather protection. Repeat every two weeks to once a month for effective perforation maintenance and longevity. Stay intentional: clean methodically, protect consistently, and reclaim control of your interior.
| Step | Tool | Frequency |
|---|---|---|
| Vacuum | Vacuum nozzle | Biweekly–monthly |
| Scrub | Soft toothbrush | As needed |
| Wipe | Microfiber + cleaner | After scrubbing |
| Condition | Leather conditioner | After cleaning |
| Inspect | Visual check | Every session |
Treating Stubborn Stains and Dye Transfer
Tackle stubborn stains and dye transfer promptly by using a soft-bristle brush and a leather-specific cleaner to gently work the affected area, testing the cleaner first on a hidden spot to verify it won’t discolor the leather. Act decisively: dye transfer from jeans needs a direct application of cleaner, a few minutes to lift pigment, then blotting with a microfiber cloth. You’re protecting freedom from doing nothing; stain prevention and leather protection are deliberate choices.
- Apply cleaner sparingly to avoid saturation and let it dwell a few minutes.
- Gently agitate with a soft-bristle brush; follow grain direction.
- Blot residue with a clean microfiber—don’t rub aggressively.
- If stain persists, repeat testing and cleaning rather than escalating solvents.
- After removal, plan regular maintenance to prevent reoccurrence.
For persistent marks, you can follow with a conditioner to restore suppleness and reduce future staining, but only after the area is fully dry and verified stain-free.
Conditioning Camry Leather Seats: How to Apply Evenly
Before you apply conditioner, make sure the seats are spotless and free of dust or debris so the product absorbs evenly; then put three thin lines of conditioner across a clean microfiber cloth and work it into the leather in small circular motions, paying close attention to seams and creases. You’ll adapt your pressure to the leather types in your Camry—softer, more porous hides need gentler strokes; firmer finishes tolerate firmer work. Move methodically: divide the seat into panels, apply conditioner to the cloth, and finish each panel before moving on. Use overlapping circles to avoid streaks and keep product levels consistent on the cloth. Check seams, bolsters, and fold lines where conditioners tend to pool. If excess builds, lightly buff with a dry section of the cloth to even the finish. These conditioning techniques give you control and restore suppleness without over-saturating the leather, letting you reclaim comfort and prolong the seat’s life with focused, deliberate care.
Aftercare: Drying, Odor Control, and Maintenance Schedule
Once the seats are clean, let them air dry completely so you avoid water spots and preserve the leather finish; don’t speed the process with heat. Use gentle drying techniques: park in shade with windows cracked or run the car’s fan to circulate air. After drying, deploy odor solutions like activated charcoal or a shallow tray of baking soda beneath seats to absorb smells without masking them.
Let seats air-dry naturally—shade, cracked windows, or fan—then use baking soda or charcoal to quietly absorb odors.
- Vacuum bi-weekly to remove dust and grit that abrade leather and trap odors.
- Condition every 1–3 months to keep leather supple and resist cracking.
- Address spills immediately with blotting and suitable cleaner to prevent stains.
- Rotate odor-absorbers monthly and refresh baking soda or charcoal as needed.
- Inspect seams and high-wear zones monthly; repair or treat early.
These maintenance tips free you from reactive chores, set a clear cleaning frequency, and extend seat life so your Camry’s leather stays clean, breathable, and liberated.
Frequently Asked Questions
How to Clean Toyota Camry Leather Seats?
Vacuum seats, then use leather-safe cleaning products on a microfiber cloth, wiping circularly to lift dirt; let dry, apply conditioner for leather maintenance, buff gently, test products first, and repeat regularly to preserve freedom and comfort.
How Do I Clean My Toyota Camry Car Interior?
Pretend your Camry’s interior detailing is a tiny revolution; you’ll vacuum crevices, wipe surfaces with a safe cleaner, treat upholstery maintenance diligently, condition leather, spot-clean fabric, and schedule maintenance every two to four weeks for liberation.
Conclusion
Think of your Camry’s leather like a well-loved wallet: ignore it and cracks grow. After a quick vacuum, spot test cleaner, gently clean seams and perforations, then condition evenly to restore suppleness. In one weekend I saved my dad’s 10‑year Camry by fixing dye transfer and conditioning—its seats looked five years younger. Stick to the routine above, dry fully, and repeat light care every 3–6 months to keep leather healthy and lasting.