To connect a tire inflator to a valve stem without leaks, first clean the valve stem and check for compatibility. Securely attach the inflator chuck to the valve stem, applying gentle pressure to guarantee a proper seal. Make sure the chuck matches your valve type, either Schrader or Presta. After inflation, perform a soap bubble test to check for leaks. If you encounter issues, you can learn more about troubleshooting steps and maintenance.
Preparing Your Tire Valve for a Secure Connection
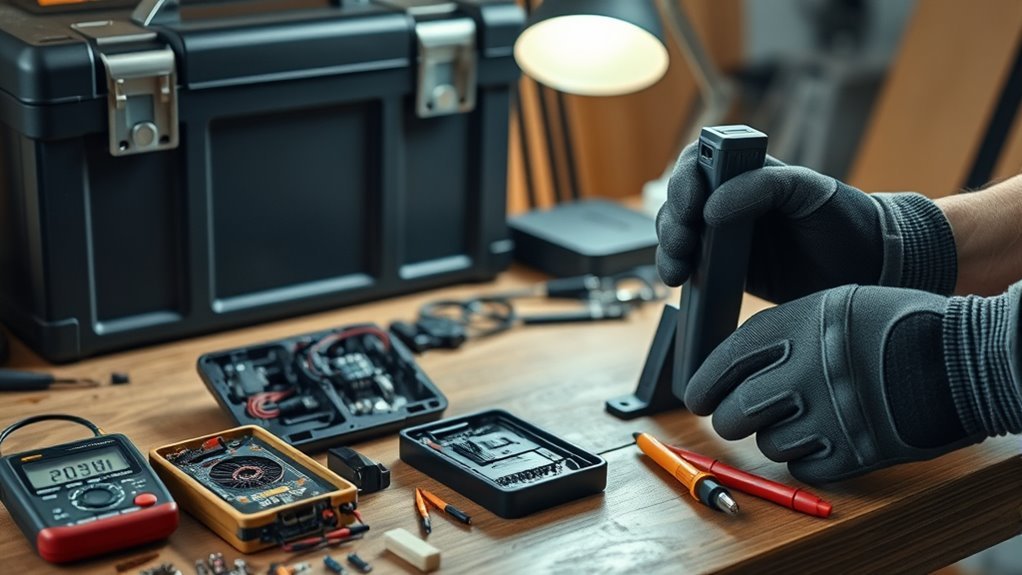
To guarantee a secure connection when you’re ready to inflate your tire, start by preparing the valve stem properly. First, confirm the valve stem is clean and free from debris, as this promotes a proper seal with the tire inflator. Next, inspect the valve core for tightness; if it’s loose, use a valve core tool to snug it up and prevent air leaks during inflation. Check the valve stem for visible damage or wear—defects can compromise the integrity of your connection. If you’re using a valve core extender, apply Teflon tape to its threads to enhance sealing. Finally, familiarize yourself with your valve stem type, whether Schrader or Presta, to confirm compatibility and avoid connection issues.
How to Select the Best Tire Inflator for Your Needs
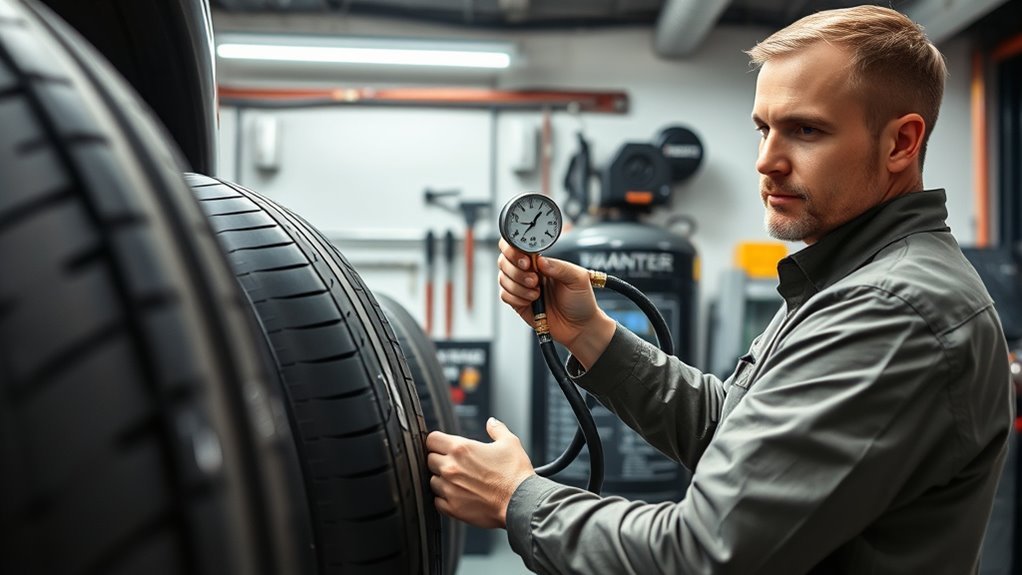
When it comes to selecting the best tire inflator for your needs, what factors should you consider? First, assess the type of valve stems your vehicle uses—Schrader or Presta—to guarantee compatibility with the inflator’s chuck design. Look for inflators with secure screw-on or clip-on chucks to minimize air leakage during inflation. Built-in pressure gauges are crucial for accurate monitoring, preventing over-inflation and guaranteeing compliance with your vehicle’s specifications. Evaluate the inflator’s PSI output capacity, especially for larger tires on trucks or SUVs, and choose models that deliver higher PSI. Finally, think about portability; battery-operated inflators offer convenience, while corded models provide sustained power for frequent use.
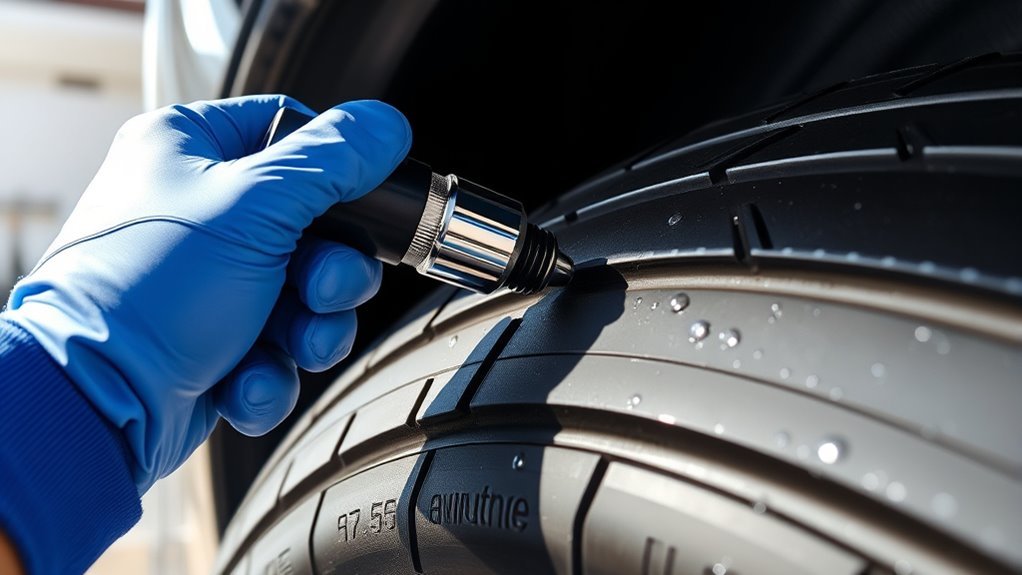
Connecting Your Inflator to the Valve Stem: A Step-by-Step Approach
To connect your tire inflator to the valve stem effectively, start by preparing the valve stem to make certain it’s clean and free from debris. Next, attach the inflator securely to create a proper seal before inflating the tire. Finally, check for any air leaks during and after inflation to confirm a successful connection.
Preparing The Valve Stem
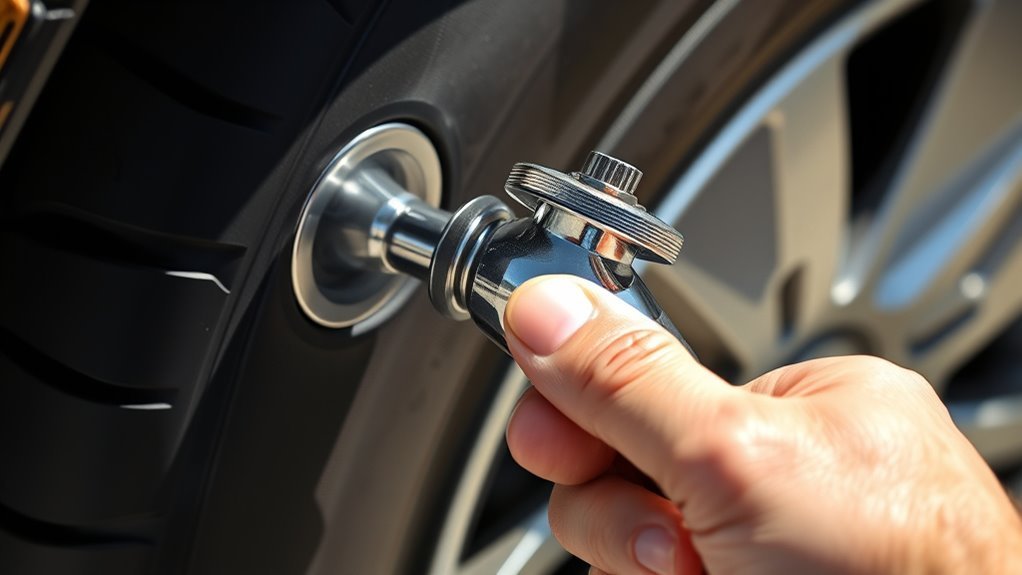
Before connecting your tire inflator, make certain the valve stem is clean and free from debris, as this prevents contamination and potential leaks during inflation. If you’re using a valve core extender, remove the valve core from the valve stem and thread it securely into the extender, applying Teflon tape to the threads for an airtight seal. Ascertain the chuck of your inflator is compatible with the valve type—either Schrader or Presta—to avoid improper connections that can lead to leaks. When you’re ready to attach the inflator, press the chuck down firmly onto the valve stem and tighten the nut slightly. After inflation, always check for leaks using a soap bubble test to ascertain your tire pressure remains stable.
Attaching The Inflator Securely
Attach the inflator securely to the valve stem by guaranteeing a proper fit that minimizes air loss. Begin by cleaning the valve stem to remove any debris. Choose a clip-on or screw-on chuck that firmly grips the valve, maintaining a tight seal vital for peak pressure. When connecting, apply gentle pressure while holding the chuck in place; this confirms proper engagement without over-tightening, which could damage the valve. For threaded connections, consider using Teflon tape to enhance sealing and prevent leaks at the interface. Once attached, it’s essential to verify the connection’s integrity by listening for hissing sounds or applying a soap solution to check for bubbling. This step assures a reliable connection during inflation.
Checking For Air Leaks
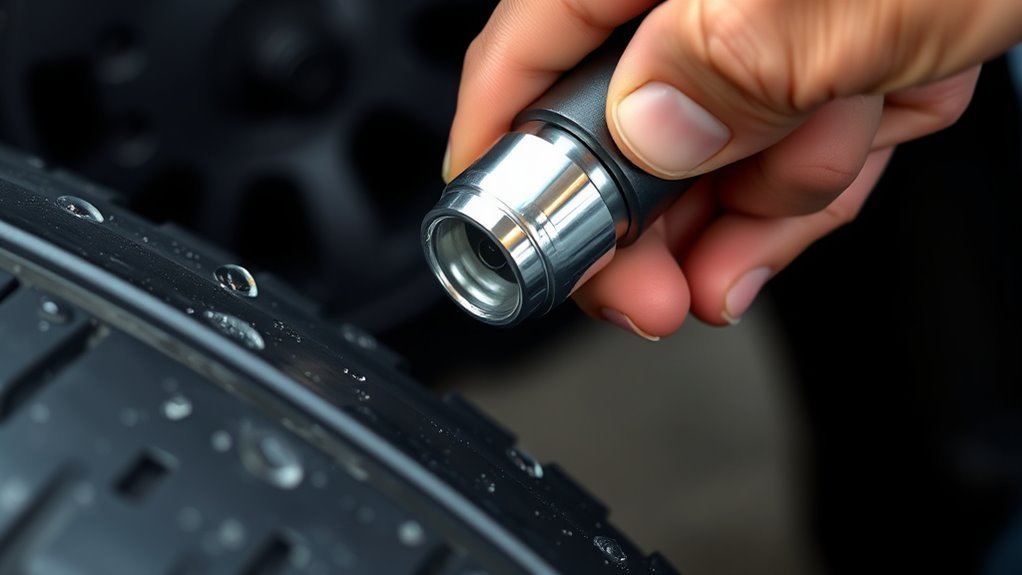
Guaranteeing a secure connection to the valve stem is just the beginning; checking for air leaks is essential for maintaining ideal tire pressure. First, confirm that the valve core is tightly secured to prevent pressure drops. Then, perform the soap bubble test by applying a soap solution around the connection points. Watch for large bubbles indicating major leaks or small fuzz-like bubbles suggesting minor leaks. Examine rubber grommets and O-rings for degradation; replace them every 12-18 months as needed. When connecting your inflator, keep the chuck firmly seated without over-tightening to avoid damaging the valve. Finally, after inflating, listen for hissing sounds or check for pressure drops to guarantee your check valves are functioning correctly and airtight.
How to Spot and Fix Air Leaks While Inflating?
When inflating your tires, it’s essential to identify and address any air leaks promptly. Start by checking common leak locations, such as the valve stem and hose connections, and use the soap bubble test to pinpoint issues effectively. Additionally, inspect the valve core for tightness, as a loose core can lead to significant air loss.
Common Leak Locations
While inflating a tire, spotting and fixing air leaks is crucial for maintaining ideal pressure and safety. Most leaks occur at connection points, which can compromise your valve’s integrity. Be vigilant in these areas:
- Hose-to-inflator connection
- Hose-to-chuck interface
- Chuck-to-valve stem junction
- Valve core tightness
To diagnose major leaks, see if pressure builds within 10-15 seconds. If not, re-seat the chuck. For minor leaks, check rubber grommets and O-rings regularly, as they can degrade over time. After inflation, if you notice a pressure drop, use a valve core tool to verify the core is tight—loose cores are common leak sources. Addressing these locations will enhance your tire’s performance and safety.
Soap Bubble Test
To effectively identify air leaks during tire inflation, the soap bubble test is a reliable method that can save you time and frustration. Start by creating a soap solution and applying it to connection points, such as the hose-to-chuck and chuck-to-valve stem. Look for large bubbles, which indicate major leaks, or small fuzz-like bubbles that suggest slow leaks. If you hear a hissing sound while moving the hose, it may point to a worn hose reinforcement. After stopping the inflator, if you notice a pressure drop, use the soap bubble test to determine if you need to remove the valve core or address a faulty seal. Regularly performing this test can enhance your inflator’s efficiency and prevent air leakage issues.
Valve Core Inspection
Identifying air leaks during tire inflation often requires a thorough inspection of the valve core. A loose or damaged valve core can lead to significant pressure drops, so it’s essential to address any issues immediately. Here’s how to conduct an effective inspection:
- Check for visible damage or looseness in the valve core.
- Use a valve core removal tool to tighten or replace the core if you hear a hissing sound.
- Perform a soap bubble test; large bubbles indicate major leaks, while small bubbles suggest slow leaks.
- Regularly retighten the valve core to maintain a proper seal, especially after checking tire pressure.
Be vigilant—defective valve cores can occur even in new parts, so always verify air retention post-installation.
Maintaining Your Valve and Inflator After Diagnosing Issues
Maintaining your valve and inflator after diagnosing issues is essential for guaranteeing ideal performance and safety during tire inflation. Regularly inspect and replace rubber grommets and O-rings every 12-18 months to prevent leaks. Conduct a soap bubble test on all connections to identify any leaks. Confirm valve cores are tightly secured with a valve core tool to avoid pressure drops. Always maintain cleanliness by wiping the chuck and valve stem with a dry cloth. Store your inflator in a cool, dark place to protect it from UV damage.
| Action | Frequency |
|---|---|
| Inspect O-rings | Every 12-18 months |
| Conduct soap bubble test | Before each use |
| Tighten valve cores | Every use |
| Clean valve stem | After each use |
| Store inflator safely | After each use |
What to Do If Your Tire Still Loses Air After Inflation?
Even with proper maintenance of your valve and inflator, you might still notice your tire losing air after inflation. First, inspect the valve stem for damage or air leakage, as over 80% of such issues arise from connection points.
- Conduct a soap bubble test to find slow leaks.
- Check the valve core’s integrity; a loose core can lead to pressure drops.
- Regularly replace rubber grommets and O-rings, which degrade over time.
- If air loss continues, consult a professional to check for punctures or structural damage.
Taking these steps can help you pinpoint the cause of air loss and restore your tire’s functionality, ensuring a safer driving experience.
Frequently Asked Questions
How to Stop Air Leak Around Valve Stem?
To stop air leaks around the valve stem, tighten the valve core securely and inspect for worn rubber grommets. Regular valve stem repair and following tire maintenance tips will guarantee a proper seal and prevent future leaks.
How to Stop Air From Coming Out of a Valve?
Stopping air from escaping a valve is like sealing a jar tight. Focus on valve maintenance—tighten the core, replace O-rings, and guarantee air pressure is stable. Regular checks can prevent leaks and maintain peak performance.
Why Is My Tire Pressure Gauge Not Sealing?
Your tire pressure gauge isn’t sealing due to worn grommets or a loose valve core. Confirm proper valve stem maintenance by checking for debris, tightening connections, and pressing firmly to prevent air leaks and achieve accurate readings.
How to Stop a Leaking Water Valve Stem?
To stop a leaking water valve stem, tighten the packing nut, replace worn washers, or O-rings, and consider Teflon tape for enhanced sealing. Regular valve maintenance tips and leak detection methods can guarantee lasting performance.
Conclusion
In summary, connecting your tire inflator to the valve stem without leaks is essential for effective inflation. Remember, “a stitch in time saves nine”—taking the time to prepare and inspect both your valve and inflator can prevent larger issues later. By following the steps outlined above, you can guarantee a secure connection, detect any leaks promptly, and maintain your equipment for peak performance. Keep your tires properly inflated, and enjoy a safer, smoother ride.