A stuck RAV4 window can turn a simple drive into a noisy, unsafe headache. If the glass won’t move, moves slowly, or makes grinding sounds, the window regulator or motor may need repair. This guide shows you what to check, what tools to use, and how to replace the regulator without damaging the glass or door trim.
Quick Answer
To repair a Toyota RAV4 power window regulator, remove the door panel, secure the glass in the fully closed position, disconnect the switch and motor, then replace or service the regulator assembly. Test the window before you reinstall every trim piece so you can catch alignment or wiring issues early.
Key Takeaways
- Secure the glass before you unbolt the regulator so the window doesn’t drop inside the door.
- Use trim tools and the correct sockets to avoid broken clips, stripped bolts, or damaged panels.
- Check switch power, motor noise, and glass movement before you replace parts.
- Test the window through several full cycles before you reinstall the vapor barrier and trim.
Introduction to RAV4 Window Repair
When your Toyota RAV4’s power window stops working, the problem can come from the switch, wiring, motor, glass track, or power window regulator. The regulator moves the glass up and down inside the door. When it fails, you may hear grinding, see slow movement, or find the glass stuck in one position.
Before you remove parts, test the window from the driver switch and the door switch, if your model has one. Listen for motor noise and watch for uneven glass movement. These quick checks help you avoid replacing the regulator when the real issue sits in the switch, fuse, or wiring.
What You’ll Need Before You Start
Plan on about 60 to 90 minutes for a first-time repair. You may finish faster if you’ve removed RAV4 door trim before. Work in a dry, well-lit area, and keep small screws in a tray so they don’t get lost.
Gather these tools before you start:
- Trim tool for lifting plastic covers and clips
- Phillips screwdriver for handle and panel screws
- 10mm socket for regulator and glass bolts
- Torx T25 screwdriver for motor mounting bolts, where equipped
- Painter’s tape or suction cups to hold the glass in place
- Work gloves to protect your hands from sharp door edges
Warning: Don’t place your fingers under unsecured glass because it can drop quickly once you release the regulator bolts.
[Products Worth Considering]

Upgrade your 2026 Toyota RAV4 interior with this soft, breathable armrest cover that offers full protection against scratches, dirt, and wear. Made from eco‑friendly material, it fits the console perfectly and stays securely in place with elastic straps. Installation is tool‑free, providing added comfort and reducing fatigue during long drives.

Upgrade your RAV4 roof rack with these heavy‑duty aluminum crossbars featuring an anti‑theft lock and tie‑down loops for secure cargo transport. The matte‑powder‑coated bars resist corrosion and reduce wind noise, while easy installation fits existing rails without drilling. Ideal for bike mounts, roof boxes, kayaks and more.

Protect your Toyota RAV4 interior with this custom‑fit windshield sun shade that blocks 99% of harmful UV rays and reduces cabin heat. The mirror cut‑out ensures a seamless fit without gaps, while durable 240T polyester and bendable wire keep it sturdy through repeated use. Foldable and stored in a convenient pouch, it offers easy installation and removal for everyday comfort.
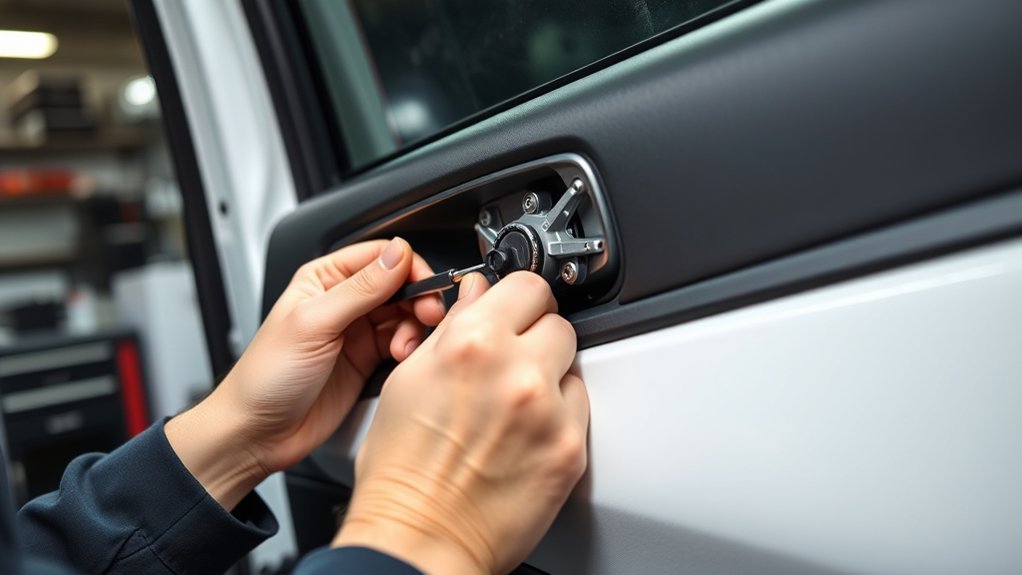
Step-by-Step Guide to Removing the Door Panel
- Park the RAV4 safely. Turn the ignition off, set the parking brake, and lower the window only if it still moves.
- Remove the inner handle trim. Use a trim tool to lift the cover without gouging the surrounding plastic.
- Remove the visible screws. Use a Phillips screwdriver on the screws that secure the handle area and switch panel.
- Disconnect the master switch. Lift the switch panel with the trim tool, then unplug the electrical connector.
- Release the door panel clips. Pull around the panel edges with steady hand pressure until the clips pop free.
- Detach the inner handle cable. Unhook the cable gently so you don’t bend the latch linkage.
- Peel back the vapor barrier. Pull it slowly and keep the adhesive clean so you can reseal it later.
After you remove the panel, place it on a clean towel. This keeps the trim from scratching while you work inside the door.
Keep Your Window Safe During Regulator Replacement
Securing the window protects the glass, regulator, and your hands. Move the glass fully up if the motor still works. If it doesn’t move, lift the glass by hand only after you loosen the regulator enough to free it safely.
Use these methods to hold the glass steady:
- Apply painter’s tape from the outside glass surface over the top of the door frame.
- Use suction cups on the glass for a stronger grip during the repair.
- Disconnect the power window switch so the glass can’t move by accident.
- Check the tape or suction cups before you unbolt the regulator.
Handle the vapor barrier with care because it helps keep moisture away from the door panel. Reseal it before final assembly to reduce water leaks and rattles.
[Products Worth Considering]

The Autovir windscreen shade offers full windshield coverage for Toyota RAV4 models from 2019 to 2026, blocking up to 99.95% of UV rays and reducing interior heat. Its multi‑layer reflective material provides SPF 100 and UPF 80+ protection while keeping the dashboard, seats, and steering wheel cooler. The foldable design installs quickly and stores conveniently in the glove box, and reinforced stitching ensures long‑lasting durability for daily use.

This compact power adapter plugs directly into the rearview mirror wiring, providing a stable 5V/2A (10W) output for USB dash cams. It includes three short USB cables (Mini, Micro, Type‑C) for versatile compatibility with popular dash cam brands. The design features pry tools for easy installation and a sturdy cable that resists wobbling, ensuring reliable power on the road.

Trustworthy replacement - engineered and tested to match the fit, function and performance of the original window regulator on specified vehicles
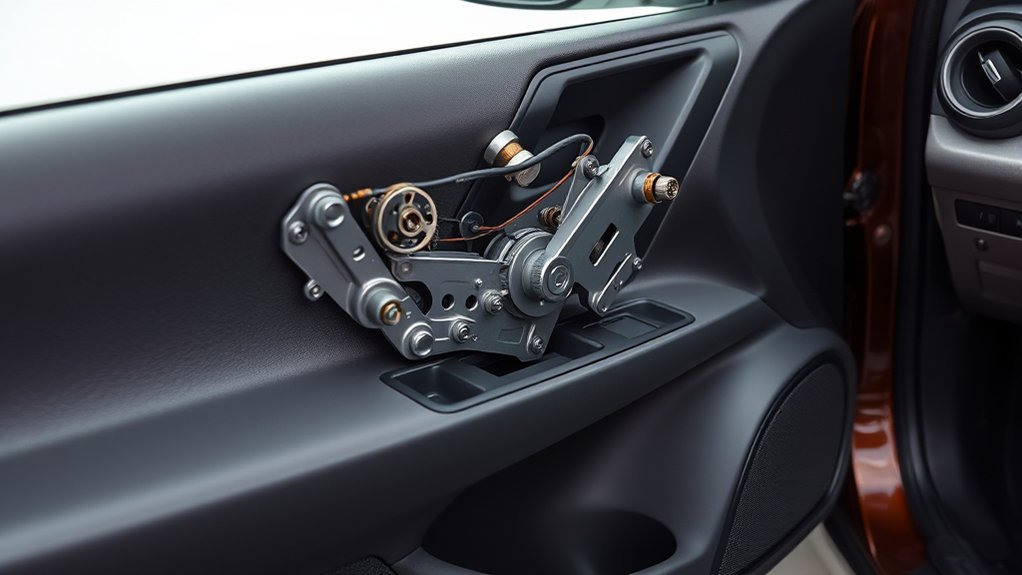
How to Remove and Replace the Window Regulator
- Support the glass. Confirm the tape or suction cups hold the window firmly in the closed position.
- Locate the regulator bolts. Find the bolts that connect the glass and regulator through the access holes in the inner door shell.
- Remove the glass bolts. Use a 10mm socket and keep one hand near the glass support system.
- Unplug the window motor. Press the connector tab and pull the plug straight out.
- Remove the regulator bolts. Support the assembly as you remove the last bolt so it doesn’t fall inside the door.
- Lift out the old regulator. Angle it through the largest access opening without forcing the cables or arms.
- Install the new regulator. Place it in the same position and hand-start each bolt before tightening.
- Reconnect the glass. Align the glass with the regulator mounts, then tighten the bolts evenly.
Don’t overtighten the mounting bolts. Snug, even pressure helps prevent cracked plastic mounts and binding tracks.
[Products Worth Considering]

[Directly Fit]: OE Replacement Power Window Regulator without Motor, Directly Fit
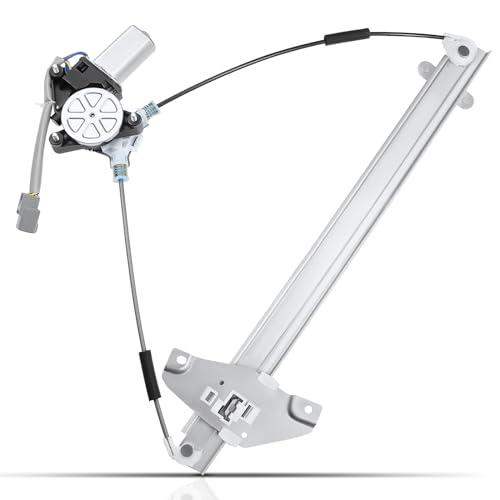
【Directly Fit】OE Replacement Power Window Regulator with 5-Pins Motor, Directly Fit

[Vehicle Fitment]: Replacement for Toyota RAV4 Base 1996-2000---4-Doors only, 2 Pins Only, Not for 5 Pins
Common Mistakes to Avoid During the Repair
Rushing the job can create new problems. Broken clips, torn vapor barriers, and misaligned glass often happen when you pull too hard or skip the test step.
Avoid these common mistakes:
- Skipping the glass support step before removing regulator bolts
- Forgetting to reconnect the master switch before testing
- Pinching wires behind the door panel during reassembly
- Leaving the vapor barrier loose or folded
- Forcing the glass if it binds in the track
Pro tip: Take a photo before you remove the regulator so you can match the cable path and bolt locations during installation.
Test Window Functionality Post-Reassembly
Reconnect the master window switch before you reinstall the full door panel. Test the window in both directions and watch the glass as it moves through the track. It should rise smoothly, sit level, and seal at the top without tilting.
If your RAV4 has an automatic window feature, you may need to reset it after repair. Hold the switch in the up position for several seconds after the window reaches the top. Then run the window down and back up to confirm normal operation.
Listen for grinding, clicking, or scraping. Those sounds can point to loose bolts, a misaligned regulator, or glass that doesn’t sit correctly in the channel.
When to Get Professional Help
Call a mechanic or auto glass technician if the glass cracked, the door wiring looks burned, or the window drops inside the door. You should also stop if the regulator binds after careful alignment. Forcing the window can damage the motor, glass, or door frame.
Professional help may also make sense if your RAV4 has side-impact components, complex trim, or water damage inside the door. A technician can test the circuit and confirm whether the motor, switch, wiring, or regulator caused the failure.
Frequently Asked Questions
Can a Power Window Regulator Be Repaired?
You can sometimes repair a power window regulator if one small part failed, such as a loose guide or damaged clip. Many modern regulator assemblies use cables and plastic parts that fail together, so replacement often gives a more reliable result.
What Is the Most Common Issue With the Toyota RAV4?
Power window issues often come from a worn regulator, weak motor, faulty switch, or wiring problem. If the window makes noise but doesn’t move, inspect the regulator first. If you hear no sound, test the switch, fuse, and wiring before replacing parts.
How to Check if a Window Regulator Is Bad?
Watch for grinding sounds, slow movement, uneven glass travel, or a window that drops into the door. You can also remove the door panel and inspect the regulator cables, arms, and mounting points for damage.
Can I Replace a Window Regulator Myself?
You can replace a window regulator yourself if you feel comfortable removing door trim and working around glass. Take your time, secure the window first, and test the new regulator before you snap the panel back into place.
Conclusion
A careful RAV4 window regulator repair starts with safe glass support and patient trim removal. Check the switch, motor, and wiring before you commit to replacing the regulator. Once the new part sits in place, test the window through several full cycles before final reassembly. With the right tools and steady work, you can restore smooth window movement and avoid a repeat repair.
References
- Toyota Owners resources — Toyota