What’s in This Article
- What You Need Before You Clean RAV4 Plastics
- How to Clean RAV4 Plastics: A Step-by-Step Guide
- How to Remove Stubborn Stains From RAV4 Plastics
- Common Mistakes to Avoid During Cleaning
- How to Avoid Cleaning Overspray on RAV4 Plastics
- Buffing Techniques for a Streak-Free Finish
- Best Product Types for Cleaning RAV4 Plastics
- Tips for Maintaining Clean Interior Plastics
- Frequently Asked Questions
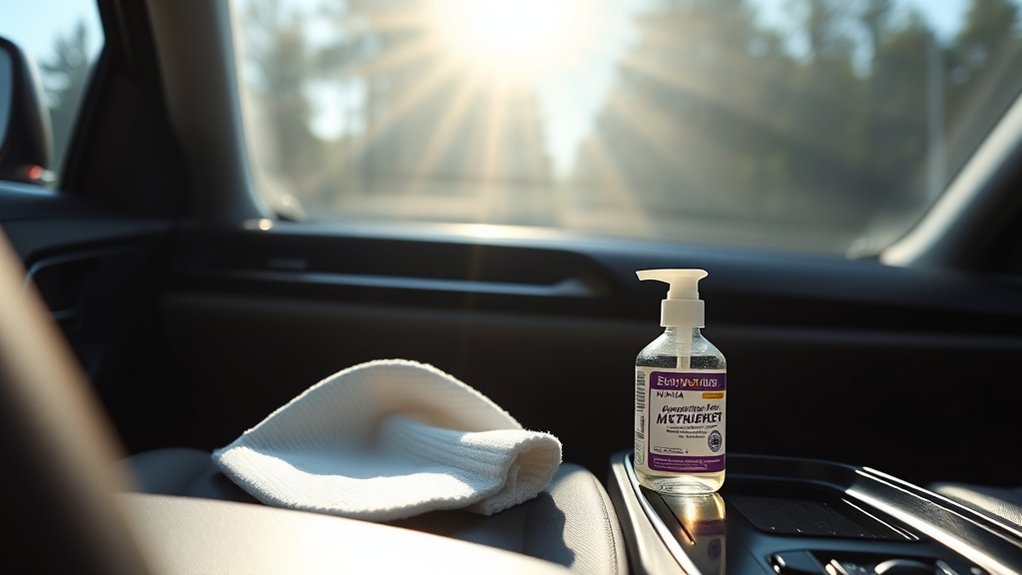
Streaks on RAV4 interior plastics usually come from too much cleaner, dirty towels, or product sprayed in the wrong place. You can fix the problem with a plastic-safe cleaner, a soft detail brush, and clean microfiber towels. This guide shows you how to clean the dashboard, doors, console, and trim without leaving residue behind.
Quick Answer
To clean your RAV4’s interior plastics without streaks, spray a plastic-safe interior cleaner onto a microfiber towel, not directly onto the trim. Wipe one small area at a time, use a soft brush for seams and texture, then buff with a dry microfiber towel. Avoid ammonia, bleach, harsh solvents, and greasy dressings on touch points.
Key Takeaways
- Use an automotive interior cleaner labeled safe for plastic, vinyl, and trim.
- Spray cleaner onto the towel first so you can control overspray near buttons and screens.
- Clean textured plastics with a soft detail brush before you wipe the surface dry.
- Buff each section with a clean, dry microfiber towel to remove leftover product.
- Test every new cleaner on a hidden area before you use it on visible trim.
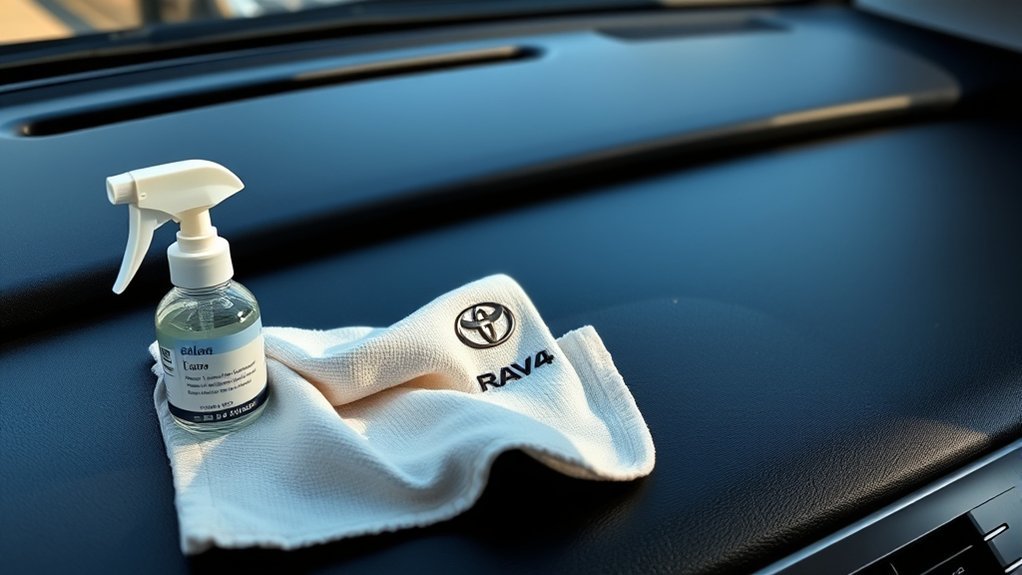
What You Need Before You Clean RAV4 Plastics
Gather your supplies before you start so you don’t leave cleaner sitting too long on one area. You don’t need harsh products for most RAV4 interior plastics.
- Automotive interior cleaner or plastic-safe all-purpose cleaner
- Two or more clean microfiber towels
- Soft detail brush for texture, seams, and vents
- Trigger spray bottle or pump sprayer
- Compressed air or a soft vent brush for tight gaps
- Optional plastic protectant with a low-gloss or matte finish
Warning: Don’t use slick dressings on the steering wheel, pedals, shifter, or floor mats because they can reduce grip.
[Products Worth Considering]

These TPE door anti‑kick pads provide durable, water‑resistant protection for Toyota Tundra doors from 2022 to 2026. They fit precisely, are easy to install with double‑sided tape, and can be cleaned simply with water. The pads guard against scuffs and impacts while preserving the door's appearance and smooth operation.

The Pigenius windshield sunshade protects your Tundra's interior from heat and UV damage while keeping the cabin cool. Its accordion design folds easily for storage and quick setup, and the triple‑laminate construction provides durable, reflective protection. Ideal for long trips and daily commutes, it guards dashboards, seats, and steering wheels from sun‑related wear.

Upgrade your vehicle's interior with this universal console cover that combines comfort and organization. The high‑quality microfiber leather resists spills and scratches while the thick memory foam core provides ergonomic support, reducing elbow fatigue on long drives. Dual side pockets keep essentials within reach, and elastic straps with non‑slip dots ensure a secure, tool‑free installation for any sedan.
How to Clean RAV4 Plastics: A Step-by-Step Guide
Estimated total time: 15 to 25 minutes for light interior cleaning, or longer if you need stain work.
- Remove loose items. Take out floor mats, trash, chargers, and small items from the console and door pockets.
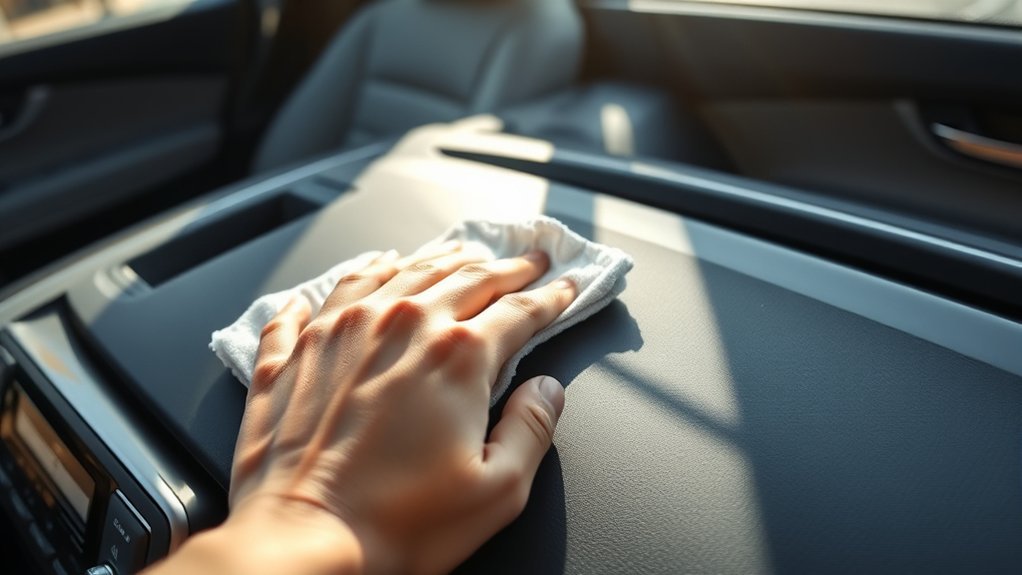
- Dust the surface. Wipe the dashboard, door panels, center console, and trim with a dry microfiber towel.
- Spray the towel. Apply a small amount of cleaner to the towel instead of spraying the RAV4 plastic directly.
- Wipe one section. Clean a small area with light pressure, then flip the towel to a clean side.
- Brush textured areas. Use a soft detail brush around seams, buttons, vents, cupholders, and textured trim.
- Dry the surface. Buff the area with a separate dry microfiber towel until the plastic feels clean, not tacky.
- Clear the crevices. Use compressed air or a soft brush to remove trapped cleaner from seams and controls.
- Inspect in good light. Check the plastic from different angles and re-buff any streaks or shiny spots.
Pay extra attention to sensitive areas like the gauge cluster, infotainment screen, drive-mode buttons, and steering wheel controls. Toyota advises using gentle methods on screens and avoiding ammonia-based cleaners on display surfaces.
How to Remove Stubborn Stains From RAV4 Plastics
Stubborn stains on RAV4 interior plastics need patience, not more pressure. Start with a plastic-safe interior cleaner and let it sit on the stain for one to two minutes, as long as the product label allows.
Use a soft detail brush to loosen grime from textured plastic, then wipe the area with a microfiber towel. For food, drink, or organic stains, use an automotive-safe enzyme cleaner only when the label says it works on plastic trim.
After you clean the spot, use compressed air or a soft brush to clear any leftover product from seams. Finish with a dry microfiber towel so the surface doesn’t stay damp or sticky.
[Products Worth Considering]

Upgrade your vehicle's interior with a stylish boho‑inspired center console cover that adds comfort and a striking visual appeal. Made from premium polyester fiber, anti‑skid cloth, and a plush 5 mm sponge, it provides soft support while reducing hand fatigue during long drives. The anti‑slip adhesive backing keeps it securely in place, and the elastic straps ensure a snug fit on most cars, trucks, SUVs, and vans.

Upgrade your 2026 Toyota RAV4 interior with this soft, breathable armrest cover that offers full protection against scratches, dirt, and wear. Made from eco‑friendly material, it fits the console perfectly and stays securely in place with elastic straps. Installation is tool‑free, providing added comfort and reducing fatigue during long drives.
Common Mistakes to Avoid During Cleaning
Small mistakes can leave streaks, haze, or shiny patches on RAV4 interior plastics. Avoid these common problems before they make the job harder.
| Mistake | Consequence |
|---|---|
| Using too much cleaner | Leaves streaks and sticky residue |
| Using dirty microfiber towels | Transfers grime back onto the plastic |
| Spraying cleaner directly on controls | Pushes liquid into buttons, seams, and electronics |
| Skipping the test spot | Raises the risk of discoloration or dull spots |
| Using harsh household cleaners | Can damage coatings, screens, and interior trim |
Clean your RAV4 plastics lightly and often instead of scrubbing them only after heavy buildup. Always test a new cleaner on a small hidden area, then wait a few minutes and check for color change, haze, or stickiness.
How to Avoid Cleaning Overspray on RAV4 Plastics
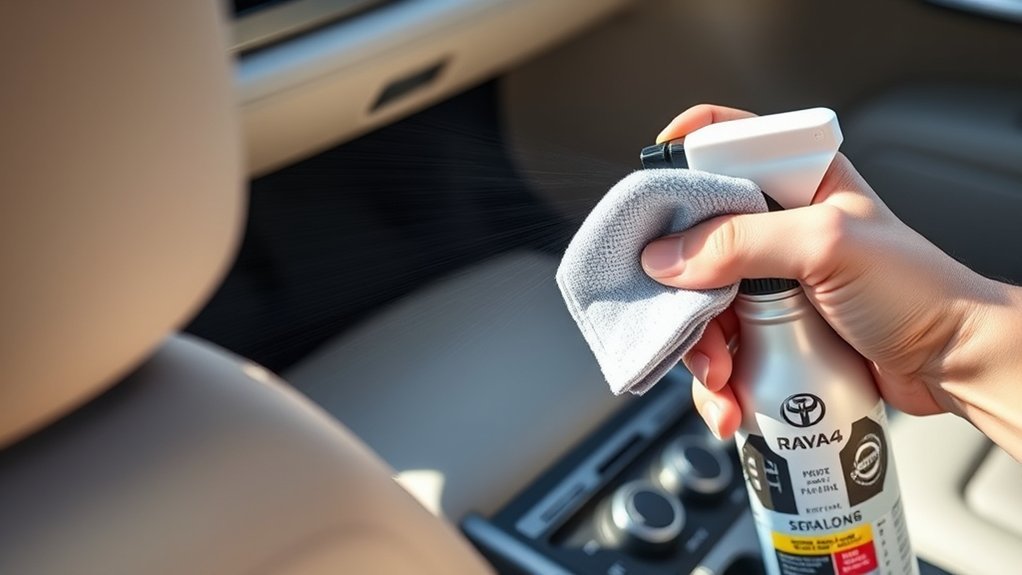
Overspray causes many streaks on interior plastics because cleaner lands where you don’t want it. Apply product to the towel first, then wipe the surface with controlled pressure.
Use Trigger Spray Bottles
A trigger spray bottle helps you control how much cleaner reaches the towel. Adjust the nozzle to a fine mist, then use one or two sprays for each small section.
Keep a clean microfiber towel nearby so you can wipe excess cleaner before it dries. Test your cleaner on an inconspicuous spot first, especially on older plastic, piano-black trim, or coated surfaces.
Control Product Application
Work in small sections on the dashboard, console, and door panels. Spray the towel, wipe the plastic, then dry the same area before you move to the next section.
Use a detail brush near the gauge cluster, vents, and buttons so you don’t soak electronic areas. After you finish, use compressed air lightly to move any trapped cleaner out of seams.
Wipe Residue Immediately
Residue becomes easier to see after it dries, especially on dark RAV4 plastics. Wipe each section right away with a dry microfiber towel.
Flip the towel often so you don’t spread old cleaner or dirt over a clean surface. If a panel still looks cloudy, dampen a fresh towel with clean water, wipe lightly, then dry it again.
Buffing Techniques for a Streak-Free Finish
A clean plastic panel should look even and natural, not greasy or overly shiny. The final buff matters as much as the cleaner you choose.
- Use a clean microfiber towel: Fine fibers lift moisture and residue without scratching most interior plastics.
- Apply cleaner sparingly: A light amount cleans better than a soaked towel.
- Use a detail brush: Soft bristles help cleaner reach textured trim and narrow seams.
- Wipe in one pattern: Use straight lines or gentle circles so you can spot missed areas fast.
Pro tip: Keep one towel for cleaning and one dry towel for buffing so residue doesn’t return to the plastic.
Use compressed air only after you wipe the surface, not as a replacement for wiping. This helps clear seams without spreading wet cleaner across nearby trim.
Best Product Types for Cleaning RAV4 Plastics
The best cleaner for RAV4 interior plastics depends on the soil level and the surface. Choose a product that clearly says it works on automotive plastic, vinyl, dashboard trim, or interior panels.
Essential Cleaning Solutions
Use gentle products first because most interior plastic only needs light cleaning. For regular maintenance, choose one of these options:
- Plastic-safe interior cleaner: Good for dashboard, console, doors, and trim.
- Mild automotive all-purpose cleaner: Useful for dirtier areas when diluted as the label directs.
- Screen-safe cleaner: Best for infotainment screens and glossy display areas.
- Low-gloss protectant: Helps reduce fading from ultraviolet (UV) exposure when the label allows use on interior plastic.
Avoid bleach, ammonia, harsh solvents, and abrasive pads. Consumer Reports also warns that bleach, hydrogen peroxide, and ammonia-based cleaners can damage car interior materials and coatings.
Recommended Tools and Equipment
The right tools help you clean better with less pressure. Use microfiber towels for wiping, a soft detail brush for texture, and compressed air for seams you can’t reach with a towel.
A trigger bottle or pump sprayer gives you better control than a heavy spray pattern. Keep several towels ready because one dirty towel can cause streaks across every panel you clean.
Effective Techniques for a Streak-Free Finish
Start with the least aggressive cleaner that can remove the dirt. Spray the towel, wipe gently, brush textured spots, then buff dry.
- Clean from the top of the dashboard down to the lower panels.
- Keep cleaner away from screens unless the label says it works on screens.
- Use less product on piano-black trim because it shows residue fast.
- Inspect the surface from different angles before you finish.
Tips for Maintaining Clean Interior Plastics
Light maintenance keeps your RAV4 plastics easier to clean. Wipe dust with a dry microfiber towel once a week, especially on the dashboard, console, and door trim.
Clean high-touch areas more often because steering wheel controls, handles, cupholders, and buttons collect oils from your hands. The Centers for Disease Control and Prevention (CDC) advises cleaning surfaces before sanitizing or disinfecting because dirt can reduce how well disinfecting chemicals work.
Use sunshades and low-gloss protectants when they match your trim and product label. This helps reduce fading without creating a slippery or shiny dashboard.
Frequently Asked Questions
How do you clean the interior of a RAV4?
Remove loose items, dust the surfaces, then wipe interior plastics with a microfiber towel and plastic-safe cleaner. Use a soft brush for seams and textured trim, then dry each area with a clean towel.
How do you clean a car interior without leaving streaks?
Use less cleaner than you think you need, and spray it onto the towel first. Work in small sections and buff each area dry before the cleaner has time to leave residue.
How do you make RAV4 interior plastic look new again?
Clean the plastic first so you remove dust, oils, and old residue. If the surface still looks faded, use a low-gloss plastic protectant that the label approves for automotive interior trim.
Can you use household cleaners on RAV4 plastics?
You should avoid most harsh household cleaners on RAV4 interior plastics. Bleach, ammonia, strong solvents, and abrasive cleaners can harm trim, screens, and coatings.
How often should you clean RAV4 interior plastics?
Dust the interior weekly if you drive often or park in dusty areas. Deep clean the plastic trim when you notice grime, sticky spots, or visible residue.
Conclusion
A streak-free RAV4 interior starts with light product use, clean towels, and careful drying. Spray cleaner onto the towel, work one small section at a time, and buff each panel before residue dries. Use a soft brush for textured plastic and tight seams, but keep harsh chemicals away from screens and controls. Keep this routine simple, and your RAV4 interior will look cleaner after every drive.
References
- How to Clean Your Car’s Interior — Toyota, accessed 2026
- How to Clean Your Car’s Interior — Consumer Reports, 2025
- When and How to Clean and Disinfect a Facility — Centers for Disease Control and Prevention, 2024