What’s in This Article
- Quick Checklist: What to Try First If Your RAV4 Prime Won’t Charge
- Symptoms and Likely Causes
- Before You Start: Safe Tools and Setup
- Verify RAV4 Prime Charging Hardware
- Inspect the Charge Port
- Check Vehicle Charging Settings
- Diagnose Home vs Public Charging
- Charging Shows but Battery Doesn’t Increase
- Temporary Fixes and Workarounds
- Tracking and Prevention
- When to Contact Toyota or an EV Technician
If your RAV4 Prime won’t charge, don’t start by blaming the battery. Most charging problems begin with power supply, charge schedules, connector fit, ice, debris, or charger faults. This guide shows you how to test each cause in a safe order, so you can find the problem without guessing.
Quick Answer
If your RAV4 Prime won’t charge, first check the breaker, outlet power, charger connection, and charge schedule. Then inspect the cable, connector pins, and charge port for ice, water, dirt, or damage. If the car shows charging but the battery level does not rise, test another outlet or Level 2 station and record the energy added before you call Toyota.
Key Takeaways
- Check the breaker, outlet, and charger connection before you assume the vehicle has a fault.
- Turn off delayed charging or use Charge Now if a schedule blocks the session.
- Use the Toyota-supplied 120V cable only with a safe, grounded outlet and no extension cord.
- Clear ice, snow, dirt, and water from the charge port before you plug in.
- Call Toyota or a qualified EV technician if the same fault repeats on more than one charger.
Quick Checklist: What to Try First If Your RAV4 Prime Won’t Charge
Start with the checks that solve the most common charging issues. Check the circuit breaker, confirm the outlet has power, and make sure the charging cable sits firmly in the outlet and vehicle port. If you use a public or workplace charger, try another station before you blame the car.
Next, check the vehicle’s charging settings. A delayed schedule can make the car look connected while it waits to charge. Toyota’s manual also notes that Charge Now and schedule settings affect when charging starts, so review those settings before deeper testing.
- Confirm the breaker has not tripped.
- Use a grounded, unswitched outlet with stable power.
- Check the charging cable and connector for damage.
- Turn off delayed charging or select Charge Now.
- Try a known-good Level 2 charger if home charging still fails.
For 2025 and newer North American models, Toyota uses the name RAV4 Plug-in Hybrid. Many owners still call earlier models the RAV4 Prime, and the basic troubleshooting steps remain similar.
[Products Worth Considering]

The Pigenius windshield sunshade protects your Tundra's interior from heat and UV damage while keeping the cabin cool. Its accordion design folds easily for storage and quick setup, and the triple‑laminate construction provides durable, reflective protection. Ideal for long trips and daily commutes, it guards dashboards, seats, and steering wheels from sun‑related wear.
The Autorder windshield sun shade umbrella provides full coverage for Toyota RAV4 models from 2019 to 2026, blocking heat and UV rays with its advanced ice crystal material. Its ten reinforced skeletons and anti‑puncture edges ensure durability and stability, while the effortless umbrella‑style deployment and compact storage bag make it convenient for everyday use. Keep your car interior cool and protected from sun damage with this easy‑setup, high‑performance sunshade.

The KDOWES front windshield sun shade offers a custom fit for Toyota RAV4 SUVs, featuring a double‑layer heat shield that blocks up to 99% of solar rays and reduces interior temperature by up to 40°F. Reinforced steel rings and Velcro fasteners ensure easy installation and a secure fit, while the foldable cartilage steel ring allows convenient storage. This high‑quality, reflective fabric protects upholstery, dashboard, and electronics from UV damage, keeping the cabin cool and comfortable.
Symptoms and Likely Causes
Match the symptom to the likely cause before you test parts. This saves time and helps you avoid unsafe trial and error.
| Symptom | Likely Cause | First Check |
|---|---|---|
| No charge light | No outlet power, bad connection, or charger fault | Breaker, outlet, and cable fit |
| Light flashes but charging waits | Charge schedule or Charge Now setting | Charging menu and schedule |
| Charging starts then stops | Circuit load, outlet fault, heat, or station fault | Breaker, shared loads, and another charger |
| Connector will not seat | Ice, snow, debris, or port damage | Charge port and connector pins |
[Products Worth Considering]

Protect your Toyota RAV4 interior with this custom‑fit windshield sun shade that blocks 99% of harmful UV rays and reduces cabin heat. The mirror cut‑out ensures a seamless fit without gaps, while durable 240T polyester and bendable wire keep it sturdy through repeated use. Foldable and stored in a convenient pouch, it offers easy installation and removal for everyday comfort.

The Autovir windscreen shade offers full windshield coverage for Toyota RAV4 models from 2019 to 2026, blocking up to 99.95% of UV rays and reducing interior heat. Its multi‑layer reflective material provides SPF 100 and UPF 80+ protection while keeping the dashboard, seats, and steering wheel cooler. The foldable design installs quickly and stores conveniently in the glove box, and reinforced stitching ensures long‑lasting durability for daily use.
Before You Start: Safe Tools and Setup
You only need simple tools for the first round of checks. Keep a flashlight, dry cloth, soft nonmetallic brush, phone camera, and your owner’s manual nearby. Your phone helps you capture error messages, charger screens, and connector damage.
Warning: Do not use extension cords, open EV charging equipment, touch exposed wiring, or keep charging if you smell burning or feel heat at the outlet.
Stop troubleshooting and call a licensed electrician if the breaker trips again, the outlet feels warm, or the plug shows burn marks. Stop and call Toyota service if the vehicle displays a warning message after you try a known-good charger.
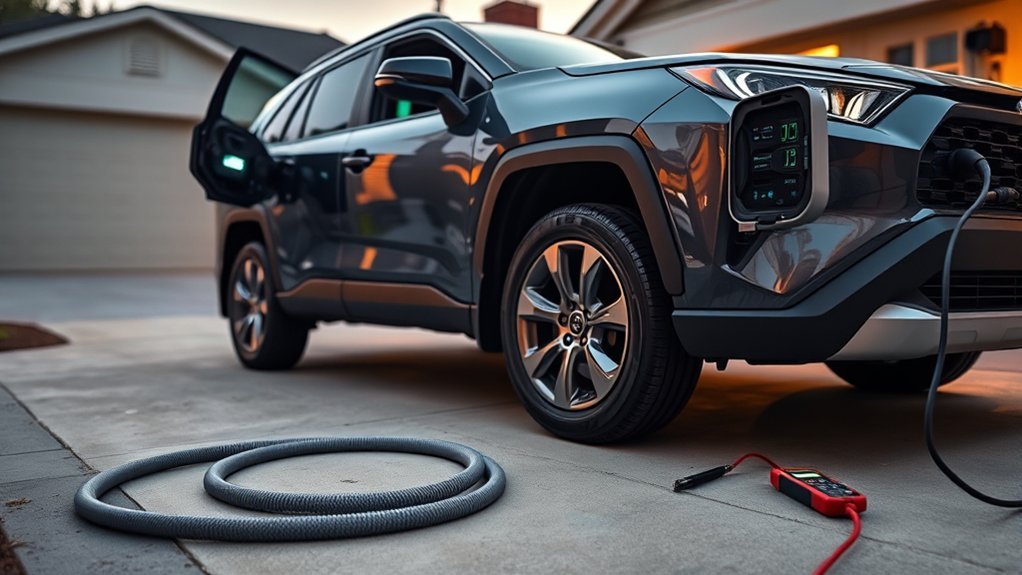
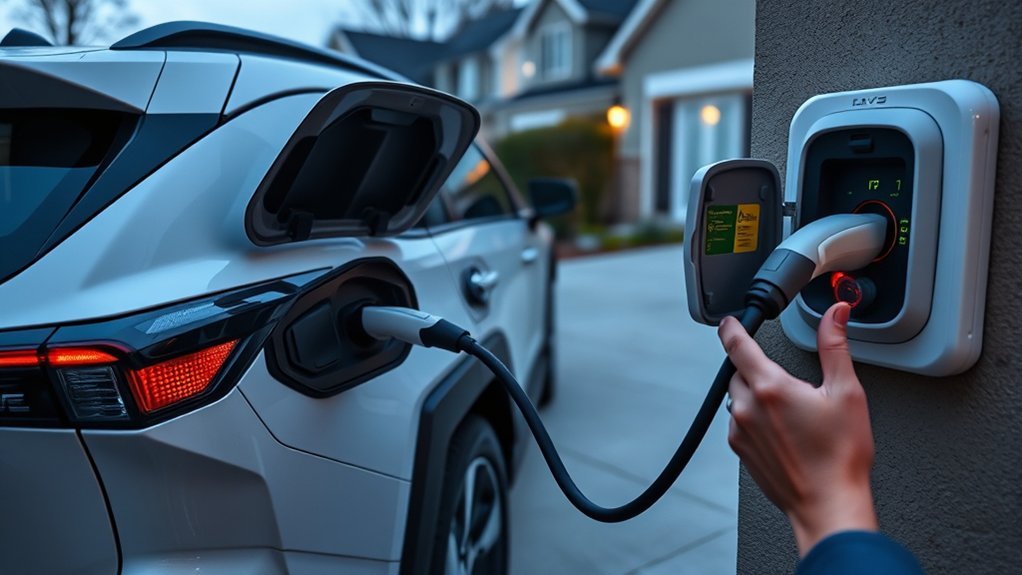
Verify RAV4 Prime Charging Hardware: Cable, Connector, and Outlet
Inspect the physical charging hardware before you change vehicle settings. Confirm the Toyota-supplied cable sits firmly in the vehicle port and outlet. Look for cracks, bent pins, corrosion, burn marks, loose fit, or debris.
For standard home charging, Toyota recommends a grounded 120V outlet with a Ground-Fault Circuit-Interrupter (GFCI) and circuit breaker protection. Toyota also recommends a dedicated 15A outlet for the supplied cable. For 240V charging, use a properly installed Level 2 electric vehicle supply equipment (EVSE), not an improvised adapter.
Inspect the Toyota charging cable, connector, outlet, and charge port for secure fit, damage, dirt, corrosion, and heat before you keep charging.
- Confirm the charging cable locks in at both ends.
- Clean visible dry dirt with a soft nonmetallic brush and dry cloth.
- Test the outlet with another small device if you can do so safely.
- Move to a known-good outlet or public Level 2 charger if the first source fails.
If you use a workplace station, ask facility staff to confirm station status. Keep a short log of charging attempts and results. A clear record helps you spot a weak outlet, bad station, or repeat vehicle fault.
Inspect the Charge Port for Ice, Snow, Debris, or Physical Blockage
Check the charge port visually before you plug in. Ice, packed snow, water, leaves, grit, or a small object can stop the connector from seating. A loose connector can make charging fail even if the cable looks connected.
Check for Ice
If you charge in freezing weather, inspect the RAV4 Prime’s charge port for ice, snow, or debris. Look around the latch area, sealing surfaces, and connector opening. Wear gloves and do not force the plug if it will not seat.
- Look for visible ice, compacted snow, or loose debris around the port.
- Use a soft plastic tool or brush around the edge only.
- Dry visible moisture before it can refreeze.
Move the vehicle into a warmer area if ice blocks the latch or connector. A few minutes of safe thawing can prevent broken plastic or bent pins.
Clear Debris and Snow
After you check for ice, widen your inspection to the whole charge port area. Remove snow, grit, leaves, or other objects that can block the plug. Use a soft brush and dry cloth, not metal tools or liquids.
If ice remains, use gentle warmth from a warm cloth, hand warmer, or cabin heat. Do not use boiling water. After the port clears, dry the area and confirm the connector clicks or seats firmly.
Check Vehicle Charging Settings: Scheduled Charging, Max, and Timers
Scheduled charging, Charge Now, and charging current settings can decide when charging starts. Open the charging preferences menu and look for delayed start, departure time, repeated schedules, and current limits. If the car waits for a schedule, it may look connected without adding range right away.
Set the charging current to the highest safe setting only when your outlet and circuit can support it. Toyota manual guidance shows current limit choices such as 8A and 16A on supported models. Use a lower setting if the breaker trips or the circuit also powers other loads.
- Check charging preferences for active schedules, timers, and repeated settings.
- Use Charge Now when you need charging to start right away.
- Lower the current setting if a shared 120V circuit trips.
- Watch the dashboard estimate to confirm the session starts.
Learn the charging menu for your model year, since screen layout can vary. A simple schedule conflict can feel like a charger failure when the vehicle only waits for the next allowed window.
Diagnose Home vs Public Charging: Breakers, Station Faults, and Load
Compare home charging with a public Level 2 charger to find where power gets lost. At home, check the breaker, outlet type, shared loads, and cable fit. At a public station, check the station screen, fault messages, and energy delivered.
Toyota states that the 2025 RAV4 Plug-in Hybrid charges in about 12 hours on a standard 120V outlet and about 2.5 hours on a Level 2 charger under ideal conditions. If your session adds very little energy over a long time, test another station or another circuit before you assume the vehicle has a battery problem.
| Location | Quick Checks |
|---|---|
| Home circuit | Breaker position, GFCI trip, switched outlet, shared loads |
| Charger cable | Secure connection, no damage, proper rating |
| Vehicle settings | Charge Now, departure time, current limit |
| Public station | Station status, reported faults, energy delivered |
If home charging stalls but public charging works, focus on the outlet, breaker, GFCI, or circuit load. If both fail, recheck the vehicle settings, cable, port, and warning messages.
Charging Shows but Battery Doesn’t Increase: Step-by-Step Tests
Start by confirming that the car draws power over time. A charge light or charger screen can show connection, but the session may still pause because of a schedule, station fault, or circuit issue. Use simple tests before you call for service.
- Check the dashboard for charge time, warning messages, and battery percentage.
- Turn off delayed charging or choose Charge Now.
- Unplug the connector, wait a few seconds, and reconnect it firmly.
- Move the charger to a safe, known-good outlet or a Level 2 station.
- Record start percentage, end percentage, session time, and kWh delivered.
If the battery level does not rise after these checks, save the session data. A Toyota dealer or qualified EV technician can use that record to test the onboard charger, cable, inlet, and control system.
Temporary Fixes and Workarounds: Thawing, Reset, and Alternate Outlets
If ice, a tripped circuit, or a poor connector fit blocks charge initiation, you may restore charging with a short-term fix. Thaw ice with a warm cloth, hand warmer, or gentle cabin heat. Keep heat low and away from plastic parts for long periods.
If the charger shows connected but does not start, unplug the connector and reconnect it firmly. Check Charge Now and the charge schedule again. If charging fails on one outlet, move to a dedicated safe outlet or a trusted Level 2 charger.
These steps help you get moving, but they do not replace diagnosis. If the same issue returns, stop repeating the workaround and find the cause.
Tracking and Prevention: Logs, Charging History Suggestions, and Smart Plugs
Good records make charging problems easier to prove. Log each charging session with the start time, end time, outlet or station, energy delivered, battery percentage change, temperature, and any fault codes. Patterns often show whether the fault follows the outlet, station, weather, or vehicle.
A smart plug with energy monitoring can help on a 120V outlet if the device carries the right rating for continuous load. Do not use a smart plug that lacks a proper electrical rating. When in doubt, ask a licensed electrician.
- Log fields: start time, end time, kWh delivered, temperature, outlet ID, and fault codes.
- Power notes: breaker trips, GFCI trips, shared loads, and plug heat.
- Review routine: compare sessions weekly and mark any unusual drop in energy added.
This simple record gives you better evidence if you need dealer service. It also helps you avoid repeat problems from the same outlet or station.
When to Contact Toyota or an EV Technician: What Info to Collect
Contact Toyota or a qualified EV technician if basic checks do not restore charging. Get help sooner if you see a warning message, smell burning, notice heat at the outlet, find damaged pins, or trip the breaker more than once. Charging systems involve high voltage, so do not open vehicle charging parts yourself.
Bring a concise incident log. Include error messages, charge start and stop times, battery percentage trends, charger type, outlet details, weather, and recent repair history. This information helps the technician repeat the problem and choose the right tests.
When to Call
Call when the same fault repeats on more than one charger or circuit. Also call if the vehicle shows a charge warning, the connector will not latch, or the battery percentage stays the same during a confirmed charging session.
- Bring charging history with time plugged in, kWh gained, and battery percentage change.
- Record dashboard warnings, estimated charge time, and weather conditions.
- List the steps you tried, such as breaker reset, outlet swap, and Charge Now.
Stay factual when you call. Clear data helps Toyota or an EV technician diagnose the issue faster.
What to Record
Record details that help a technician reproduce the problem. Include time, duration, kWh gained, battery percentage, charger type, and any diagnostic messages or error codes. Note outlet type, location, breaker trips, and weather.
| Item | What to Record |
|---|---|
| Session timing | Start time, end time, and duration |
| Energy | kWh gained and battery percentage change |
| Errors | Dashboard messages, error codes, and charger faults |
| Environment and power | Outlet type, station ID, breaker trips, and weather |
Share these notes with Toyota or a qualified EV technician. The log can point them toward the charger, inlet, onboard system, or household circuit.
Frequently Asked Questions
Why is my RAV4 Prime plugged in but not charging?
Your RAV4 Prime may wait because a charge schedule, Charge Now setting, weak outlet, tripped breaker, or charger fault blocks the session. Check the dashboard, charging menu, outlet power, and connector fit first.
What does a charging system malfunction mean on a Toyota RAV4?
A charging system malfunction means the vehicle detected a problem with charging power, the charger, the vehicle inlet, or the control system. Stop charging if you see a warning with heat, smell, smoke, or repeated breaker trips. Then contact Toyota service.
Where is the charging reset button on a Toyota RAV4 Prime?
The RAV4 Prime does not have one universal charging reset button for this issue. Use the charging menu, Charge Now, and a safe unplug and reconnect test. Check your owner’s manual or ask Toyota service before you press unknown buttons.
Why does my RAV4 Prime show charging but the battery does not increase?
The car may show a connection while a schedule, station fault, low current, or power interruption stops real charging. Record the start percentage, end percentage, session time, and kWh delivered. Then test another circuit or Level 2 station.
Can I use an extension cord to charge a RAV4 Prime?
No. Toyota manual guidance says not to connect the AC charging cable to an extension cord. Use a proper grounded outlet or a correctly installed Level 2 EVSE instead.
Safety Disclaimer: This article gives general information and does not replace your owner’s manual, Toyota service, a qualified EV technician, or a licensed electrician. Stop charging and get professional help if you see smoke, heat, burn marks, exposed wiring, repeated breaker trips, or vehicle warning messages.
Conclusion
A RAV4 Prime that won’t charge usually needs a careful power, settings, cable, port, and station check before major repair work. Start with the breaker, outlet, Charge Now setting, connector fit, and charge port condition. Then compare home charging with a known-good Level 2 charger and write down the results.
If the same fault repeats, take your log to Toyota or a qualified EV technician. A clean record helps them test the right part and get your plug-in hybrid charging again.
References
- 2023 RAV4 Prime Owner’s Manual: Power sources that can be used – Toyota Motor Sales, U.S.A., 2023
- 2023 RAV4 Prime Owner’s Manual: When charging cannot be carried out – Toyota Motor Sales, U.S.A., 2023
- New Name, Same Great Powertrain for the 2025 Toyota RAV4 Plug-in Hybrid – Toyota USA Newsroom, 2024
- 2026 Toyota RAV4 Plug-in Hybrid – Toyota Motor Sales, U.S.A., 2026