If your RAV4’s Blind Spot Monitor warns or stops working, start with the simple checks first. Inspect the BSM fuse, clean the radar sensor areas behind the rear bumper, and check for loose or corroded harness connectors. Then scan the Blind Spot Monitor (BSM), Rear Cross-Traffic Alert (RCTA), anti-lock braking system (ABS), and stability-control modules for diagnostic trouble codes. If the light stays on after cleaning, power cycling, and code checks, you’ll likely need professional calibration, wiring repair, or sensor replacement.
Quick Answer
A RAV4 BSM warning usually comes from a dirty rear bumper sensor area, a blown fuse, damaged wiring, sensor misalignment, or stored fault codes. You can clean the bumper corners, check the fuse, restart the vehicle, and scan the right modules. If the warning returns, don’t replace parts by guess. Book a Toyota-capable scan and calibration check.
Key Takeaways
- Check the fuse, rear bumper sensor areas, and wiring before you replace BSM parts.
- Scan BSM, RCTA, ABS, and stability-control modules because related codes can point to the real fault.
- Use resets only as a test because a reset won’t fix damage, corrosion, or misalignment.
- Get professional calibration after rear bumper repair, sensor removal, or rear impact damage.
Top Causes of a RAV4 BSM Warning (Quick Checklist)
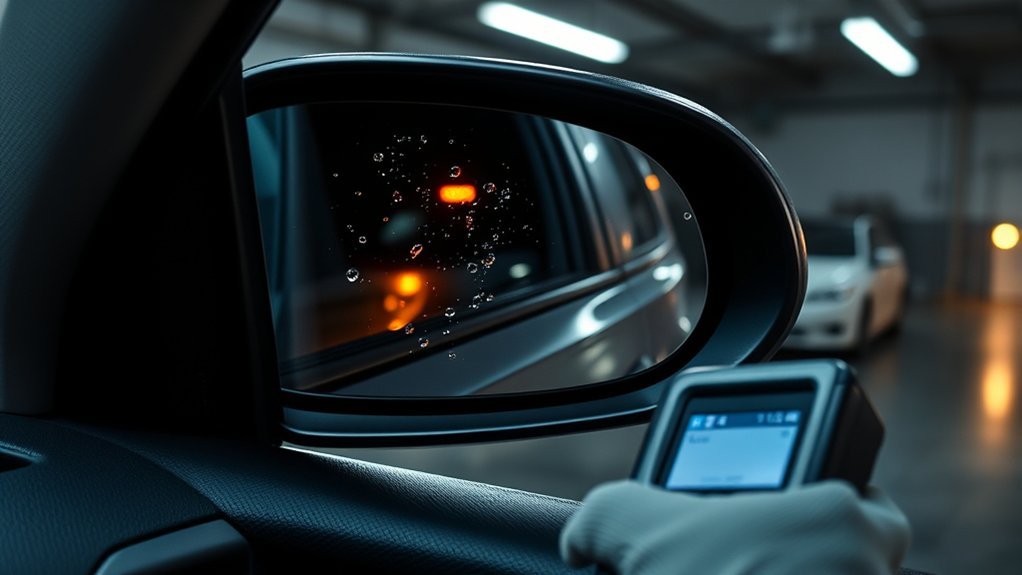
A BSM warning can appear after a rear bumper impact, dirty bumper corners, a blown fuse, damaged wiring, or sensor misalignment. Toyota’s owner information explains that the system uses rear-side radar sensors, so dirt, ice, bumper repairs, and sensor position matter.
Start with this order:
- Check the rear bumper corners for dirt, ice, stickers, paint buildup, or impact damage.
- Inspect the BSM fuse and replace it only with the correct amp rating.
- Look for loose plugs, corrosion, chafed wires, or rodent damage near the rear sensor harness.
- Scan BSM, RCTA, ABS, and stability-control modules for stored and current codes.
- Schedule calibration if the sensor, bumper cover, rear body panel, or mounting bracket moved.
Toyota calibration guidance warns that even small sensor misalignment can affect safety-system performance. Keep photos and repair records if the issue started after a rear impact or bumper repair.
Before You Start: Tools and Safety Checks
Set aside about 20 to 30 minutes for basic checks. You’ll need your owner’s manual, a flashlight, a soft cloth, mild cleaner, and a scan tool that can read Toyota body and chassis modules. A basic engine-only code reader may miss BSM or RCTA faults.
Park on level ground before you inspect the bumper and wiring. Don’t remove radar sensors, bend brackets, paint sensor areas, or force connectors. Toyota repair guidance says BSM calibration uses vehicle-specific repair data and special service tools, so leave alignment work to a qualified shop.
Check Power, Sensors, and Rear Bumper Obstructions
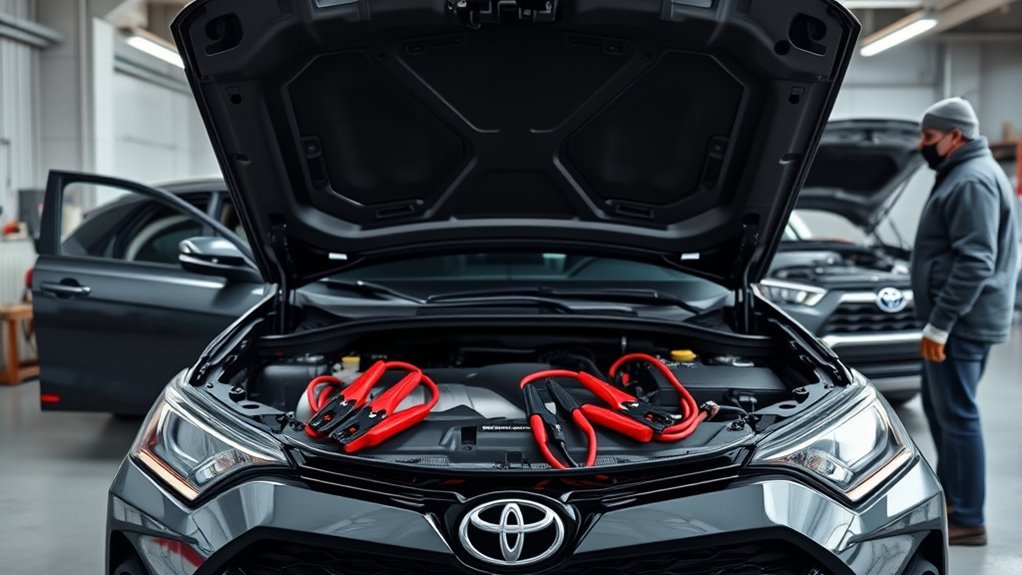
Most BSM faults start with simple issues, so check power, sensor areas, and obstructions before you order parts. First, inspect the BSM fuse in the fuse box. If it’s blown, replace it with the same amp rating listed for your model.
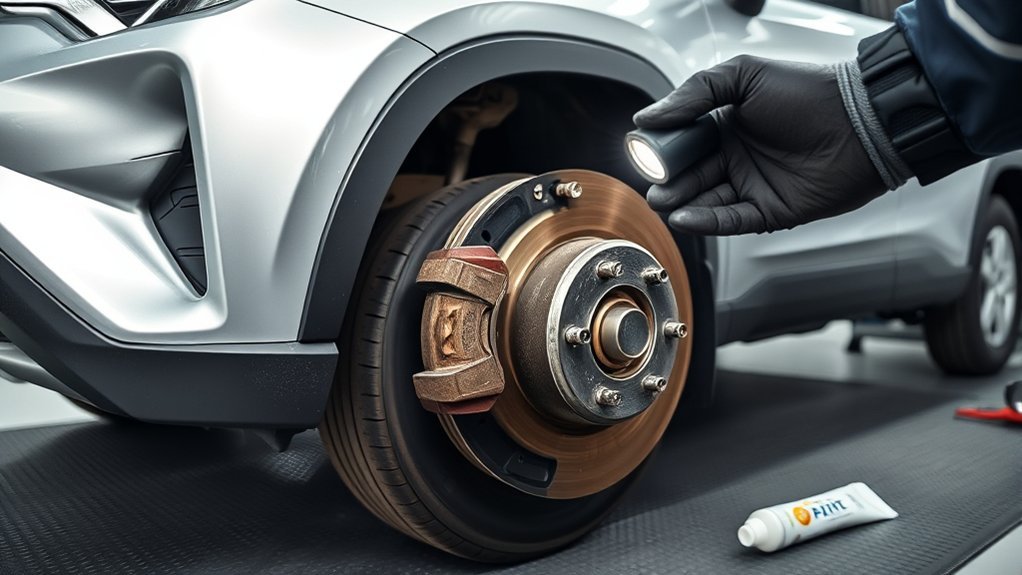
Next, clean the rear bumper corners where the radar sensors sit behind the bumper cover. Use a soft cloth and mild cleaner to remove road grime, salt, snow, ice, mud, or wax residue. Avoid harsh chemicals and pressure washing close to electrical connectors.
Warning: Don’t paint, modify, hit, or reposition BSM sensors because small alignment changes can cause false warnings or system failure.
Then check the wiring. Look for loose harness plugs, green corrosion, pinched insulation, or wiring rubbed through near each rear sensor. Secure loose connectors and repair damaged wiring before you clear codes or run another road test.
Read RAV4 BSM/ABS/RCTA Fault Codes (What They Mean)
After you rule out fuses, dirt, and loose wiring, pull diagnostic trouble codes. Use an OBD-II scanner that reads more than engine codes. You need access to BSM, RCTA, ABS, Vehicle Stability Control (VSC), and traction-control data.
Don’t treat every code as a direct order to replace a part. Some Toyota applications may show steering-angle, wheel-speed, yaw-rate, or communication codes along with a BSM warning. A code such as C1433 can point to steering-angle sensor data on some Toyota applications, but you should confirm the code definition for your exact year, trim, and repair manual.
Use live data when your scanner supports it. Check steering angle, wheel speed, yaw data, battery voltage, and communication status. If live values drop out, freeze, or don’t match the vehicle’s movement, you may have a wiring, sensor, calibration, or module communication fault.
Try Safe Resets Before RAV4 BSM Recalibration
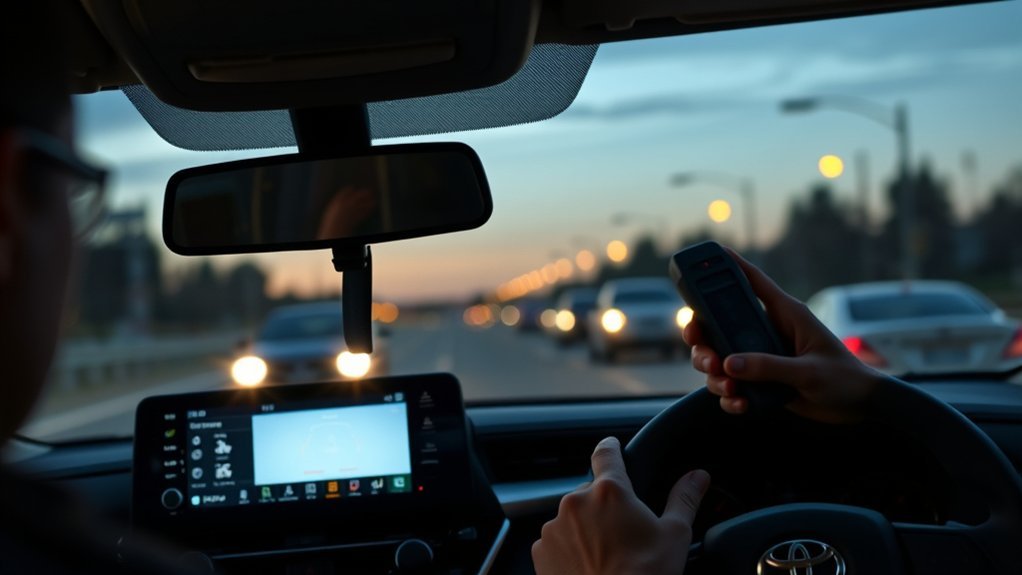
If your RAV4’s BSM light stays on, try a safe reset only after you clean and inspect the sensor areas. Turn the ignition off, wait 30 seconds, then restart the vehicle. This may clear a temporary low-voltage or startup fault.
| Action | Purpose | Quick Result |
|---|---|---|
| Ignition cycle | Clear temporary startup errors | May clear the light |
| Visual cleaning | Remove bumper obstructions | May restore detection |
| Module scan | Identify stored faults | Guides the repair |
| Calibration check | Confirm sensor aim | Needed after some repairs |
If the light returns, don’t keep resetting it. Toyota calibration documents show that BSM target placement and sensor calibration can require Techstream, special service tools, and exact vehicle centerline measurements. A reset can clear a message, but it can’t fix a bent bracket, damaged sensor, or bad calibration.
When to See a Dealer: Repair Costs, Warranty, and Escalation Steps
See a dealer or Toyota-capable repair shop when the BSM warning stays on, returns after cleaning, or comes with ABS, VSC, RCTA, or steering warnings. Bring photos, dates, scan reports, and notes about any rear impact, bumper repair, towing incident, or water damage.
Ask for an itemized estimate. BSM repair cost can vary because the job may involve diagnosis, wiring repair, sensor replacement, bumper removal, bracket repair, and calibration. Don’t approve a module replacement until the shop confirms power, ground, wiring, sensor mounting, and calibration needs.
Check your warranty coverage before you approve work. If a warranty claim gets denied because of prior damage, ask for written reasons and photos. If the explanation feels unclear, get a second opinion from another authorized shop before you pay for a major repair.
Escalate unresolved concerns to Toyota customer support and keep every repair order. Regular bumper cleaning and post-impact inspections can reduce the chance of a costly calibration or sensor repair.
Frequently Asked Questions
Can a software update from Toyota fix BSM issues remotely?
Usually, no. A software update may help only if Toyota has a known software concern for your exact model and system. Most BSM war
::contentReference[oaicite:0]{index=0}