Getting bike tire pressure right is one of the easiest ways to make a bicycle feel faster, safer, and more comfortable. The best PSI is not one fixed number for every rider. It depends on your tire width, rider and bike weight, road or trail surface, tube or tubeless setup, and the pressure limits printed on your tire and rim.
Quick Answer
Most riders should start around 60-100 PSI for road bikes, 18-35 PSI for mountain bikes, 35-70 PSI for hybrid or comfort bikes, and 25-45 PSI for gravel bikes. Always use the tire sidewall and rim limit as your safety range, then adjust for tire width, rider weight, terrain, and ride feel.
Key Takeaways
- The correct bike tire pressure is a starting range, not one universal PSI number.
- Never exceed the lower maximum pressure listed on your tire, rim, or wheel system.
- Heavier riders, narrower tires, and heavy cargo usually need more PSI.
- Wider tires, tubeless setups, rough roads, gravel, and trails usually work better at lower PSI.
- Use a pressure gauge instead of the thumb test, especially on road and hybrid tires.
At a Glance
| Time Required | 2-5 minutes before a ride |
| Difficulty | Easy |
| Tools Needed | Floor pump with gauge, hand pump for rides, and a separate pressure gauge for best accuracy |
| Cost | $0 if you already own a pump; about $10-$30 for a basic pressure gauge |
Understanding the Importance of Proper Tire Pressure
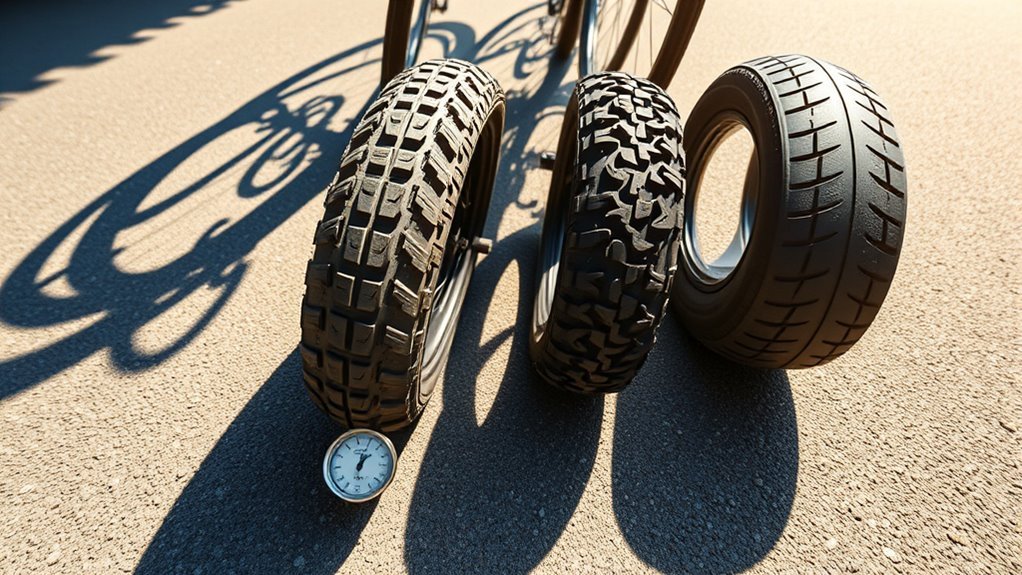
Proper tire pressure helps your tires support the bike, protect the rim, grip the surface, and absorb vibration. Too much pressure can make the bike bounce, feel harsh, and lose grip on rough surfaces. Too little pressure can make the tire squirm, feel slow, wear faster, and increase the chance of pinch flats with inner tubes.
Manufacturers such as Schwalbe recommend using the pressure range printed on the tire sidewall as the safe starting point. Wheel brands may also set a separate maximum pressure, especially for tubeless or hookless rims, so follow the lower limit if the tire and rim show different maximums.
Warning: Never inflate a bike tire above the lower maximum pressure listed on the tire, rim, or wheel system. For some hookless road rims, that limit can be much lower than old road-bike pressure habits.
Bike Tire Pressure Chart by Bike Type
Use this chart as a starting point, then fine-tune by 2-3 PSI at a time. The exact number may be different for your tire model, rim, rider weight, and terrain.
| Bike / Tire Type | Common Starting PSI | Best For |
|---|---|---|
| Road bike, 25-28 mm tire | 70-100 PSI | Smooth pavement, speed-focused riding |
| Road bike, 30-32 mm tire | 50-75 PSI | Modern road bikes, rough pavement, endurance riding |
| Gravel bike, 35-45 mm tire | 25-45 PSI | Mixed pavement, hardpack, light gravel |
| Mountain bike, 2.2-2.6 in tire | 18-35 PSI | Trails, roots, rocks, loose surfaces |
| Hybrid or commuter bike | 40-70 PSI | City riding, bike paths, mixed surfaces |
| Comfort or cruiser bike | 30-60 PSI | Relaxed riding, comfort, neighborhood trips |
[Products Worth Considering]
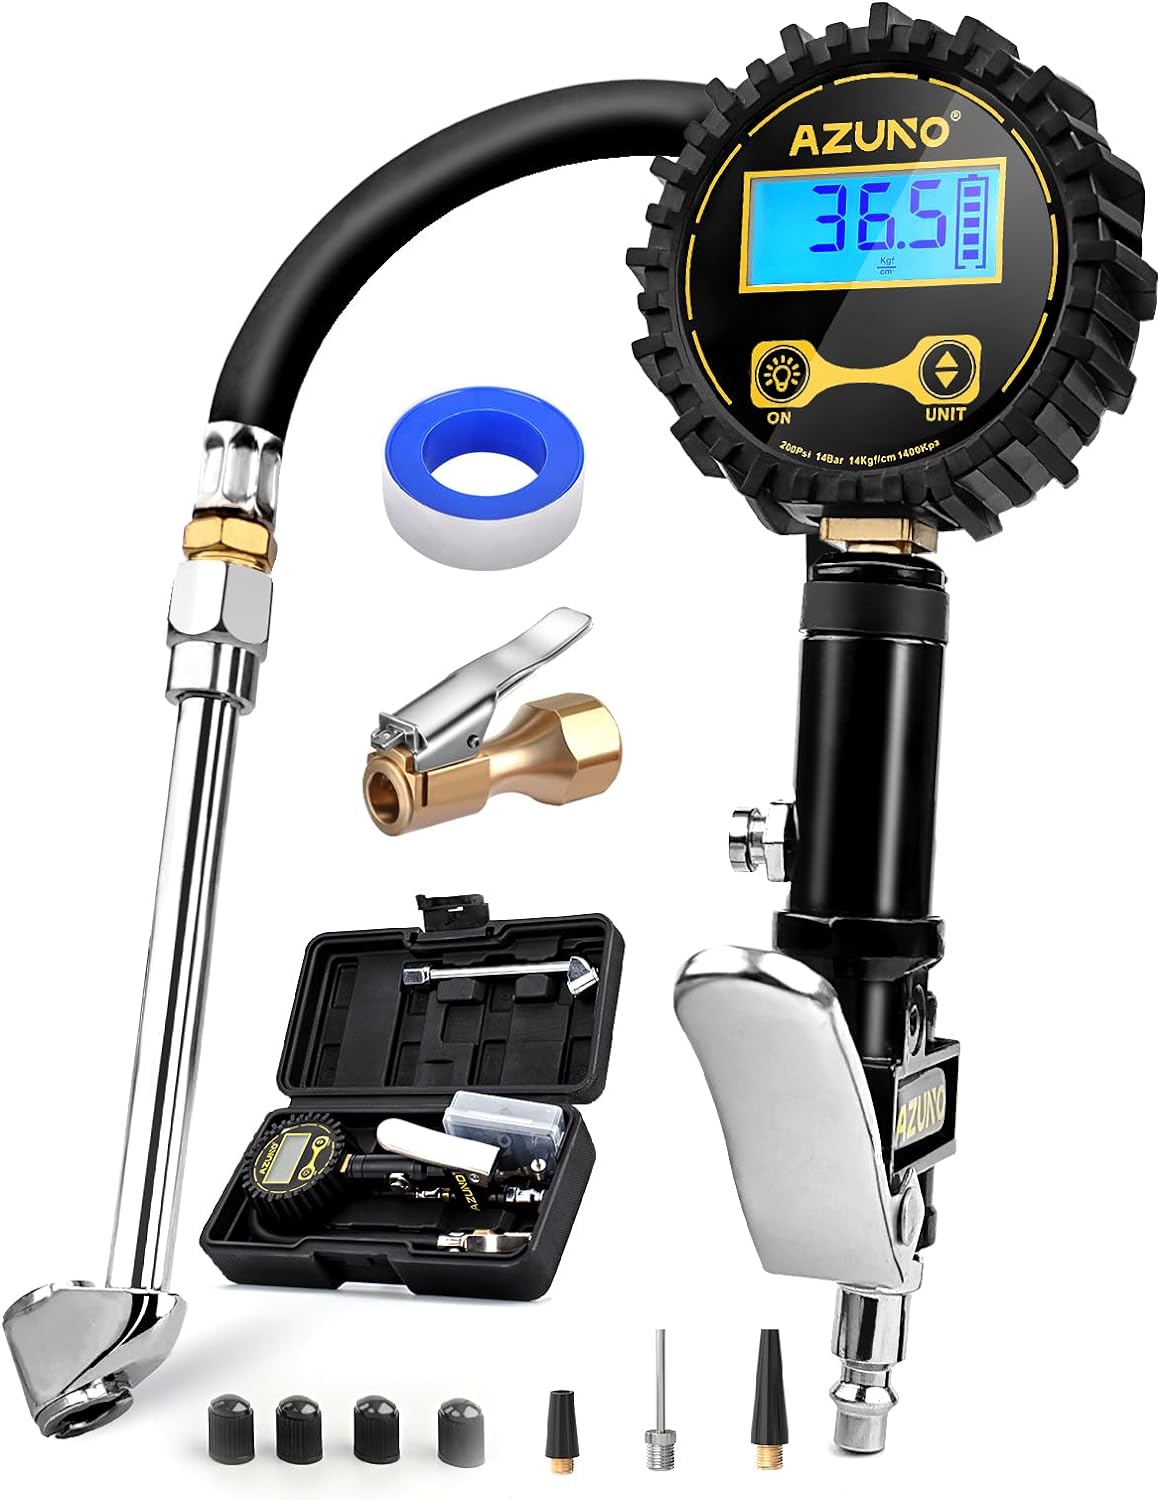
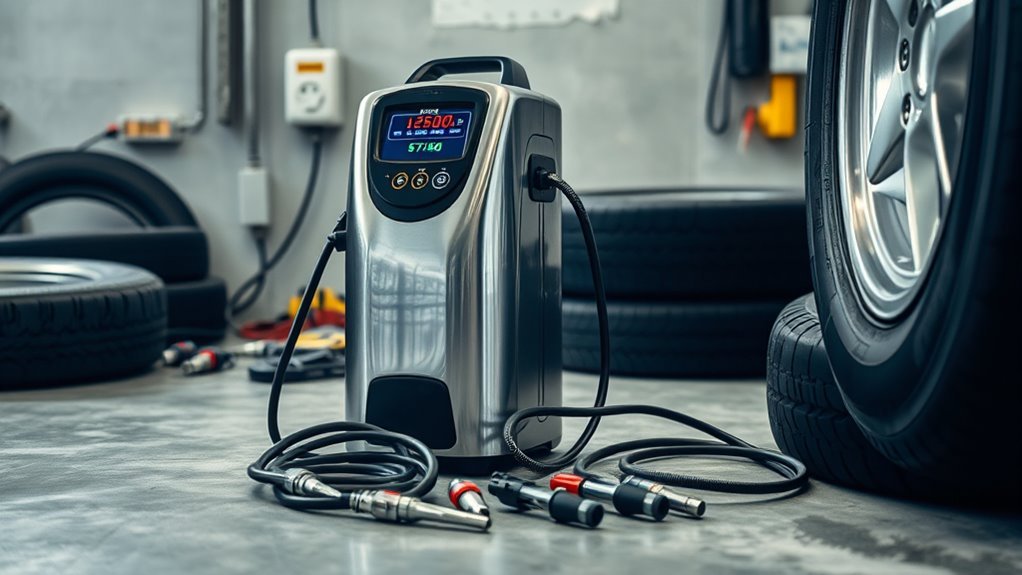
This digital tire inflator delivers accurate, easy-to-read pressure measurements with a bright backlit LCD and precise 0.1 resolution for confident inflation. Designed for single-handed use, it makes it simple to inflate or deflate tires while staying organized in the included portable carrying box. Built for a wide range of vehicles, it is a practical air compressor accessory for cars, trucks, SUVs, motorcycles, and more.

The JACO ElitePro Digital Tire Pressure Gauge delivers shop-grade accuracy with a clear digital readout, making it easy to maintain proper tire pressure for safer driving and better performance. Built with rugged brass and steel components, a protective guard, and a flexible air hose, it is designed for reliable use across cars, trucks, motorcycles, bikes, RVs, and trailers. The lock-on display, built-in bleeder valve, and bright backlit screen add convenience in any lighting condition.

The KONNWEI KW208 is a versatile 12V battery tester designed to quickly analyze battery health, cranking performance, and charging system status for cars, trucks, boats, motorcycles, and more. It supports multiple battery types and provides clear guidance on whether a battery should be recharged or replaced, helping you diagnose issues before they become failures. With plug-and-play use, high accuracy, and multilingual support, it offers a convenient way to test batteries in-vehicle or out-of-vehicle.
What’s the Best PSI for Road Bikes?
The best road bike tire pressure depends mostly on tire width, rider weight, tube or tubeless setup, rim type, and road surface. Older narrow road tires were often pumped near 100 PSI or higher, but many modern road bikes use wider 28-32 mm tires that ride better at lower pressure.
As a practical starting point, many 25-28 mm road tires work around 70-100 PSI, while 30-32 mm tires often feel better around 50-75 PSI. Heavier riders may need more pressure, while lighter riders can usually use less. Rough pavement, rain, and long comfort-focused rides also favor slightly lower pressure.
For Zipp wheels, SRAM/Zipp recommends calculating pressure from tire width, casing type, rim width, rim type, rider and bike weight, ride style, and conditions. That is a better method than copying one fixed PSI from another rider.
Pro Tip: If your bike feels fast on smooth pavement but harsh and skittish on rough roads, try lowering pressure by 2-3 PSI and testing again. Stop before the tire starts feeling vague, squirmy, or easy to bottom out.
Ideal Tire Pressure for Mountain Bikes: Grip and Comfort
Mountain bikes usually run much lower pressure than road bikes because the tires are much wider and the terrain is rougher. Many trail, cross-country, and enduro riders start around 18-35 PSI, then adjust for tire width, rider weight, rim protection, riding speed, and whether the setup uses tubes or tubeless sealant.
Lower pressure can improve grip and shock absorption on loose, rocky, or root-filled trails. Too low, however, can make the tire fold in corners, burp air in tubeless setups, or hit the rim on sharp impacts. If you get rim strikes or pinch flats, add 2-3 PSI or consider a stronger tire casing.
PSI Recommendations for Hybrid Bikes
Hybrid bikes commonly use medium-width tires, so they sit between road bikes and mountain bikes. A useful starting range is about 40-70 PSI, but the correct number depends on the tire size printed on the sidewall.
Use the higher end of the range if you are a heavier rider, carry panniers, ride mostly smooth pavement, or feel the tire squirming. Use the lower end if your route includes rough pavement, brick paths, gravel shortcuts, or comfort-focused city riding.
Understanding Tire Pressure for Comfort Bikes
Comfort bikes and cruisers usually use wider tires than road bikes, so they do not need very high pressure. Many comfort-bike tires feel good around 30-60 PSI. The goal is a tire that feels supportive without turning every crack in the pavement into a jolt.
| Rider / Use | Starting PSI | Ride Feel |
|---|---|---|
| Light rider | 30-45 PSI | Soft but stable |
| Average rider | 40-55 PSI | Comfortable and controlled |
| Heavy rider or cargo | 50-60 PSI, if within the tire limit | More support and rim protection |
Key Factors Influencing Tire Pressure: Rider Weight and Temperature
Rider weight is one of the biggest factors in bike tire pressure. A heavier rider compresses the tire more, so they usually need more PSI than a lighter rider on the same tire. Bags, child seats, racks, and e-bike weight also add load and may call for a small pressure increase.
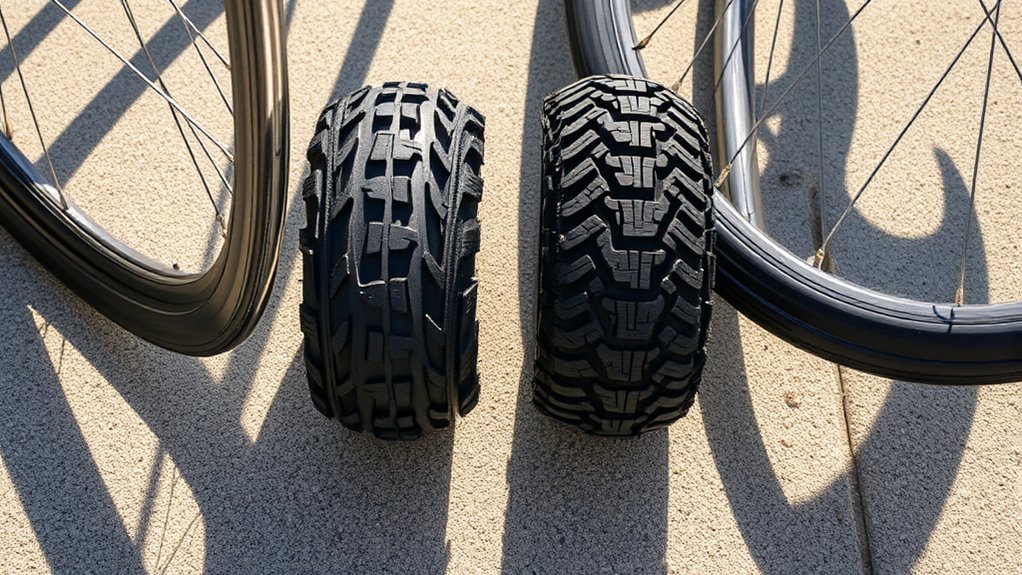
Tire width matters just as much. Narrow tires need higher pressure to support the same rider because they have less air volume. Wider tires can usually run lower pressure while still supporting the bike. This is why a 32 mm road tire should not be inflated like a 25 mm road tire.
Temperature can also change pressure. Check pressure when the tires are cool and before the ride starts. After a large weather change, recheck your PSI rather than assuming last week’s number is still correct.
Tubes vs. Tubeless Bike Tire Pressure
Inner tubes are simple and common, but they are more vulnerable to pinch flats if pressure is too low. Tubeless setups can often run slightly lower pressure because there is no tube to pinch, but they still need enough pressure to protect the rim and keep the tire bead seated.
Schwalbe notes that tubeless tires can generally be ridden with slightly lower air pressure, while also reminding riders to stay within the tire’s permitted pressure range. If you switch from tubes to tubeless, start a few PSI lower than your tube pressure, then test carefully.
[Products Worth Considering]

This automotive circuit tester checks low-voltage DC systems from 3-65V, making it useful for diagnosing headlights, taillights, fuses, sockets, and other vehicle wiring issues. The digital backlit display provides clear voltage readings with fine accuracy, while the bidirectional polarity indicator helps you test from either ground or positive. Built with a durable probe, insulated tip, and extra-long spring wire, it is designed for dependable everyday use in automotive and household electrical work.

This mud flaps kit helps protect your Toyota Camry’s lower body panels from snow, salt, sand, rocks, and road debris thrown up by the wheels. Designed for SE and XSE Sport models, it offers a direct-fit install with included mounting hardware for a cleaner, more finished look. Built from durable ABS thermoplastic, it is made to handle harsh driving conditions while helping keep your vehicle cleaner.
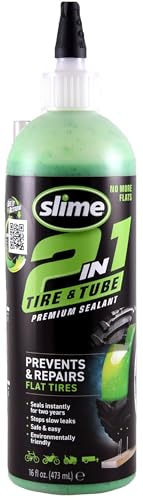
No more flats! Slime's 2-in-1 Tire & Tube Premium Sealant protects your tubes and off-highway tires to get you back on the road quickly and easily when you get a flat
Hookless Rims and Maximum Pressure
Hookless rims need extra attention because the safe maximum pressure can be lower than the number printed on some tires. Schwalbe states that ETRTO guidance gives hookless road rims a 5 bar maximum, and that riders must follow the lower limit if the rim maximum is lower than the tire maximum.
Giant also emphasizes that tire pressure affects ride quality, efficiency, comfort, control, and safety, and provides tire-pressure tools for its wheel systems. If you ride tubeless road wheels, especially hookless wheels, check the wheel maker’s tire compatibility and pressure guidance before inflating.
Overinflation vs. Underinflation: Risks to Avoid
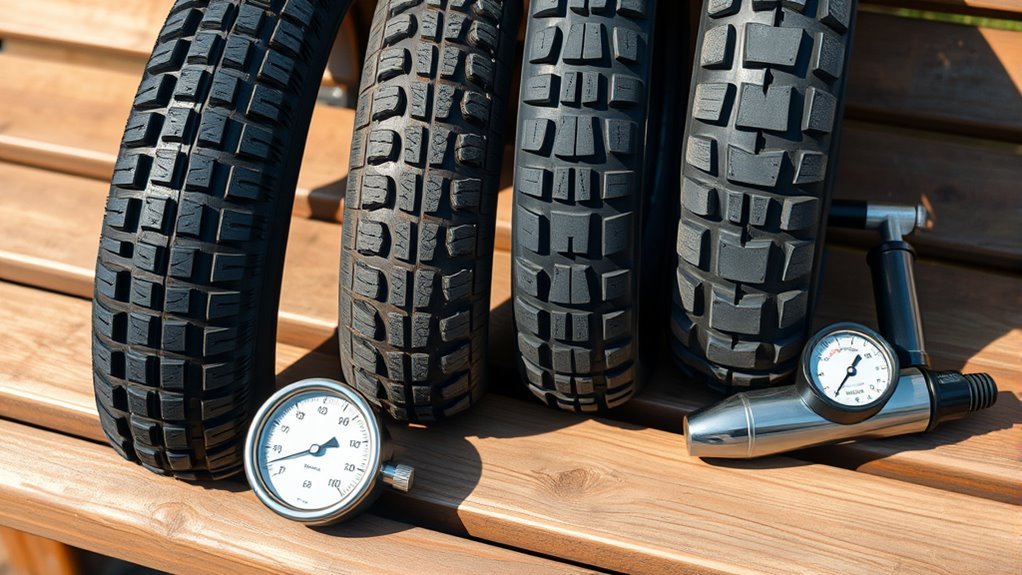
Both overinflation and underinflation can make a bike less safe and less enjoyable. The right goal is not “as hard as possible.” It is enough pressure to support the tire without making the ride harsh, bouncy, or slippery.
Risks of Overinflation
Overinflation can reduce comfort, reduce grip on uneven surfaces, and increase stress on the tire and rim. On rough roads, a tire that is too hard can bounce instead of tracking the ground. That can make cornering and braking feel less controlled.
The biggest safety rule is simple: do not exceed the lower maximum pressure listed by the tire, rim, or wheel manufacturer. This matters even more for tubeless and hookless systems.
Consequences of Underinflation
Underinflation can make the tire feel sluggish and unstable. With inner tubes, it can also cause pinch flats when the tube gets trapped between the rim and an obstacle. On mountain and gravel bikes, very low pressure can cause rim strikes, sidewall damage, or tire burping in tubeless setups.
If your tire feels mushy, folds in turns, or bottoms out on bumps, add 2-3 PSI and test again.
Choosing the Right Bike Pump: Floor vs. Hand Pumps
A floor pump is best for home use because it inflates tires quickly and usually includes a built-in gauge. A hand pump is best for rides because it is small enough to carry after a puncture or slow leak. Many riders use both: a floor pump before leaving and a hand pump for emergencies.
Before pumping, check your valve type. Most bikes use either Schrader valves or Presta valves, and Trek recommends confirming your pump is compatible with your valve before inflating.
Note: Gas station compressors can add air very quickly. If you use one in an emergency, inflate in short bursts and check with a gauge so you do not exceed your tire or rim limit.
[Products Worth Considering]

COMFORTABLE HANDLE because of ergonomically designed air pump for bike handle.
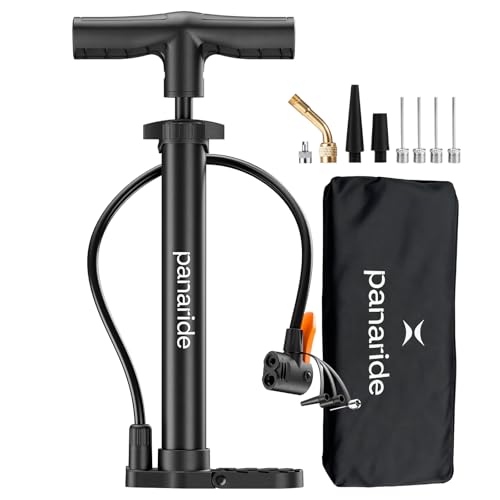
Portable manual model without a pressure gauge. This compact P120 hand pump has no built-in PSI display. Select a gauge-equipped model if you need pressure readings while pumping.

Twin Valve Design - Newly designed valve head can easily switch between Presta and Schrader valves and without any air leaks; No more reverse!
How to Check and Maintain Proper Tire Pressure
Follow these steps for a safe, repeatable tire-pressure routine:
- Read the tire sidewall. Find the minimum and maximum pressure range printed on the tire.
- Check the rim or wheel limit. If your rim has a lower max pressure than the tire, follow the rim limit.
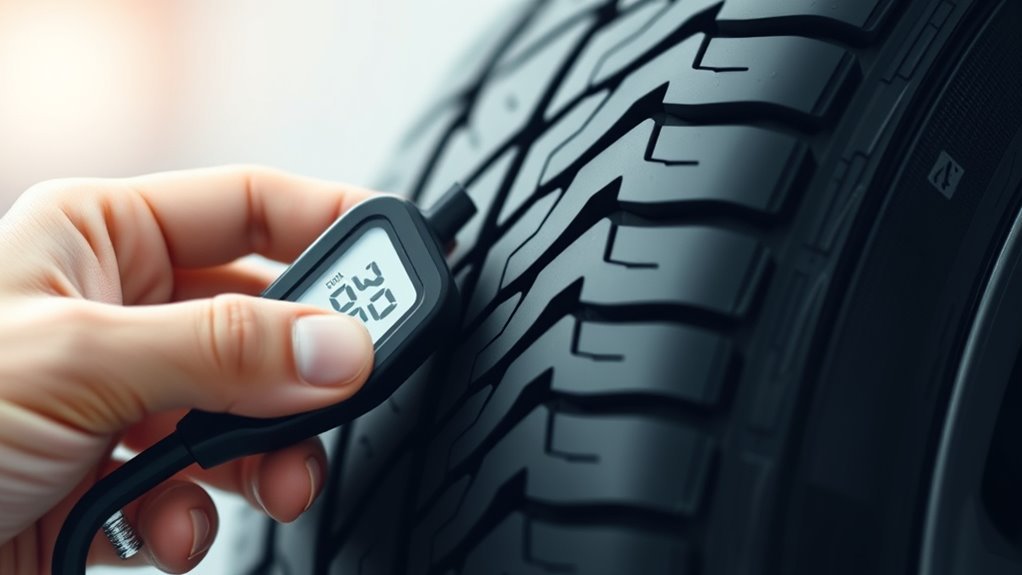
- Use a gauge. The thumb test is not reliable for many bicycle tires, especially once they feel firm.
- Inflate when the tire is cool. Check before the ride, not after the tire has warmed up.
- Start in the middle of the safe range. Adjust up or down based on rider weight, tire width, and terrain.
- Fine-tune in small steps. Change 2-3 PSI at a time and note how the bike feels.
For regular maintenance, check pressure at least monthly and before longer rides. If you use latex tubes, check before every ride because they can lose air faster.
Adjusting Tire Pressure for Different Riding Conditions
Small pressure changes can make a big difference. Use your normal pressure as a baseline, then adjust for the ride:
- Smooth pavement: Use your normal pressure or slightly higher within the safe range.
- Rough pavement: Lower pressure by 2-5 PSI for comfort and control.
- Wet roads: Slightly lower pressure can improve contact and confidence, but do not go so low that the tire squirms.
- Loose gravel: Lower pressure helps the tire conform to the surface and improve grip.
- Heavy cargo or e-bike use: Add pressure within the safe range to support the extra load.
- Front vs. rear tire: The rear tire often carries more weight, so many riders use the rear tire 2-5 PSI higher than the front.
The best bike tire pressure is the lowest pressure that still feels stable, protects the rim, avoids pinch flats, and stays within the tire and rim manufacturer’s safe range.
Troubleshooting Bike Tire Pressure Problems
| What You Feel | Likely Cause | Fix |
|---|---|---|
| Harsh, bouncy ride | Pressure too high | Lower by 2-3 PSI and retest |
| Tire folds or squirms in turns | Pressure too low | Add 2-3 PSI |
| Repeated pinch flats | Too little pressure, narrow tire, or sharp impacts | Add pressure, use a wider tire, or consider tubeless if compatible |
| Slow pressure loss | Normal air loss, loose valve, small puncture, or dried tubeless sealant | Check valve, inspect tire, refresh sealant, or replace tube |
Frequently Asked Questions
What PSI should my bike tires be?
Start with the pressure range printed on the tire sidewall, then adjust for your weight, tire width, terrain, and rim limit. Common starting points are 60-100 PSI for road bikes, 18-35 PSI for mountain bikes, 40-70 PSI for hybrid bikes, and 30-60 PSI for comfort bikes.
Is 40 PSI too much for a bike tire?
It depends on the tire. Forty PSI may be too high for a fat bike or some wide mountain bike tires, reasonable for many gravel or hybrid tires, and too low for many narrow road tires. Check the tire sidewall and rim limit first.
What is the air pressure for a 26-inch bike tire?
Wheel diameter alone is not enough. A 26-inch mountain bike tire may use about 30-50 PSI if it is narrow or tube-type, while wider MTB tires may run lower. A 26-inch slick commuter tire may need more. Always follow the tire sidewall range.
Is 50 PSI a lot for bike tires?
Fifty PSI is high for many mountain bike tires, normal for many hybrid and gravel tires, and low for some narrow road tires. Use it only if it falls within the tire and rim pressure limits and the bike feels stable.
Should front and rear bike tires use the same PSI?
Not always. The rear tire usually carries more weight, so many riders run the rear tire 2-5 PSI higher than the front. This can improve comfort and grip while keeping support where the load is greatest.
How often should I check bike tire pressure?
Check at least monthly, before long rides, and any time the bike has been sitting. Check before every ride if you use latex tubes or notice frequent air loss.
Conclusion
The right bike tire pressure is the pressure that supports your weight, matches your tire and rim, suits the terrain, and still feels controlled. Start with the safe range printed on your tire and rim, use the chart above as a guide, and fine-tune in small 2-3 PSI changes. A few minutes with a pump and gauge can improve comfort, grip, speed, and tire life.
Sources
- Schwalbe: Tire Pressure — supports sidewall pressure limits, pressure-check frequency, wide tire and tubeless pressure guidance.
- SRAM/Zipp: Know Your Tire Pressure — supports pressure calculation by tire, rim, rider weight, ride style, and conditions.
- Trek: How to Pump Bike Tires to the Right Pressure — supports checking tire sidewall pressure range and valve compatibility.
- Giant: Tire Pressure — supports tire pressure effects on efficiency, comfort, control, and safety.
- Schwalbe: Hookless Rims — supports hookless rim pressure cautions and the 5 bar road-bike limit.
- West Virginia University: Science Behind the Sport — Tires — supports the relationship between tire pressure, contact patch, traction, and rolling resistance.