Toyota Supra paint chip repair is usually manageable at home when the damage is small, isolated, and on a normal gloss finish. The key is to identify how deep the chip goes, match the factory paint code, clean the spot carefully, and apply only enough material to fill the damaged area. Matte finishes, spreading rust, peeling paint, and larger damaged areas need a different approach.
Quick Answer
For a small gloss-finish Supra paint chip, clean and dry the spot, remove loose paint or rust, prime exposed metal when required, then apply color-matched touch-up paint in controlled layers. Finish with clear coat if your paint system calls for it. Do not use ordinary polishing or touch-up methods on a factory matte finish.
At a Glance
| Difficulty | DIY-friendly for small chips on conventional gloss paint; professional repair is safer for matte finishes, peeling paint, rust, or larger damage. |
| Tools Needed | Color-matched touch-up paint, lint-free or microfiber cloth, cleaning product, small applicator, and primer or clear coat when required by the damage and paint system. |
How to Repair Paint Chips on Your Toyota Supra
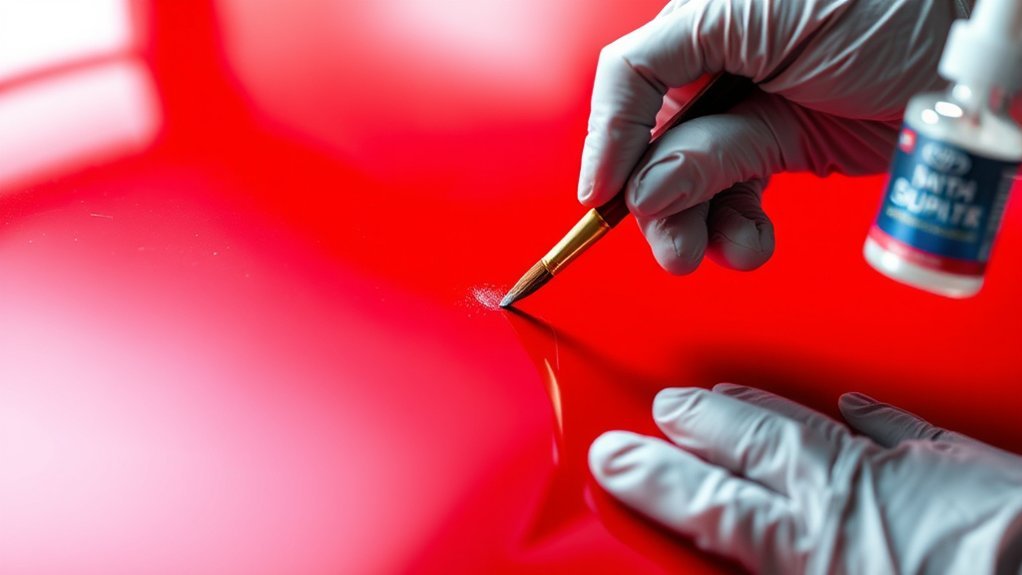
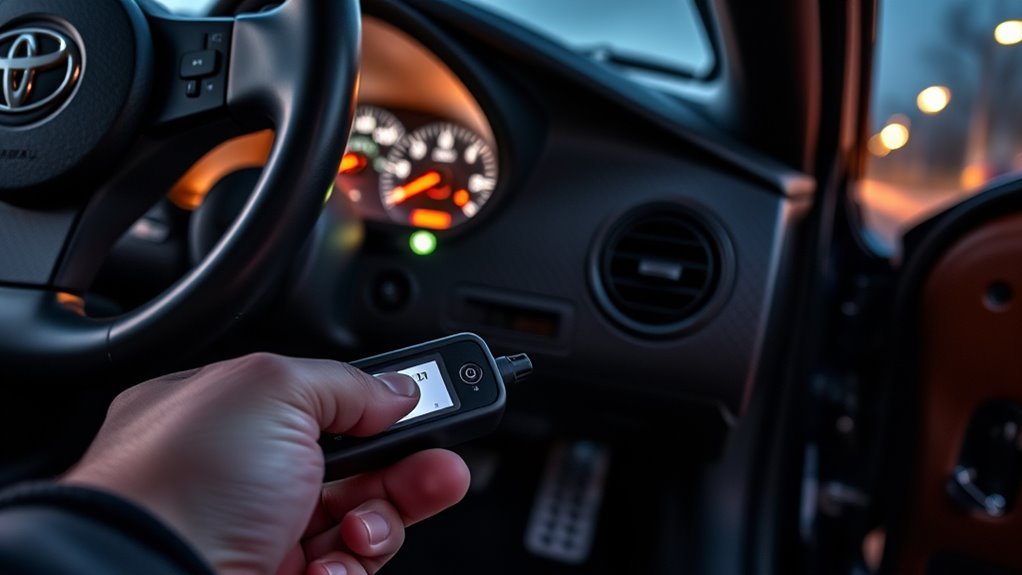
Start by confirming the Supra’s exact paint code before buying touch-up paint. Check the driver-side door-jamb label for the C/TR or color information, and use the exact code rather than choosing paint by color name or appearance alone.
Toyota lists touch-up paint within its GR Supra parts catalog, and Toyota’s color-specific touch-up products are intended for small exterior paint repairs. A small chip needs only enough paint to cover the damaged spot; spreading paint over intact factory finish usually makes the repair more visible.
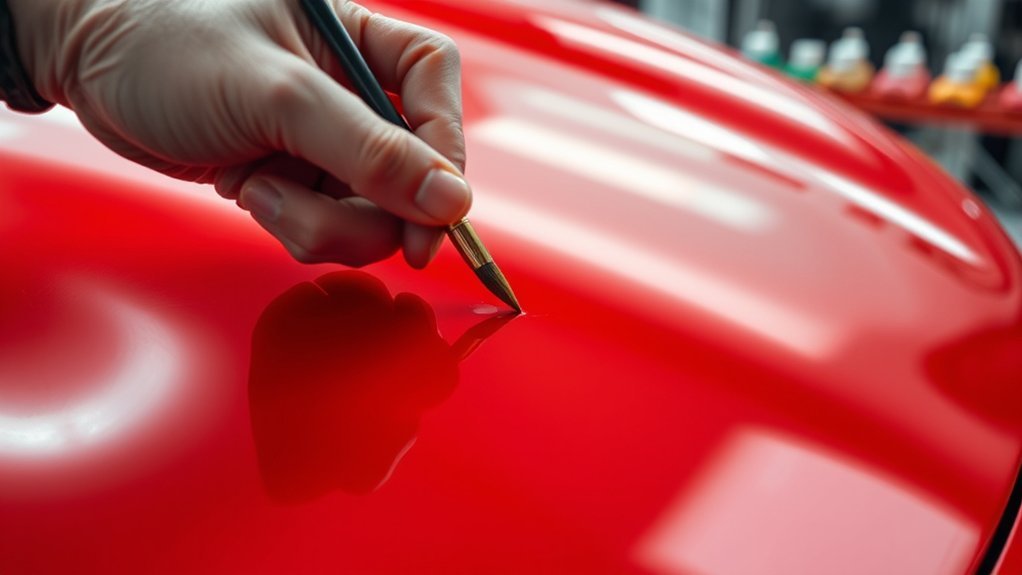
Wash and dry the repair area first. Remove wax, grease, and other contamination with a paint-safe preparation product or rubbing alcohol, then inspect the chip in good light. If bare metal is exposed, remove loose corrosion and use the primer specified for your touch-up system before applying the color coat.
For conventional gloss paint, apply the color in controlled layers and allow the product’s specified drying or recoat time between coats. Once the color layer is ready, use Toyota’s touch-up clear coat or the clear coat specified by your repair system when the finish requires one.
Warning: Automotive paint, primer, clear coat, and preparation chemicals can require specific ventilation, handling, and protective equipment. Follow the product label and safety data sheet, and do not use sanding or polishing methods on a matte finish unless Toyota’s repair guidance specifically permits them.
[Products Worth Considering]

This ceramic spray wax delivers long-lasting SiO2 protection with a high-gloss finish and strong water beading. It helps defend against oxidation, sun damage, dirt, and grime while making routine cleaning easier with a slick, self-cleaning surface. Safe for paint, wheels, plastic, rubber trim, and chrome, it offers versatile exterior protection for cars, trucks, RVs, and more.

Adam's Advanced Graphene Ceramic Coating delivers long-lasting protection for your vehicle with a durable 10H-rated surface that helps defend against weather, chemicals, UV exposure, and everyday grime. Its patented UV tracing technology makes application easier and more precise, while the slick, high-gloss finish enhances depth of color and repels water for easier maintenance.
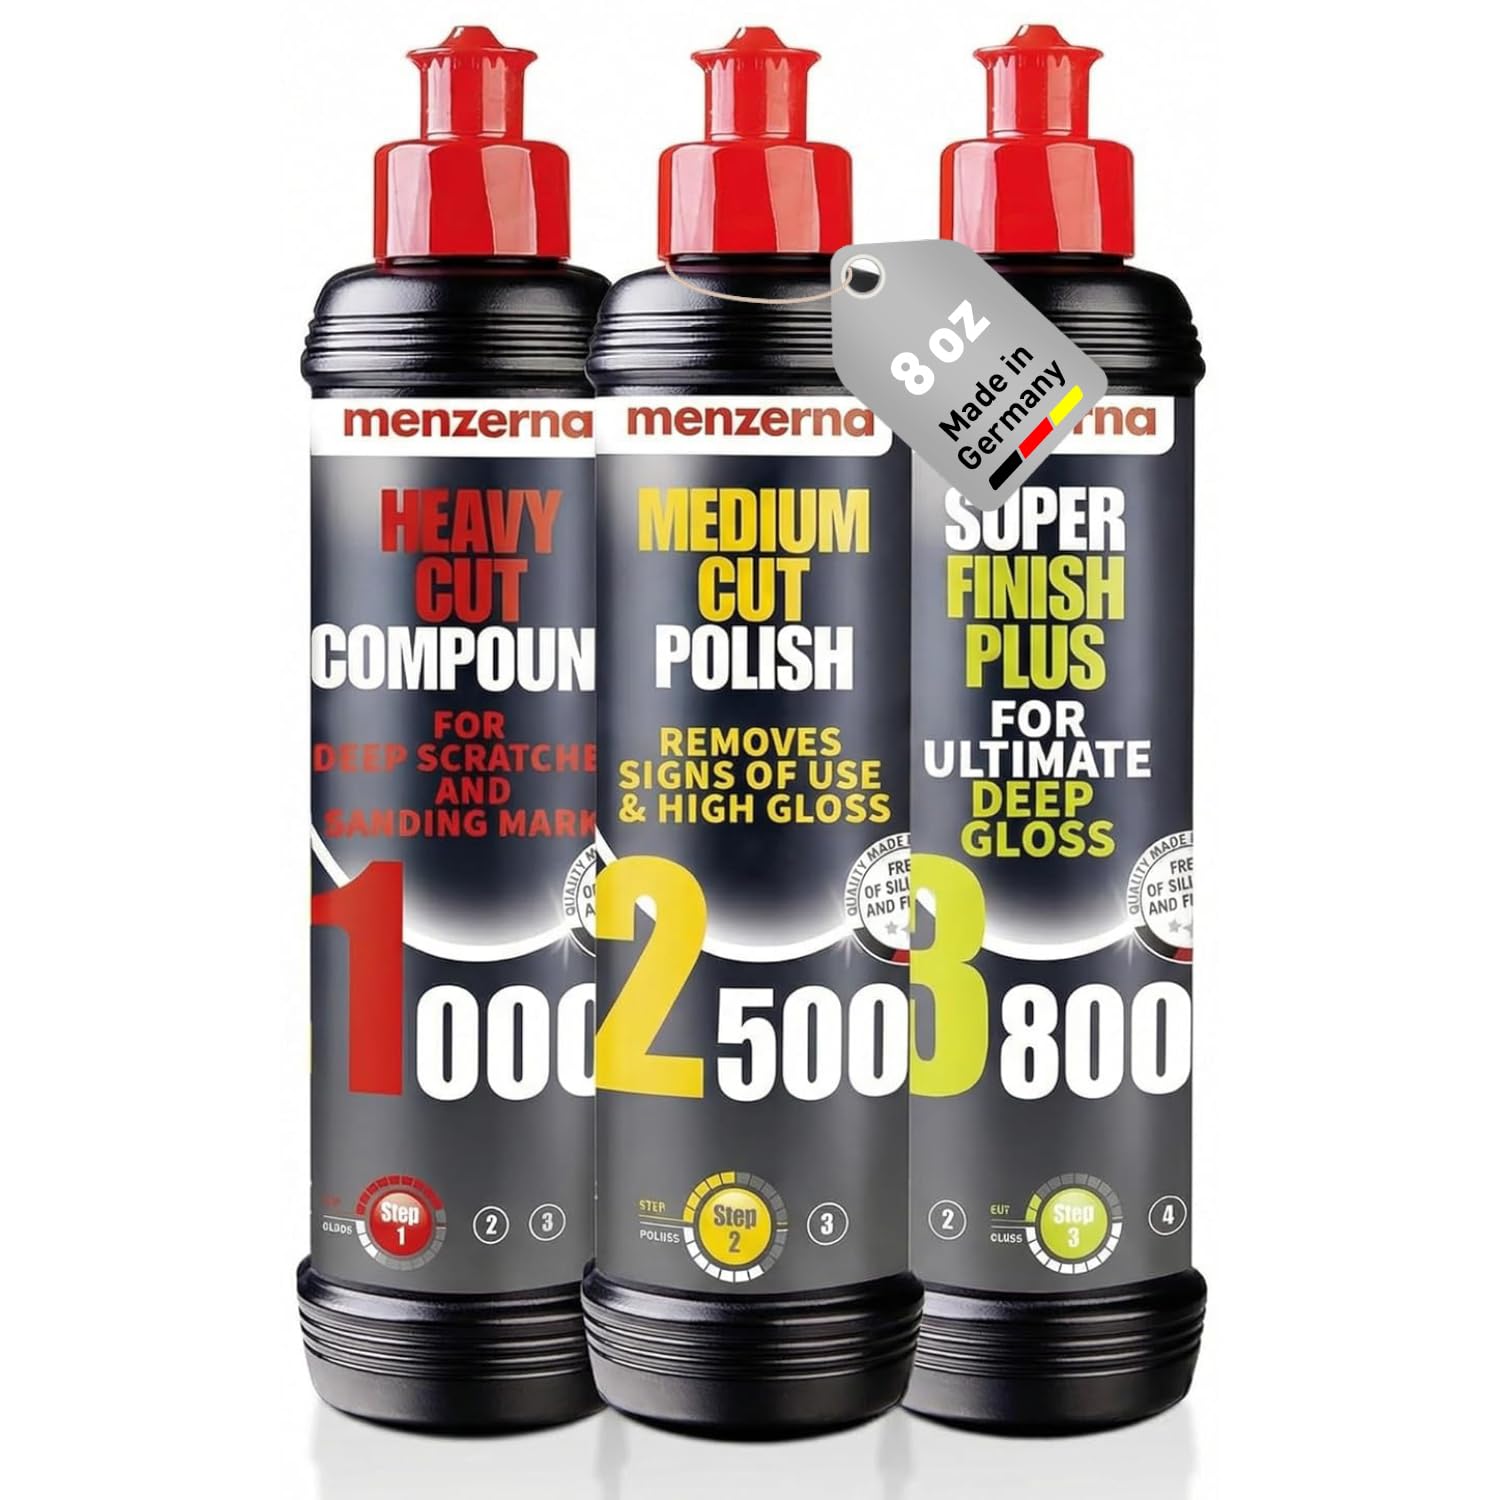
This Menzerna polishing set delivers a complete three-step paint correction process for removing scratches, refining surface defects, and producing a deep, mirror-like gloss. It combines heavy cut, medium cut, and super finish compounds to help restore clarity and create professional-quality results for detailing projects. Ideal for enthusiasts and professionals, it simplifies achieving a smooth, showroom-worthy finish.
Identifying Different Types of Paint Damage
Before repairing a chip, determine which paint layers are actually damaged. A clear-coat mark, a chip through the color layer, and a chip exposing bare metal should not be treated the same way.
| Damage | What You See | Typical Approach |
|---|---|---|
| Surface mark | Color layer remains intact. | Cleaning and, on gloss paint only, suitable polishing may be enough. |
| Color-layer chip | Primer remains visible beneath missing color. | Clean, apply matched color, then finish according to the paint system. |
| Deep chip | Bare metal, rust, or exposed substrate is visible. | Remove loose corrosion, use suitable primer, then apply color and clear coat as required. |
Types of Paint Chips
Surface, mid-level, and deep chips are mainly distinguished by how many coating layers have been removed. The deeper the damage, the more important it becomes to protect the exposed substrate rather than focusing only on appearance.
A color-layer chip may need only careful cleaning and touch-up paint. A chip that reaches bare metal needs prompt attention because the coating no longer isolates that spot from moisture and contaminants.
Surface-Level Scratches Defined
A true surface-level scratch affects the clear finish but leaves the color layer underneath intact. That means adding color paint is usually unnecessary and can make a shallow mark stand out more.
On a conventional gloss finish, a suitable fine polishing process may reduce a minor clear-coat mark. Do not apply that advice to matte paint, because polishing changes the surface texture and can create a permanent glossy patch.
Deep Chip Identification
A deep chip has passed through the color and primer layers far enough to expose metal or another underlying substrate. Bare metal deserves faster attention because corrosion can begin once the protective coating has been broken.
If you see rust, remove only loose corrosion and unstable paint within the damaged spot before priming. Extensive rust, lifting paint, cracked edges, or damage extending beyond a small isolated chip is better handled by a body shop.
Tools and Materials for Paint Chip Repair
You do not need a large body-shop tool kit for a small chip, but every product should be compatible with the paint system you are using. The exact paint match and careful application matter more than using aggressive sanding equipment.
- Color-matched touch-up paint: Match the factory paint code, not just the color name.
- Lint-free or microfiber cloths: Use them for cleaning and removing preparation residue.
- Rubbing alcohol or a compatible wax-and-grease remover: Remove oil, wax, and contamination before painting.
- Small applicator or micro brush: Keep the paint inside the chip instead of spreading it onto good paint.
- Primer: Use it when the repair system requires primer over exposed metal or substrate.
- Clear coat: Use it when required by the factory-style gloss paint system.
- Fine abrasive material: The original 2000-3000-grit range can be useful for very localized leveling on gloss paint, but only when the chosen repair process calls for sanding.
[Products Worth Considering]

Meguiar's Ultimate Ceramic Coating Kit delivers durable paint protection with enhanced gloss, slickness, and impressive water beading for easier washing and drying. Its spray-on, wipe-off application makes it simple to use, while helping conceal light defects and adding protection to glossy paint, trim, decals, paint protection film, and wheels.

Fortify Ceramic Coating Spray delivers a mirror-like gloss while helping clean, protect, and enhance your vehicle’s paint in one easy application. Its nano-ceramic formula bonds to the surface for hydrophobic water beading, reduced water spots, and a freshly detailed look with minimal effort. Simply spray, wipe, and enjoy a slick protective finish without complicated tools or rinsing.

Turtle Wax Hybrid Solutions Ceramic Spray Wax Coating delivers long-lasting ceramic protection, a deep glossy shine, and strong water repellency for easier maintenance. Its spray-and-buff formula is simple to apply on exterior surfaces, helping protect paint from dirt, UV rays, and road contaminants while keeping your vehicle looking cleaner between washes.
Step-by-Step DIY Guide to Repairing Paint Chips
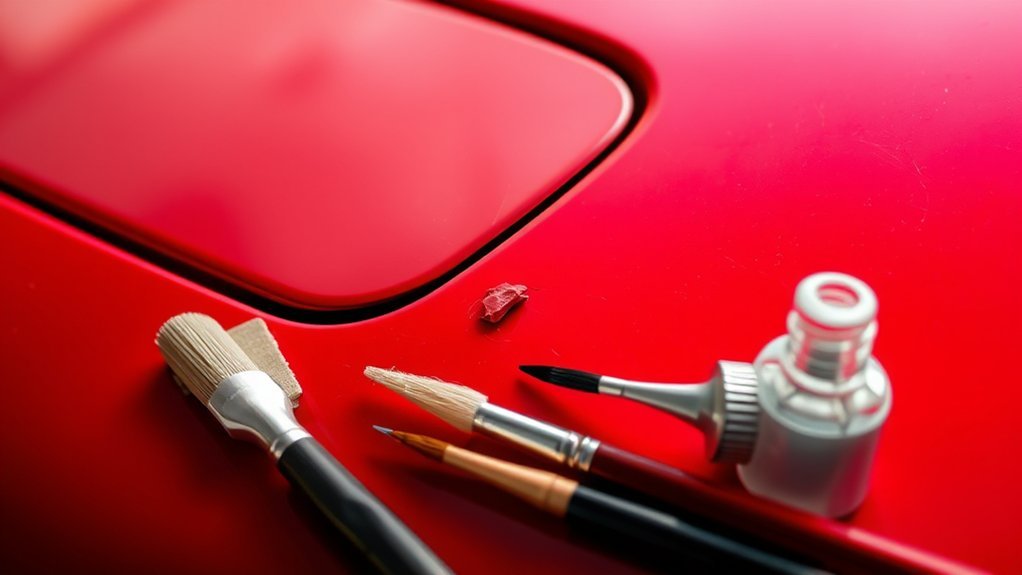
The safest DIY process is to do the least aggressive work needed to clean, protect, and fill the damaged spot. Do not automatically sand a wide area around every chip, because that can turn a tiny defect into a damaged clear-coat area.
[Products Worth Considering]

KUST Custom Fit Trunk Mat is designed for 2020-2026 Toyota GR Supra models to help protect the cargo area from dirt, spills, and daily wear. Its TPE construction offers a fresh, odor-free feel, while the raised-edge design adds extra coverage for all-weather protection. Lightweight and easy to remove, it makes cleaning simple and helps keep the trunk neat and protected.

Meguiar's Quik Eraser Kit makes it easy to remove light scratches, scuffs, and paint transfer from glossy paint and clear coats with minimal effort. The drill-activated pad and ScratchX formula work together to restore a smooth, polished finish, while the included microfiber towel helps reveal a clean, showroom-worthy shine. It is a convenient all-in-one solution for quick touch-ups and routine vehicle care.

This custom-fit car cover is designed for Toyota Supra and GR Supra models, offering dependable all-weather protection for both indoor and outdoor use. Built with durable Oxford fabric and a soft cotton lining, it helps shield your vehicle from rain, sun, snow, dust, and UV exposure while protecting the paint finish. Windproof straps, dual air vents, reflective details, and included security accessories add convenience and peace of mind.
Choose the Right Materials for Your Chip
Match the materials to the depth and finish before starting. A shallow gloss-finish chip may need only preparation, color, and clear coat, while exposed metal may also need primer.
If your Supra has a matte factory finish, stop before using ordinary touch-up, wax, compound, or polishing procedures. Toyota’s Supra matte-paint care guidance says not to use wax or abrasive compounds, so visible matte-finish damage is a strong reason to consult a professional.
Application Process Steps
Work on a cool, dry, clean surface with good lighting. The goal is to fill the damaged area without unnecessarily disturbing the surrounding factory paint.
- Wash and dry the area. Remove dirt before closely inspecting the chip.
- Degrease the repair spot. Use a paint-compatible preparation product or rubbing alcohol on a lint-free cloth. Current Dupli-Color touch-up instructions, for example, specify rubbing alcohol or a dedicated prep wipe to remove oil, wax, and grease.
- Remove only loose material. Clear away loose paint or rust inside the damaged spot. Avoid broad sanding of intact surrounding clear coat.
- Prime exposed metal when required. Keep primer within the chip and allow it to dry according to the primer instructions.
- Apply the color coat sparingly. Dab or brush a small amount into the chip and build coverage without creating a large raised blob.
- Respect the actual recoat time. Do not assume every product can be recoated after 2-5 minutes. Drying times vary; for example, the current Dupli-Color Scratch Fix instructions specify 30 minutes before additional coats.
- Add clear coat when required. Apply it only after the color layer is ready according to the paint system’s instructions.
- Let the repair cure. Avoid washing or harsh exposure for at least 24 hours, and wait longer if the paint or clear-coat manufacturer specifies a longer curing period.
If a fully cured repair on conventional gloss paint sits slightly above the surrounding finish, careful localized leveling and polishing can improve the appearance. This is an advanced finishing step; sanding through the surrounding clear coat creates a much larger repair problem.
5 Mistakes to Avoid When Touching Up Paint Chips
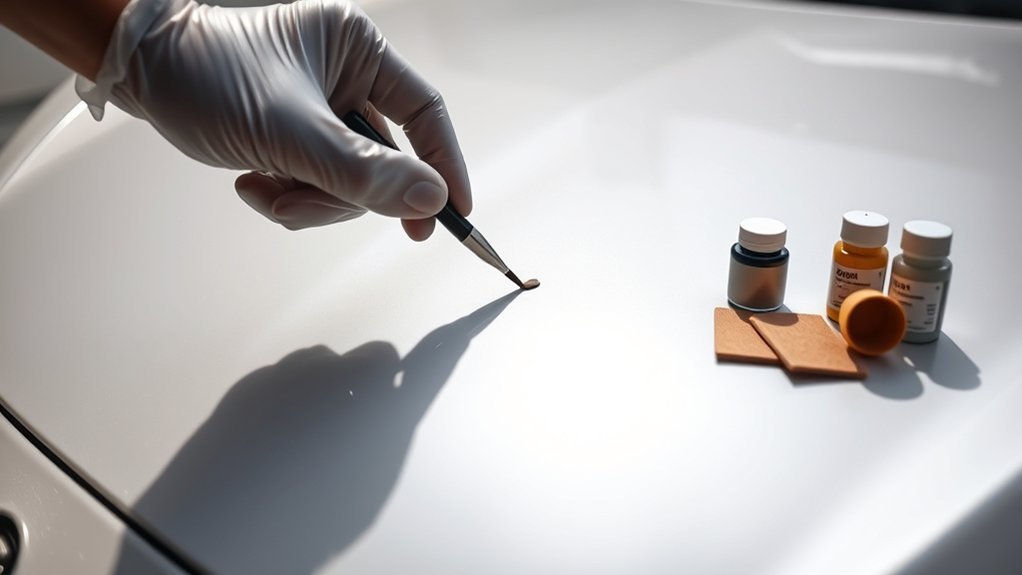
Most poor touch-up results come from using too much material or doing unnecessary preparation. Small chips generally look better when the repair stays confined to the original damaged area.
- Applying too much paint: Thick blobs are harder to level and make the repair more noticeable.
- Painting over wax, grease, or dirt: Contamination can interfere with adhesion and leave an uneven finish.
- Using one drying time for every product: Primer, base coat, touch-up paint, and clear coat can have different recoat requirements.
- Sanding too much factory clear coat: Aggressive sanding can enlarge a small cosmetic problem or cut through intact finish.
- Treating matte paint like gloss paint: Waxing, buffing, or polishing a matte surface can create a glossy area that does not blend with the rest of the panel.
When to Seek Professional Help for Toyota Supra Paint Chip Repair?
A small isolated gloss-finish chip can often be protected with a careful DIY touch-up, even when a tiny amount of metal is exposed. Professional repair becomes the better choice when the damaged area is too large or complex for a simple spot application.
Use a body shop if rust is spreading under the paint, paint is peeling or lifting, the panel is dented, several chips merge into a larger damaged area, or you want an almost invisible refinished appearance. Professional spraying and blending also make more sense when the color is difficult to match by dabbing touch-up paint.
Matte-finish damage deserves special caution. The texture and sheen have to remain consistent across the repaired area, so ordinary sanding, compound, wax, or gloss clear-coat techniques can leave a repair that is more visible than the original chip.
Tips for Preventing Future Paint Chips on Your Vehicle
You cannot prevent every stone strike, but you can reduce exposure and protect the areas that receive the most road debris. The front bumper and leading edge of the hood are common places to consider additional physical protection.
- Wash contaminants away regularly: Dirt, road film, bird droppings, and other contamination should not remain on the finish longer than necessary.
- Wax conventional gloss paint as appropriate: Wax can help with environmental contamination and routine paint care, but it is not a substitute for impact protection. Do not wax a matte finish unless Toyota specifically approves it.
- Do not rely on ceramic coating for stone impacts: Ceramic coatings can make cleaning easier and help protect against environmental contamination, but they are not the same as a physical film barrier against flying debris.
- Consider paint protection film: Toyota currently offers GR Supra paint protection film for areas including the front bumper and hood/door-cup sections. Film is the more relevant option when your main goal is reducing impact-related chips.
Key Takeaways
- Match the factory paint code before opening or applying touch-up paint.
- Use primer when the chosen paint system requires it over exposed metal, and keep every layer inside the damaged area.
- Drying and recoat times are product-specific; a universal 2-5-minute wait is not reliable.
- Matte paint needs different care from conventional gloss paint and should not be polished like a normal clear coat.
- Paint protection film provides more direct protection against road-debris impacts than wax or ceramic coating.
Frequently Asked Questions
Can You Just Paint Over Paint Chips?
No, you should clean and inspect a paint chip before applying touch-up paint. Remove contamination and loose material first, then use primer if the exposed substrate and paint system require it. Painting directly over dirt, wax, rust, or loose edges can produce a poor repair.
What Is the 3-Step Paint Process?
For a simple gloss-finish chip, think of the process as preparation, color, and protection. Clean and prepare the damaged area, apply the matched color coat, then add clear coat when required by the paint system. Exposed metal may add a primer step before color.
Do Toyota Supra Paint Chips Need Primer?
Primer is mainly needed when the chip exposes bare metal or another substrate and your chosen repair system calls for it. If the factory primer is still intact, adding a thick extra primer layer may not help. Keep any primer confined to the damaged spot.
Can You Touch Up a Matte Toyota Supra the Same Way?
No, a matte finish should not be treated like conventional gloss paint. Ordinary polishing, wax, abrasive compounds, and gloss-oriented touch-up techniques can change the surface sheen. For visible matte-finish damage, professional repair is the safer choice.
How Long Should You Wait Between Touch-Up Paint Coats?
Use the recoat time specified by the exact paint product rather than one universal number. Different touch-up systems dry at different rates, and applying another coat too early can disturb the layer underneath. The original 2-5-minute rule should not be assumed for every product.
Conclusion
A good Toyota Supra paint chip repair protects the damaged spot without disturbing more factory paint than necessary. Match the paint code, clean carefully, use thin controlled layers, and treat exposed metal promptly. If the damage involves matte paint, spreading rust, peeling edges, or a large visible area, professional refinishing is the safer route.
Sources
- Toyota GR Supra Parts and Accessories: Supports the availability of Toyota touch-up paint for the GR Supra.
- Toyota Genuine Touch-Up Clear Coat: Supports use of a clear finishing layer over compatible Toyota touch-up repairs.
- Dupli-Color Scratch Fix All-in-1 Instructions: Supports surface preparation with rubbing alcohol, controlled abrasive preparation, clear-coat application, and product-specific recoat timing.
- Toyota 2022 GR Supra Quick Reference Guide: Supports the matte-paint precaution against wax and abrasive compounds.
- Toyota 2026 GR Supra Accessories: Supports availability of paint protection film for the front bumper and hood/door-cup areas.