The Toyota Supra exhaust system is a straight-through turbo layout: exhaust leaves the turbo, passes through the downpipe and catalytic converter area, continues through the midpipe, then exits through the cat-back mufflers and tips. Each section affects flow, heat, sound, emissions compliance, and fitment, so the best setup depends on whether the car is street-driven, track-focused, or built for closed-course drag use.
Quick Answer
A Supra exhaust runs from the turbo outlet into the downpipe, through catalytic and midpipe sections, then out the cat-back. The downpipe has the biggest effect on turbo restriction, the midpipe controls fitment and resonance, and the cat-back mainly changes tone, weight, and rear-section flow.
Key Takeaways
- The downpipe sits closest to the turbo and usually creates the largest exhaust-flow bottleneck.
- The midpipe connects the downpipe to the rear exhaust and can include resonators, flex sections, catalytic elements, and oxygen-sensor provisions depending on the setup.
- The cat-back is the main sound-tuning section; it changes tone more than it changes peak power on an otherwise stock turbo Supra.
- Cat-delete, open-dump, and non-certified emissions parts may be illegal for street use. Check EPA rules, CARB Executive Orders, and your state inspection rules before buying.
At a Glance
| Best First Upgrade | Cat-back for sound; emissions-compliant downpipe only when supporting a larger tuning plan |
| Difficulty | Cat-back: moderate; downpipe: advanced because of heat, sensors, tight access, and emissions checks |
| Common Tools | Lift or jack stands, penetrating oil, torque wrench, oxygen-sensor socket, trim-safe pry tools, fresh gaskets and hardware |
| Main Risks | Exhaust leaks, check-engine lights, melted nearby components, drone, poor ground clearance, and non-compliant emissions parts |
Supra Exhaust: Quick Overview
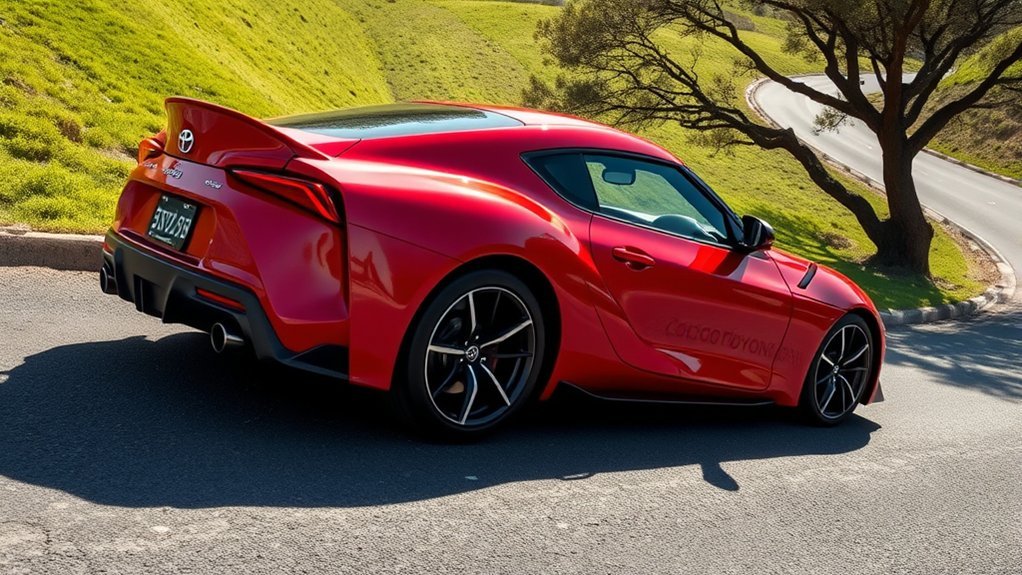
On the modern Toyota GR Supra, especially the 3.0-liter turbocharged inline-six model, the exhaust starts at the turbocharger outlet and moves rearward through the underbody. Toyota lists the 2026 GR Supra with a 3.0L twin-scroll single-turbo inline-six engine, and its official model page shows the 3.0 trims rated at 22/29 mpg city/highway with manual or automatic transmission options. Toyota’s official GR Supra page is the best source for current factory trim and powertrain details.
The three main aftermarket shopping terms are downpipe, midpipe, and cat-back. The downpipe bolts near the turbo and moves the hottest, highest-pressure exhaust away from the turbine. The midpipe connects the front section to the rear exhaust and often shapes resonance, clearance, and catalytic layout. The cat-back includes the rear piping, mufflers, valves if equipped, and tips.
For performance tuning, the goal is not simply “bigger pipe everywhere.” A good Supra exhaust setup keeps flow smooth, avoids heat damage, seals correctly, fits the chassis, supports the tune, and stays legal for its intended use. On a turbo car, lowering restriction after the turbine can help response and high-load flow, but a poorly chosen system can add drone, leaks, fault codes, or compliance problems.
Note: “A90” and “A91” are common enthusiast labels for the fifth-generation Supra. Fitment still depends on model year, engine, transmission, emissions market, and the exact exhaust brand, so always confirm part numbers before ordering.
Exhaust Pathway: Turbo → Downpipe → Midpipe → Cat-Back
Follow the exhaust path from front to rear and the system becomes easier to understand. Hot exhaust energy spins the turbine, exits the turbo outlet, flows through the downpipe and catalyst area, continues through the midpipe, then reaches the cat-back mufflers and tips. Restrictions closest to the turbo usually matter most for flow, while the rear sections matter most for sound and fitment.
Turbo-to-Downpipe Transition
The turbo-to-downpipe transition is the most sensitive part of the system because exhaust is still hot and energetic here. Smooth bends, quality welds, a flat flange, and a properly sized catalytic converter or emissions device matter more than a flashy tip or oversized rear pipe. A downpipe that leaks or places sensors poorly can cause boost-control problems, smell, rattles, and check-engine lights.
Many aftermarket downpipes increase diameter and reduce sharp bends compared with factory-style layouts. That can reduce post-turbine pressure and help the turbo work against less restriction. The exact gain depends on the turbo, catalyst design, tune, fuel, and testing method, so avoid fixed horsepower promises unless the manufacturer provides same-car dyno data.
Midpipe Routing and Flexibility
The midpipe preserves flow between the downpipe and the rear exhaust. A good midpipe keeps a consistent path, avoids crushed bends, provides enough chassis clearance, and uses hangers that do not preload the system. Flex sections can reduce stress from drivetrain movement, while resonators can reduce the low-frequency drone that often appears after a louder downpipe or cat-back.
For most street cars, the best midpipe is the one that fits cleanly, seals well, and manages sound. Large diameter can help high-power builds, but oversized tubing on a lightly modified car may make the exhaust louder without adding meaningful power. Match the midpipe to the turbo size, downpipe outlet, cat-back inlet, and tune rather than choosing by diameter alone.
Cat-Back Design and Tips
The cat-back starts after the catalytic and midpipe area and runs to the rear bumper. It is usually the safest exhaust section to change when the goal is sound, appearance, and weight reduction because it does not normally replace the primary emissions hardware. A well-designed cat-back uses mandrel bends, quality hangers, durable stainless or titanium construction, and mufflers sized for the sound level you want.
Tip size mostly changes appearance and exit tone; it rarely fixes a restriction by itself. Muffler design matters more. Straight-through mufflers tend to be louder and freer-flowing, while chambered or packed mufflers can reduce harshness. Valved systems are popular because they let you keep a calmer mode for highway driving and a more aggressive mode when desired.
Pro Tip: Buy the quietest cat-back you can still enjoy if you plan to add a high-flow downpipe later. A system that sounds perfect on a stock downpipe can become too loud or droney after front-section changes.
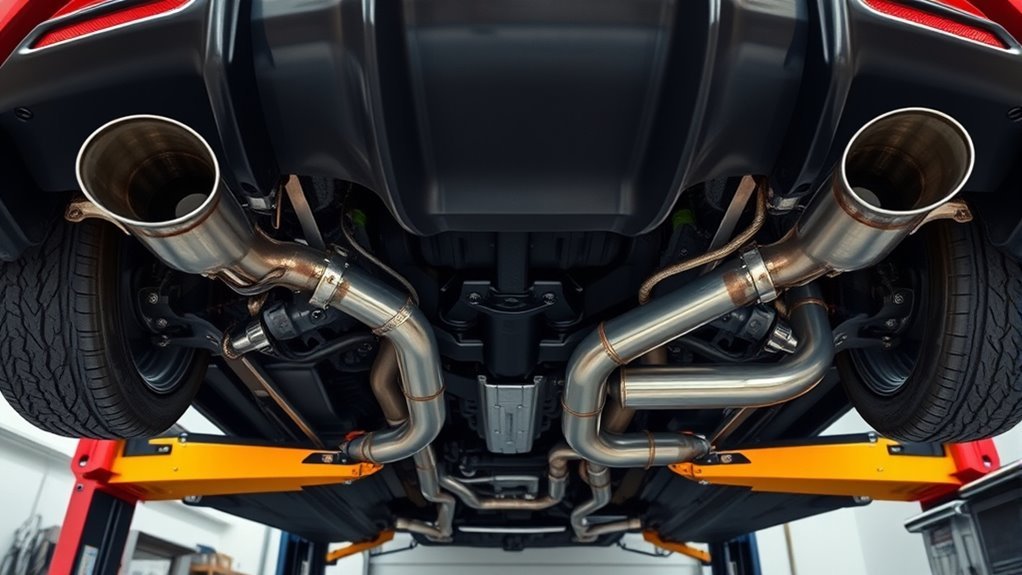
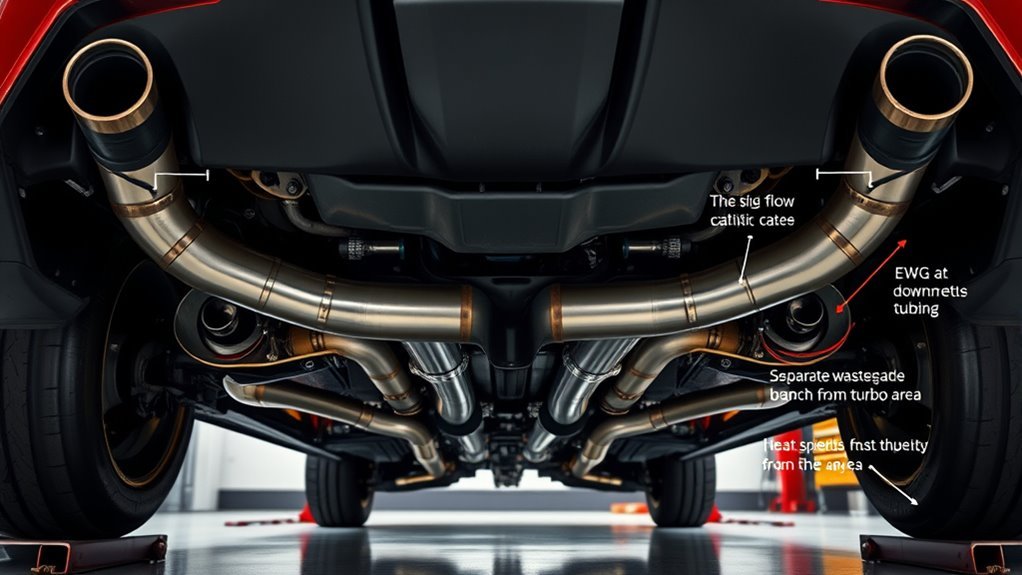
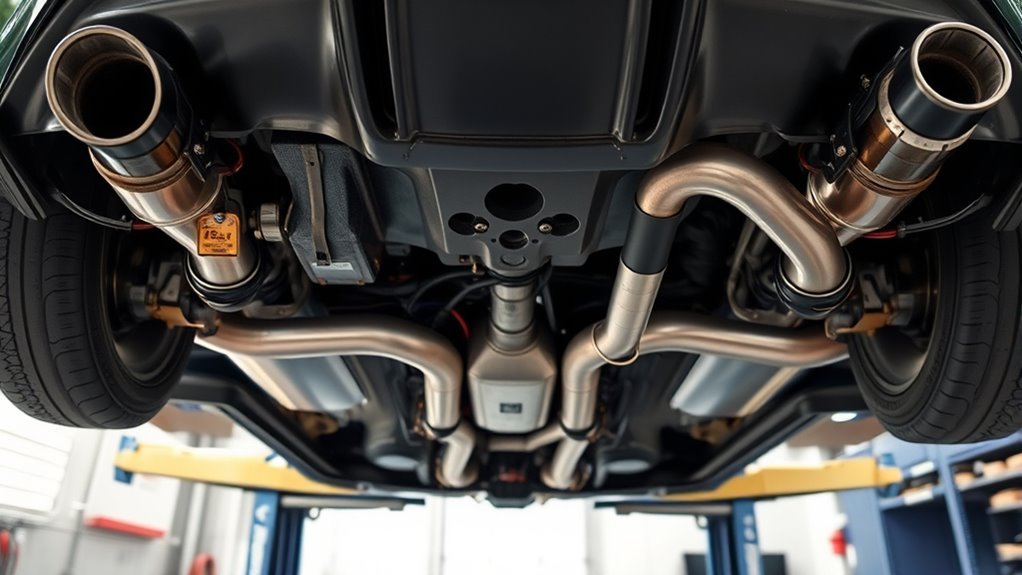
Under-Car Layout: Where Parts Sit Relative to Chassis
The Supra exhaust runs along the center tunnel and rear underbody, where space is shared with heat shields, bracing, the driveshaft tunnel, suspension movement, and rear bumper clearance. The downpipe is near the front of the cabin and turbo area, the midpipe follows the transmission tunnel, and the cat-back sits farther rearward around the axle and bumper area.
Heat management is critical near the downpipe and catalyst. Toyota’s owner materials warn that exhaust components can become very hot, and that warning becomes even more important after installing larger metal parts with less factory shielding. Keep wiring, oxygen-sensor leads, plastic panels, brake lines, and underbody shields away from hot tubing.
Ground clearance depends on tubing shape and routing. Round tubing is simple and common, while oval tubing can improve clearance in tight areas if the system is engineered well. Do not assume a larger pipe automatically fits a lowered car. Check the lowest point of the downpipe, midpipe, V-band clamps, mufflers, and tips before driving aggressively over speed bumps or track curbing.
Downpipes: Stock, High-Flow, and EWG Layout Differences
Downpipe choice has the biggest impact on the Supra’s exhaust character because it sits right after the turbo. It also has the biggest legal and tuning risk because it may affect catalytic converter function, oxygen-sensor readings, emissions readiness, and exhaust smell. Choose this part carefully.
Stock Downpipe Routing
The stock-style downpipe is built around emissions compliance, cold-start behavior, packaging, heat control, and predictable sensor feedback. It is not designed only for maximum flow. That tradeoff is why a factory downpipe can be quieter, cleaner, and easier to pass inspection, while still supporting the power level the car was certified to make.
A common mistake is saying the stock Supra downpipe “caps power near 335 hp.” That is too broad. Earlier 3.0-liter U.S. Supras were rated differently than later 3.0-liter models, and Toyota’s current official GR Supra page lists the 2026 car as a 3.0L twin-scroll turbo inline-six with 3.0 trims in the current lineup. Use the model year and engine as the baseline before judging the exhaust.
High-Flow Pipe Benefits
A high-flow catted downpipe can reduce restriction compared with a stock-style unit while keeping a catalytic converter in the system. Benefits may include quicker turbo response, lower post-turbine pressure, a stronger exhaust tone, and more headroom when paired with proper ECU calibration. The best designs use a quality catalyst, smooth transitions, accurate sensor placement, and strong thermal durability.
- Choose a catted high-flow downpipe for the most street-friendly balance.
- Check whether the part has emissions approval for your state or country.
- Expect louder cold starts, more smell, and more cabin noise than stock.
- Use fresh gaskets, proper clamp alignment, and manufacturer torque guidance.
- Confirm compatibility with your tune, fuel, oxygen sensors, and inspection requirements.
Warning: Removing, defeating, or bypassing emissions equipment on a street vehicle can violate the Clean Air Act and state laws. The EPA explains its vehicle tampering policy on its official enforcement page, and California buyers should verify parts through CARB resources before installation.
EWG Valve Integration
EWG means external wastegate. It is common on larger turbo builds, not a required upgrade for most street Supras. The factory-style system uses internal/electronic boost-control hardware, while an EWG setup routes wastegate flow through a separate valve and tube. Some EWG dump tubes recirculate into the exhaust; others vent to atmosphere for closed-course use.
An EWG can improve boost control on high-power turbo setups when the internal wastegate becomes a limitation. However, it adds heat, noise, fabrication complexity, and legal risk. Pay attention to dump-tube angle, wastegate sizing, clearance from wiring and brake parts, and whether the setup is recirculated or open dump. Open-dump layouts are usually too loud and too raw for normal street use.
Midpipe and Catalytic Options: Placement, Sizing, and Swaps
The midpipe connects the downpipe area to the rear exhaust. On modified Supras, this section may include resonators, secondary catalytic elements depending on the market and design, flex joints, oxygen-sensor provisions, and transition pieces between different pipe diameters. It is also where many drone problems are either solved or created.
For a street build, prioritize fitment and sound control before maximum diameter. A resonated midpipe can keep the exhaust aggressive without making highway cruising tiring. A non-resonated midpipe may sound sharper and louder, but it can add rasp and cabin boom, especially with a louder downpipe.
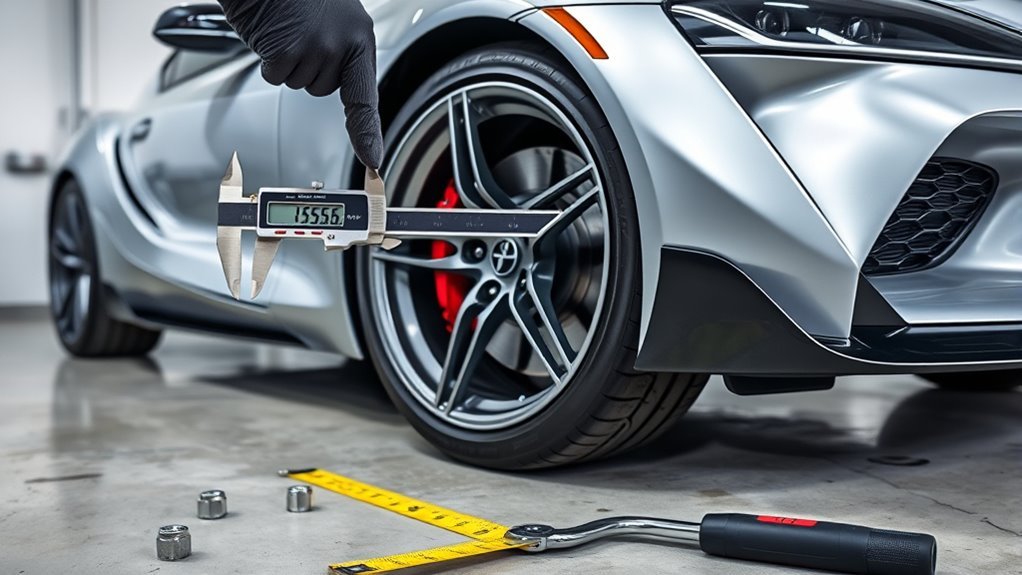
- Measure flange style, clamp style, pipe diameter, and hanger position before purchase.
- Confirm oxygen-sensor bung location and harness reach.
- Use high-quality catalytic components where emissions compliance is required.
- Keep resonators if you want less drone on long drives.
- Choose 304 stainless steel for corrosion resistance in wet or salted climates.
Backpressure matters differently on turbo and naturally aspirated engines. A naturally aspirated header may use tuned lengths for scavenging, while a turbo Supra mainly benefits from controlled, low-restriction flow after the turbine. Research on exhaust backpressure, including SAE work on reducing backpressure to improve engine efficiency, supports the general idea that restriction must be managed carefully rather than guessed. SAE’s backpressure study is a useful technical reference.
Cat-Back, Mufflers, and Tip Choices for Clearance & Tone
The cat-back is where you tune the Supra’s personality. This section affects tone, loudness, rear-end weight, tip appearance, and highway comfort. It may also slightly reduce restriction, but on a stock-turbo street car, the cat-back usually delivers a bigger sound change than power change.
| Component | What It Changes | What to Check |
|---|---|---|
| Muffler | Volume, tone, rasp, drone | Straight-through vs. chambered, packed core quality, valve support |
| Tubing | Flow, weight, clearance | Diameter, bend quality, round vs. oval shape, hanger alignment |
| Tip | Look and exit character | Length, bumper clearance, slash-cut or rolled edge, heat staining |
Stainless steel is the safe all-around material because it resists corrosion and handles heat well. Titanium saves weight and gives a sharper tone, but it costs more and can be easier to damage if the car is very low. Inconel is excellent for extreme heat, but it is usually unnecessary for a normal street cat-back.
Fitment matters as much as sound. A rear exhaust that sits slightly crooked can melt bumper trim, tap the subframe, or buzz against heat shields. After installation, let the exhaust heat-cycle, then recheck clamp position, hanger tension, and tip centering.
Emissions, Fitment, and Common Installation Issues
Exhaust upgrades can affect more than sound. A downpipe or midpipe can change catalyst efficiency, oxygen-sensor readings, exhaust temperature, and readiness monitors. The EPA states that tampering with emissions controls is illegal under the Clean Air Act, and CARB maintains specific rules for aftermarket catalytic converters and performance parts in California. Before installing a part on a street car, check whether it is approved for your location and application.
California is especially strict. CARB says aftermarket catalytic converter requirements apply to new aftermarket converters sold in California, and the agency provides an Aftermarket, Performance, and Add-On Parts database for Executive Order lookups. CARB also explains its aftermarket converter requirements on its aftermarket catalytic converters page.
- Check emissions approval: Look for EPA legality, CARB EO numbers, or local inspection compatibility where required.
- Mock-fit before tightening: Leave clamps loose until the full system is aligned from front to rear.
- Protect sensors: Do not twist oxygen-sensor wiring or let it rest against hot tubing.
- Watch for leaks: Ticking noises, soot marks, fuel smell, and poor boost response can point to a sealing issue.
- Plan for heat: Keep heat shields, undertrays, wiring, and plastic panels away from the downpipe and catalyst.
Choosing the Right Layout: Street, Track, and Drag Setups
The right Supra exhaust layout depends on how you actually use the car. A daily street car needs low drone, clean fitment, legal emissions hardware, and enough muffling for early starts. A track car may accept more noise and heat, but it still needs strong hangers, safe clearances, and parts that survive long high-load sessions. A drag-focused car may prioritize minimum restriction and fast spool, but many of those choices are for closed-course use only.
| Use Case | Recommended Direction | Avoid |
|---|---|---|
| Daily Street | Resonated or valved cat-back, emissions-compliant downpipe, strong heat shielding | Open dumps, cat deletes, extreme drone, low-hanging clamps |
| Weekend/HPDE | Durable stainless system, controlled noise, quality catted downpipe if legal, secure hangers | Thin tubing, poor heat control, systems that exceed track sound limits |
| Drag/Closed Course | Low-restriction front section, turbo-matched diameter, possible EWG with proper routing | Street use of non-compliant parts, unsupported tuning, unsafe dump-tube placement |
On a turbo Supra, the smartest exhaust is not always the loudest one. The best setup is the one that supports the turbo, tune, inspection rules, heat management, and the way you actually drive.
Buying Checklist Before You Order
Before buying a Supra exhaust, compare the part against your exact car and goals. A small fitment mismatch can turn a simple install into a leak-prone, noisy, or non-compliant setup.
- Confirm model year, engine, transmission, and left-hand/right-hand drive fitment if applicable.
- Verify whether the system fits stock turbo, upgraded turbo, or EWG setups.
- Check catalyst type, emissions approval, and inspection readiness claims.
- Compare inlet and outlet sizes so the downpipe, midpipe, and cat-back match.
- Look for included gaskets, clamps, V-bands, oxygen-sensor extensions, and hardware.
- Read sound clips carefully, but prioritize clips recorded with the same downpipe and midpipe layout.
- Check return policy before installing because used exhaust parts are often hard to return.
Installation and Troubleshooting Tips
Install the exhaust with the car safely supported and the system cool. Exhaust hardware can seize from heat cycles, so use penetrating oil ahead of time and replace damaged fasteners. Start from the front, loosely assemble the full system, align the tips and hangers, then torque to the manufacturer’s specs.
If the system rattles, look for contact at braces, heat shields, rear bumper trim, differential area, and undertray panels. If the car smells like exhaust inside the cabin, stop driving and inspect for leaks. If a check-engine light appears after a downpipe change, read the code rather than clearing it blindly. Catalyst-efficiency and oxygen-sensor codes can indicate a real compatibility, sensor, or emissions issue.
Warning: Never work under a car supported only by a jack. Use rated jack stands or a lift, chock the wheels, and let the exhaust cool completely before touching clamps, sensors, or the downpipe.
Frequently Asked Questions
What are the main parts of a Toyota Supra exhaust system?
The main parts are the turbo outlet area, downpipe, catalytic converter section, midpipe, resonators if equipped, cat-back piping, mufflers, valves if equipped, and exhaust tips. The downpipe affects turbo restriction most, while the cat-back mostly shapes sound and appearance.
What does a downpipe do on a Supra?
The downpipe carries exhaust away from the turbocharger. Because it sits immediately after the turbine, its diameter, bend shape, catalyst design, and sensor placement can affect turbo response, exhaust temperature, emissions readiness, and sound.
Will a Supra cat-back exhaust add horsepower?
A cat-back can reduce some rear-section restriction, but on a mostly stock turbo Supra it usually changes sound, tone, and weight more than peak horsepower. Bigger gains usually require coordinated changes such as a compliant downpipe, tune, fuel, and supporting hardware.
Is a catless downpipe legal on a street Supra?
In the United States, removing or defeating emissions equipment on a street vehicle can violate federal law, and states may have additional rules. For street use, choose parts that preserve required emissions controls and verify local legality before installation.
What does 4-2-1 exhaust mean?
A 4-2-1 exhaust describes a header design where four primary tubes merge into two, then into one. It is more relevant to naturally aspirated header design than the modern turbo Supra layout, where the exhaust path is shaped around the turbocharger and downpipe.
Why does my Supra exhaust drone after an upgrade?
Drone usually comes from low-frequency resonance in the midpipe and muffler system. A resonated midpipe, different muffler design, or valved cat-back can reduce drone. Downpipe changes often make an existing cat-back sound much louder than expected.
Do I need a tune after installing a Supra exhaust?
A cat-back usually does not require a tune. A downpipe may require calibration depending on the part, catalyst, sensors, and power goal. Tuning should never be used to hide or defeat required emissions equipment on a street vehicle.
Conclusion
The Supra exhaust is simple to trace but easy to overbuild. The downpipe controls the hottest and most restrictive section after the turbo, the midpipe manages connection, resonance, and fitment, and the cat-back shapes the final sound and look. For a street car, start with a quality cat-back or resonated setup, keep emissions compliance in mind, and avoid unsupported horsepower claims. For track or drag builds, match the exhaust to the turbo, tune, heat load, and rules of the venue.
Choose parts based on verified fitment, legal use, heat control, and real testing instead of volume alone. A smooth, sealed, compliant system will make the Supra feel sharper without turning every drive into a troubleshooting session.
Sources
- Toyota — 2026 GR Supra official model page — current factory engine, trim, and model information.
- Toyota Owners — 2026 Supra digital manual — owner guidance and safety context for vehicle systems.
- U.S. EPA — Vehicle and Engine Tampering Policy — federal emissions-tampering enforcement guidance.
- California Air Resources Board — Aftermarket Catalytic Converters — California aftermarket catalytic converter requirements.
- California Air Resources Board — Aftermarket, Performance, and Add-On Parts Database — Executive Order lookup for regulated aftermarket parts.
- SAE Mobilus — Study to Improve Engine Efficiency by Reducing Backpressure — technical background on exhaust restriction and efficiency.